Interwoven Quilt Along- WEEK 3

It's Week 3 of the Quilt Along!
.

.
This week, we are starting to make our blocks! If you are making a traditional Interwoven, you'll be making all of your B1 blocks. If you are making a modern Interwoven, you'll be making all Color 1 and 2 blocks (baby and throw).
.

.
Where did the lines on my 12" ruler go?? Haha. You can tell I use this one a lot. I recently replaced by 6" x 24" ruler with an Omnigrid ruler and I really love it. The bottom feels a little texturized, so it hasn't slipped on my fabric ONCE. I'll probably replace this ruler with another Omnigrid.
.
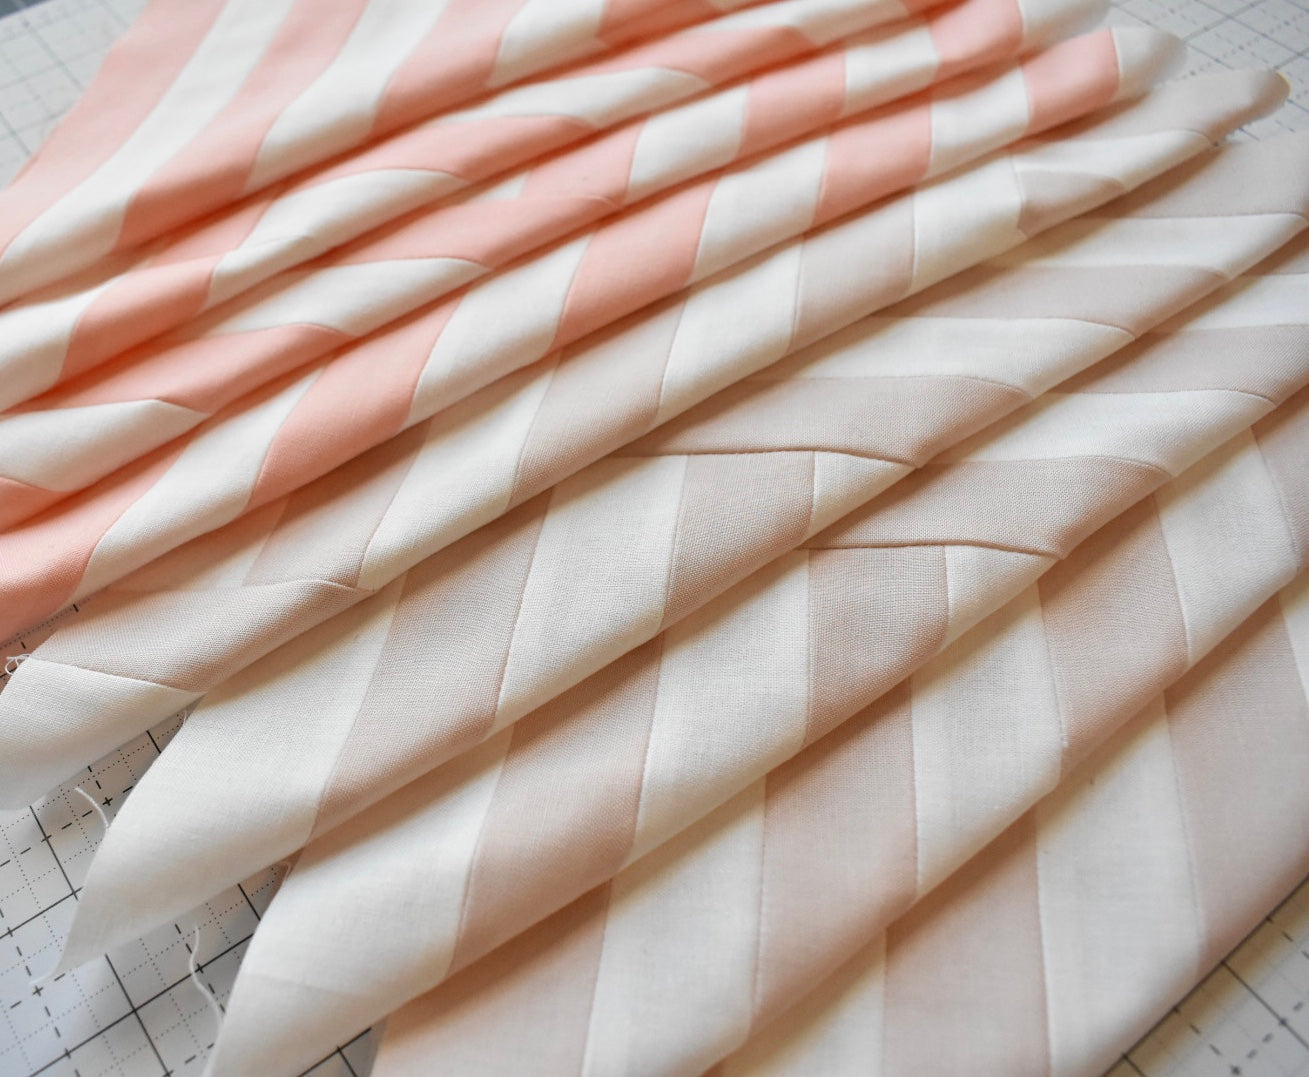
Anyways, this week, is all about finding your flow. As you've figured out by now, there are a lot of seams in this quilt! Instead of getting up from my machine after strip piecing each strip, I'll chain piece my strips. This means I'll sew a light and dark strip together, then continuing with that same seam, I'll sew a second light and dark strip together. I'll keep doing this until I have 5 sets of light and dark strips, and I'll snip the seam (or chain) that is connecting them, and I'll press those 5 seams open. Then I'll sit back down at my machine, and sew all five sets of 2 strips together to create a strip set. Then I'll go back and press the remaining seams open. You totally don't have to do it this way, but I like to be efficient and group my tasks together.
Find what works best for your and stick to it. Once you get a system down, the strip sets will go much faster.
.
Here are a few key points to remember as you create your blocks:
- Set your stitch length to around 1.8mm. This will help to prevent your seams from unraveling when you cut into your strip sets.
- If you notice warping in your strip sets as you're sewing, alternate the direction in which you start sewing your strips. Be sure to align the ends as closely as possible.
- Remember that scant 1/4" seam!
- Pay attention to the stars throughout the pattern diagrams. Those indicate places where you'll need to pay special attention to your fabric placements. (Block 2, 3 and 4 each have sections with stars). These are to ensure that lines connect with other lines within the quilt, so they are important.
Pressing Seams:
- Per pattern instruction, we are pressing our seams open to reduce bulk. This also helps with accuracy (remember the thread-width conversation from Week 2?)
- Since the seams are so close together, they can be a little tricky to press. I like to finger press my seam open then lightly press the seam open with the tip of my iron. I then flip the piece over and press the right side.
- I don't know if you've seen this mini iron before, but I've had mine for over a year now and I love it! It's perfect for this quilt and fairly inexpensive.
- Be gentle with your seams. Since the strips are long, it's easy for them to distort if you stretch them.
- Use steam or lightly spray your fabric with water before you press. It really helps your seam lay flat.
- If you're still having trouble with your seams laying flat, you can also try a Tailors Clapper. The idea is that once you press the seam, you immediately place the clapper over the seam. I have one and I like using it, but using steam is typically enough to get my seams to lay flat.
.

.
I wanted to touch base on one of the trickier blocks, B3. If you're making the traditional version, you'll get to these in a few weeks, and I'll cover it again, but for those of you doing modern versions, you get the pleasure of having your first B3 experience! (wahoo!)
.
These blocks aren't hard, but you do have to pay attention to what you're doing!
.

.
For this block, you're going to place two Block 1s right sides together so that the strips mirror each other (dark strip on top of dark strip, light strip on top of light strip). Draw a line from corner to corner. (I like to use my Hera marker any time I have to draw lines. I don't have to worry about whether the "temporary" ink is actually temporary or not, and the Hera marker lasts forever. I even use it for making HSTs too.)
Remember, this is step that you have to be careful with. Pay attention to the star in the pattern when drawing this line!
Cut 1/4" away from this line. DOUBLE CHECK BEFORE YOU CUT. You want the dark strip to be on the outside edge of the Block 3. I've gotten careless with prior Interwoven quilts and I've wasted more fabric than I care to admit. Slow down and take your time. I'm speaking to myself here too! ;)
.

.

.
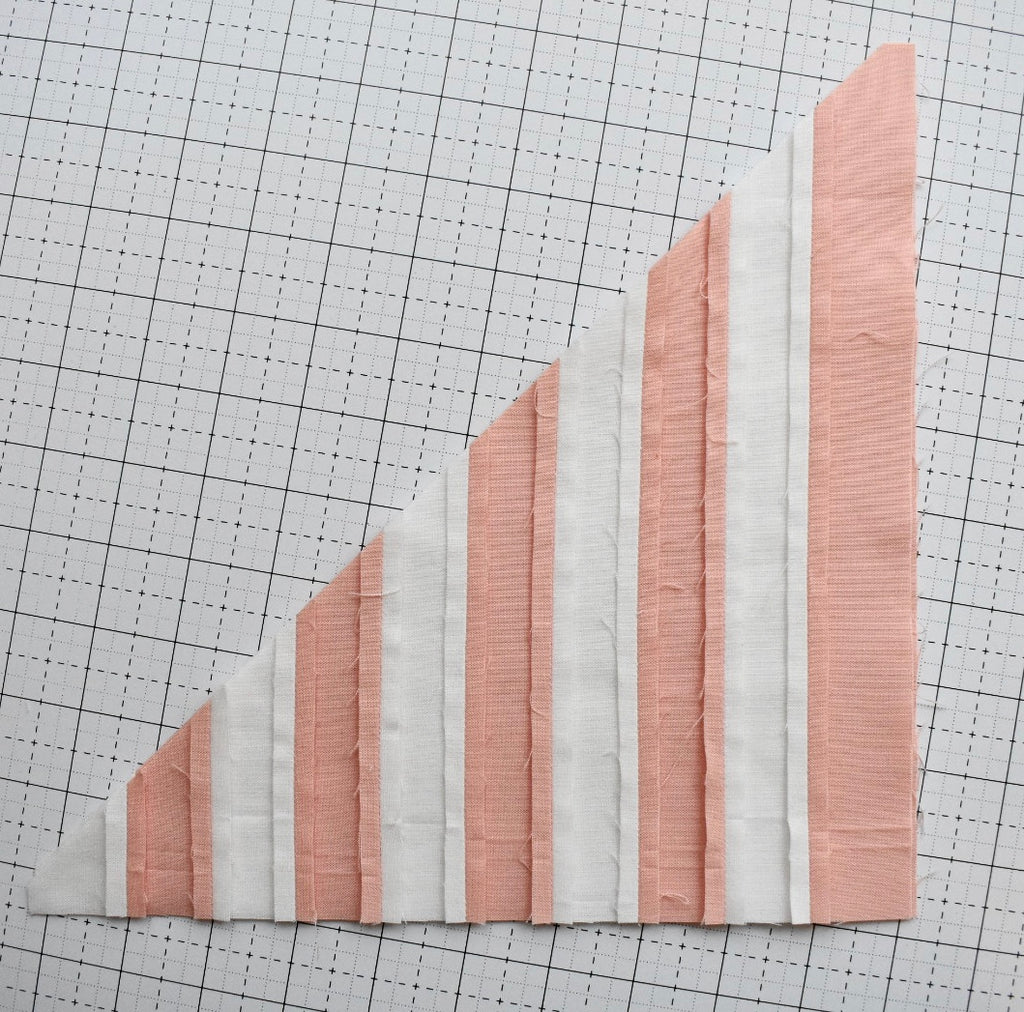
This is what your two pieces should look like once you cut them.
Next, you'll align your edges again and sew 1/4" away from where you just cut. As you feed these pieces throughout your machine, visualize your strips and align them as you go.
.

.
Once you have your seam in place, press it open and voila!
Save your scraps from this block and make a mini quilt or pillow!
.
My last piece of advice is to stay organized! Arrange your blocks into piles and consider labeling your colors.
_______________________________________
.
If you haven't heard the news, I have now added BED SIZES to Interwoven! I have been shocked by the number of people who want to make a bed size of this quilt, so I wanted to help you do so! If you already purchased the pattern, you should've received an update email with the new pattern. Take a look at page 2, and you'll find a Table of Contents. This will tell you where you'll find the bed size instructions/ fabric requirements/ diagrams. If you already printed the pattern, you do not need to reprint any of the old pattern; none of that has changed.
If you did not receive an email with the updated bed sizes, let me know and I'll be happy to get that to you. Please include your order number or your name so I can easily look you up. Going forward, all new purchases of Interwoven PDF's now include all five sizes.
I will have Bed Size Paper patterns in the shop in a few weeks. I'll let you know when they're here. Please note that the price of Interwoven will go up to $16, but will remain on sale at $12 for the duration for the Quilt Along. .
That's all for this week! Now onto the prize!
There is a lovely new little fabric shop called Beautifully Mended Fabric. Lacey is a fellow quilter who just recently opened up her very own online shop! She has great taste in fabric and she is so generously sponsoring this week's prize...this beautiful fat quarter bundle! These fabrics are perfect for Valentines day!
.

.
Enter to win this beautiful bundle by using the #interwovenqal hashtag on your Instagram progress posts this week! Get those photos posted by Sunday night, 2/17 and you'll be automatically entered to win. Also, go check out Lacey's instagram @beautifullymended and her website as well. She's got a good thing going!
.
Alright you guys, that's it! Have fun making those blocks. I'll see you next week!
.
Brittany
.
.
.
.
.
.
.
.
I only suggest products that I love! This blog contains affiliate links, which means I receive a small commission when you purchase from those links.

