Ombre Puff QAL - Week 2

Hello hello! And welcome back! It's Week 2 of the Ombre Puff Quilt Along, if you are just now joining us, here's a look at where we've been and where we are headed:
- Week 1 - Oct. 24: Plan
- Week 2 - Oct. 31: Cut
- Week 3 - Nov. 7: Sew Pockets
- Week 4 - Nov. 14: Create Rows
- Week 5 - Nov. 21: Stuff Rows (2 weeks)
- Week 6 - Dec. 5: Baste & Quilt
- Week 7 - Dec. 12: Bind
.
Week 2
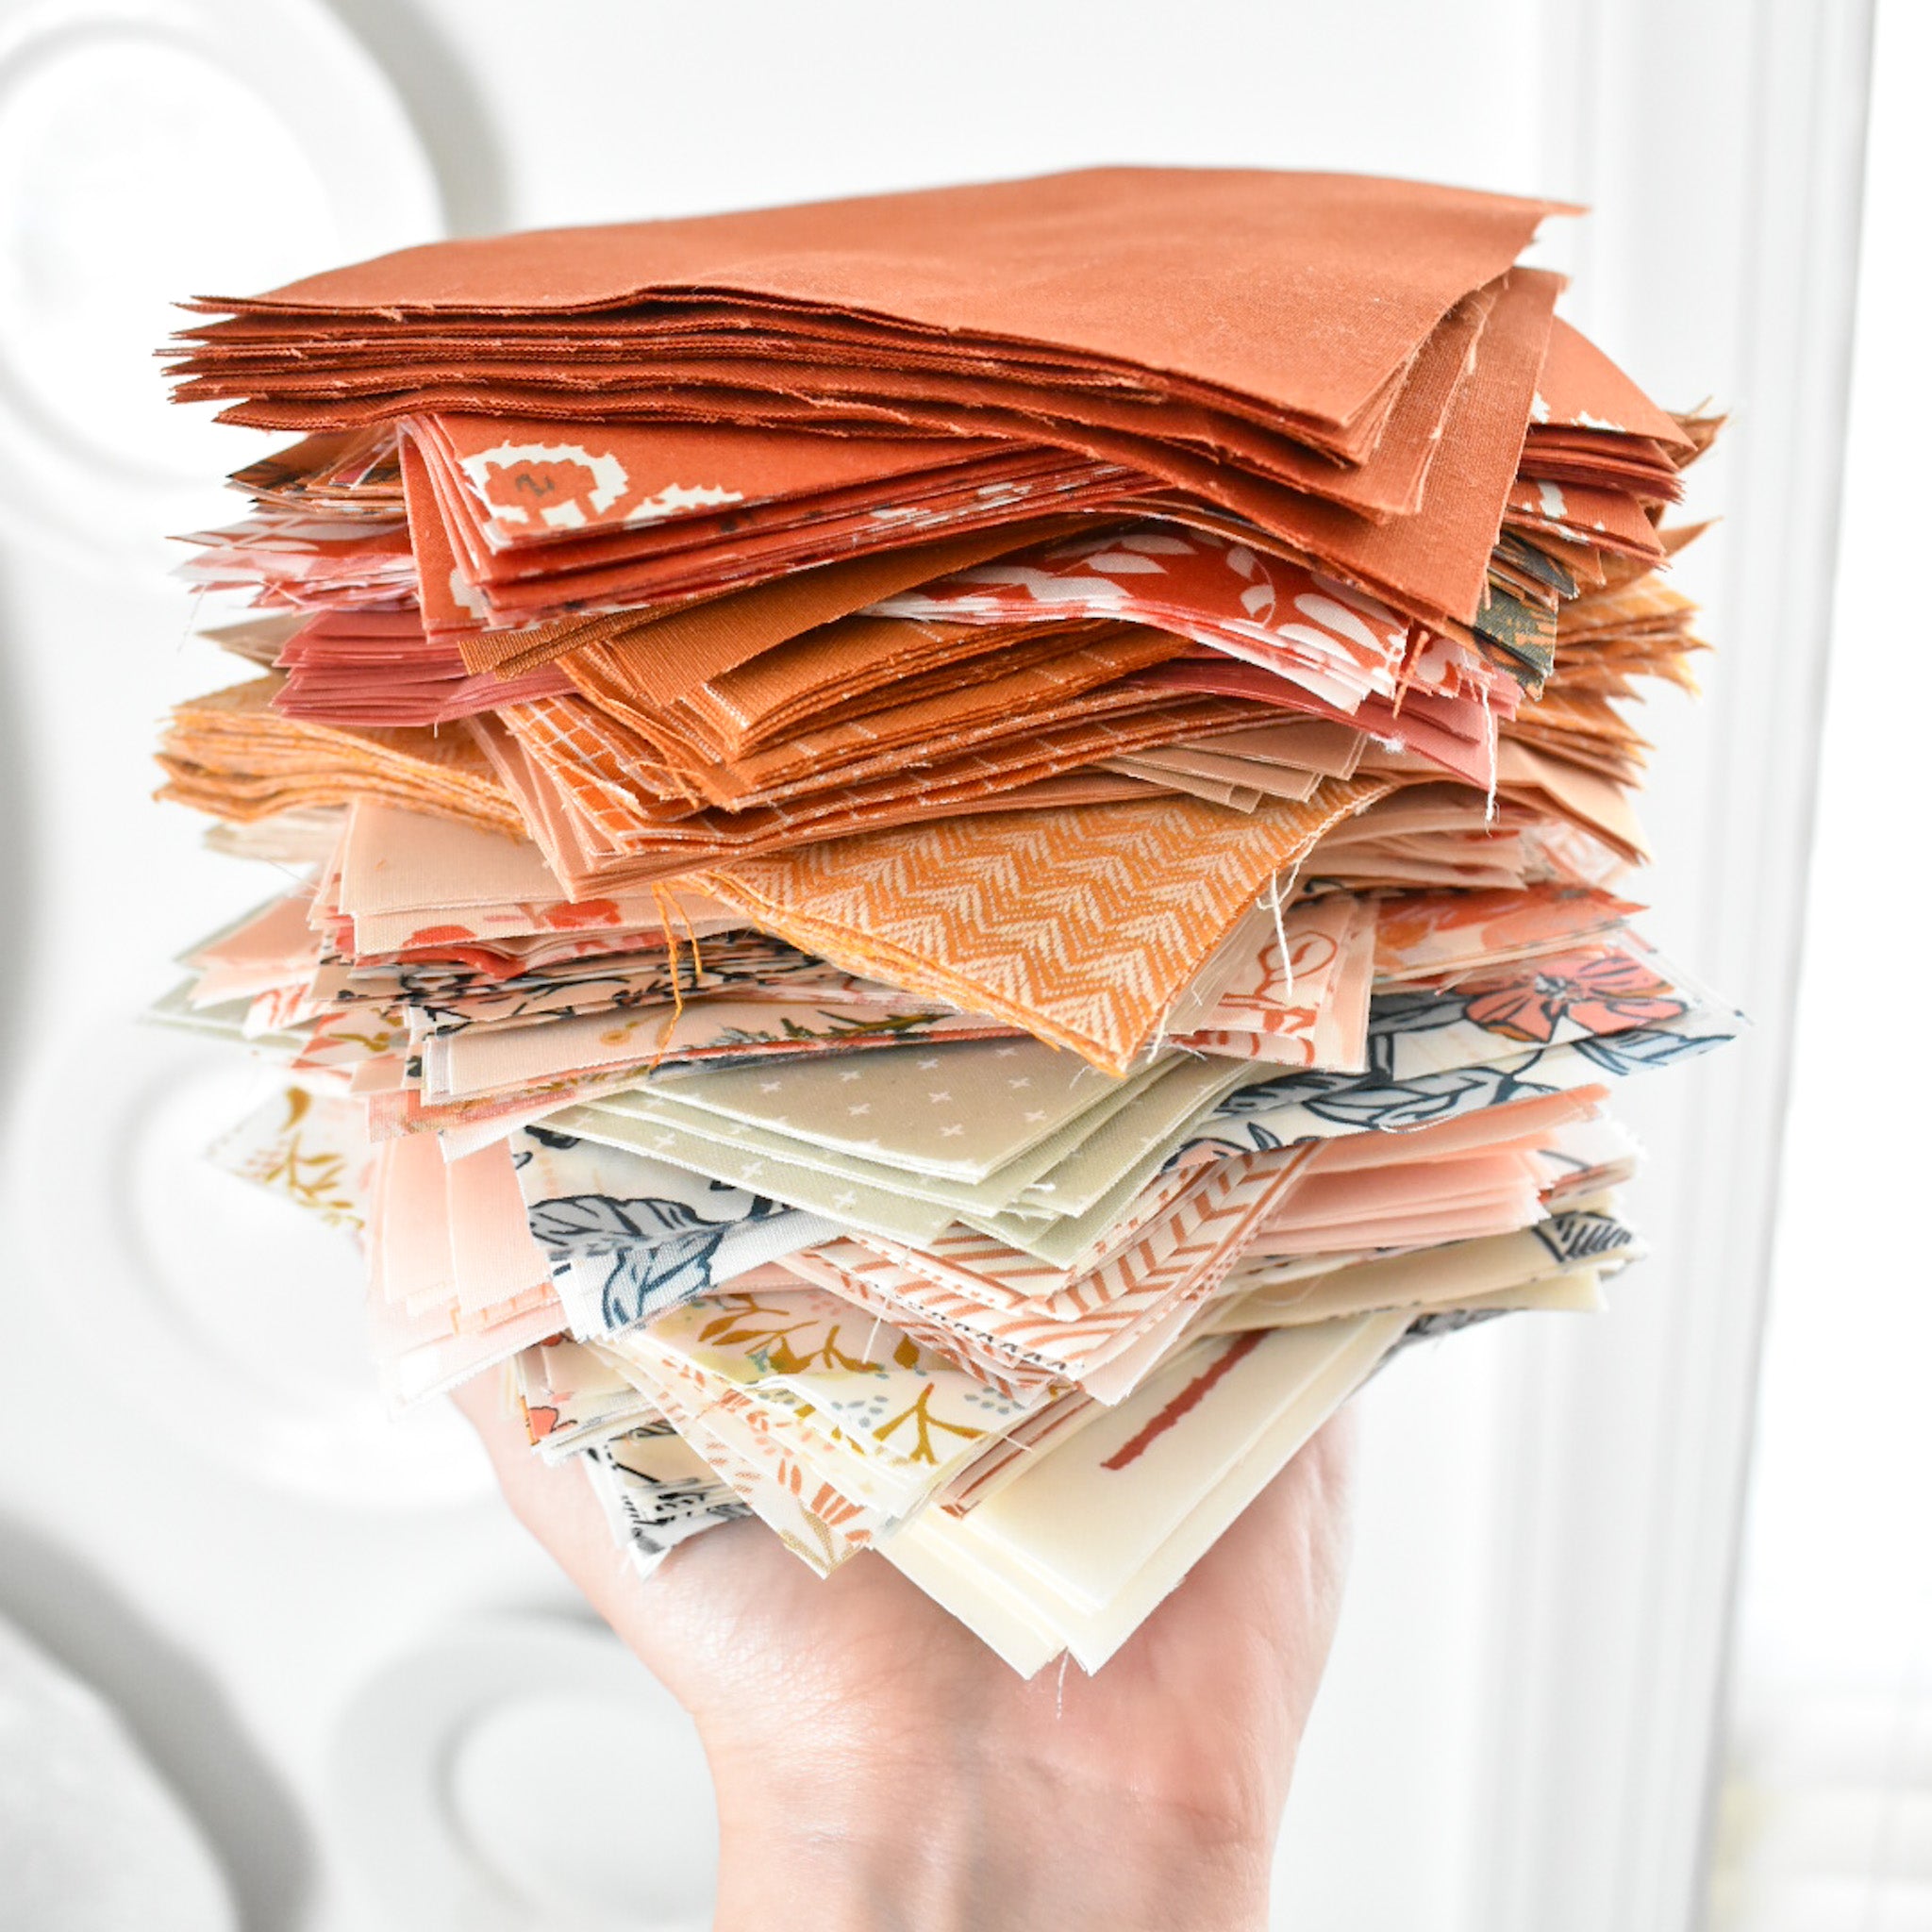
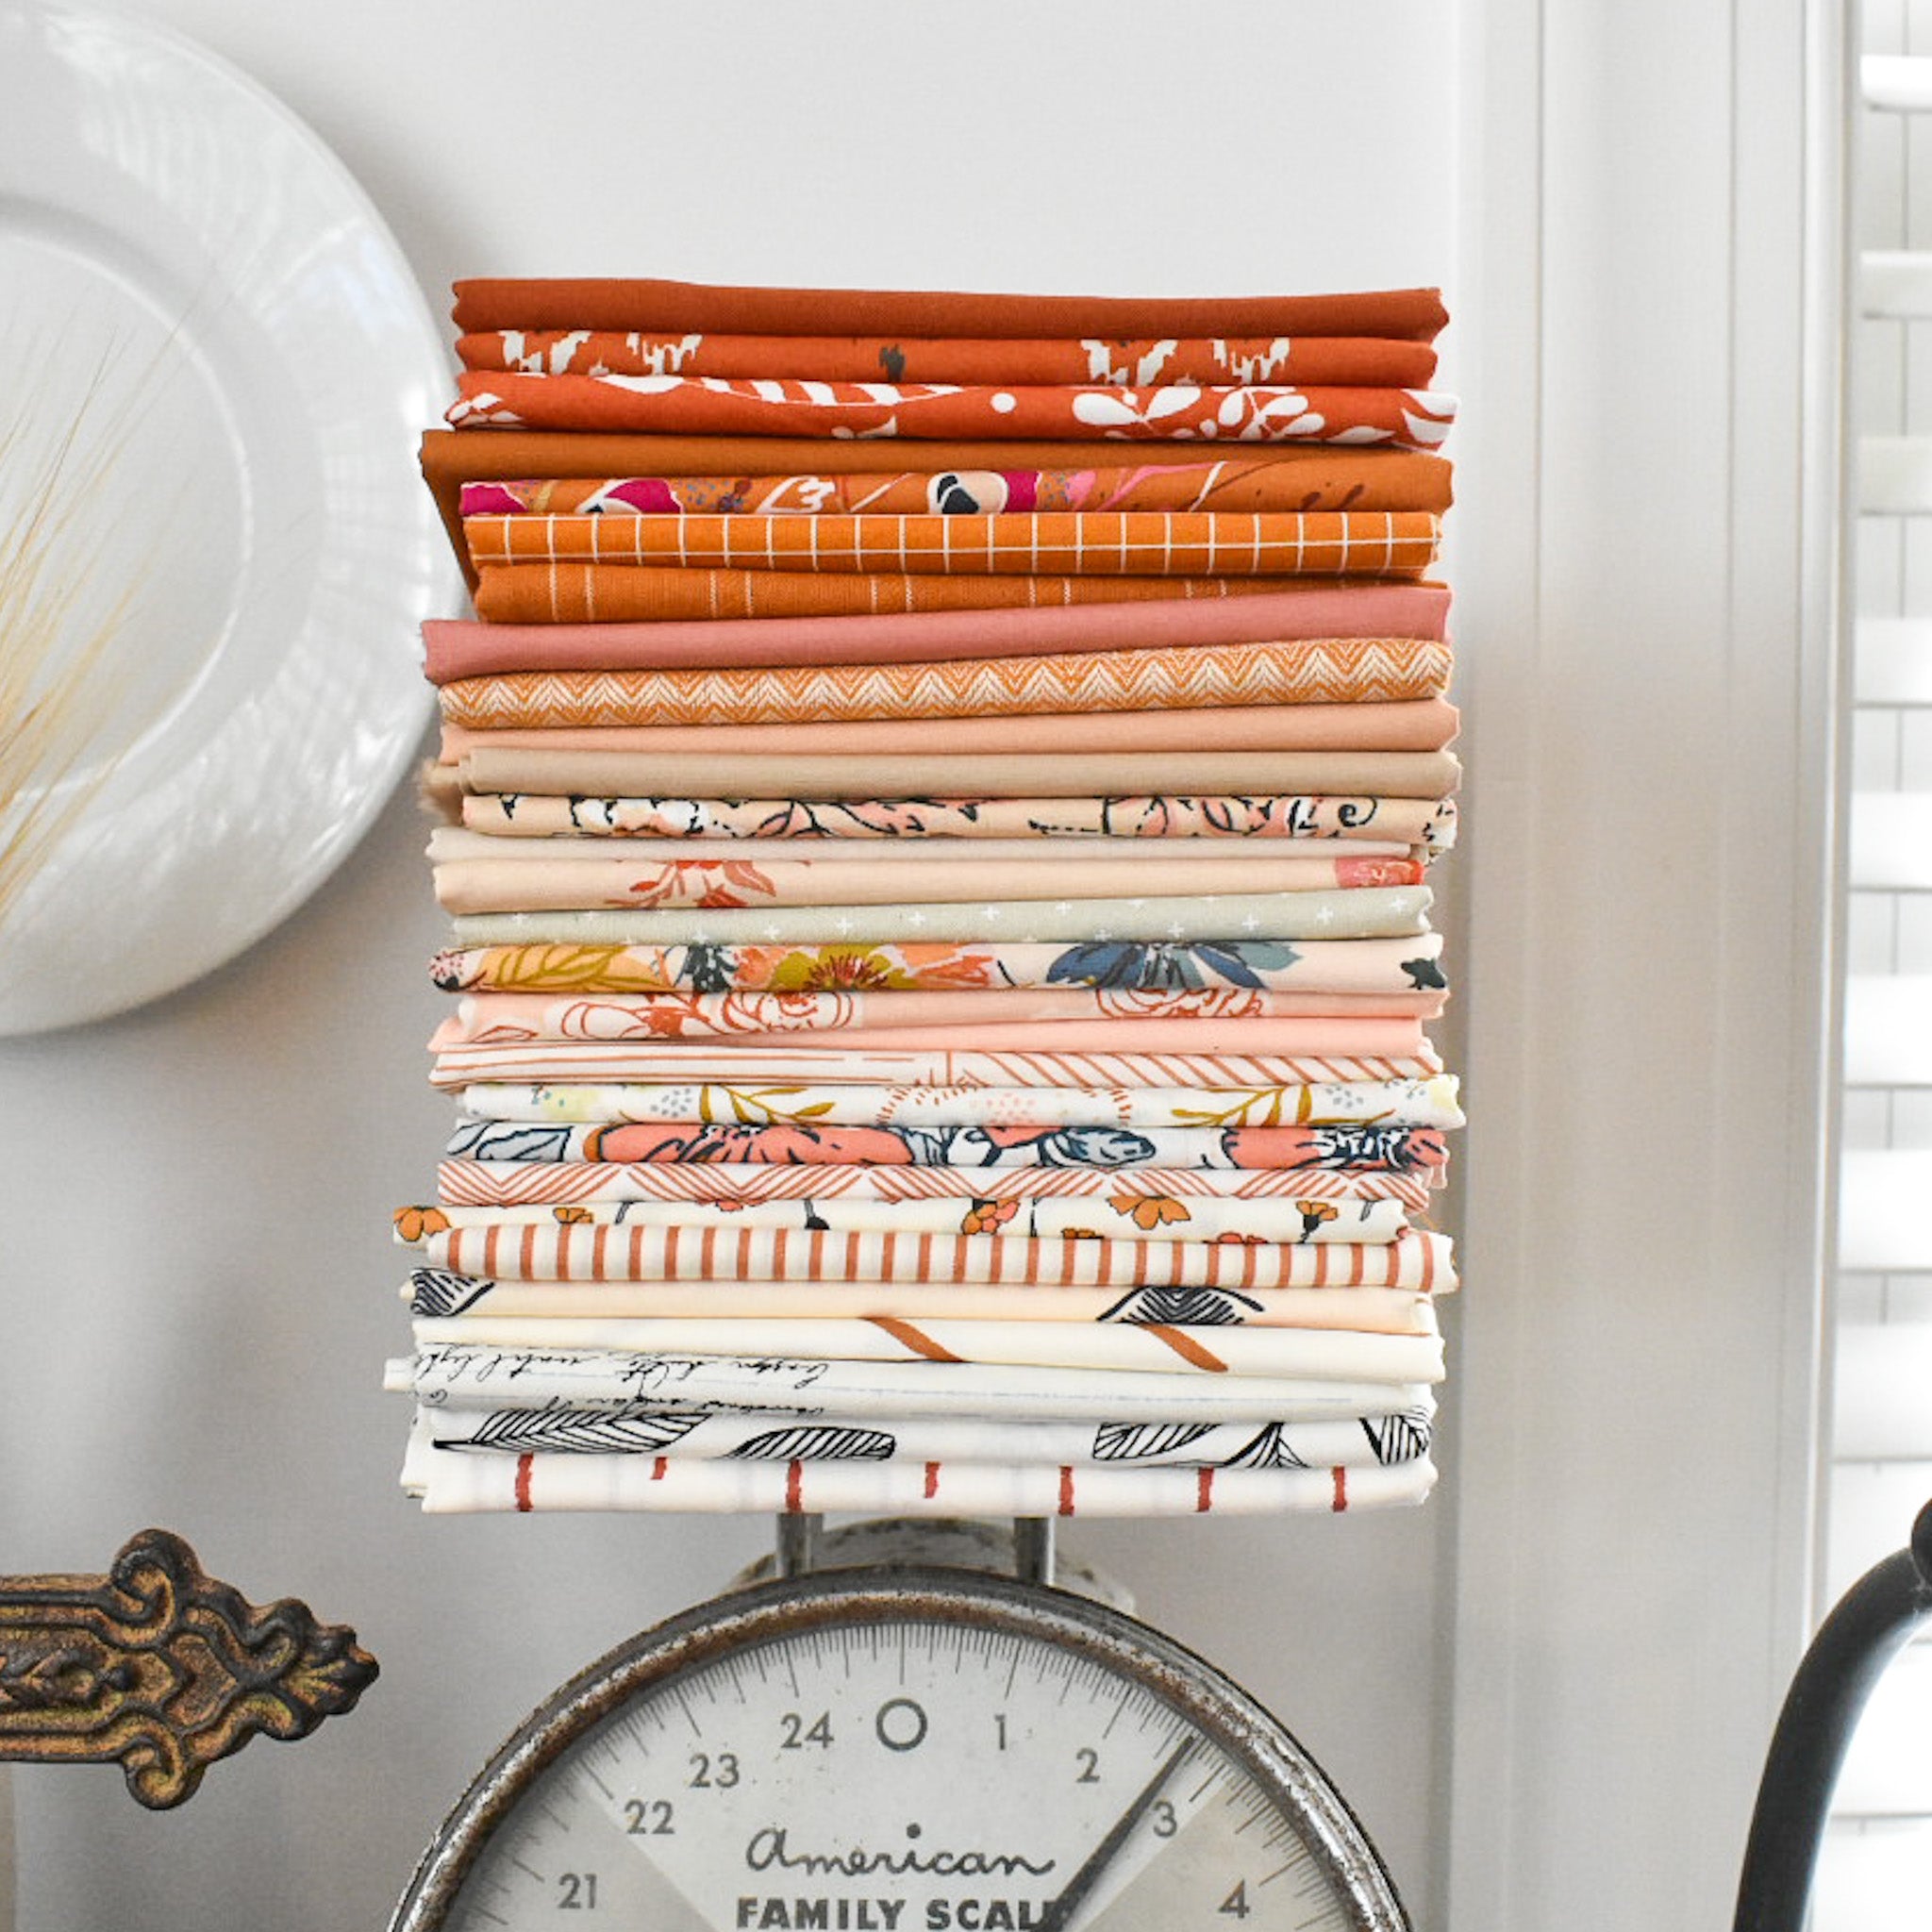
This week, we are cutting our fabrics. Refer to page 5 of the Ombre Puff Quilt pattern. This means that we are cutting the fabric needed for the top of the puff AND the back of the puff. Remember that the back of the puff can be any sort of scrap fabric that you have on hand. Once your quilt top is pieced, you will ONLY see the fabric that you used for the top of the puff.

.
Here are a few things to keep in mind for this week:
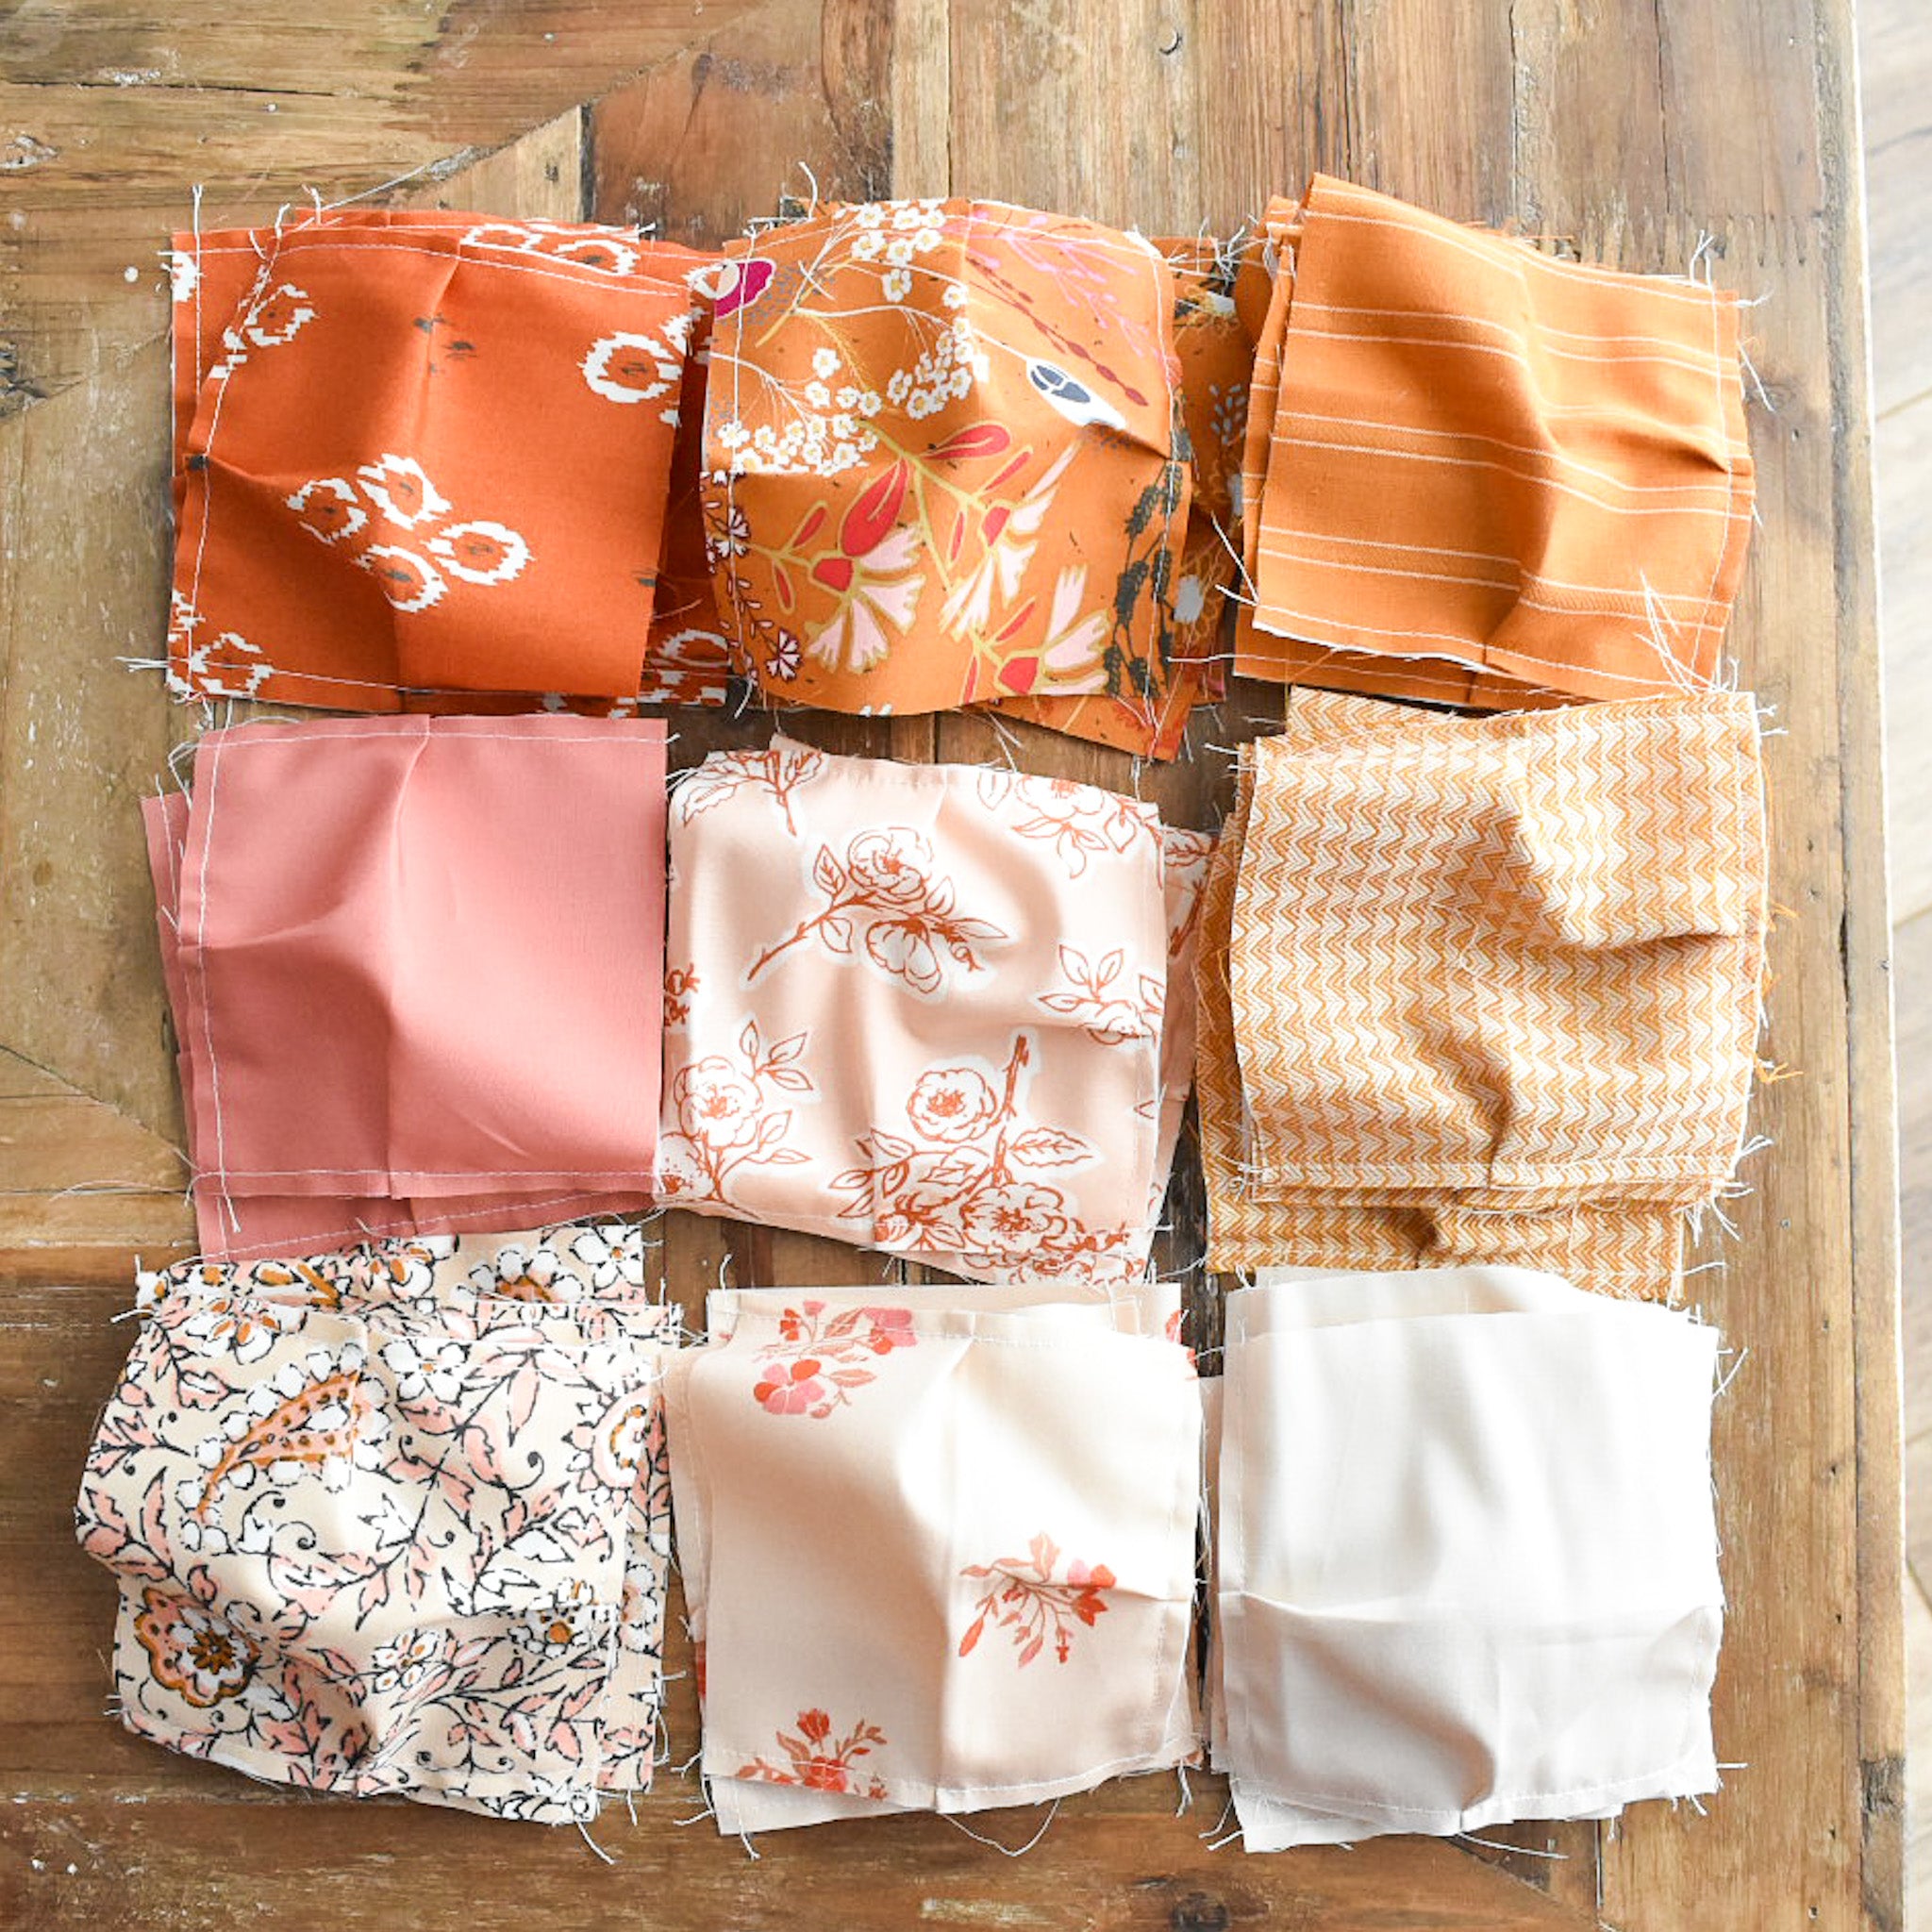
- Keep everything in piles to stay organized
- Slow down and take your time. Cutting your pieces accurately will set you up for success in the following weeks.
- How's your rotary cutter blade? If you need a new one, go ahead and change it out.
- Measure your fabric pieces before you get started. Note that some fabric types (fat quarters, 1/4 yards, 1/2 yards) don't have any wiggle room. This doesn't mean that you can't use them, but you might get less squares from these pieces, depending on how much wiggle room you start with.
- For yardage, try your hardest (but also don't stress over it) to cut "on-grain". To do this, lift up the top piece of fabric and align the selvedges so that they are perfectly parallel. Gently push up any excess fabric towards the fold. Press a new crease in your fabric if necessary. You can do this in sections, or all at once.
- Whenever possible, it's best to cover your desired measurement with your ruler and use the lines on your ruler vs. the lines on your cutting mat. This will generally give you a more accurate cut.
If you are looking for basic cutting instructions, check out this video. It's technically from the Nightingale Quilt Along last year, but the same concepts apply to this quilt!
.
My Favorite Cutting Supplies:
Here are some links to my favorite cutting supplies:
- A Fiskars 24" x 36" is a great size for cutting yardage.
- This is my 6" x 24" ruler.
- This is my 12.5" square ruler. A 6" square ruler is also great too!
- I have a Fiskars 45 mm rotary cutter.
.
Adjusting Puff Sizes
Feel free to adjust the size of your puffs. I know some of you are using Charm Packs (precut 5" squares), so with that, you'll want the Background square to be 4.5". So in theory, you can make any size puff you wish, but the Background square will need to be 1/2" smaller than the top of the puff.
.
Batch Cutting
One of my favorite things to do, especially if I'm doing a lot of the same cuts over and over again, is batch cutting. This simply means that you'll cut multiple pieces at once. Regardless of what kind of fabric you are starting with, you'll cut 4" or 4.5" strips first.

.
Once your strips are cut, then I like to cut 4-5 strips at a time to create my squares. If this make you uncomfortable or if you would rather cut one strip at a time, that's perfectly okay too. :)
To cut multiple strips at once, place one strip on your mat horizontally. Align one edge of the strip with a horizontal line on your cutting mat. Repeat this process for 4-5 strips (or however many strips you feel comfortable cutting at once). Make sure that all edges of the strips stay aligned with edges on the cutting mat! This is extremely important so that everything will stay perfectly square.

.
Once you're ready to start cutting, trim off the selvedges, then cut 4"/ 4.5" pieces along the width of the strips. Refer to the cutting diagrams in the pattern to see exactly how many squares you should be able to cut per strip.

.

.

.

...
WEEK 2 PROMPT
This week, cut all of your fabrics according to page 5 of the Ombre Puff Quilt pattern.
.
.
Community Progress
Here are some Week 1 progress shots from the #puffQAL2022 hashtag!

.

.

.

.
Next week we start sewing...yay! I'll see you then. :)
-Brittany


