Knitted Star QAL - Week 2

Let the fun begin!
This week, we are cutting our pieces!
.

.
Take note that there are two different Cutting Instructions Tables for each version (Modern vs. Traditional). Work through the table by focusing on each bullet point, one at a time. The number in the parenthesis refers to the quantity of strips that you'll need for that bullet point, then if it says "sub-cut", you'll cut those strips into the following measurements. If you see the word "each" that means you'll sub-cut each of the WOF strips into those measurements. For example, if the pattern says:
- (2) 5.5" x WOF; subcut
- 28 1.5" x 5.5" each
Then, from this bullet point, you'll have 56 1.5" x 5.5" pieces. Make sense?
For this pattern, I really tried to maximize how you'll be using your fabric. You'll notice that you might cut 1.5" x 5.5" pieces one way and the remaining 1.5" x 5.5" pieces a different way. This is all in efforts to conserve fabric, so just follow the pattern, and you'll get the correct number of pieces in the end. :)
- How's your rotary cutter blade? If you need a new one, go ahead and change it out.
- Pay attention to the width of your selvedge. Be sure not to trim off too much because in some instances, you'll need the full WOF.
- For yardage, try your hardest (but also don't stress over it) to cut "on-grain". Sometimes fabric isn't stored on the bolt perfectly square. Since you'll be cutting some WOF pieces, in order to ensure that the fabric around the fold stays straight, you'll want to make sure that your fabric is square before you cut it. To do this, lift up the top piece of fabric and align the selvedges so that they are perfectly parallel. Gently push up any excess fabric towards the fold. Press a new crease in your fabric if necessary. You can do this in sections, or all at once. (There are also some great tutorials out there on ripping fabric to get it on-grain. Personally, I have never used this method, but I know some people love it!)
- Whenever possible, it's best to cover your desired measurement with your ruler and use the lines on your ruler vs. the lines on your cutting mat. This will give you a more accurate cut. My 24" ruler is 6" wide, so if I'm cutting a WOF piece that is larger than 6", I'll use the lines on my cutting mat.

- Consider batch cutting for sub-cuts. You can do this with or without a Stripology ruler. (There's a demo of this in the video)
- Label your pieces to help stay organized.
- Slow down and take your time. Cutting your pieces accurately will set you up for success in the following weeks.
- I've had a few people ask how to use half yards for this pattern. If you are using half yards, you'll need 4 for the Stars in the Throw size, and 9 for the Bed size. Cut your half yards along the fold to create individual fat quarters. There are 2 fat quarters in one half yard.
- For the Modern version, cut your FQ pieces in the following order. I also have a demo of this in the video.

Links to my favorite cutting supplies:
- I've gotten a lot of questions about which Stripology ruler I use. I have both the Stripology Squared and the 15" x 22". I tend to use the 15" x 22" more often, but all of them are great. Check with your local quilt shop to see what they have, I have purchased mine here. Note: The brand is Creative Grids. They are the original designers of the ruler.
- This is the cutting mat that I use in the video. It's a Fiskars 24" x 36". I highly recommend getting this size, if you have the space for it. It's great for cutting yardage.
- This is my 6" x 24" ruler. I love it. I'm looking into getting an 8.5" x 24" ruler.
- This is my 12.5" square ruler.
- For rotary cutters, I have a Fiskars 45 mm, which is probably the most popular size.
Video Tutorial
.
.
.
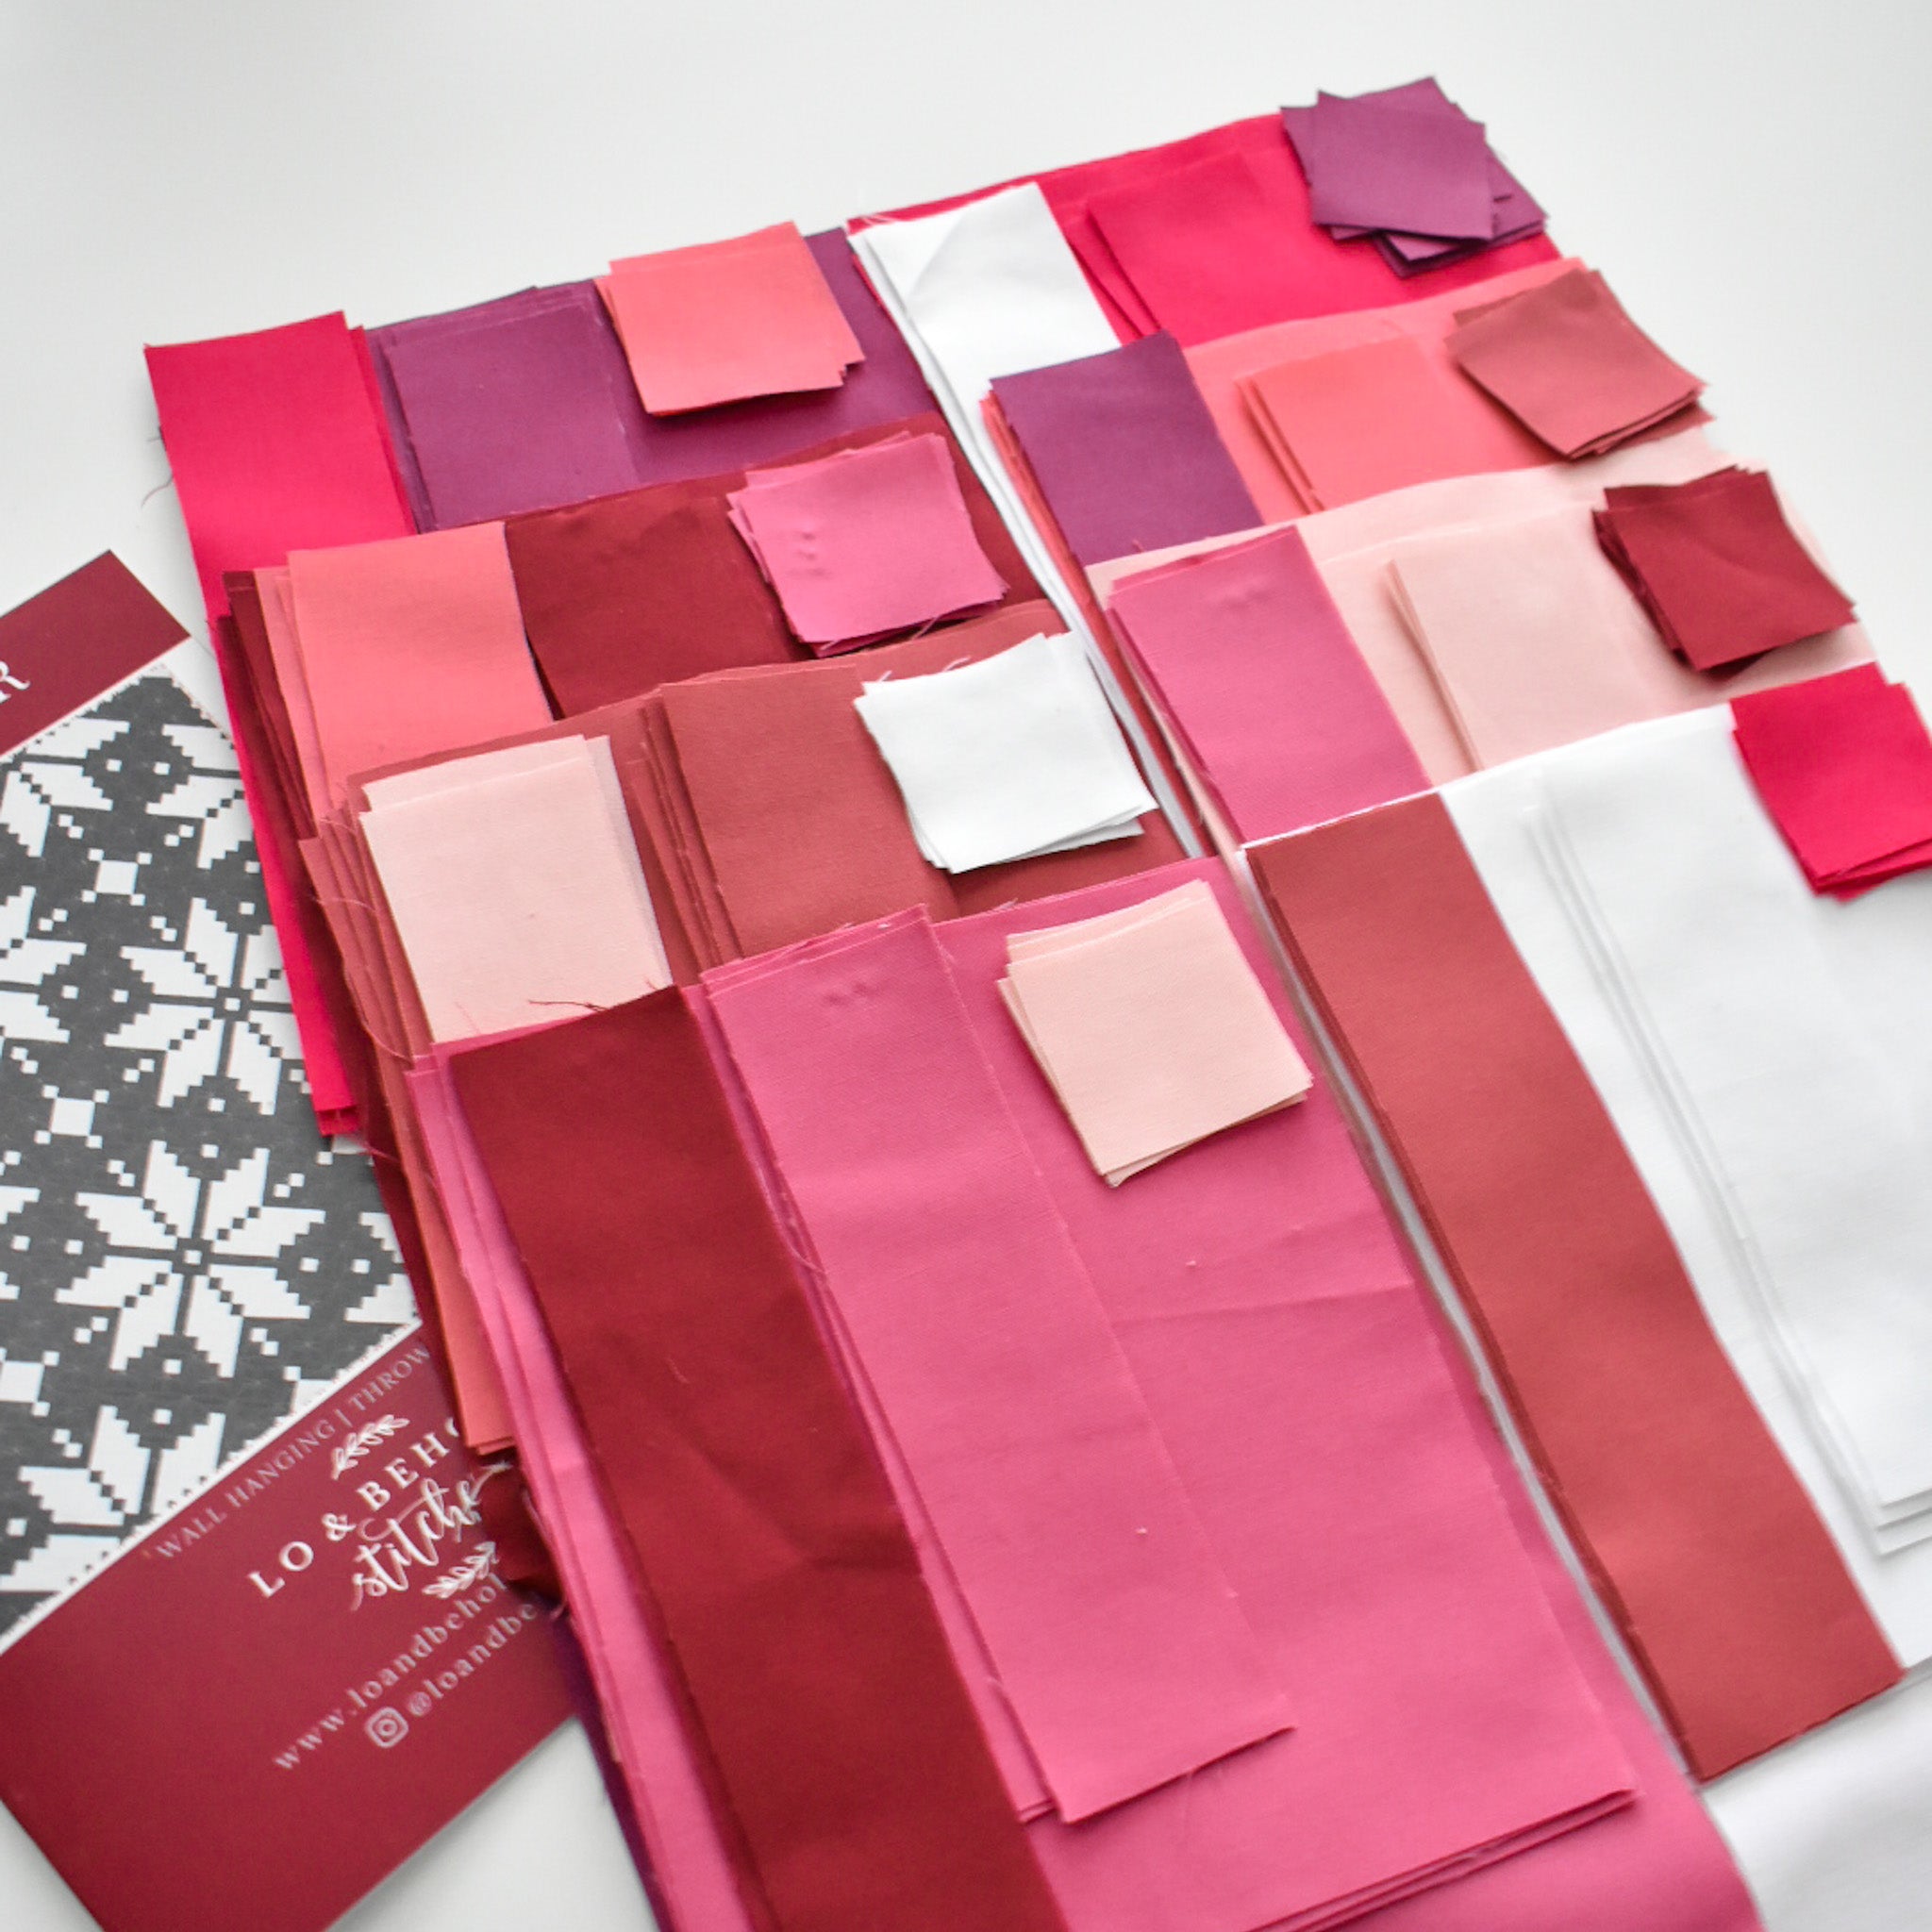
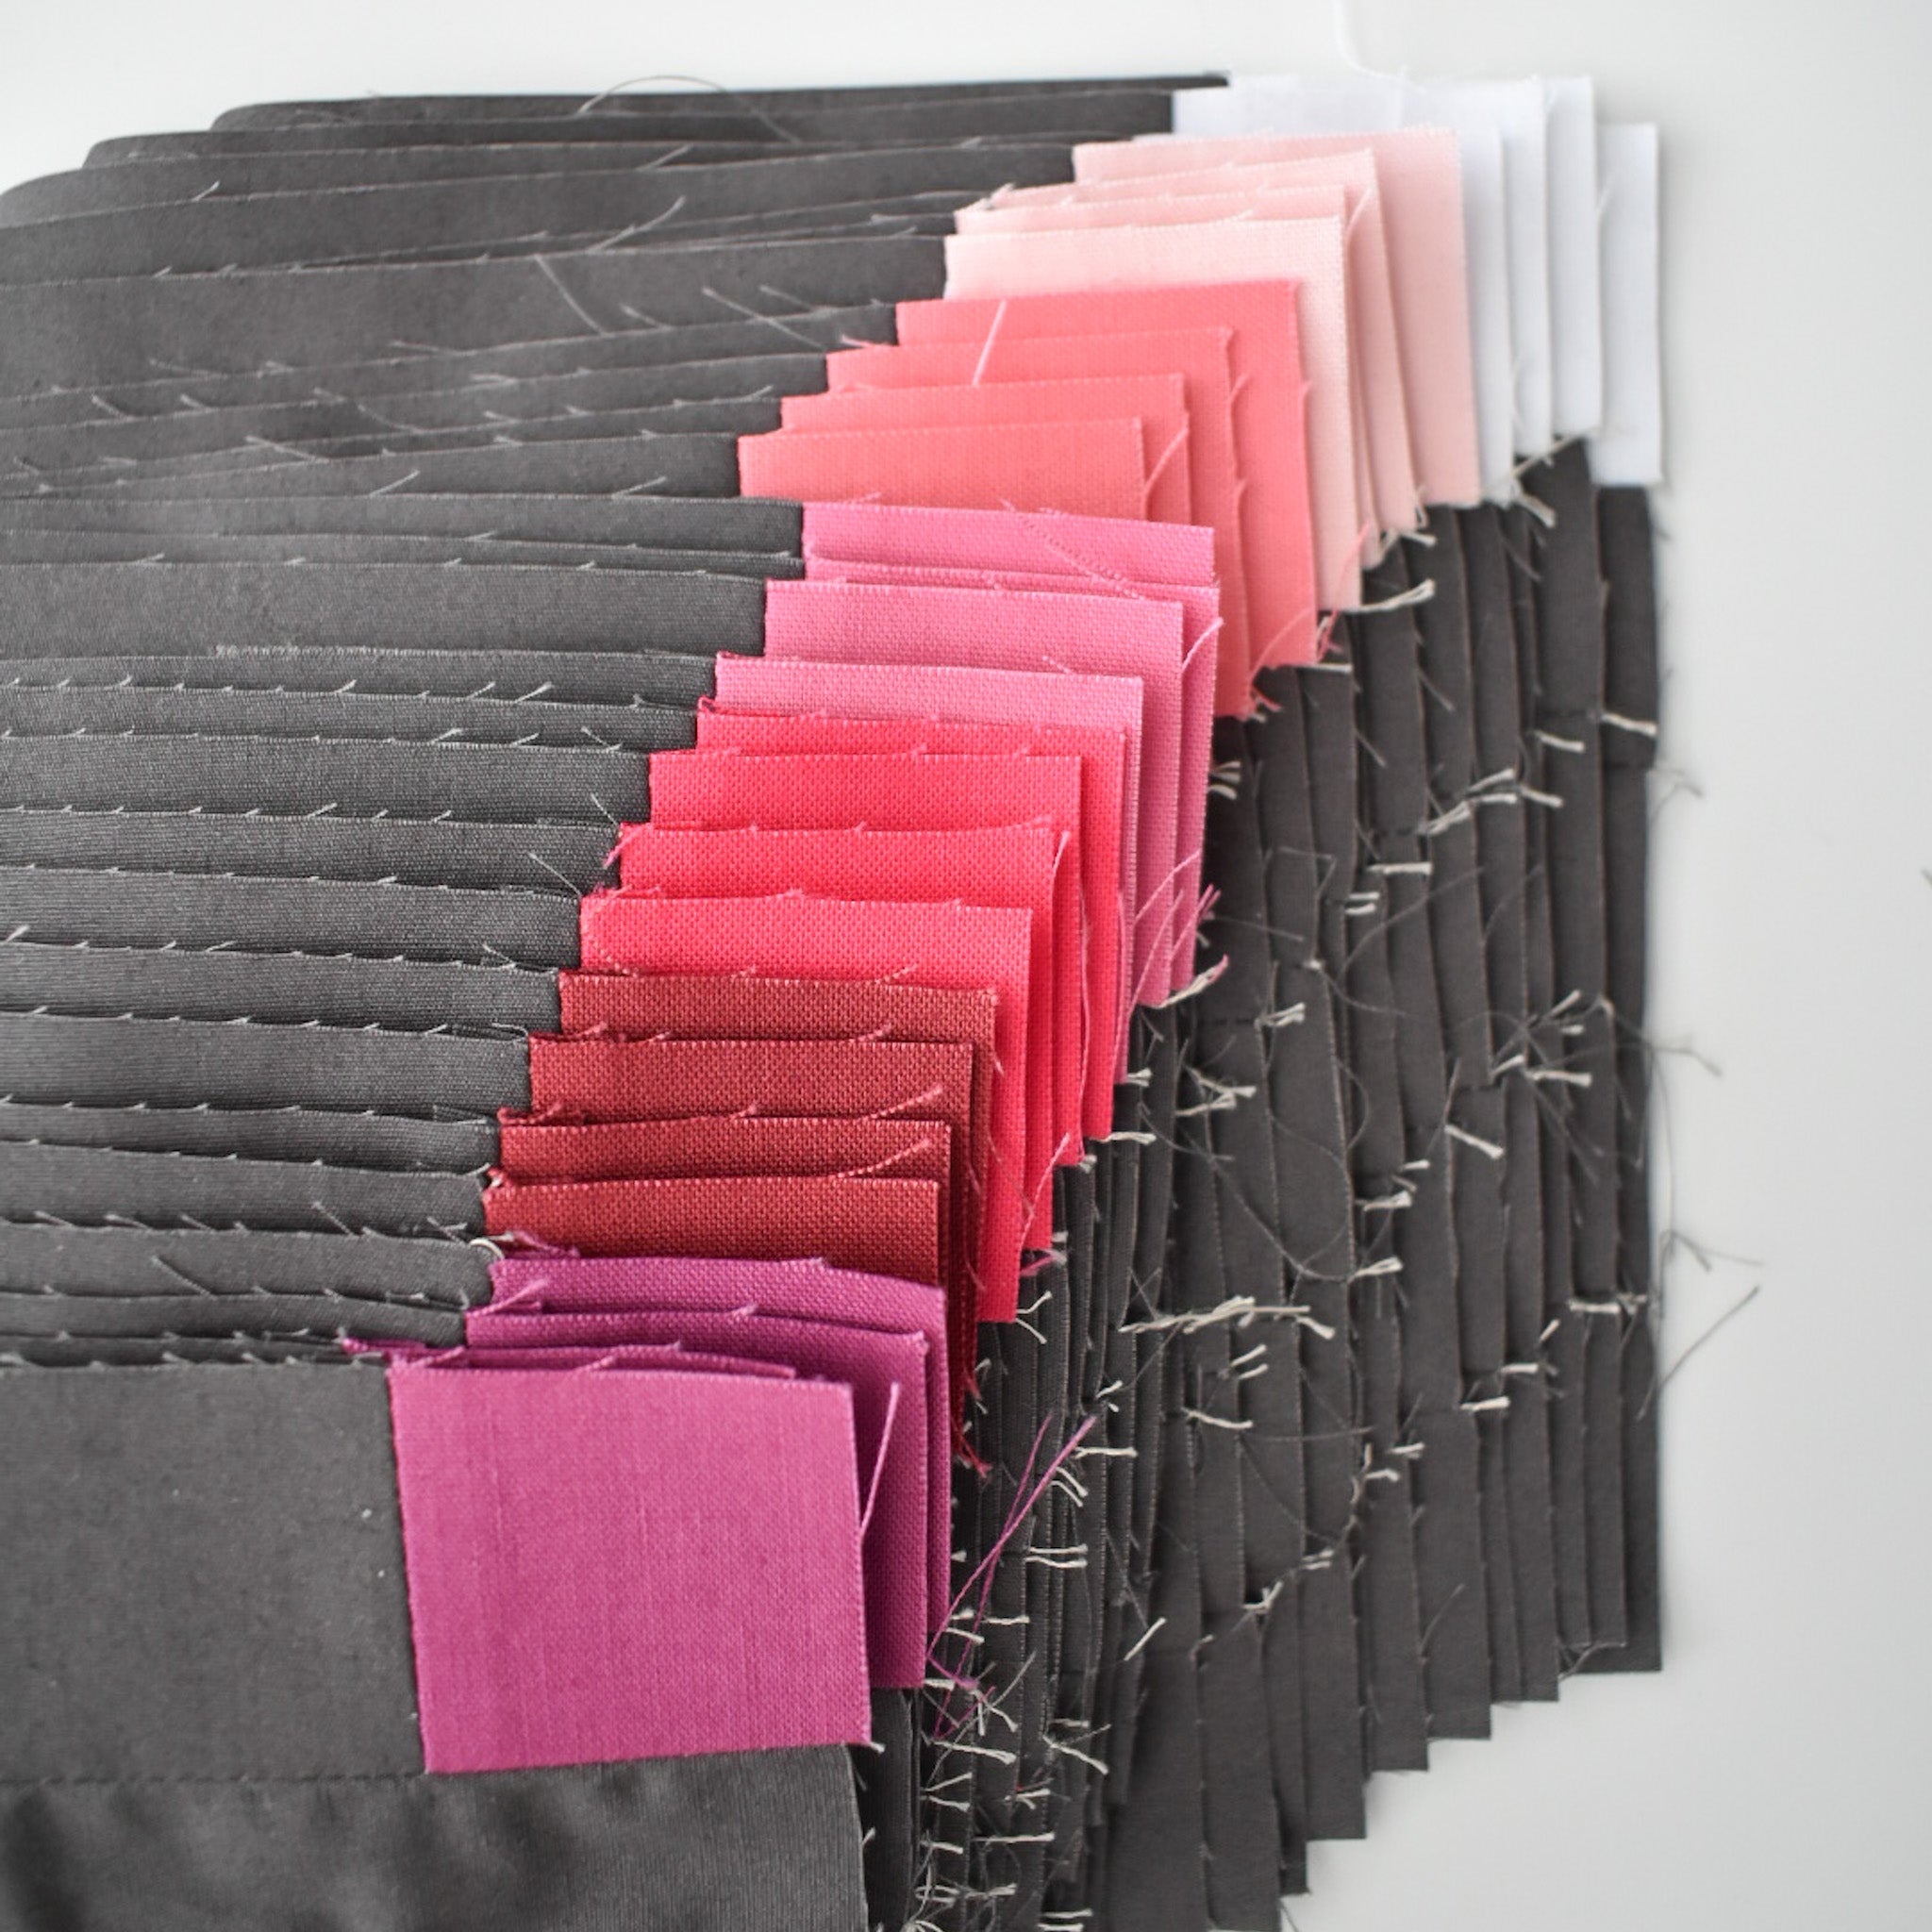
I'm going to be doing something a little different with my fabrics. Instead of each block only having one color, mine are going to have 3 colors! Once I cut all of my fat quarters, I organized them into piles, the mixed up my piles, as you see below. So Part A will have one of the colors, Part B will have another color, the the block cornerstones (the 1.5" squares) will be the third color. I'm really interested to see how it'll turn out! Fingers crossed!
.
.
Week 1 Winner:
The winner of the $50 give card to Sewfinity is.......
@stitchandchipstudio!
CONGRATS! Please send me an email and I'll get you in touch with Sewfinity!
.
Week 2 Prize:
This week, our prize is from Mountain Thread Company! I came across this North Carolina-based company several months ago a Quilt Con. I recently wrote a blog post about a kit that I tried, which you can find here. Share a photo of your fabrics once they're cut on Instagram and use the hashtags #knittedstarquilt, #knittedstarqal, and #loandbeholdpatterns, and you'll be automatically entered to win a Rope Basket kit from Mountain Thread Company! You have until Sunday night at Midnight PST to enter. Note that your account must be public in order for us to see your posts.
.
.
.
As always, let me know if you have any questions!
Brittany


