Knitted Star QAL - Week 3

It's time to start sewing, ya'll!
.

.
This week, we are piecing our Part A units! Before we get started, I wanted to point out that there is a small typo in the pattern. It shouldn't change the way you do anything, but it can be found here. Here are a few things to keep in mind before your start sewing:
Tip #1
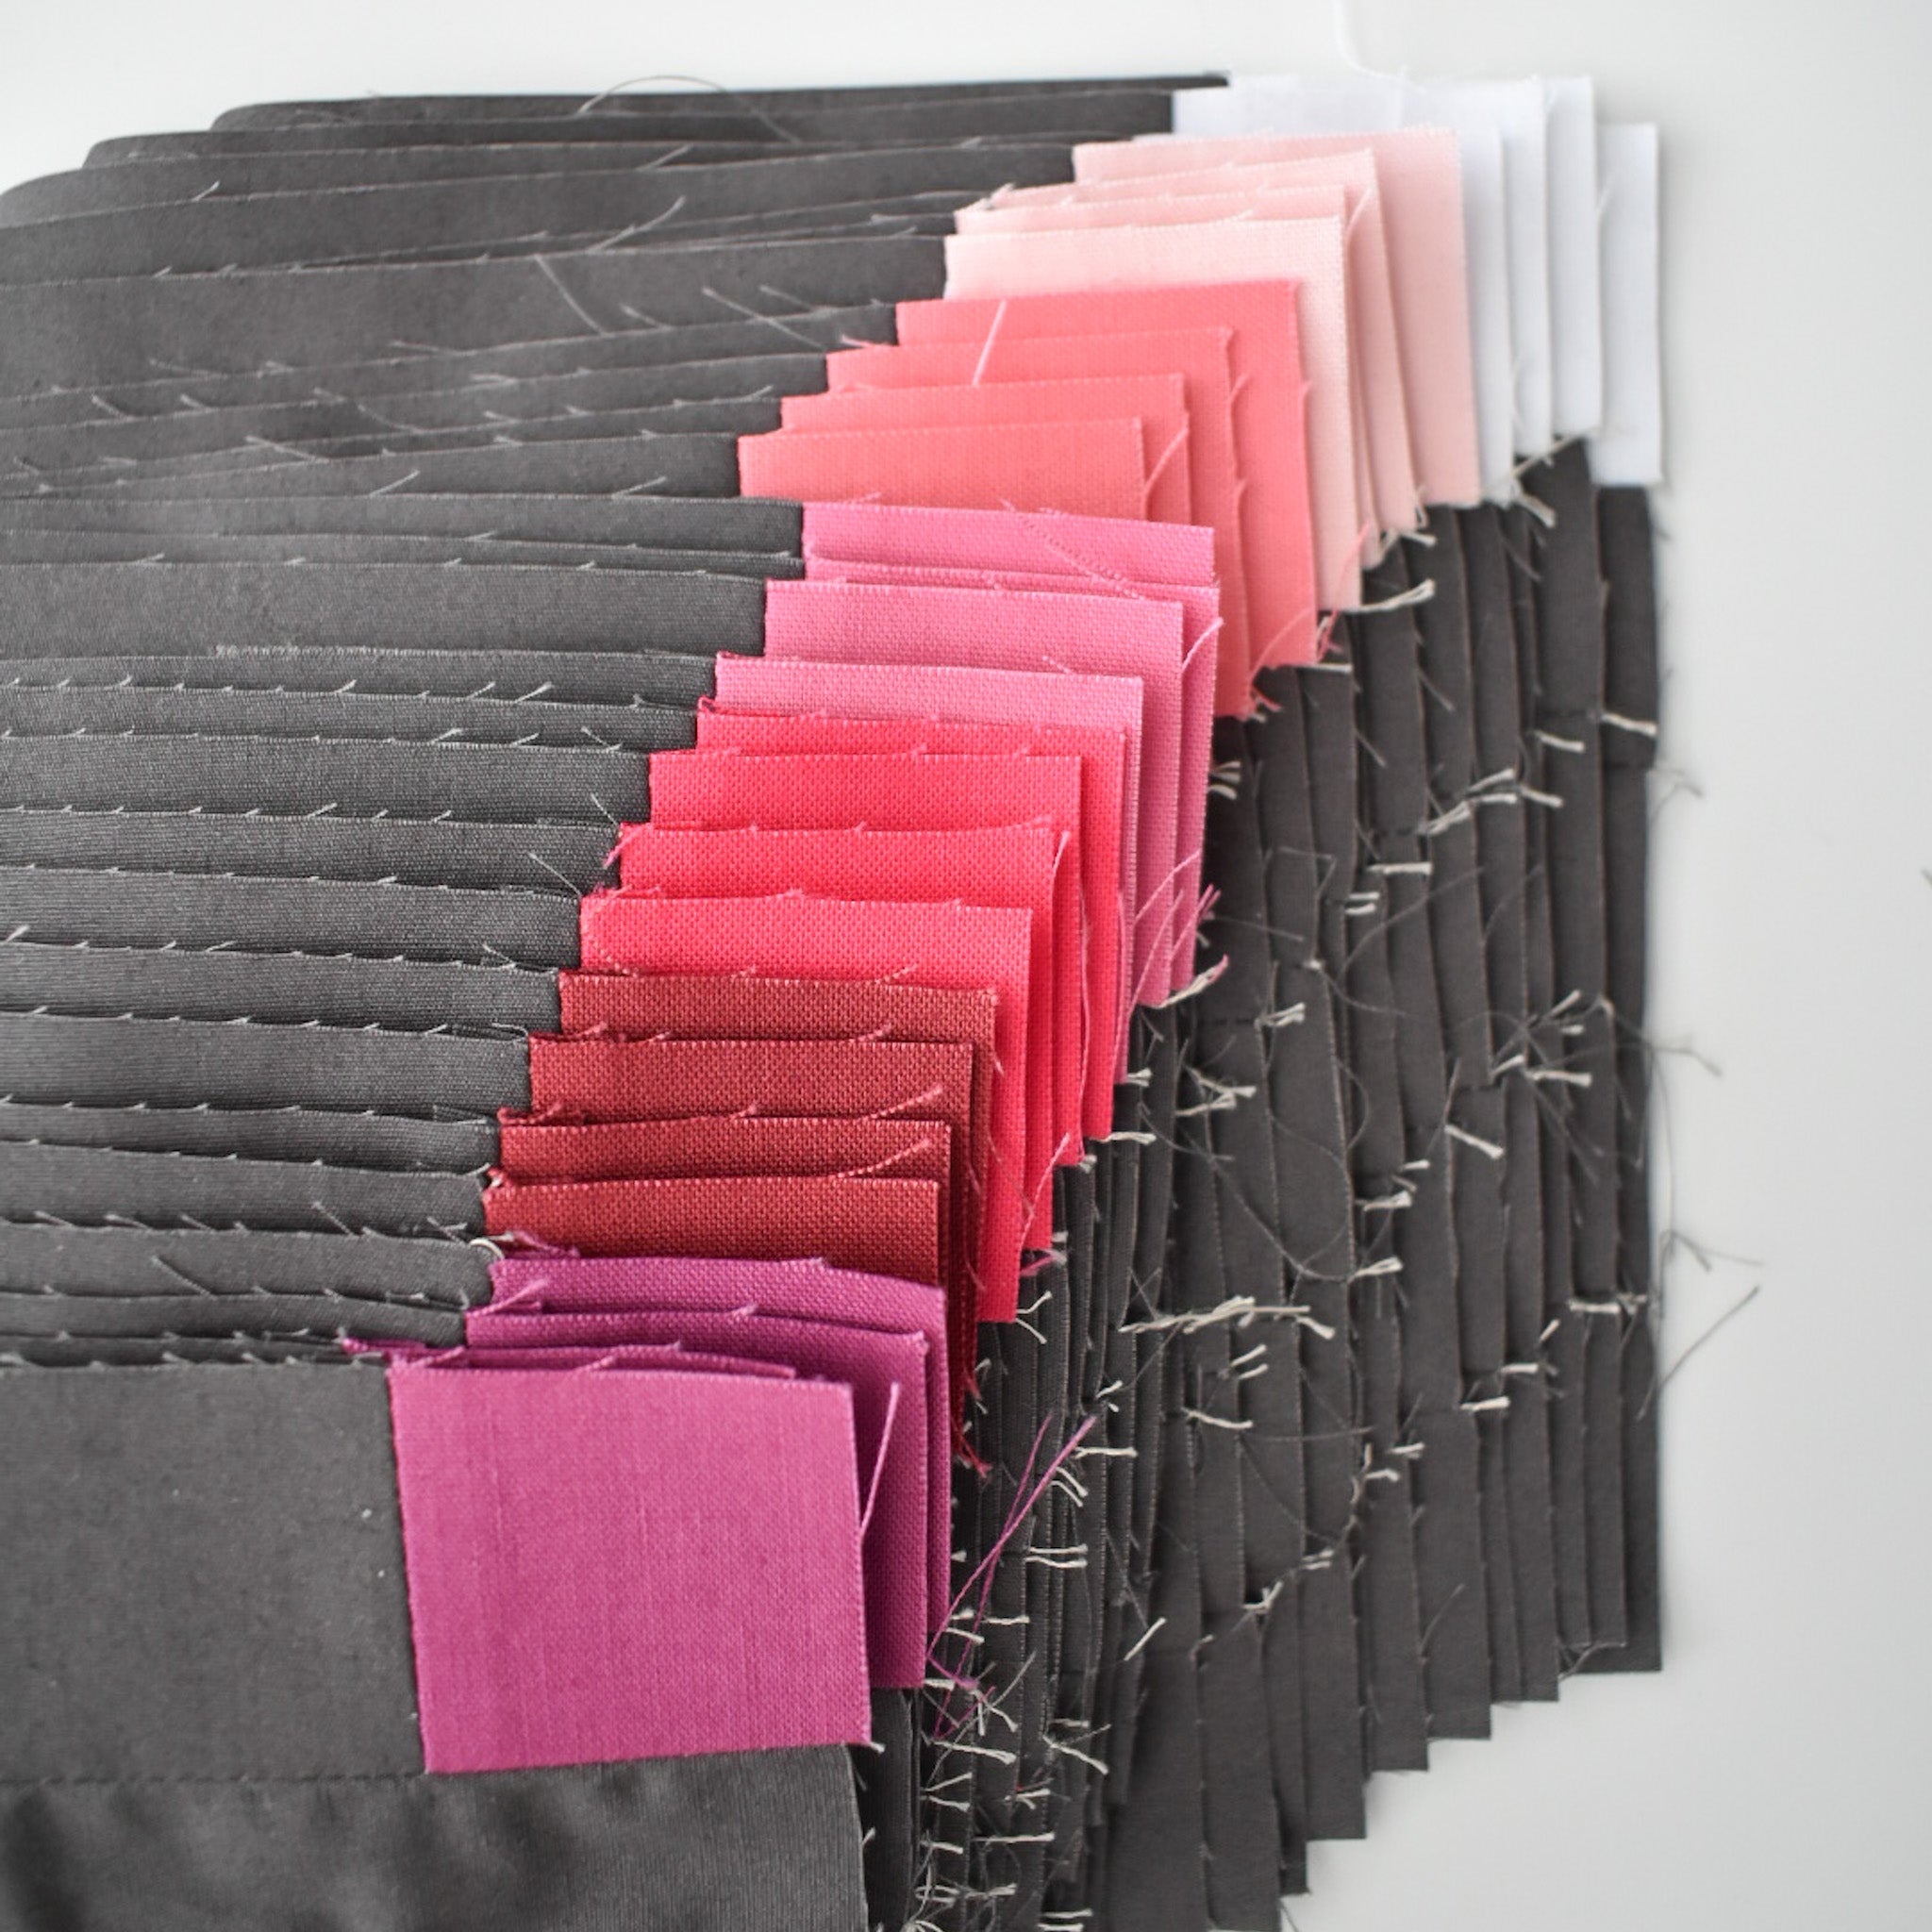
This pattern uses mostly strip-piecing. This means you'll be sewing various size strips together, pressing the seams, then cutting that unit into smaller units. Since you will be cutting through the seams, I recommend using a smaller stitch length (1.8mm-2mm) to help prevent the seam from unraveling. Also, try not to handle these pieces too much after they're cut.
Tip #2
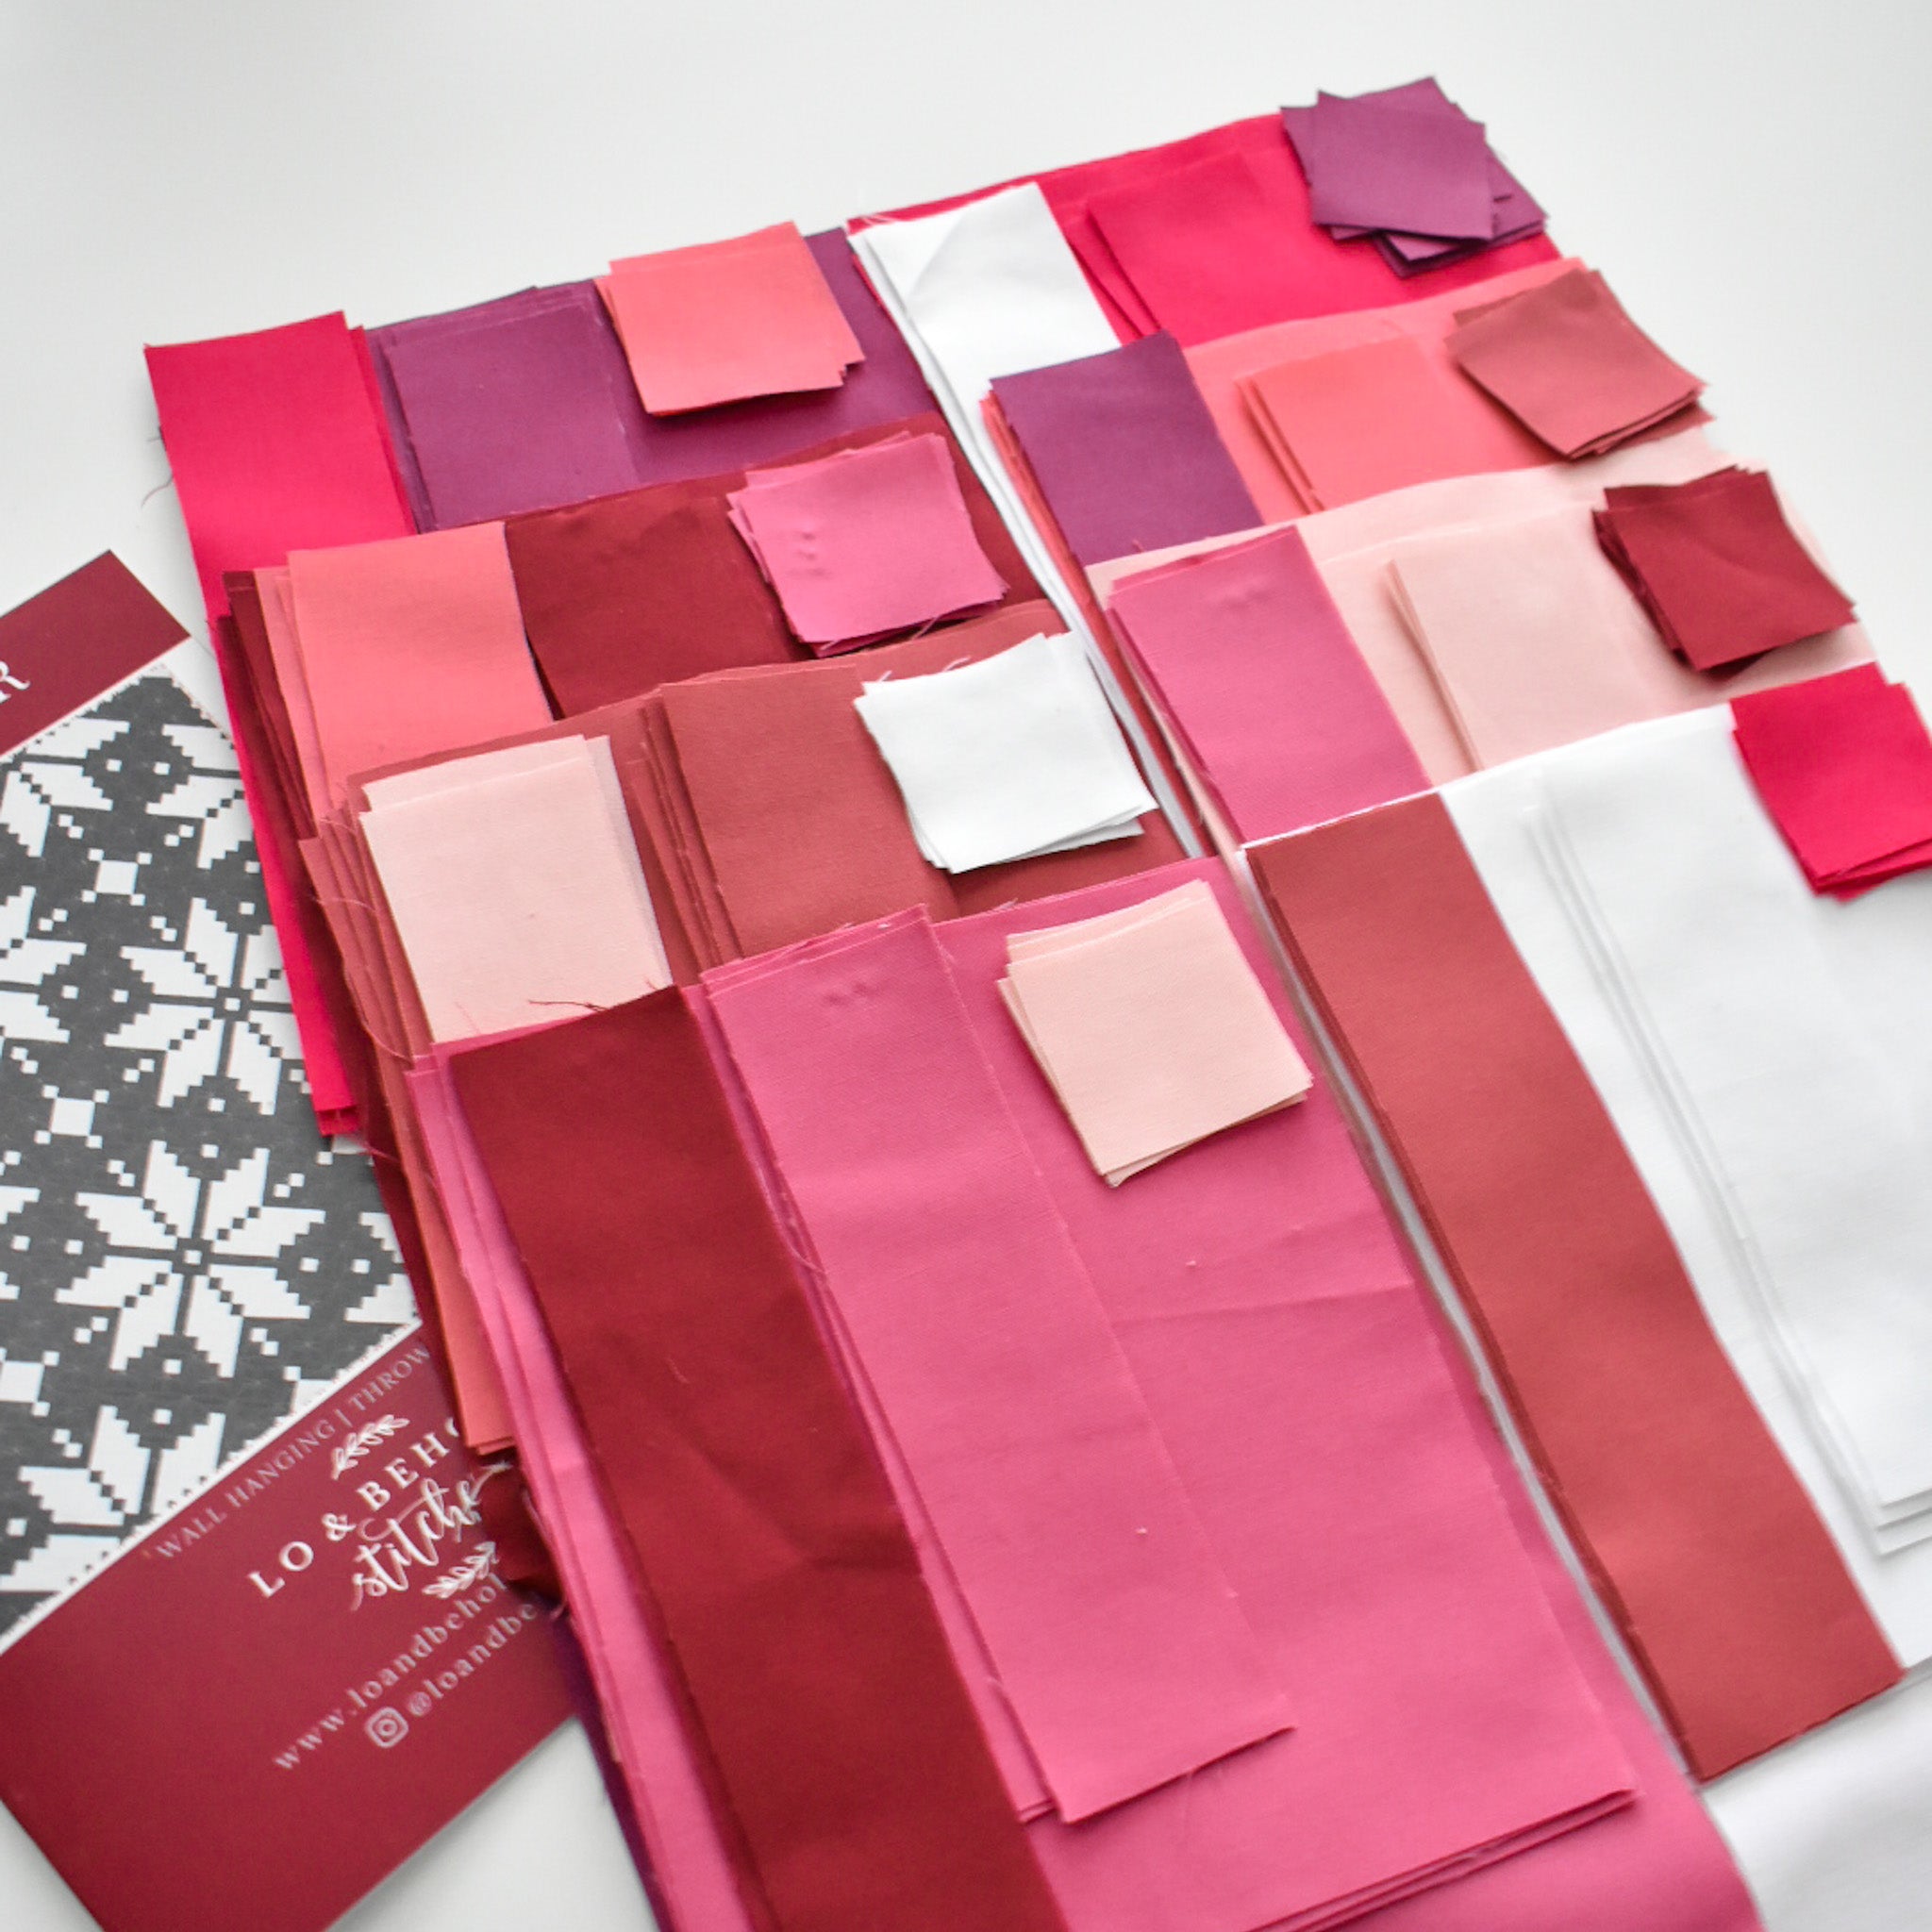
As you are reading through the pattern, pay attention to which version of the quilt you are making. The sewing instructions are broken down into 3 groups: Modern, Traditional Throw and Traditional Bed. The instructions will be different based on which version/size you are making. If you are making the Modern version using fat quarters, you'll repeat the sewing instructions for each of your blocks.
Tip #3
We are pressing all of our seams open. This will help the seams lay flat in the quilt, and also it helps with accuracy; especially since there are so many seams in one block. To do this, place the piece right side down on your ironing board. Use your fingers to gently press open the seam, then use your iron to apply pressure on the open seam. Remember not to push/pull the iron, as this can sometimes distort the fabric. For extra flat seams, I love using my wool pressing mat!
.

.

.
Tip #4
Part A consists of five rows, which are labled A, B, C, D and E. Row's B and E are solid Background pieces. Rows A, C and D are all strip pieced. Once you piece your Star fabric and Background fabric together, the width should measure 5.5". If it is more than 5.5", your seam allowance is too narrow. If it's less than 5.5", your seam allowance is too wide. Take some time to make tweaks so that this is accurate. Part A is the foundation for the rest of the pattern, so you'll want to make sure that you are as accurate as possible.
Tip #5
For the Modern version, there is 1/2" wiggle room for the strip sets. Once your strip set is sewn together and the seams are pressed, trim a little bit of fabric from one edge of the strip set as seen below. Then flip the strip set and cover the desired measurement with the ruler and trim the pieces from there.
.

.

.
For the Traditional version, you'll need the entire 42" of your WOF strip. I recommend sewing your strip sets together with the selvedges still intact. Then once your strip set is created and your seams are pressed, trim off the selvedges. Try to align the selvedges as best as you can so that you have minimal waste. Once your strip set is created, you can fold your WOF in half and use a standard ruler or your Stripology ruler to cut 2 pieces at once.
One of the reasons why I like using the Stripology ruler for the Traditional version is that you can do all of your cuts without ever moving your ruler. As you can see below, the WOF strip is folded in half horizontally on my cutting mat. The 2 selvedges extend past the dotted line on the left side of my ruler. Then I'll cut on the "0". From there, I'll cut every 1.5".....which is indicated by the stars. Be sure that the horizontal edges of the strip set stay aligned with the lines on your ruler and you're good to go! (Refer to the video from last week to see how I do this. Skip to minute mark 10).
.

.

.
Tip #6
As you are sewing the 5 Rows together, if you notice that it's starting to look like a rhombus, consider using pins. Admittedly, I typically don't like to use pins. I feel like they're sometimes unnecessary and they slow me down. However, with this pattern, since the strips are so narrow, things can very easily shift as you sew and pins help everything stay in place. Pay close attention to how the Rows are oriented as you sew them together.
.

.
Tip #7
Chain piece to save time. This means using a continuous seam for each of the rows. The top thread and bobbin thread will connect all of the pieces and you'll snip those threads at the end. This saves time and thread.
.

.

.

.

.

.

.
Tip #8
Make sure your seams are consistent from start to finish. Sometimes it's easy for for the seam to start/end a little more on the narrow side. This can cause your strips to bow once they're sewn together. Again, pins can help with this. Also, think through how you're feeding your pieces through your sewing machine. Keep even pressure/tension on the pieces as you start and stop your seam. You don't want to feed your fabric into the machine at an angle. Think about the right edge of the fabric being perfectly parallel to the edge of your presser foot.
Still troubleshooting? Starting the seam on different sides of the block can help offset some natural shifting that may happen, even with pins. The arrows in the image below indicate where you will start your seam when sewing those two pieces together. 
.
Tip #9
THIS IS THE MOST IMPORTANT TIP FOR THIS QUILT!
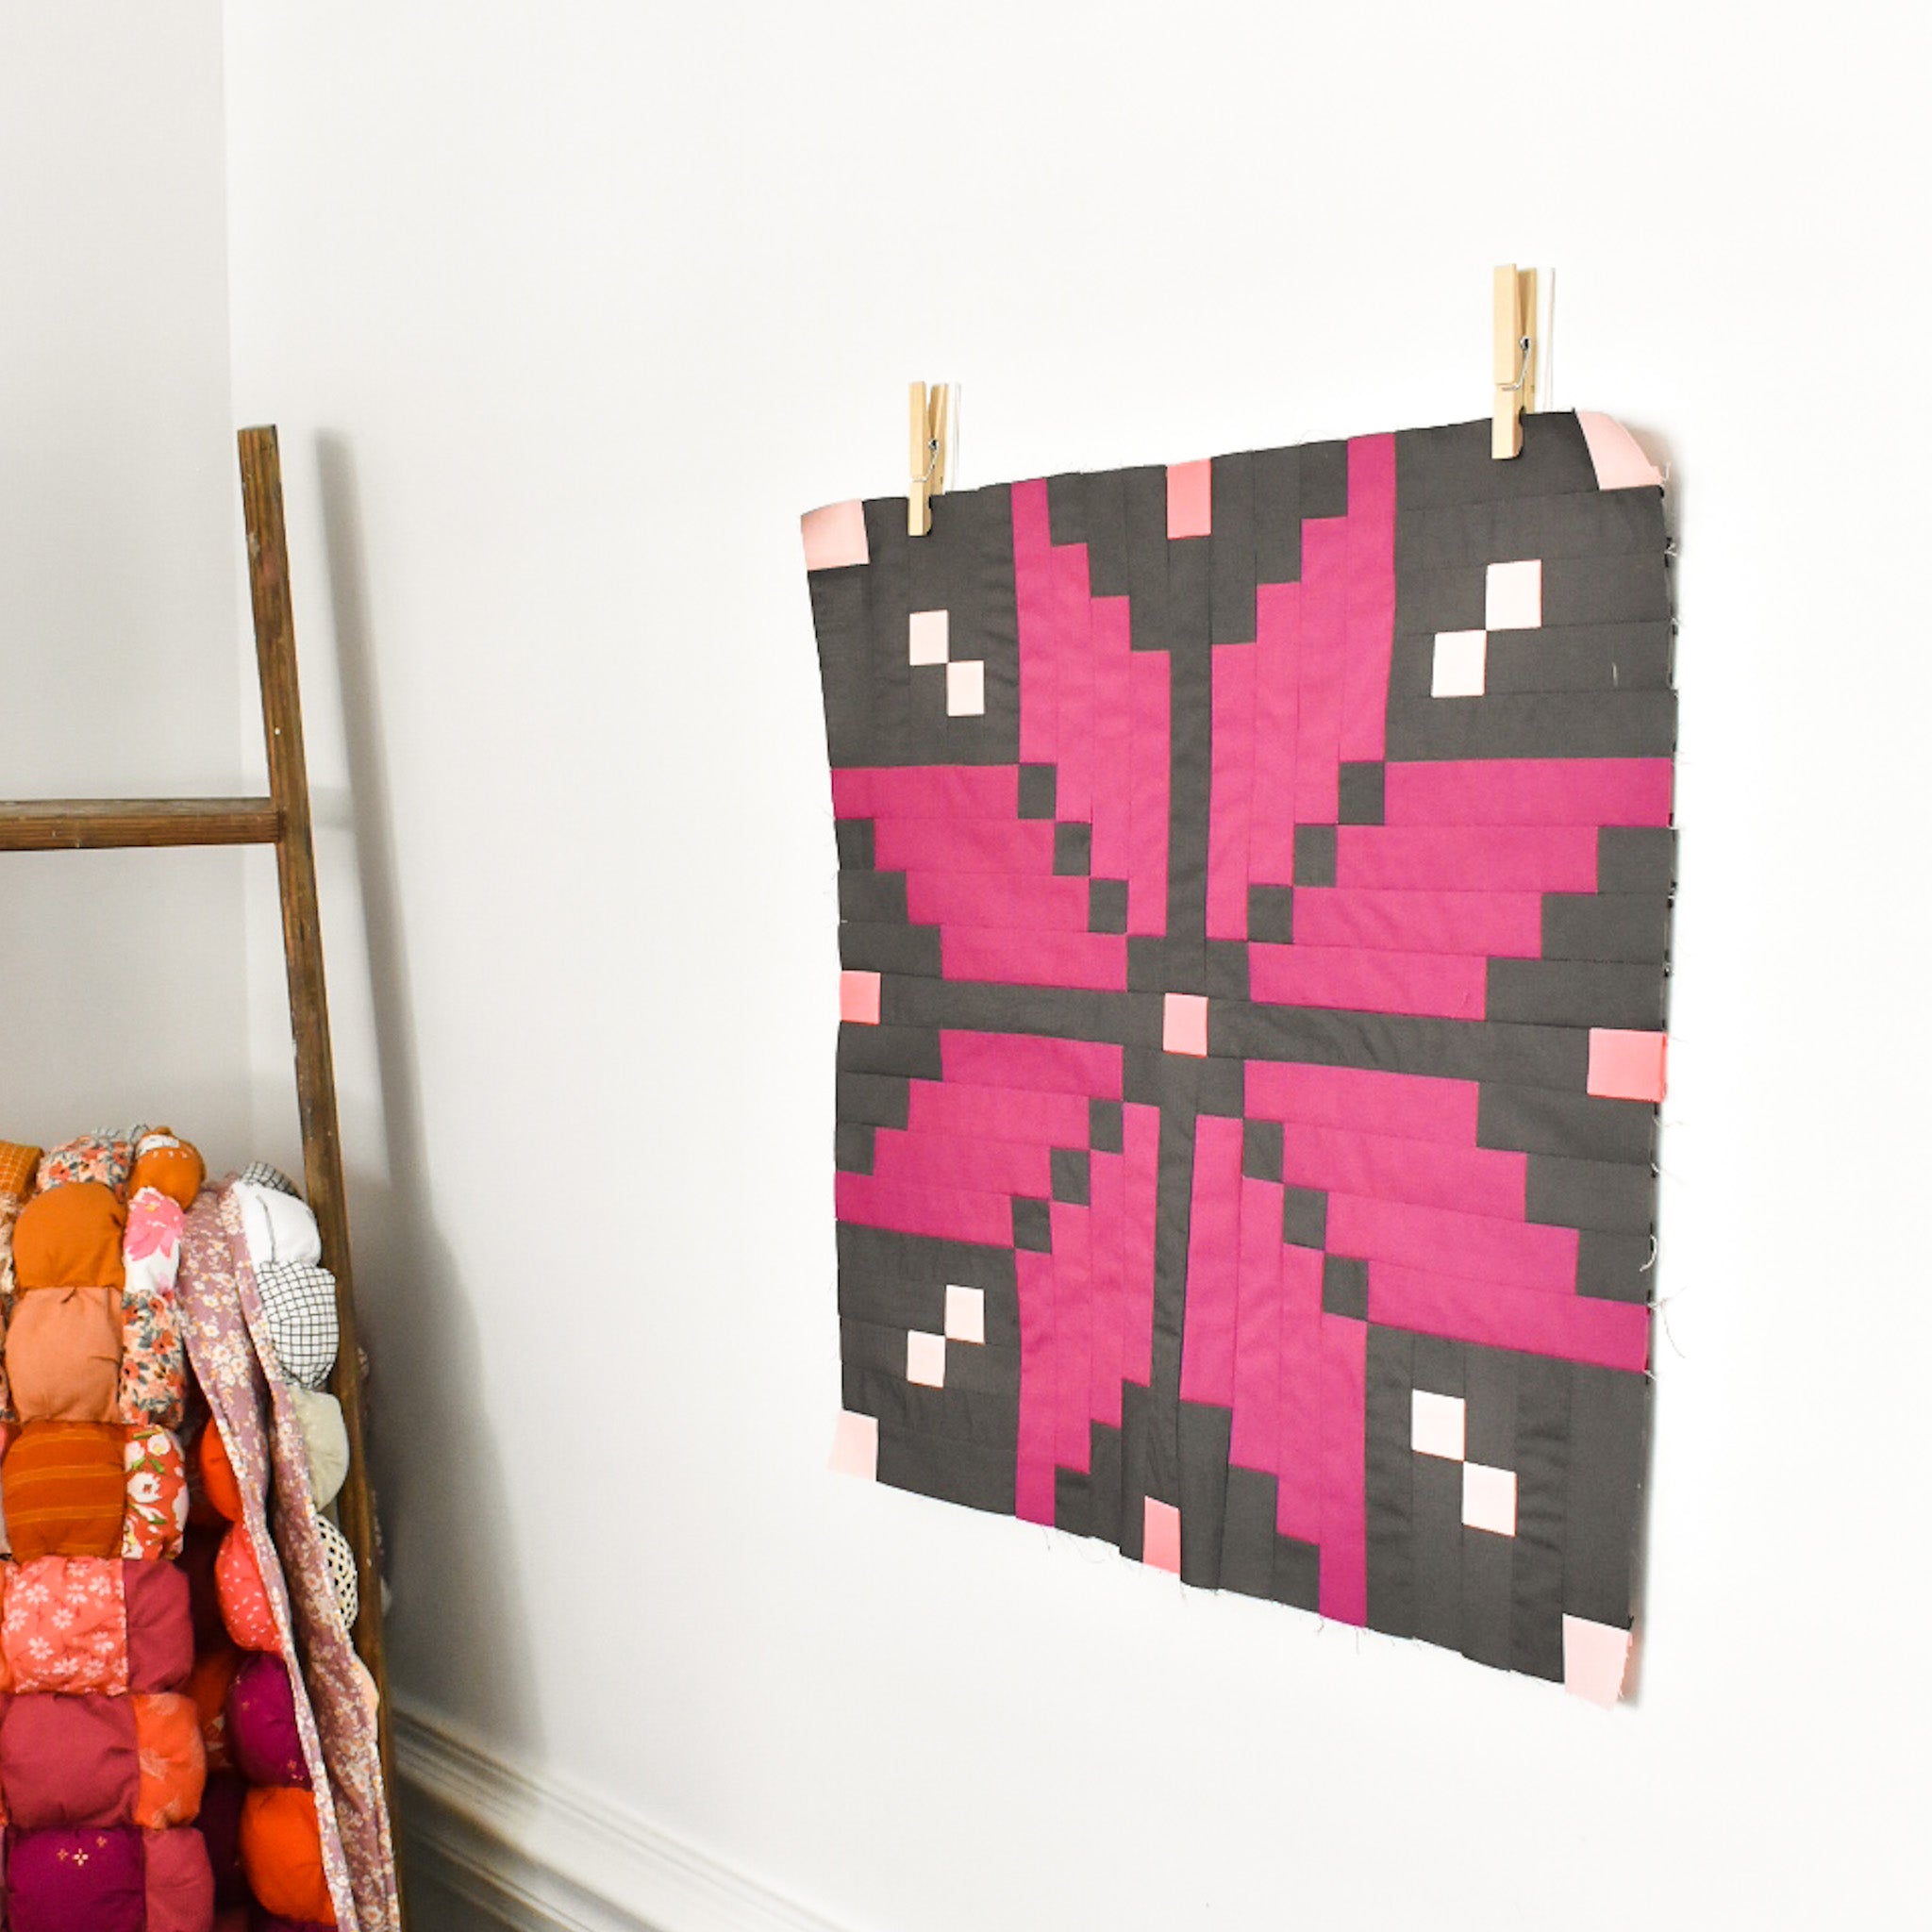
Be sure that the unfinished Part A block measures what the pattern says it should measure. Again, if the width of the block is too small, use a slightly larger seam allowance when sewing your rows together. If it's too big, use a slightly smaller seam allowance when sewing your rows together.
I've had some questions about if you need to use a scant 1/4" or a regular 1/4" seam for this pattern. In general, I typically sew with a scant 1/4" seam....just out of habit. I think my experience with Interwoven left a lasting impression! haha
With that in mind, a few of my pattern testers said that a regular 1/4" seam allowance worked best for them. So the answer is EITHER ONE. You might even notice that strip piecing may require a regular 1/4" seam, while sewing the rows together requires a scant 1/4" seam.
This is one of those patterns that requires the seam allowance to not only be consistent, but it needs to be accurate. I highly recommend measuring your pieces as you're sewing them together. This is the quickest and easiest way to determine if you need to tweak your seam allowance. (Better yet, practice with five 1.5" strips before you get started).
A scant 1/4" seam simply means a seam allowance that factors in the width of your thread and/or the small amount of fabric that has to go around the thread. Sometimes blocks with a lot of seams require a scant 1/4" seam allowance because the "thread-width" can take up a tiny portion of each seam. When that tiny little measurement is multiplied by however many seams there are in that block, the thread-width can add up to be a pretty sizable number. All that to say.....just be aware that your seam allowance may need tweaking.
After you complete a Part A unit, place a square ruler over the block. The strips that are on the inside of the block should measure 1". Rows A and E should measure 1.25".
If your machine has a 1/4" presser foot, I recommend giving that a try. Some machines come with them, some don't. If your machine doesn't have one, do some research to see if you can purchase an after-market presser foot that will work with your machine. You can also use a piece of tape or a stack of index cards to indicate where your fabric should align on your machine to achieve a 1/4" seam. Just be aware that even if you are using a 1/4" presser foot with a guide bar, you may still need to adjust your needle.
Rest assured, once you're in-tune with the appropriate seam allowance, the rest of the pattern is smooth-sailing!
.
..
This week really sets the foundation for the next few weeks, so these are tips that you'll keep in the back of your mind as your move forward. For this week, continue to create all of your Part A's for the entire quilt.
If you're feeling comfortable with your seam allowance, go ahead and make a test block. I've broken down the weeks so that we won't create our blocks until Week 6 of the Quilt Along....this is just to focus on each step and making sure that everything is accurate. That being said, I know the feeling of wanting some instant gratification; so if that's you, be my guest. :)
.
Week 2 Winner
The winner of the Rope Basket kit from Mountain Thread Co. is Chrysta of @stitchesbycoco! Congrats! Send me an email with your contact info and mailing address and I'll get your kit in the mail!
Week 3 Prize
This week, our prize is a $35 gift certificate to Pink Door Fabrics! Pink Door Fabrics is a modern online quilt shop that has notions, bundles, a wide variety of fabrics and more! Enter to win by sharing a photo of your Part A blocks to Instagram and use the hashtags #knittedstarqal, #knittedstarquilt and #loandbeholdpatterns! The deadline to enter is Sunday night, 10/4 at midnight, EST. Good luck!
.

.
Next week, we will create the first 4 rows of Part B! See you then!
Brittany :)


