Knitted Star QAL - Week 4

Hello lovely people!
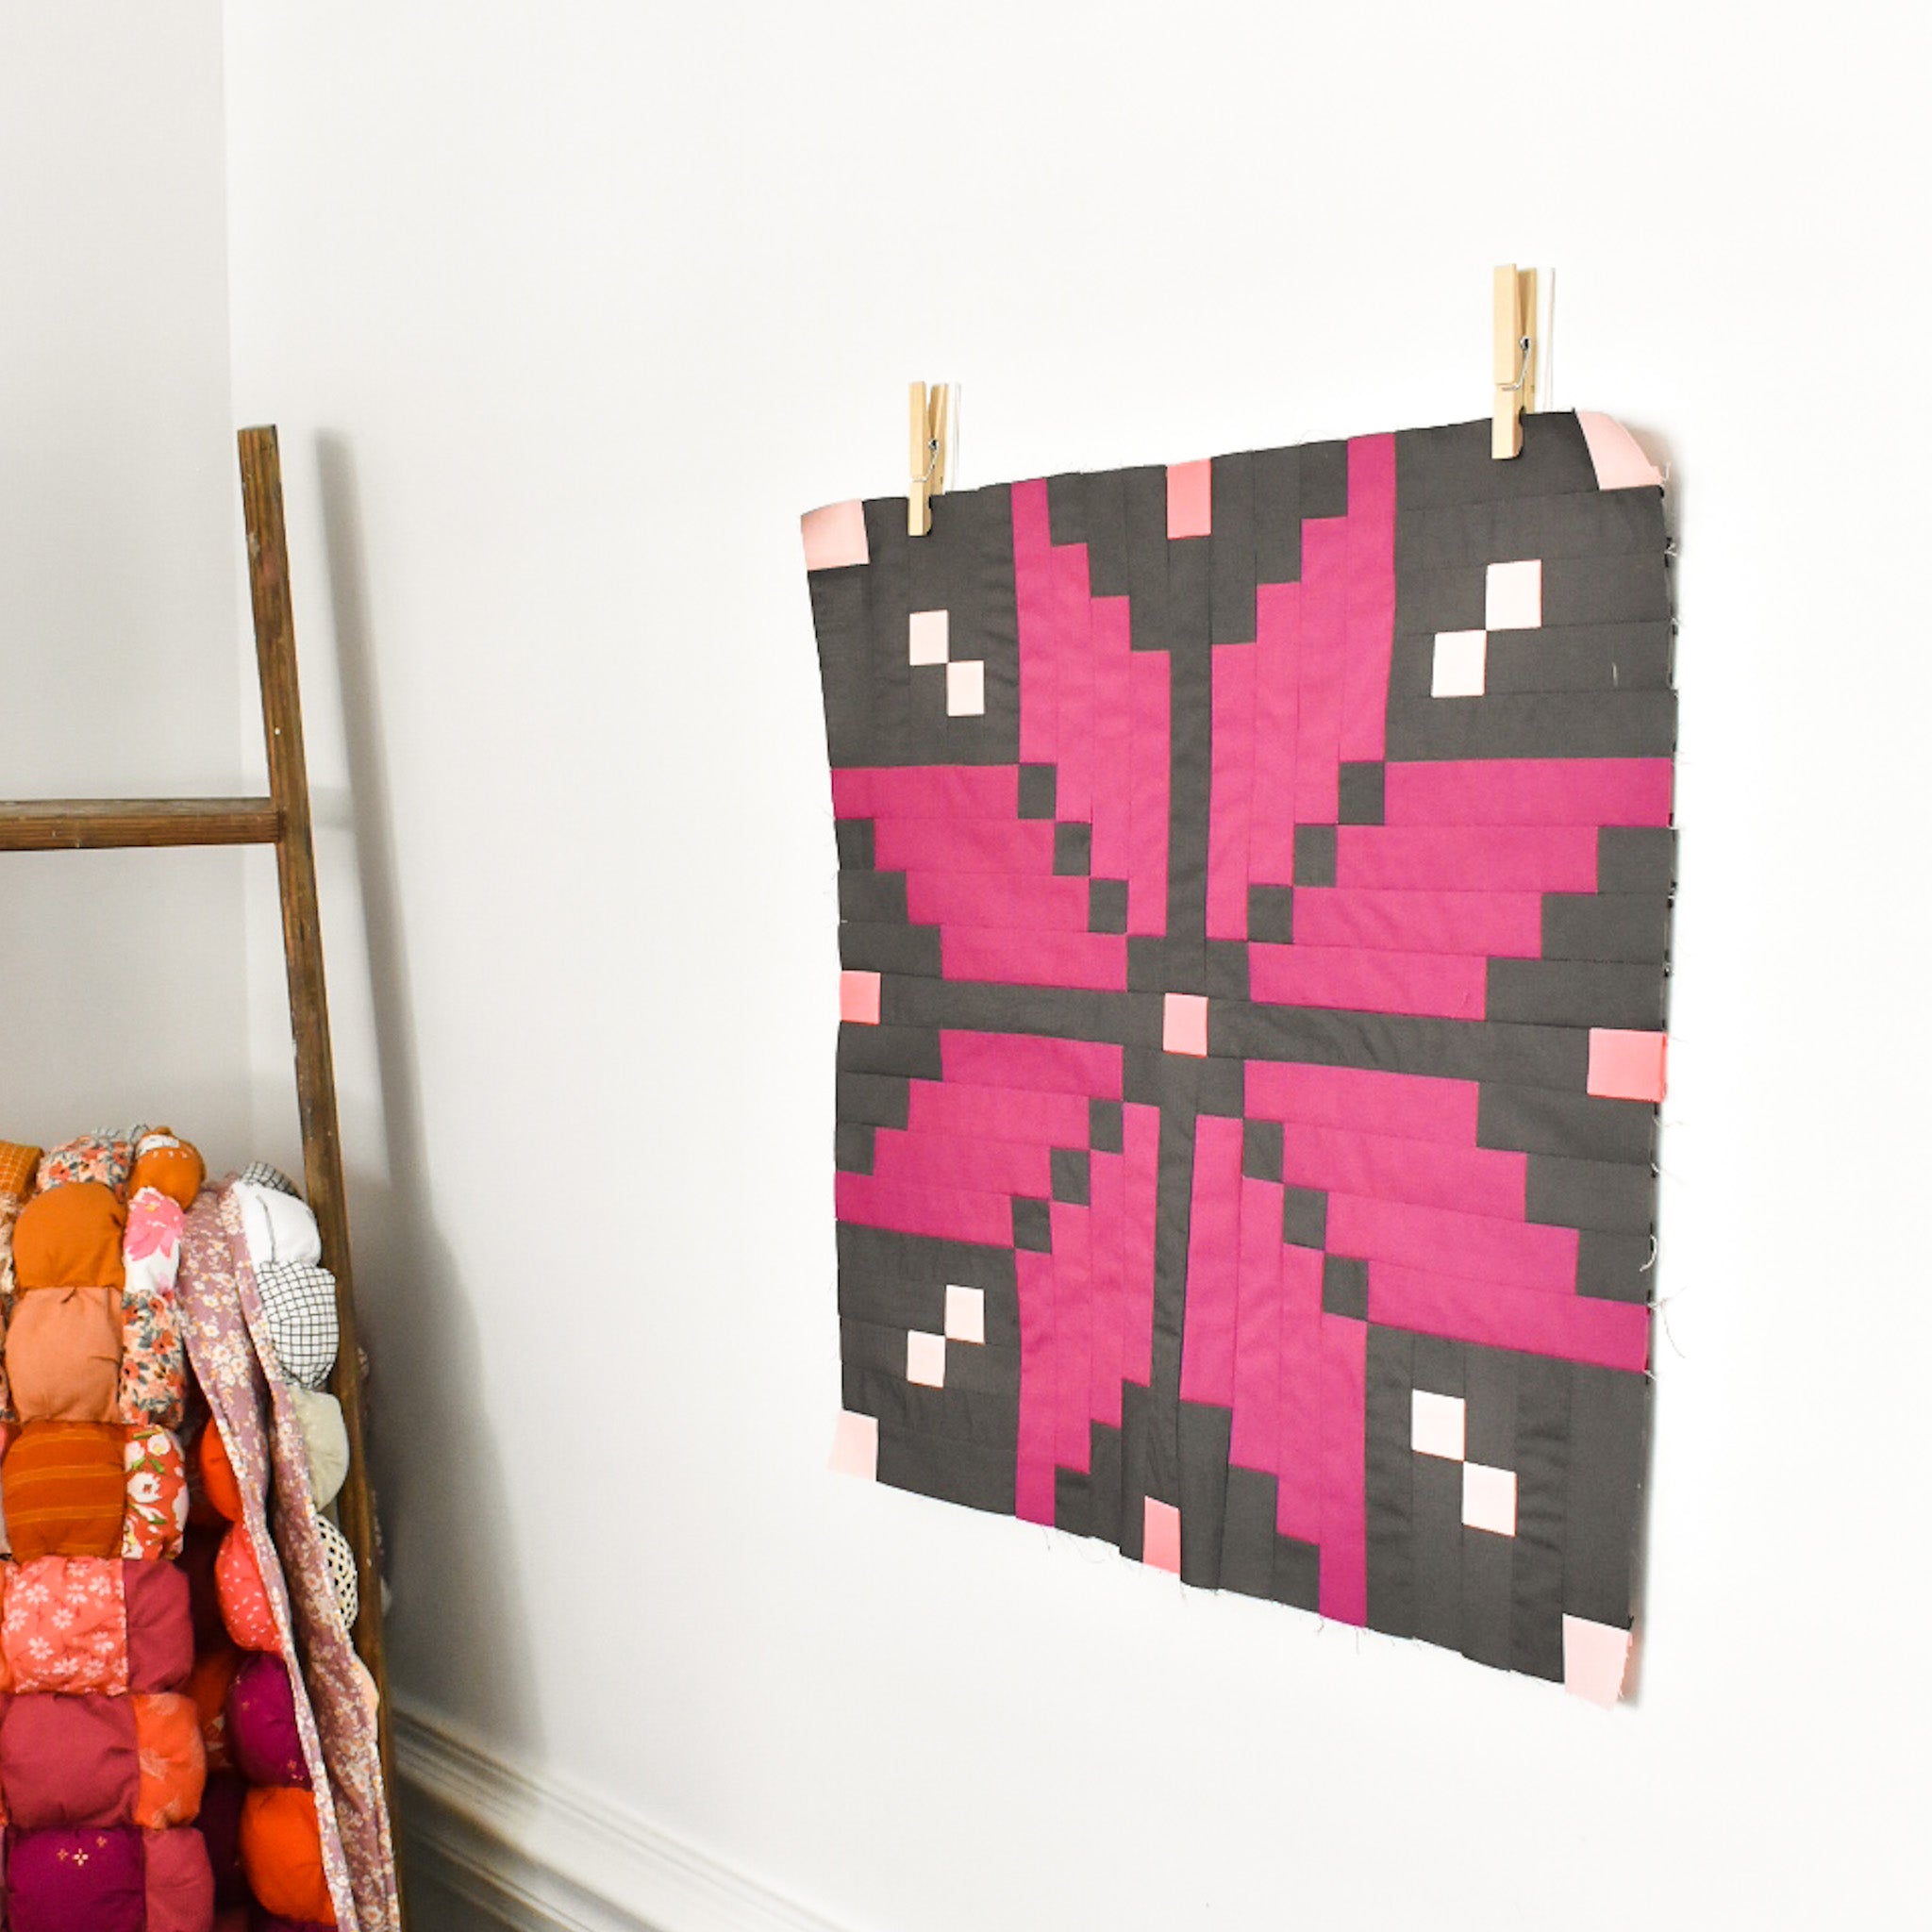
Things are moving right along, aren't they? It's Week 4 of the QAL, which means that we will be adding to our Part A units to start forming Part B. Wahoo!!!
Quick note about the schedule: I'm changing things up (well, sort of). Originally, I broke down the weeks by Rows, but if you are making the Modern version... feel free to complete entire blocks verses only a few rows per block. This seems to make more sense and I realized that as I was working ahead last week. SO this week:
- Traditional: Sew Rows F, G, H, I
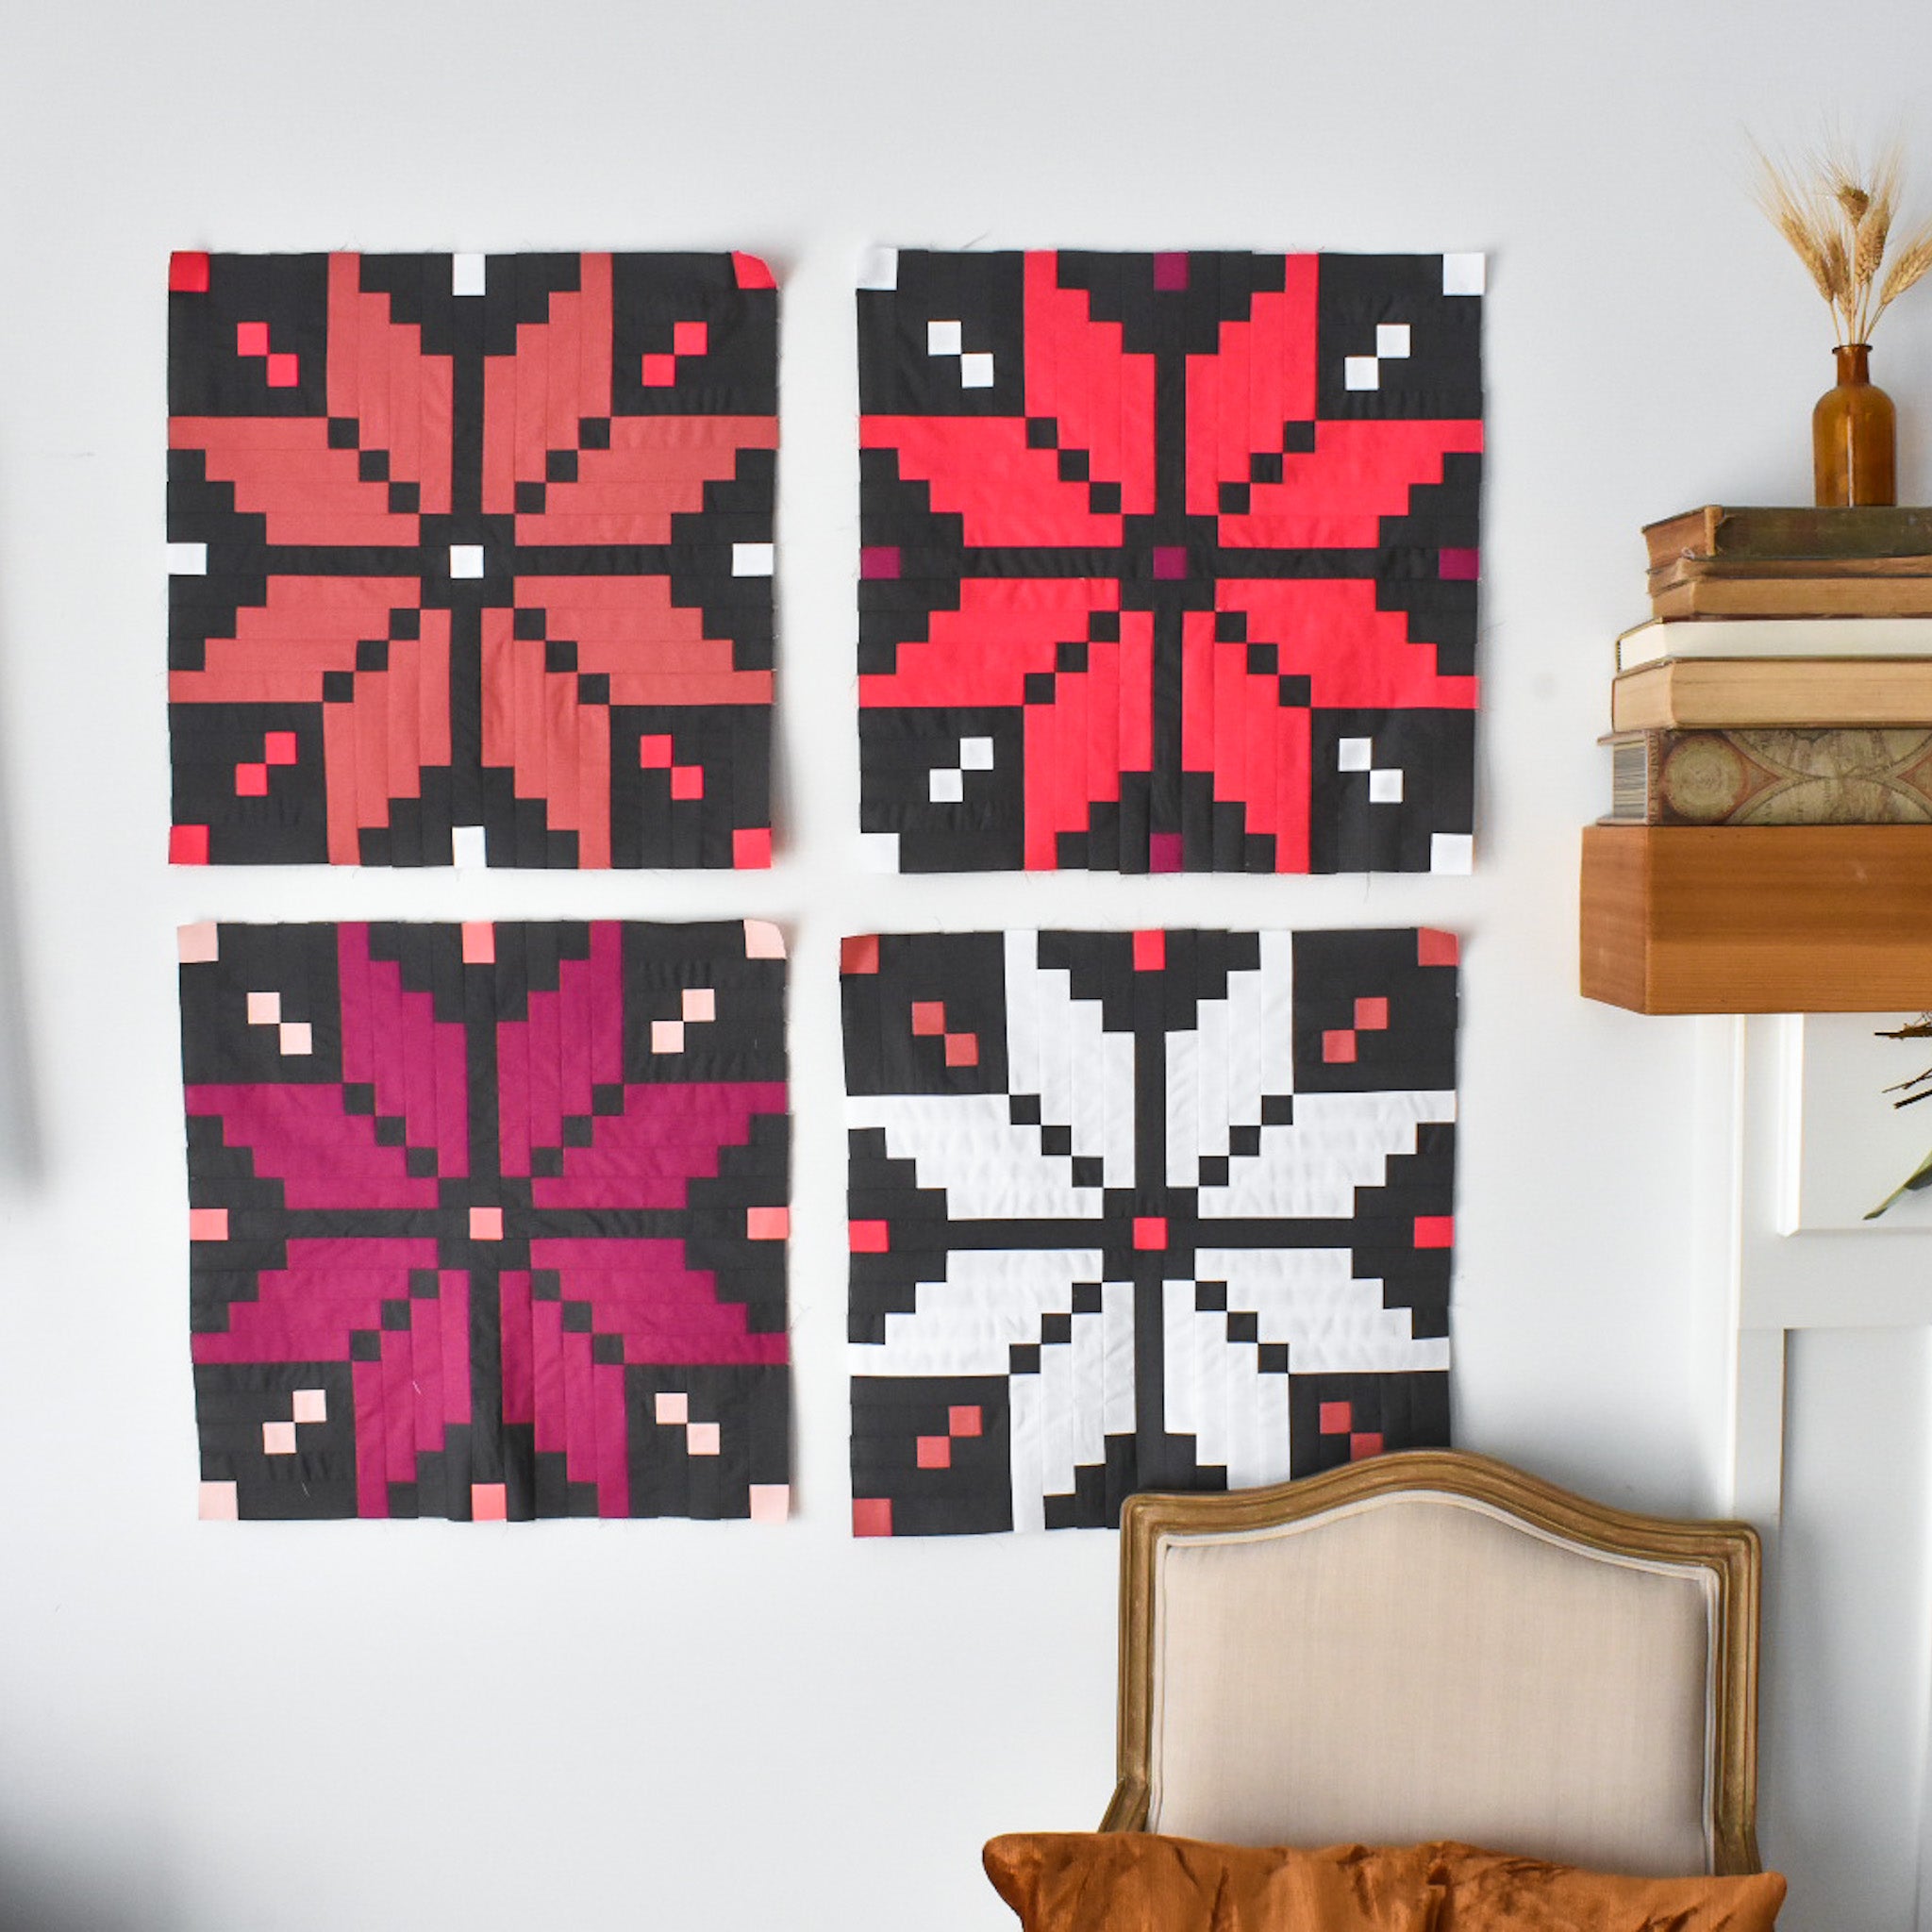
- Modern: Sew Rows F, G, H I per block; or create 3 blocks if you're making the Throw size, or 6 blocks if you're making the Bed size.
Remember that there will be a catch up week for Week 7, so don't stress if you get behind! The updated schedule is now on the QAL main page.
Okay, back to business. Take some time to read the paragraph at the top of the Part B section. This will explain how you'll continue to construct these units. This week, I wanted to echo all of the tips from last week...and also reiterate a few things:
Tip #1
Take a look at your pattern. You'll notice that the Part B instructions are broken down by Rows, and also by which version of the quilt you are making (Modern, Traditional Throw, Traditional Bed). Similar to last week, the size/version of quilt you are making will determine the size and quantity of your strip sets.
.
Tip #2
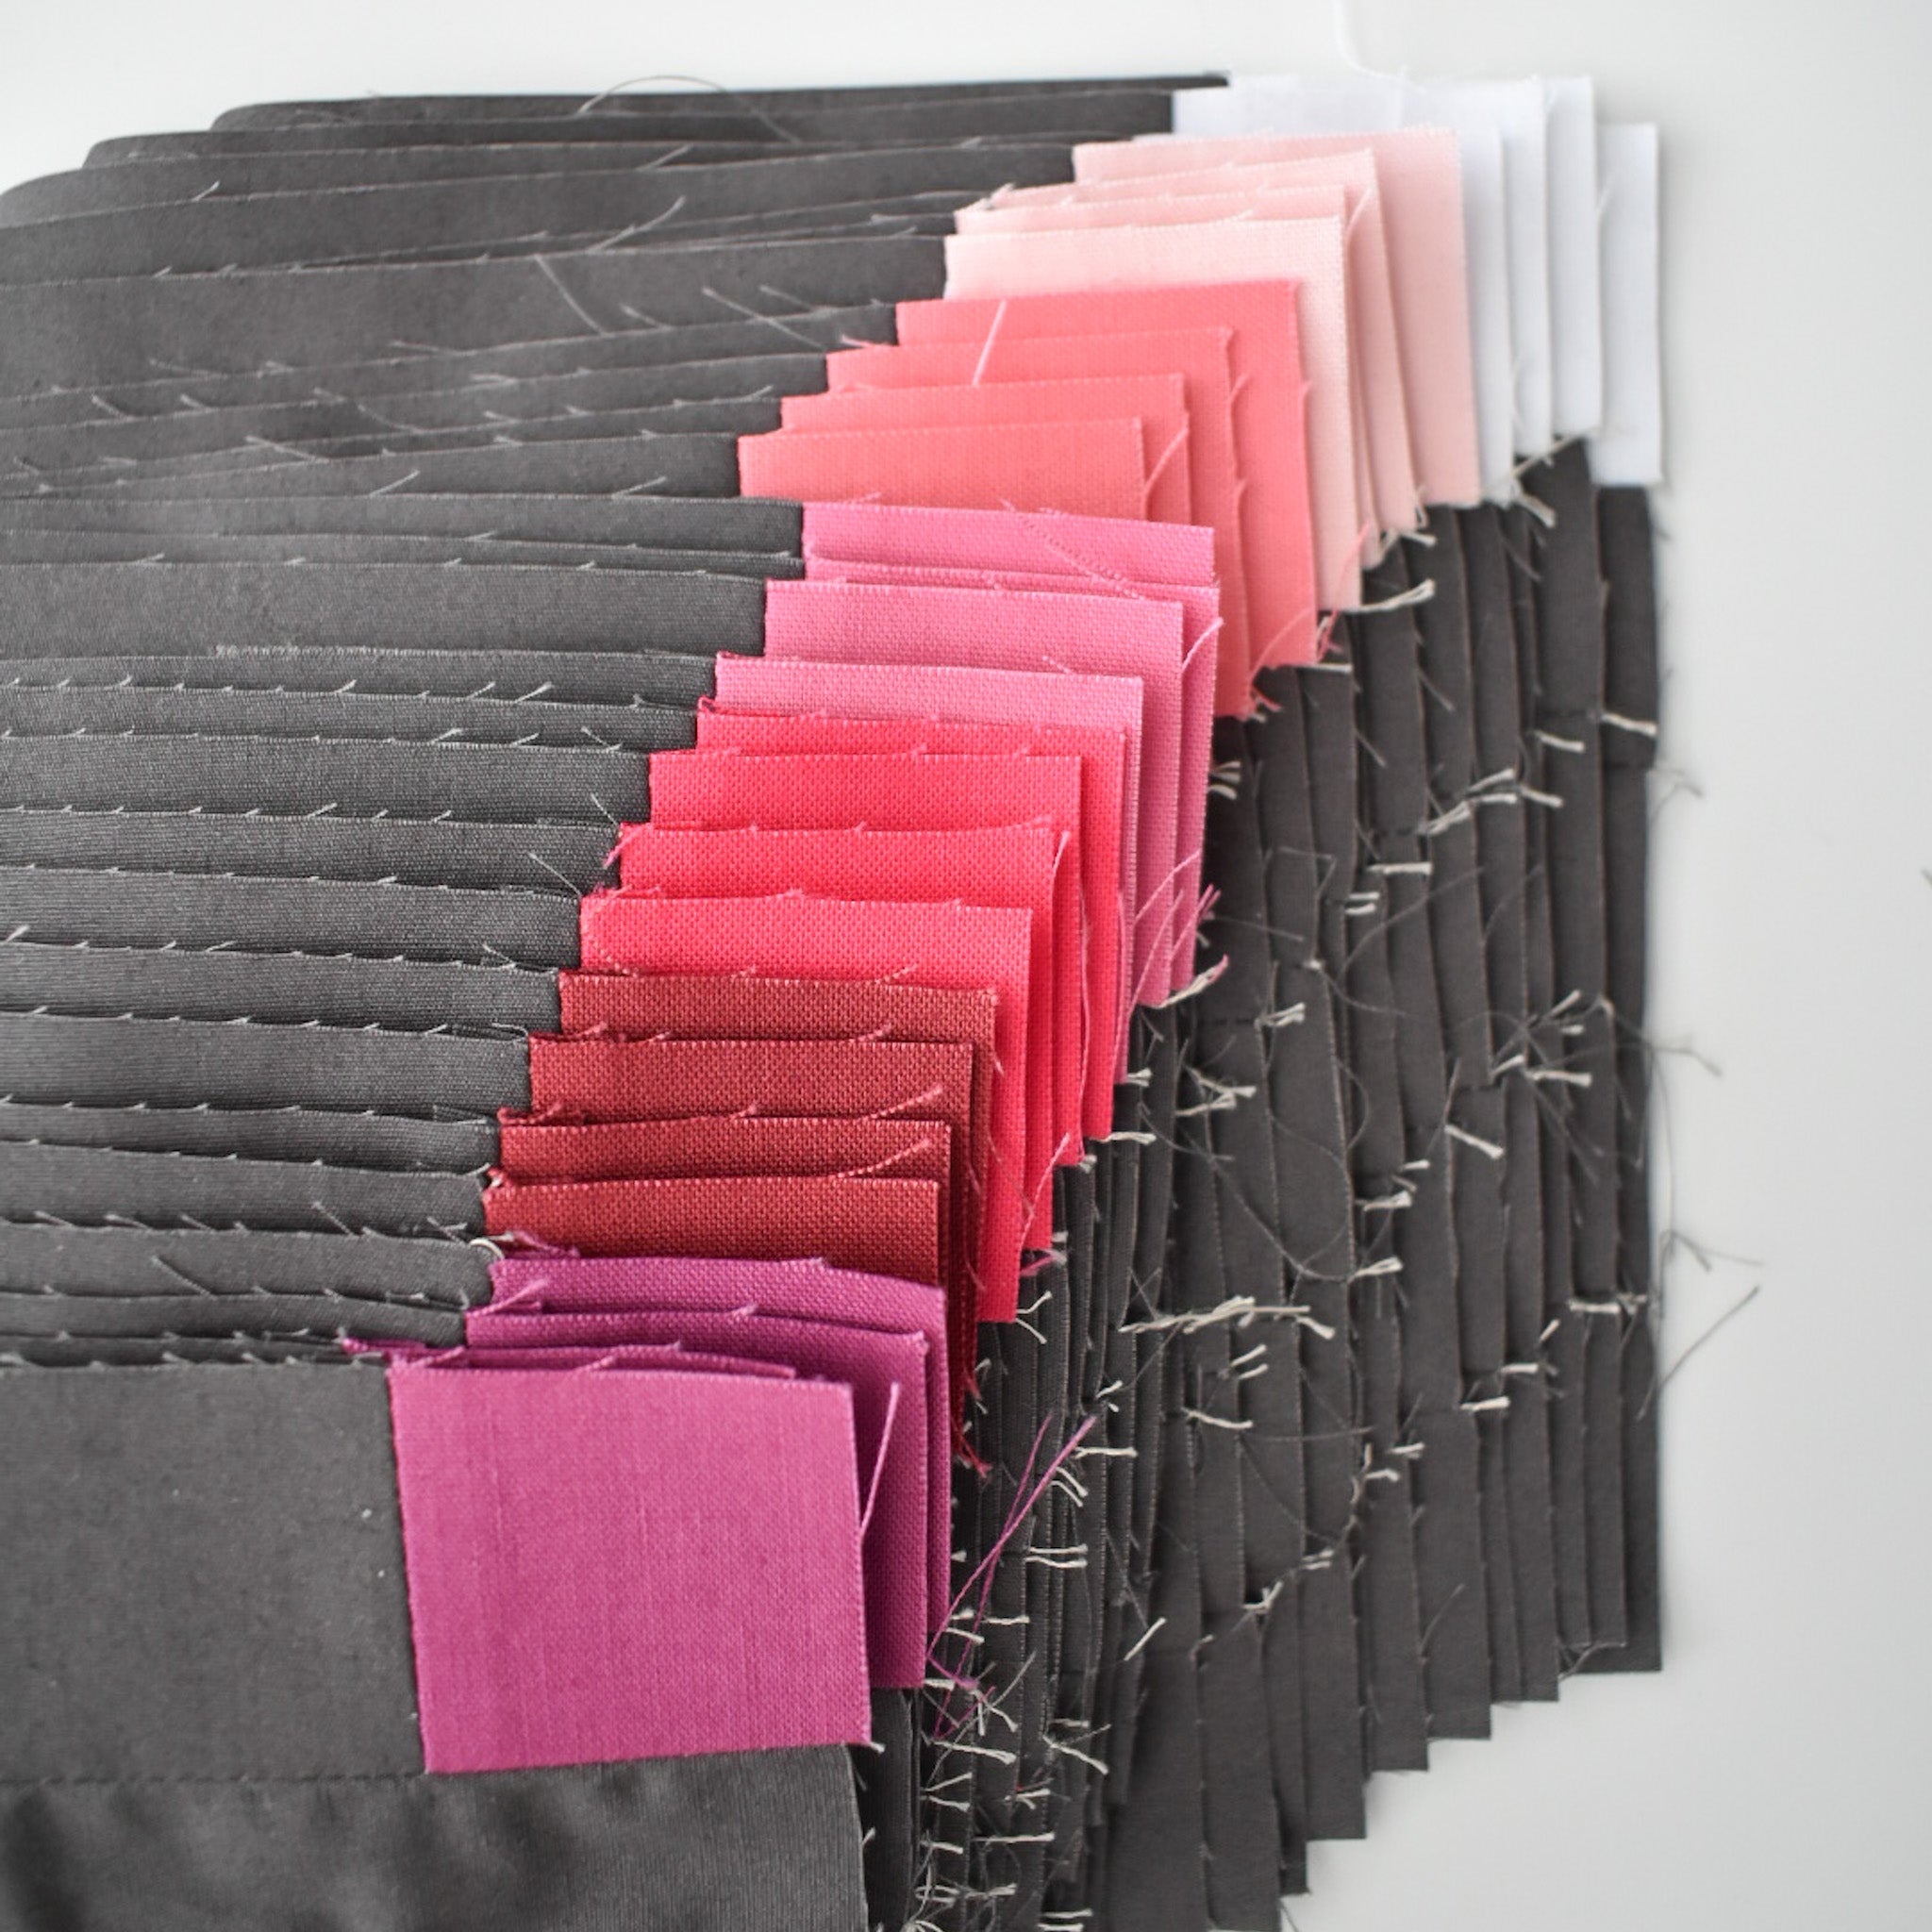
As your block begins to grow, you have more potential for things to become wonky. I highly recommend pins, especially as the strips get longer and longer.
.

.
Tip #3
As you add Rows G, I, K and M, be mindful of the Background square at the end of the row. Use a pin to make sure that it perfectly meets up with the "Star" strip from the previous row.
Tip #4
Be mindful of that seam allowance. Even if you didn't make any tweaks last week, keep checking on your measurements to be sure that everything is measuring what it needs to. Since this is constructed in a log-cabin fashion, if things become "off", it'll affect the rest of your block. Remember teeny-tiny measurements can compound into something much larger. Also remember that pressing your seams open will help. :)
.

.
Tip #5
Try to avoid trimming. Trimming tiny excess pieces is okay, but trimming large pieces can lead to problems down the road. Instead, if something is *that* off or un-square, unpick the seam and try again. I know this can be tedious, but if you can be as accurate as possible, it'll save you frustration down the road.
If you absolutely have to trim any of the uneven pieces, I recommend only trimming areas of the block that contain the Background fabric. If you trim any portion of the Star fabric, it'll be very noticeable once everything is stitched up. But again, once everything is constructed, you shouldn't need to trim anything.
.
That's all I have for you! Feel free to share your own tips within the Facebook Group, or comment below. Please remember to not share any *specific* pattern information when you post to social media. This include photos of the actual pattern. :)
.

.
.
Week 3 Winner
The winner of the $35 gift certificate to Pink Door fabrics is @sarahah223! Congrats! Please email me with your contact information!
Week 4 Prize
This week our prize is a gorgeous quilt pattern bundle from Modern Handcraft!
.

.

.
Enter to win by sharing a photo of your progress to Instagram and use the hashtags #knittedstarqal, #knittedstarquilt and #loandbeholdpatterns! The deadline to enter is Sunday night, 10/11 at midnight, EST. Good luck!.
.
I'll see ya'll next week! :)
Brittany


