6 Tips for Flat Seams

Pressing seams is one of the fundamental skills of quilting. Many people hate the process, which used to be me until I learned a few tips that really gave me great results. Creating super flat seams is now something that I strive for and really enjoy creating! I shared a few of these tips during our recent Quilt Alongs, and I decided that it was time that I give them a permanent place on our blog.....here we go!
6 Tips for Flat Seams
- Steam - The first tip can be a bit of a controversial one. I have always loved using the steam function in my iron. It gives me flatter seams that stay flat for longer. Again, steam can be a divisive topic because it can also warp/distort the fabric if you aren't careful. Be sure that you are "pressing" (up and down motion) instead of "ironing" (moving iron from side to side) to help prevent warping. You could also use a dry iron to press the wrong side of the seam (like if you are pressing that seam open, more on that in a minute) and then use steam to press the right side of the fabric. Some quilters also argue that putting water in your iron can shorten the life of your iron. If this is something that concerns you, an alternative is using a spray bottle with water. I've been using the same iron with steam now for about 3 years and it's held up well. There have been a few instances when it has leaked, but it's never stained my fabric from it.
- Pressing Seams Open or Nest Seams - Here's another "controversial" topic for you. :) I am a big fan of pressing all of my seams open. It's tedious and a little awkward when you start pressing seams open for the first time, but you really can't argue with the results! Also, use your fingers to press the seam open first, then press with your iron.

.
You may or may not have heard the argument that pressing seams open creates a weaker seam than pressing to one side. This is because pressing seams to one side creates a tiny fold of fabric around that seam that protects the stitches a bit more than if you were to press them open. Despite this argument, many people still choose to press seams open, myself included. My thought process is that I am using a high quality thread, and I tend to densely quilt my quilts, which stabilizes all of my seams more (in my opinion).
The only time that I do not press seams open is when I create nesting seams. For example, in these nine-patch blocks, if you press the little squares towards the dark side, then the seam direction alternates from row to row. This creates what's called a "nesting seams", which helps distribute some of the bulk and keep points aligned as you are sewing (win, win!). I'll also press seams to one side and alternate from row to row when I am sewing quilt blocks together to create a quilt top. But when it comes to the seams in my blocks, I'm a "press open" kind of girl!

.
- Setting Seam - I'll be honest, I only remember to do this half of the time, but "setting a seam" is when you press your iron on the flat seam before you press the seam either open or to one direction. This presses that chain of stitches into the fabric so that it's as flat as possible. I don't really worry about this too much if I am pressing my seam open, but I *try* to remember to do it when I press to one side. To me, it doesn't make a *huge* difference when striving for flat seams, but it's definitely a tool in the tool belt that's worth experimenting with!

.

.
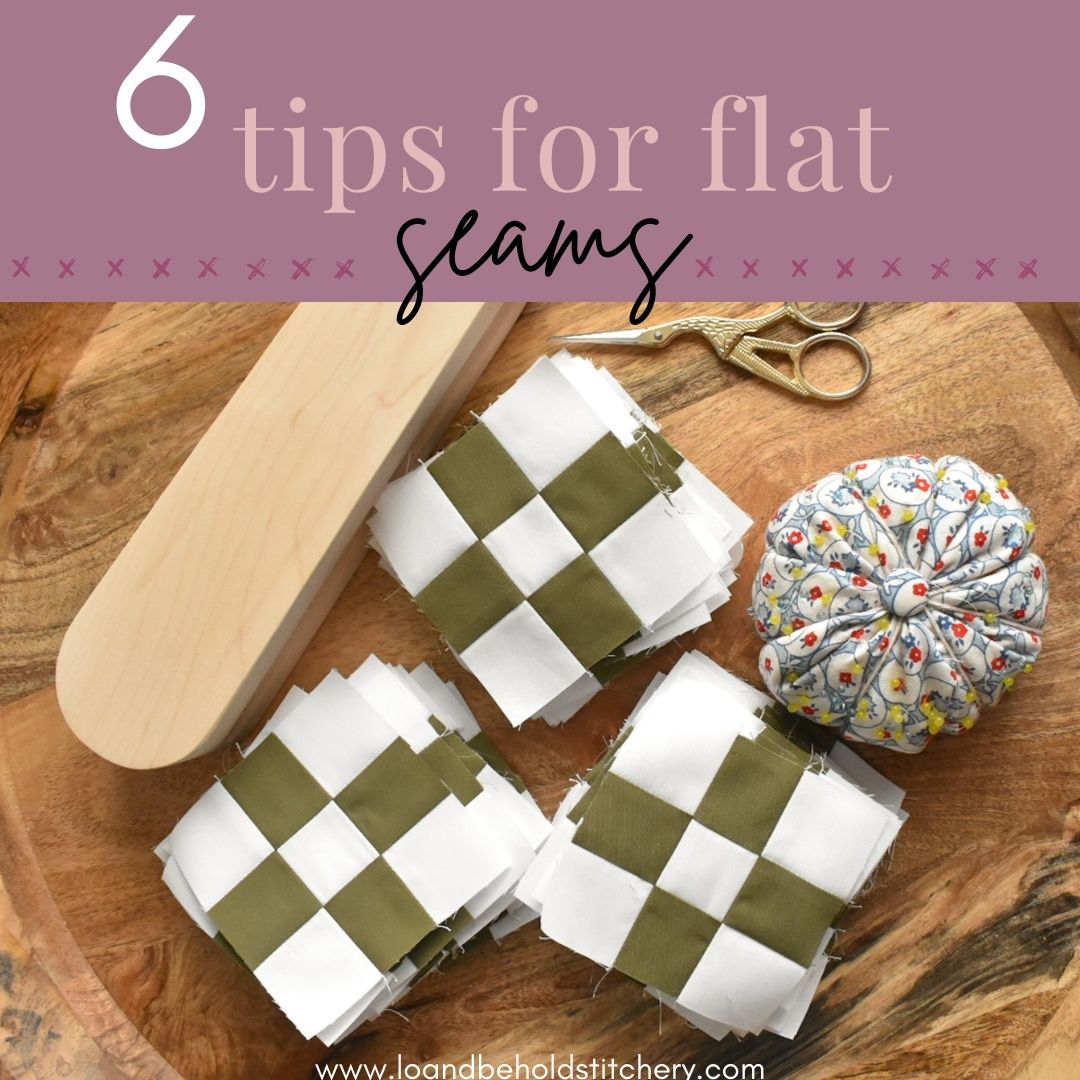
- Tailor's Clapper - A tailor's clapper is a hard piece of wood that you place firmly on the seam after you press it. It absorbs the heat and "sets" the seam, making it stay flat. I will use a tailors clapper when I have lots of small pieces in a block. I purchased mine from Lamb & Loom Fabrics and I LOVE it. They also have a mini size that is a little smaller and cheaper. Plus it's handmade by Linli's husband, so I always want to support family businesses. :)

.
- Wool Pressing Mat - A wool pressing mat redistributes heat to help you press from both directions. I also notice a difference in the mat "gripping" my fabric more than my ironing board does, which helps keep everything in place when I'm pressing. I LOVE love love my wool pressing mat. I've had a Project Wool Mats 14" x 14" mat for several years now (seen above) and it's held up really well! If you want to give one a try, use the code loandbehold10 for 10% off!
- Large Ruler Trick - You can also place a ruler with something heavy on your blocks after they're constructed and let them set for a few hours. I did this to all of my Block 1s for the Deco Quilt pattern overnight and my seams were really flat the next day!

.
Iron Recommendations
If you are in the market for a new iron, remember that you don't need anything fancy! My current iron seems to be discontinued, but this is one that's similar. I also really love my mini iron for when I have lots of repetitive pressing to do. It's small, light weight and really does the job well for it's size!

.
I try to recruit help whenever I can. :) Here's a look at our set-up (mini-iron & wool pressing mat) when we went on vacation last year. I was chain piecing my nine-patch blocks and he was pressing the seams. He *says* that he doesn't like pressing....I think he secretly does deep down. ;) We were making my Autumn Heirloom Hearts quilt, seen below. It was fun to work on this together!

.
.
What tips do you have for flat seams? Have you tried any of these ideas? Let us know in the comments below.
.
.
Happy sewing! :)
.
.
.
.
This post contains affiliate links. If you purchase an item through my link, I receive a small commission from that purchase. This doesn't cost you anything extra. I only recommend what I truly love!


