Deco Quilt - Using my Palette Picks FQ bundle!

My Palette Picks 24 piece fat quarter bundle with Robert Kaufman is starting to ship to stores! YAY! On one hand it feels like i just announced the bundle, but on the other hand, it feels like I've known about it for years! haha. Regardless I still have 4 more quilts (plus one in the works) to share with you! If you haven't read my initial blog post about this bundle, maybe start there!

.

.
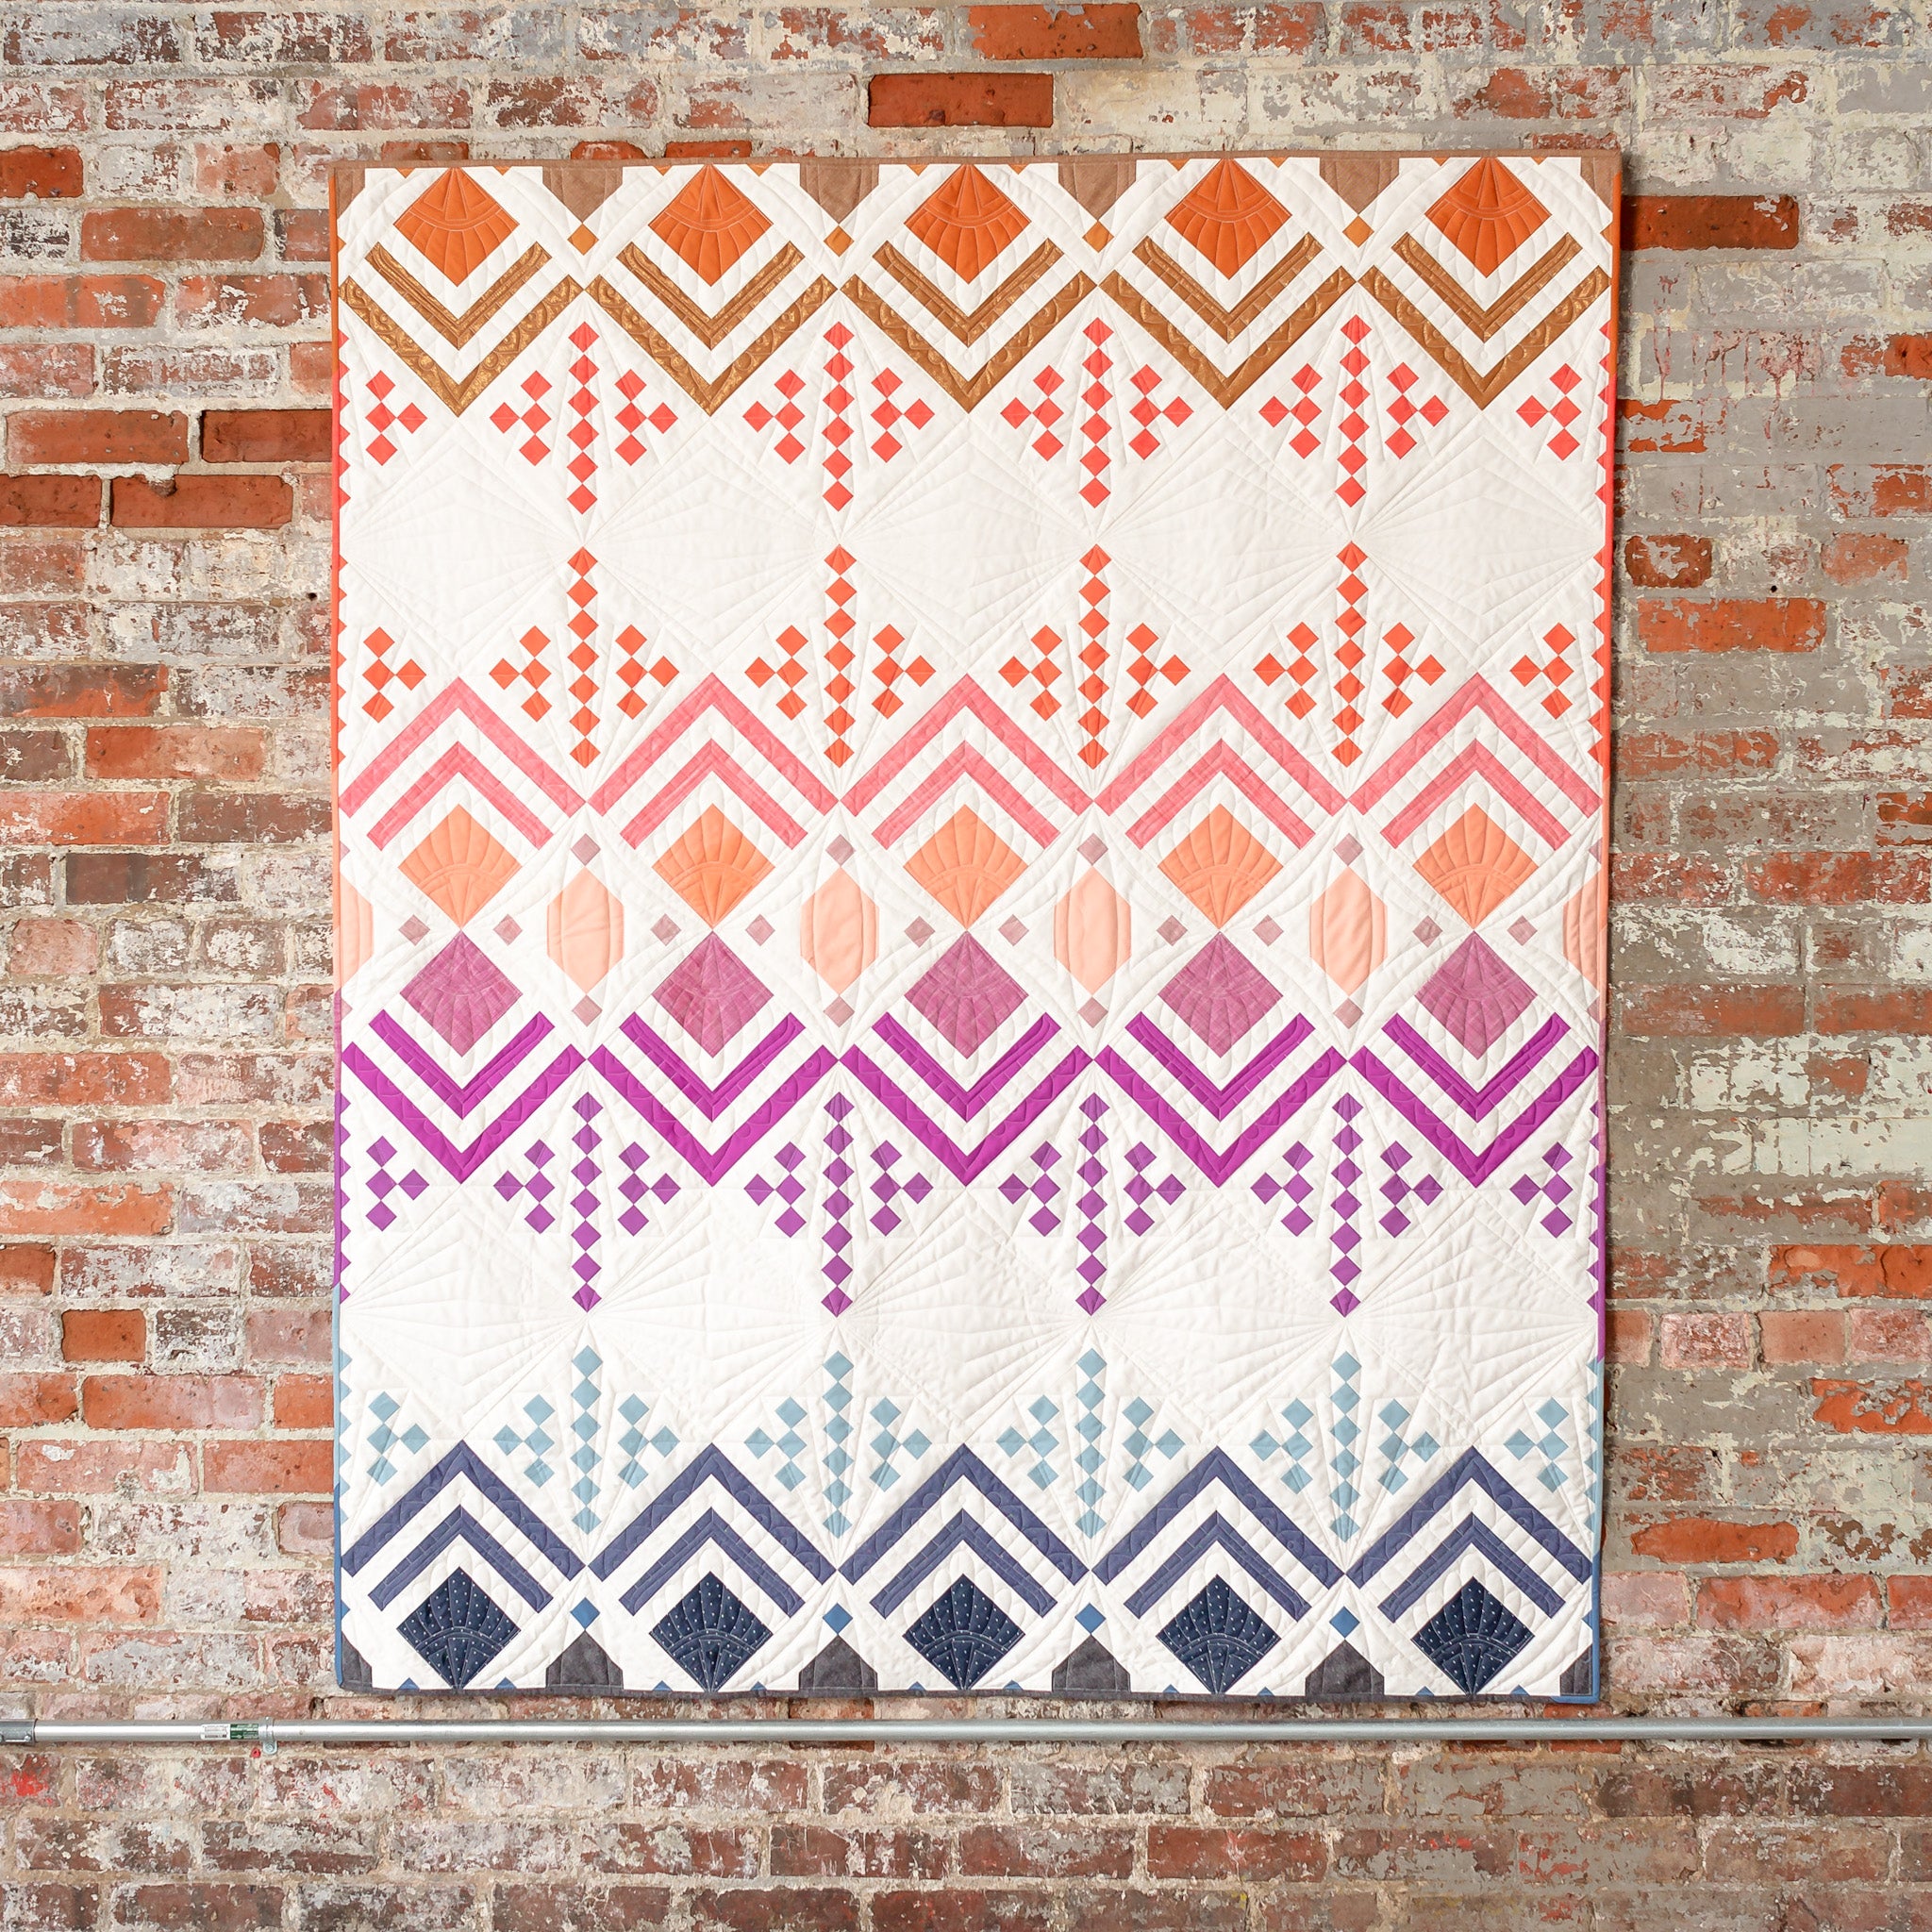
I already shared about my Celtic Crossing quilt that I made with this bundle...you can read about that here. Now let's take a look at my Deco quilt! This has been my most popular pattern to date, so I definitely wanted to create this quilt using the bundle. If you have the pattern, you know that the quilt has a few areas that are strip pieced. Because of that, yardage really gives you the best use of your fabric. However, since I would be using fat quarters for this...I had to do some math to figure out what my game plan would be.
Lucky for you, I documented exactly what I did, so you can use this PDF with the pattern to create the exact same quilt. You can sign up to download the PDF here.

.
For this project, I wanted to squeeze as many fat quarters into the quilt as possible. I say that because if you really want to have best use of your fabric, you could totally get by with less fat quarters. Whenever you look at the PDF you'll quickly see where you can consolidate fabrics! However, my goal for this quilt was to create a really fun and different ombre quilt using the gradients within the bundle. I think of this bundle in terms of warm and cool fabrics, so initially, that's how my mind split everything up.
Mocking up the pattern with the fabrics on the computer was a huge help for this quilt! It was really nice to be able to switch things around and test out different ideas. That being said, you could also do this with little scrap pieces of fabric. Lay them out on a table and play around with the order that you want your fabrics to appear within the quilt.

.
.
You might notice the smaller squares of fabric in the photos above. Like I mention, then pattern calls for strip piecing, but I wasn't sure if it'd work or not with fat quarters. So for my initial sample of the quilt, I cut all of my squares individually and sewed them together one by one. Thankfully, we figured out *after* the fact that strip piecing does in fact work with FQs and the PDF explains how you can modify the pattern for that!
For me, it made sense to start with my warm, orange-y and pecan colors; then fade to purples, when then fade into blues. This is very different from how I initially wrote the Deco quilt pattern....but really it was fun to try something different.
Again, the PDF will explain exactly what I did. You do need a copy of the pattern for the PDF to make sense. Having a game-plan is super important (for me at least) when I deviate from the pattern.

.

.

.
Once the quilt top was finished, I sent it to Ashley of Henhouse Quilting and she sketched up a really fun custom quilting idea! I love how she played with the negative space.

.
Similar to my Celtic Crossing quilt that I made with this bundle, I did an ombre binding to mimic the fabrics in the quilt. This took some planning... basically lay the quilt out on the floor and then lay the binding strips around the perimeter to plan how you want those fabrics to appear along the edge. I used Kona Creamsicle as the backing.

.

.
We photographed this quilt in the beautiful space of the Graham Mill in Graham, NC. I've said it once and I'll say it again....that old brick just gets me every time!!

.

.

.

.

.
I'll be sharing about my other quilts with my Palette Picks bundle in the coming weeks. It's now shipping to stores, so be sure to grab one in the shop!
.
LINKS:


