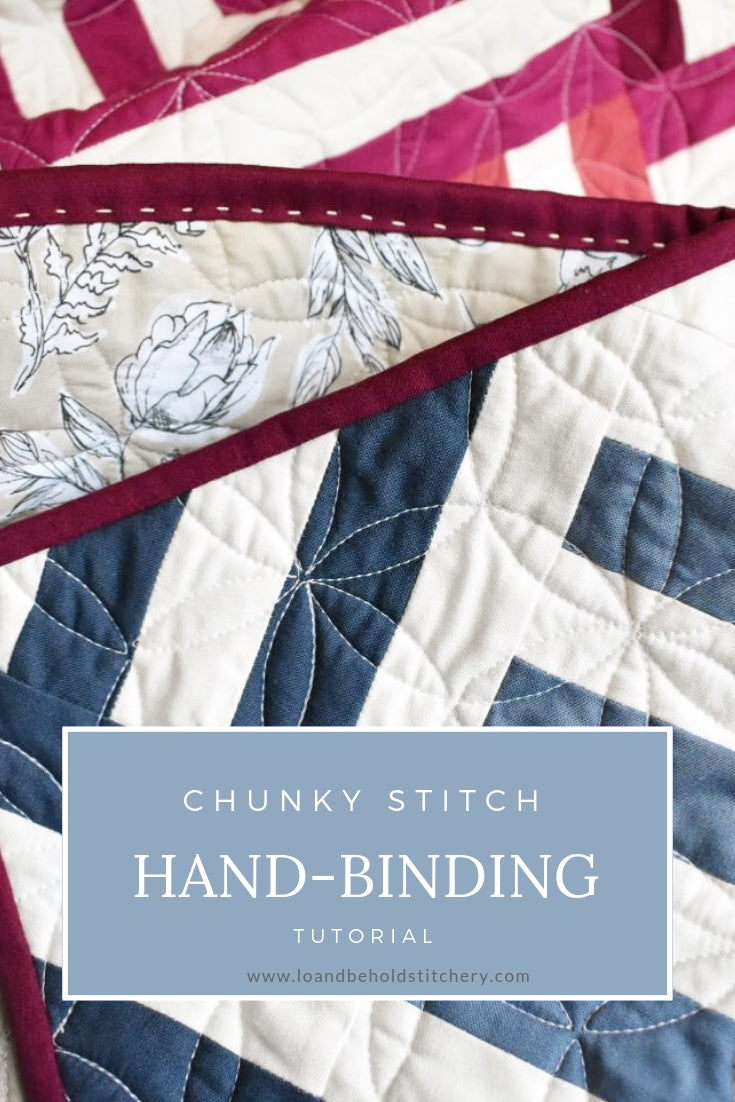
Chunky Stitch Hand Binding Tutorial


Materials Needed:
-
Thread: I use DMC Pearl Cotton #8 or #12 (8 is thicker); there are tons of colors to choose from. I like to pick something that contrasts against my binding fabric.
-
Needle: there are special hand-quilting needles out there, I like to just use my favorite stitching needle. There’s nothing fancy about it, except that the eye is really big, which I appreciate :)
-
Scissors
-
Thimble: This is the most important thing that you’ll need, in my opinion. Make sure you’re using a good thimble to protect those fingers! I love this thimble! They also make thimble pads that stick to your fingers, but I haven't tried those yet.
Instructions:
- Machine stitch the raw edge of your binding onto your quilt sandwich per usual. I like to sew my binding onto the front, so that my hand stitches are on the back, but you could do it the other way around, depending on the look you’re going for.
- Thread your needle. Knot the end, leaving about a 1-2 inch tail. I use a piece that is the length of my wingspan, but you can totally do longer or shorter based on your comfort level. However, I’ve found that when I used longer pieces, it got knotted easily.
- On the opposite side of your machine stitched binding, insert your needle inside your seam allowance. Come back up through your binding fabric. The idea is that the knot will be hidden inside the binding once you hand stitch over it.


- Continue to stitch down the length of your binding. Be sure to only stitch through the batting and backing fabric.

- When your piece of thread is close to the end, stitch through the binding, backing/batting, then, stitch back up through the backing (you want to come back up slightly inside your seam allowance. Tie a knot. The knot will rest between your backing fabric and your binding…completely hidden.

- Re-thread your needle and insert the needle within your seam allowance, close to where your knot is from your previous thread strand. Stitch through the backing/batting and emerge through your binding. Both knots will be hidden below the binding as you stitch above them.

- Repeat until your entire binding is stitched. Voila! You did it!


I LOVE the look of a chunky stitch, and this is a fun way to add that "handmade" touch to your quilts. Thanks again Eliane for teaching me this technique!
Pattern featured above is Celtic Crossing, and can be found here.
Pattern featured above is Snow Cabin.
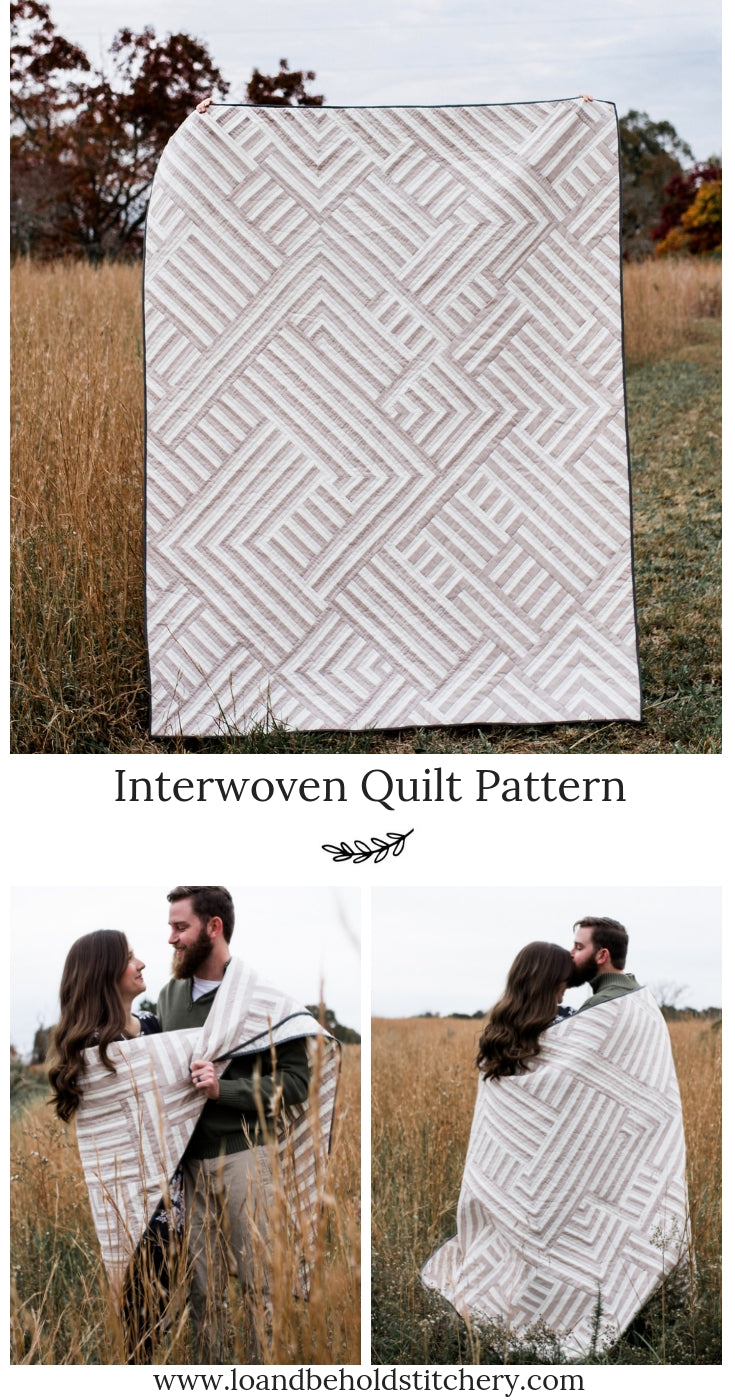
Pattern featured above is Interwoven.


