How to Machine Bind your Quilt

You did it! After hours and hours of piecing your quilt top, pressing seams, changing your mind 12 times, basting and quilting.... its FINALLY time to put that finishing touch on your quilt! Wahoo! I don't know about ya'll, but at this point, I'm just ready to be DONE. Once in a blue moon, I'll take the extra time to hand stitch my binding (tutorial can be found here), but if I'm looking for a quick and simple finish, machine binding is the way to go!

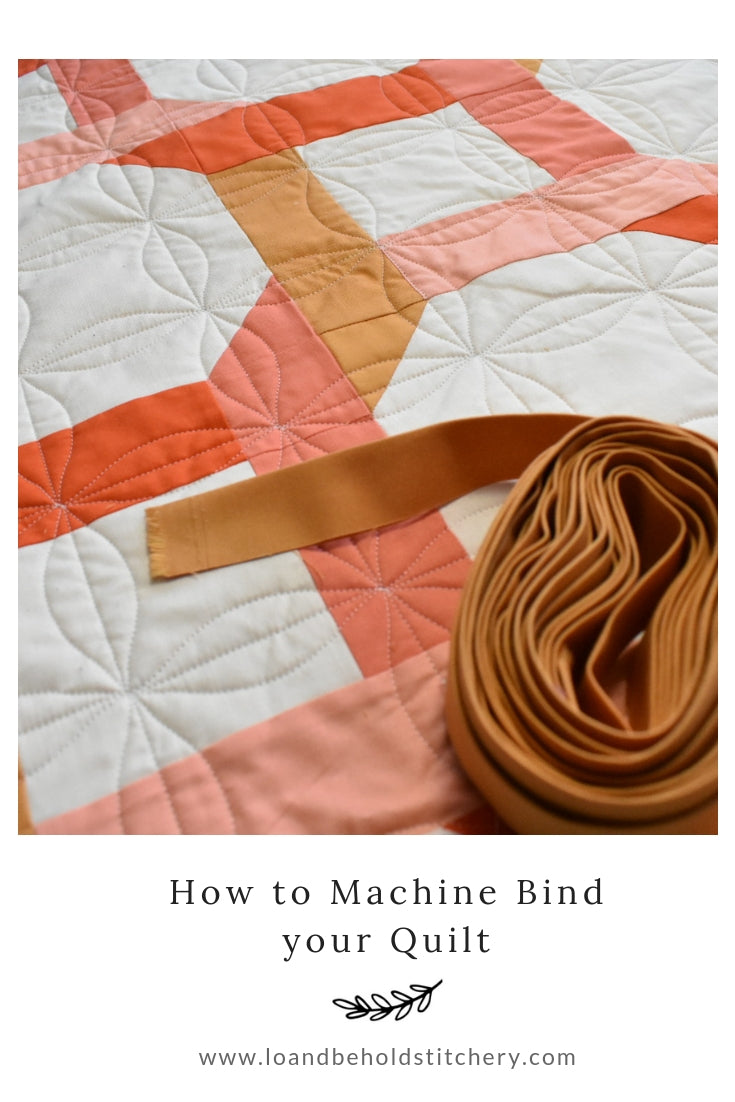
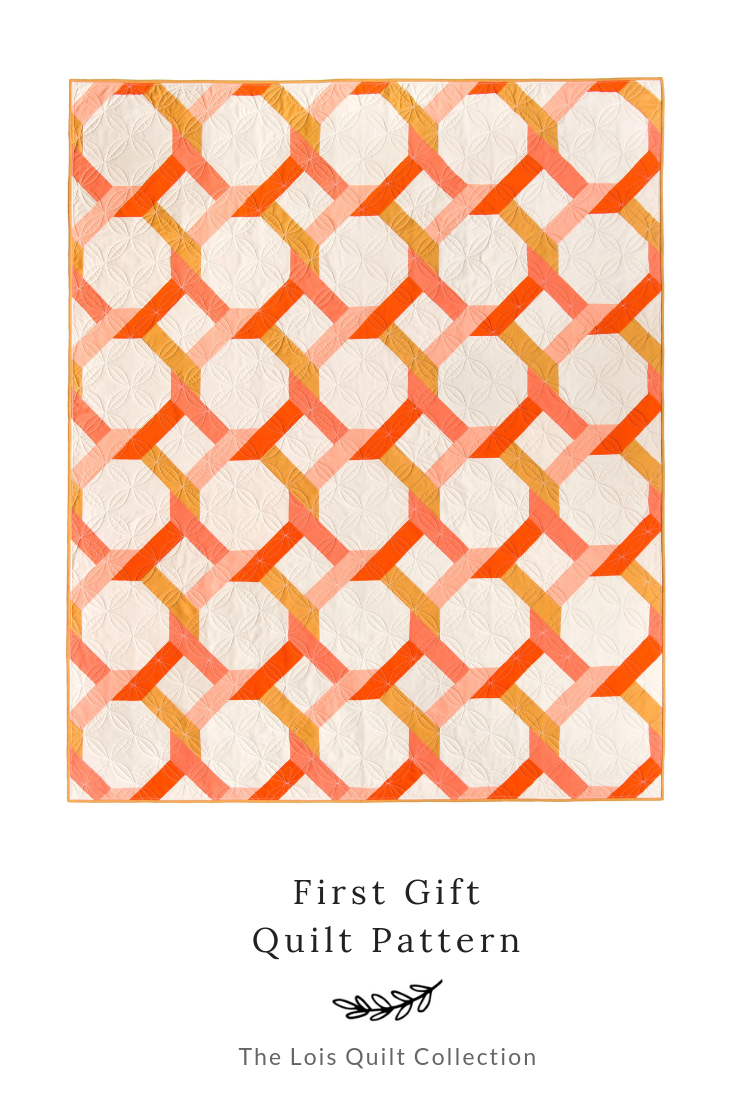
Quilt featured in this tutorial is First Gift Quilt, which can be found in my shop!
Materials Needed:
- sewing machine
- cutting mat
- 12" square ruler
- 24" ruler
- rotary cutter
- straight pins
- needle
- quilting needles (sewing through several layers of fabric requires a thicker needle. If you are using a universal needle, that may do the trick; however, if you notice your machine is skipping some stitches, try using a 90/14 needle (or purple needles, if you're using a Janome).
- white thread; I love using cones- more bang for your buck!
- colored thread to match your binding
- scissors
- hera marker (optional)
- clips (optional)
.
Creating your Binding:
- Cut your WOF (width of fabric) strips. Your quilt pattern will tell you how many strips you need; however, if you aren't using a pattern, use the following equation. Perimeter of quilt + 20" = total inches needed; Divide total inches needed by 40" (your WOF) to get the number of strips that you need. If you get a decimal round up. For example:

.
Next, cut 1/4" away from your seam. Press this seam open.
.
.
.
.
Once all of your strips are sewn together to create one continuous strip, you'll need to use your iron to press that strip in half, lengthwise. Then trim your dog ears.
.
.
.
Voila! You now have your binding prepped and ready to go!
.
Preparing your Quilt for Binding:
Trim away the excess backing/batting from your quilt. Use a cutting mat, rotary cutter and rulers to make sure that your edges are straight and your corners are square. I like to start in a corner with my 12" square ruler, then work my way around the quilt.
.
.
.
Now it's time to attach your binding!
Attaching your Binding:
Take your quilt and binding over to your machine. I like to sew my binding onto the front of my quilt first, but know that you can switch this up, depending on what look you're going for.
- I like to use my 1/4" presser foot for this step. It doesn't matter what thread color you use, but I always just use white.
- Align the raw edge of your binding strip with the edge of your quilt. Start sewing so that there is about a 10" tail above where you start. This is where you'll connect the other end of your binding later on.
.
.
3. Back stitch a few stitches, then stitch over those stitches as you continue down the length of your binding. Make sure your seam remains 1/4".
.
.
4. When you reach a corner, stop sewing about 1/4" from the adjacent edge. With your needle down, lift your presser foot, and pivot your quilt 45 degrees. Next, sew your seam off of the corner of the quilt. I like to back stitch my last two stitches, just to make sure it stays in place.
.
.
.
.
5. Next, fold your binding so that it is straight up from the top of your quilt. Finger press this in place. Then fold it straight down so that the raw edge of your binding is now aligning with the next edge of your quilt.
.
.
.
Start sewing your 1/4" seam at the top of your fold. Continue to sew along the perimeter of your quilt until you're about 12" away from where you started.
.
.
Connecting your Binding Strips:
Lay your quilt flat, and pull your strips towards one another so that they're taught against the quilt. Have them meet in the middle, then create a 1/4" gap between them. Finger press a crease in both strips. I like to use my clips to make sure that my strips stay taught.
.
.
.
Next, open up the binding strip that's closest to you. Insert a straight pin on the wrong side, in the middle of your binding, where you created a crease.
.
.
Insert the same pin through the right side of your other binding strip, at the intersection of the the two creases.
.
.
Using the pin bring both strips right sides together. The pin will mark the center of the two strips. Adjust the strips so that they are perpendicular to one another. Pin in place.
.
.
.
Use your hera marker to draw a line, if desired. Remember that you want your two tails on one side. Sew on the drawn line.
.
.
.
Before I cut away excess fabric, I always like to make sure my strip lays flat.
.
.
Trim away excess fabric 1/4" from the seam and press the seam open.
.
.
Your binding will now lay flat against your quilt. Continue to sew until you overlap with where you started. Backstitch to secure your seam.
.
.
.
Sewing your Binding to the Back of your Quilt:
Now it's time to make a few adjustments on your machine. I always change my stitch length to match that of my quilting (between 2.5-3 mm). I also like to make sure my bobbin thread matches the front of my quilting and my top thread matches my binding. You might need to adjust your presser foot so that it is not pushing down too much on your binding. You can use a walking foot, or I like to use my clear view zig zag foot. I like to move my needle all the way to the left for this, but it's just a matter of finding what works for you and your machine. If you have a speed adjustment for your machine, turn it way down to start. You can speed it up as you see fit.
Before you begin, you can use clips to fold over your binding and hold it in place. To start the first stitch, bring your bobbin thread up to the top of your quilt. I like to do this to create a tail so that I can later bury my threads. Begin to slowly stitch along the length of your binding. I like to stitch close to the edge, and a slower sewing speed helps me to achieve that accuracy. Notice your stitches when you flip your quilt to the front. You might want them to be closer to your binding, or you might like them where they are. I don't mind the gap between these stitches and my binding; however if you want them to be more hidden, when you sew your binding onto the front of your quilt, use a 3/8" seam allowance instead of 1/4".
.
.

.
When you arrive at a corner, fold one side down, then fold the other side up to create a mitered corner. Approach this corner slowly. Once your needle goes through both edges, lift your presser foot, pivot your quilt, and continue to sew down the edge.
.

.

.

.

.

.
Continue to stitch around the perimeter of your quilt. When you reach where you started, cut your top and bobbin thread with a tail of about 6 inches. Pull your bobbin thread through your quilt so that it is on the same side as your top thread. Tie these two threads into a knot.
.

.

.
Thread a sewing needle with your two threads. Insert the needle right beside/under where your knot is. The needle should not go through the quilt, but rather between the top fabrics and batting. Have your needle come out 1 or 2 inches from the knot.
.

.
Pull your needle through, the clip the threads. Your knot should be completely hidden. This is how I begin/end any stitching that will be visible (I don't back stitch or stitch in place).
.

.
.
.
Binding my quilts used to be my least favorite part of quilting. However, with a little bit of practice, and lots of trial and error, I've seemed to have found a method and system that works best for me and my machine. I hope this post helps do that for you!
..

.
 ..
..
..
.

Quilt Pattern featured above (blue and white stripes) is Interwoven. Pattern can be found in my shop.
.
.
-Brittany
..
.
.
.
.
This post may contain some affiliate links meaning I may receive a small commission from each sell. Rest assured, I only share my favorite items with you!


