Quilting Supplies for Beginners


.
My interest for quilting started when I inherited my grandmother’s sewing machine. It was old and needed some work, so I took it to my local quilt shop, where they fixed it up for about $100. Worth every penny!
.

.
I then made my first quilt out of some of my favorite blouses of my grandmothers. This quilt is one of my most treasured possessions.
I hope this list helps you get started on your quilting journey!
If you are looking for a pretty PDF that you can download and/or print off, click here and I'll email you the checklist!
Supplies:
-
Sewing machine- Like I said, I started with my grandmothers sewing machine that is almost 50 years old. I later upgraded to a Janome 2212, and I now have a Janome 6700P. Start small! You basically just need a machine that can do a simple straight stitch.
-
Needles for your sewing machine. You can start with an 80/12 needle for piecing. I use a 90/14 needle for quilting.
-
Thread- I typically use Aurifil 50 weight thread. Whatever brand you choose, I typically use cotton thread in white or another light color. For quilting, I either use 40 or 50 weight. 40 weight is slightly thicker and stronger, thus a great choice for quilting; however, I like the subtle look of a 50 weight thread.
-
Quilting fabric- Not all fabrics are created equally. Make sure that your fabric is quilting cotton. I like to purchase my fabrics from Fabric Bubb, Fat Quarter Shop, Hawthorne Threads, or Fabric.com. Also be sure to check out local craft/quilt shops in your area. We also have a variety of fabric bundles and quilt kits in our shop.
-
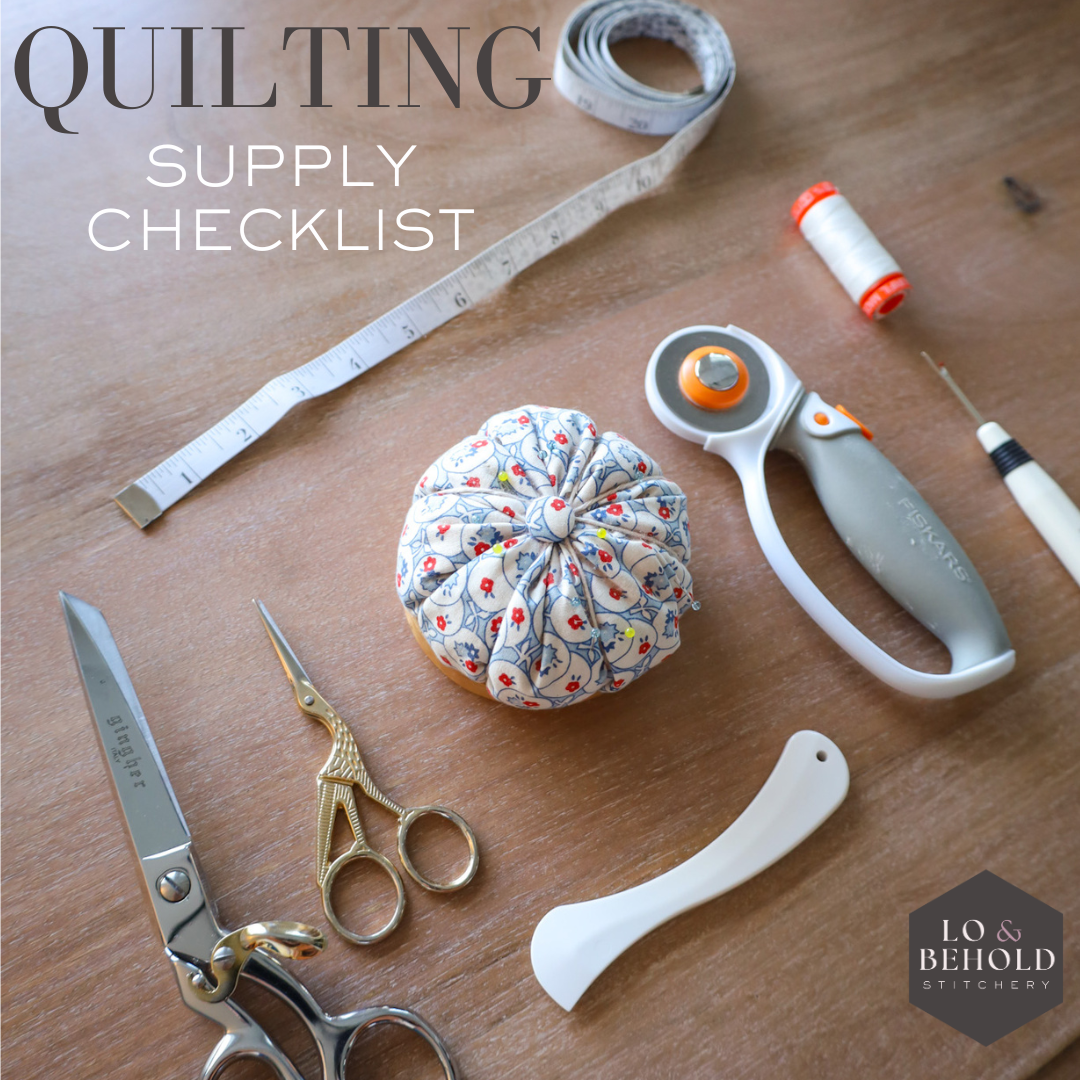
Straight Pins- They don't have to be fancy, but I like these because they're thin, sharp, and I like the color of them!
-
Seam ripper- Lets face it: we all make mistakes! I use my seam ripper ALL. THE. TIME.
-
Iron & Ironing board- You don't need anything fancy. :)
-
Rotary Cutter- I use a Fiskars 45mm rotary cutter. Be careful with it!
-
Self Healing mat- If you are going to be cutting your fabric from yardage, I recommend getting a cutting mat that is at least 24" tall (typically 24"x36"). Smaller cutting mats will work if you’re cutting from precut fabric or fat quarters; but, by going with the larger mat, you will have room to grow. (Go big or go home!)
-
Rulers- Depending on what you’re cutting, you will only use a few rulers. I bought my square rulers as a set, and they all have 30 & 45 degree marks, which come in handy. If you are cutting yardage or big cuts of fabric, you will also need a 24" ruler.
-
Fabric scissors- I have a smaller pair for trimming, and a larger pair for cutting batting and backing pieces. Be sure to use fabric scissors such as Fiskars or Gingher.
-
Batting- this will be the middle layer of your quilt. There are TONS of options out there. You can choose from a thin to thicker loft, made from cotton, wool, polyester, even bamboo. I typically use 100% Cotton Quilter's Dream. Request is the thinnest loft (which is what I typically use), then its Select, Deluxe and Supreme. You can purchase precut batting in various sizes. Always remember to give yourself some wiggle room with your batting; I usually allow 2-3 inches extra on each side.
-
Basting pins or Basting spray- When I first started quilting, I used curved safety pins to baste my quilt. Now, I am completely hooked on basting spray, particularly 505. I’ve tried other brands, but this has by far been my favorite.
-
Tape- You'll need this for basting your quilt. I typically use painters tape.
-
Hera marker or temporary marker (optional)- If you want to mark lines for your quilting, either of these tools can come in handy. I personally love my Hera marker.
-
Walking foot- Some might argue that this is optional, and to a certain extent, it is. If you plan on quilting your quilt yourself (opposed to sending it to a long-arm quilter or hand quilting), a walking foot will make your life a million times easier (and your quilt that much prettier!). Once you baste your quilt sandwich (top layer, batting and backing), you will use your sewing machine to quilt all three layers together. I HIGHLY recommend using a walking foot for this step. It will be specific to your machine brand, so make sure you do your research. I'll go more in depth about quilting in a later post, so be sure to check back!
-
Quarter inch presser foot (optional)- Like the walking foot, this is another attachment for your sewing machine to help you achieve the perfect 1/4” seam-which is the standard seam allowance in the quilting world. If you plan of following a pattern, you’ll more than likely need 1/4” seam. While this presser foot is nice to have, there are other ways to achieve that perfect seam allowance.
-
Shout color catchers- I ALWAYS wash my quilt right after completion with 1-5 color catchers (depending on the size of quilt and range of colors). This helps prevent any color bleeding that may occur.
-
Quilt pattern- I have made several quilts without a pattern. While it is easy to throw something together willy-nilly, having a pattern really cuts down on waste, time and energy. There are lots of great patterns out there! Check out my own original patterns here.
Well, that's all I have for you! There is some up-front cost with quilting, but the good news is: most of these items will stick with you for a long time!
PS- Have you heard about Beginner Quilting Academy?! It's our 8-week, online starter course that takes you from knowing zero about quilting to a fully confident beginner! Doors are currently open through Sunday, April 14th. Read more about it here!

.
Happy quilting!
-Brittany
.
.
.
This post contains affiliate links meaning I may receive a small commission from each sell. Rest assured, I only share my favorite items with you!

