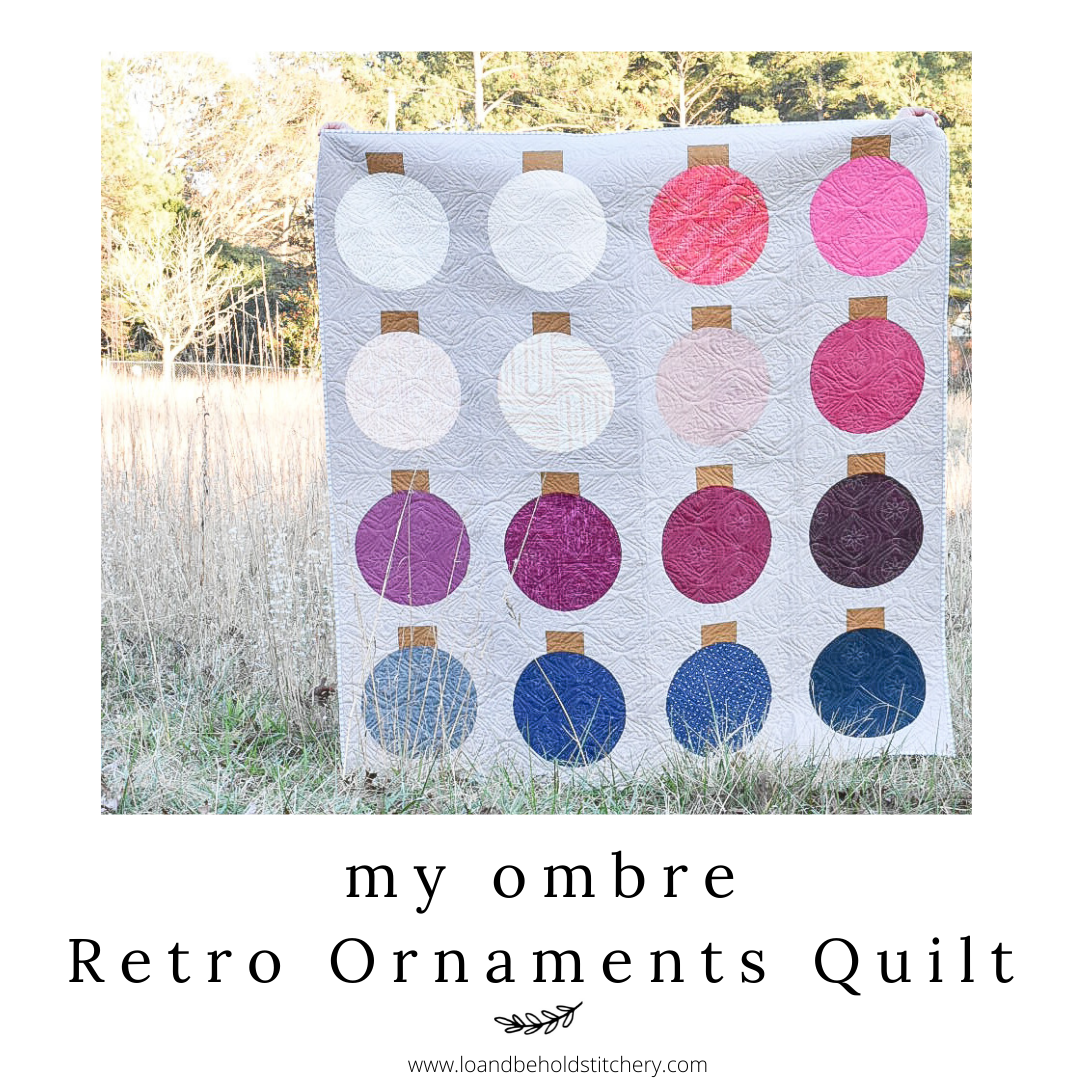
My Ombre Retro Ornaments Quilt

.
Retro Ornaments is now available! You can find the quilt pattern here!
.
I am a firm believer that you can never have too many quilts...let alone Christmas quilts! I've been having a lot of fun with my Retro Ornaments quilt pattern....it's such good way to show off large cuts of fabric! And since it's fat quarter/ quarter yard friendly, its easy to have fun with it!
This pattern is a great intro to curves, if you haven't tried them yet. I have some tips saved to my stories on Instagram and I also have an IGTV video of what the process looks like.
When I came across this bundle from Fabric Bubb, I couldn't resist! TIP: if you have a pattern that is fat quarter (FQ)/ 1/4 yard/ half yard friendly, browse your favorite fabric shops for curated inspiration! You can typically find some collections that have beautifully paired fabrics...meaning you don't have to spend excessive amounts of time selecting your fabrics and agonizing about whether or not they go together. I personally stock some FQ bundles in my shop, but I also love shopping from Cottoneer and Fabric Bubb! This particular bundle is called the Wedding Bouquet and it is composed of 19 fat quarters. You can find the bundle here.
.
.
.
I am OBSESSED with how these fabrics play together. There's quilter's cotton, wovens, and even some with gold metallic. The metallic is what made me think this would be a fun Christmas quilt. I also wanted to create a Retro Ornaments quilt that played with color gradients.
.
.
I talk about my Retro Ornaments quilt here....which is where you can find my original Retro Ornaments quilt and loads of inspiration from my pattern testers.
.
.
.
Retro Ornaments calls for 16 FQs; and since the bundle came with 19 fabrics, I choose my favorites from the group. Then I planned how my quilt would look by laying out the FQs on my cutting table, 4x4. I don't have a design wall, so it was helpful to plan my quilt beforehand with smaller pieces, versus crawling around on the floor with much larger blocks.
.
.
.
I decided to use Kona Leather as my "caps" for my ornaments. For the Background, I needed something that was a little darker than my lighter fabrics, so that they'd stand out. I decided on Kona Doeskin, which is honestly my FAVORITE go-to gray. I used Doeskin for my Vintage Lace quilt that I kept for myself, which you can read about here. It's the most perfect, warm, taupe color that you could ask for!
.
.
.
Once all of my blocks were made, I laid them out on the floor to make sure that I still liked the color placement and I did. Time to create my rows!
I decided to add the optional top border, which is included in the pattern. I just love how this turned out!
.

.
I sent my quilt top and backing to Knot & Thread Designs and YALL, THIS QUILTING IS PERFECT! Gah! I'm so smitten with how it turned out.
.
.
.

.
Oh and my backing! I've been saving this fabric for the perfect project. It's made by Tilda...which, I've never used before, but I must say, I'm a big fan! I love how it has a "vintage" look.
.
.
For my binding, I decided to use a blue stripe from Coats. It's kind of distressed and "old" looking, which fit the bill for exactly what I wanted. Plus, you can't go wrong with striped binding!
.
.
.
.
.
Overall, I'm smitten with how this quilt turned out. I wasn't planning on keeping this quilt for myself, but after seeing the end result, I think I might have to!
.

.
.
Want to make a Retro Ornaments Quilt of your own? Grab the pattern here.
.
Happy quilting!
.
.
.
Brittany


