Scrappy Quilted Coaster Tutorial

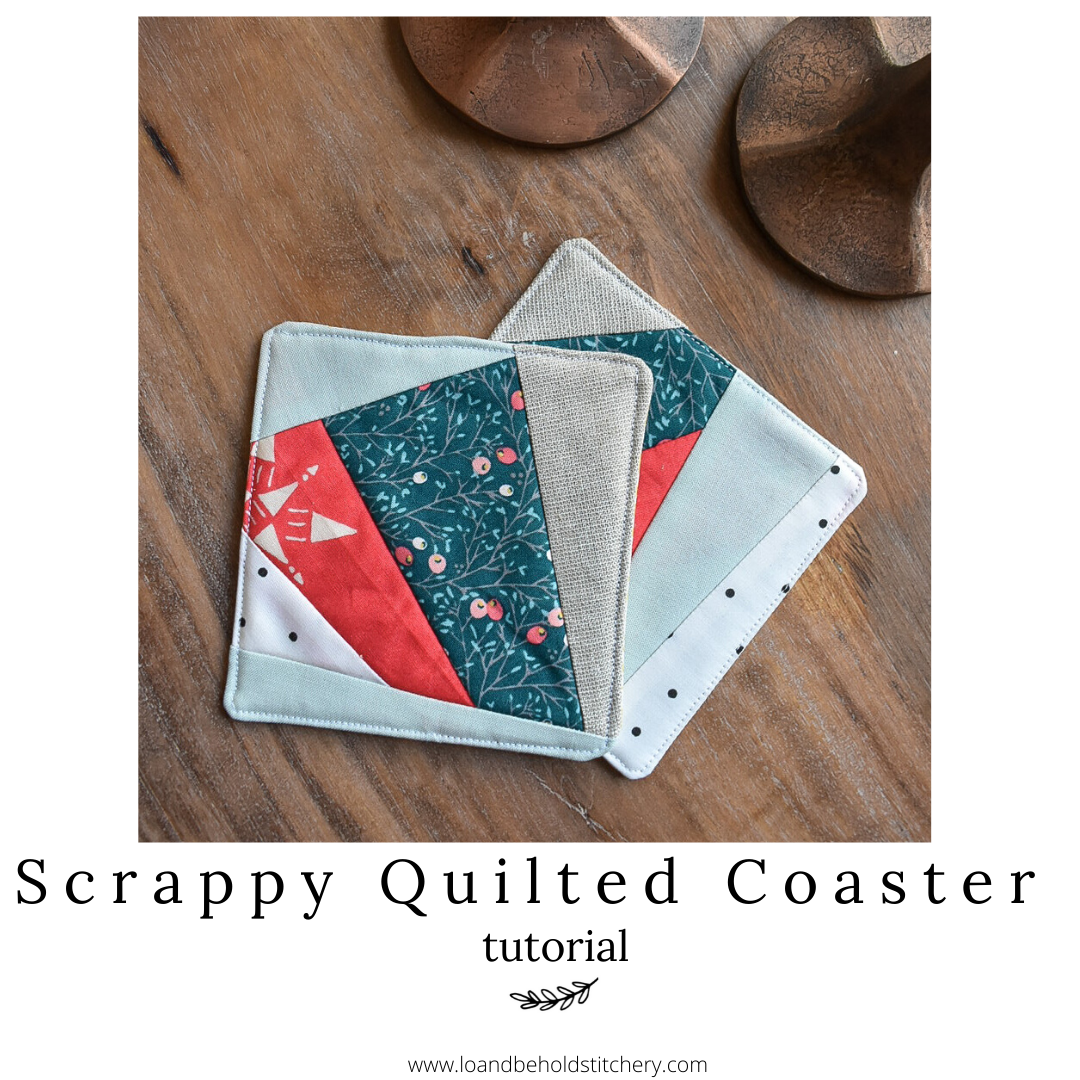
Christmas is just a few days away! Ekkk! If you're like me and you still need a few last minute stocking stuffers or gift ideas, these coasters are quick, easy and BEAUTIFUL. Plus, it's like you're making a mini quilt....how fun is that?!
This is also a good opportunity to raid your scrap bin...and to use up all of those scrap pieces of batting. Here's what you'll need:
- an assortment of various size scraps
- scrap batting; at least 5" square, but you can customize the size
- sewing machine, thread, scissors
- square ruler
- rotary cutter
.
The berry print, red print and polka dots are from Art Gallery Fabrics. The solid light mint is Kona Desert Green. I'm not sure what the glittery one is...if you know, please share!
.
.
.
First you are going to cut your batting. I've tried a lot of different sizes, but I landed on a 5" square. Feel free to create a larger or smaller coaster as you see fit.
.
.
Since my batting scraps always have jagged edges, use the ruler to cover your 5" square piece of batting. Be sure to extend past 5" so that you have room to square it up. Cut along the right and top edges of the ruler.
.
Then, flip your batting piece. Line up the left and bottom freshly cut edges with the 5" mark on your ruler. To square up your piece, cut along the right and top edges.
.
.
Now, it's time to make it pretty!
.
.
Pick out your first scrap piece of fabric. It can be any sort of shape you'd like, as long as it has at least one straight edge. Place it right sides together on top of your batting square. Sew a 1/4" seam along an edges of the piece of fabric. To start and stop your seam, just sew onto the batting. You can do a lock stitch or sew back and forth a few times, but it's not necessary.
.
.
.
.
Flip the fabric piece, right side up and press the seam.
.
.
.
Trim your fabric so that it lines up with the batting.
.
.
Pick your next piece of fabric and place it right side down on your batting square. Arrange the new piece so that it overlaps the previous piece in some way. This is when you can get creative with your placement. Play around with various piece sizes and angles. Before you sew it down, flip the fabric over to the right side just to double check that that's where you want it.
.
.
.
Flip, press, trim.
.
.
Continue to add fabric pieces until all of your batting is covered by fabric. Take extra care to ensure the there are no raw edges anywhere on the batting. In other words, all of your pieces should be overlapping each other.
.
.
.
.
.
TIP! If your fabric piece spans the width of your batting square, flip it over and trim the fabric piece from behind.
.
.
At this point, if you want to add some decorative stitches, you can. In the past, I've done some straight lines stitches to accent the various angles of my fabric pieces...however, I also like the simplicity of leaving it like it is. :)
.
.
It's time to add the backing! You'll need a 5" piece of fabric. TIP: measure your batting piece, it might be a smidge smaller than 5" after all of the trimming. You want your batting square and your backing to be exactly the same size...whatever that may be.
.
Place your backing fabric right sides together with your batting square. Pin or clip in place.
.
.
.
Next, bring your "quilt sandwich" over to your machine. Starting about an inch from one of the corners, start sewing 1/4" around the perimeter of your square. Stitch backwards and forwards to lock your seam. Be sure to stop about 1/4" from the corner to pivot your square to sew down the next edge. As you are making your way around the square, end your seam about 2"-3" from where you started. Stitch backwards and forwards to lock your seam.
.
.
.
.
Snip the corners so that there is less bulk when you flip your coaster right side out.
.
.
Now, stick your fingers through the 2-3" gap and pull the right sides of the coaster through the gap.
.
.
.
.
Next, use something pointy (but not sharp) to stick through the 2-3" gap to push out the corners. I use a tapestry needle (no idea why I have this, haha), but you can also use the eraser end of a pencil.
.
.
Next, press your coaster with an iron. Make sure that the edges in the 2-3" gap get folded under. NOTE: You'll be sewing 1/8" from the edge, so you want to make sure that you're folding those pieces enough to where you'll catch the fold.
.
.
Now it's time to finish up these bad boys! You're almost there!
Starting just above the 2-3" gap, sew about 1/8" from the edge, around the perimeter of your coaster. Be sure you're close enough to the edge that you sew your gap shut.
NOTE: Any time I am finishing something that is a "top stitch", I never sew back and forth to lock my stitches. This is just a personal preference, I don't like the look of it. Instead, I bury my threads. To do this, I hold on to my top thread, put my needle down, then back up as I pull on this top thread. That'll bring my bobbin thread up to the top of my coaster. I'll tuck both threads underneath my presser foot and continue stitching. I'll bury those threads at the end.
.
.
.
When you reach where you started, cut your top and bobbin thread with a tail of about 6 inches. Pull your bobbin thread through to the top of your coaster so that it is on the same side as your top thread. Tie these two threads into a knot.
Thread a sewing needle with your two threads. Insert the needle right beside/under where your knot is. The needle should not go through coaster, but rather between the back fabric and batting. Have your needle come out 1 or 2 inches from the knot.
.
.
Then snip those threads.
.
.
Use the same method for your other two threads.
.
.
YOU DID IT!!
.
.
.
.
These were fun, right?! You could literally have coasters for every season (or every quilt, haha).
Be sure to tag me on social media with photos of your scrappy coasters...I'd love to see them!
.
.
Enjoy!
.
Brittany
.
P.S. Need another stocking stuffer/gift idea? Check out my Lanyard Tutorial! Or, I have digital and paper quilt patterns in my shop. :).
..
.
.
.
This post may contain some affiliate links meaning I may receive a small commission from each sell. Rest assured, I only share my favorite items with you!


