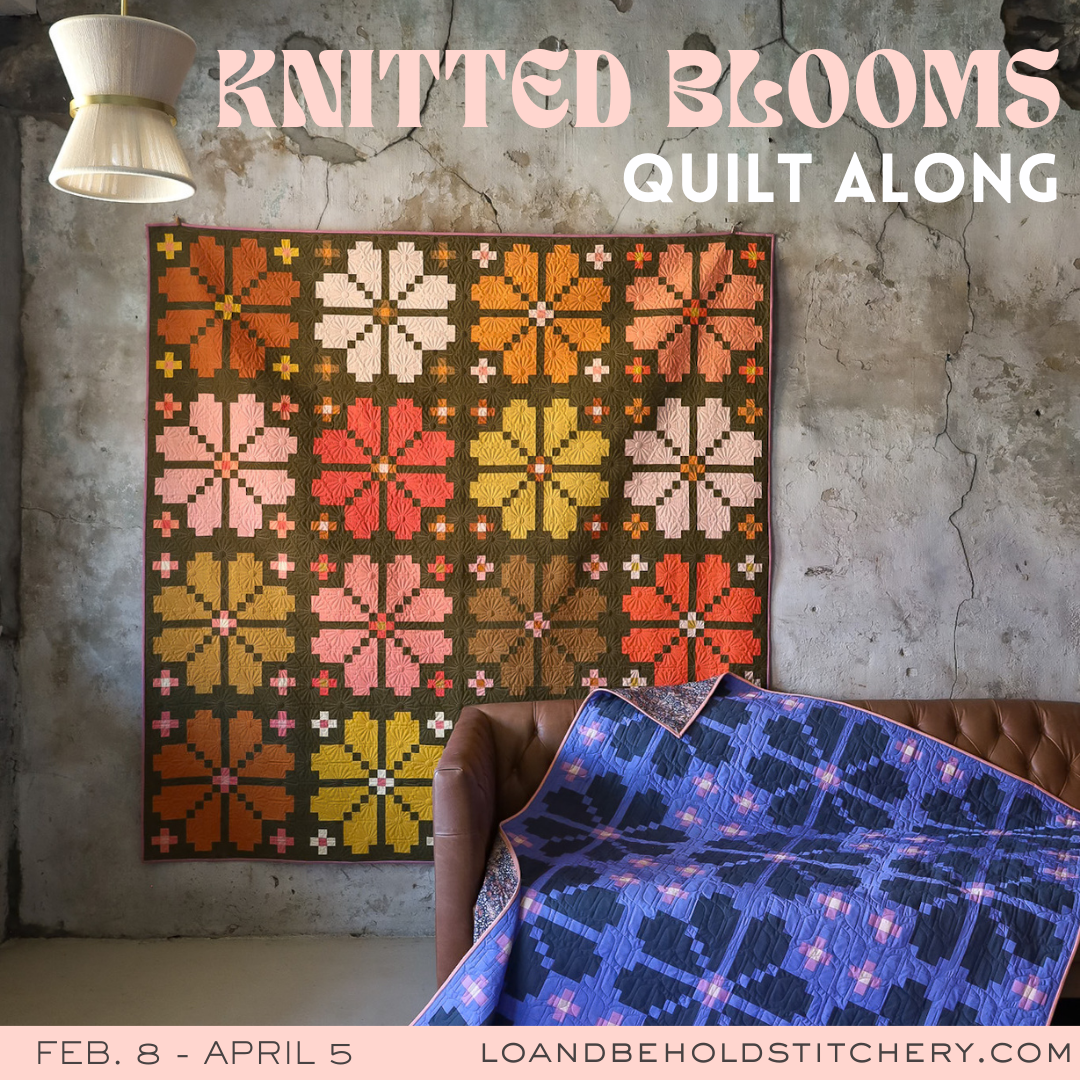
Knitted Blooms Quilt Along - Week 1: Cutting + Mix and Match
Welcome to Week 1 of the Knitted Blooms Quilt Along! I'm really looking forward to our time together over the next 8 weeks and seeing all of your beautiful quilt tops come together!
Be sure you have a copy of the Knitted Blooms quilt pattern (either a Paper copy or PDF) and let's get started!
ABOUT THE QUILT ALONG
If you're new to this Quilt Along and you haven't read through our Knitted Blooms Quilt Along Details page, be sure to do that first. There, you'll find information about choosing fabrics, available quilt kits, information about other Knitted Blooms samples that I've made and more.
We'll be creating a Knitted Blooms quilt top together over the next 8 weeks. Here's a look at our schedule:

Are you ready?!
A LITTLE ABOUT ME...
If we haven't "met", I'm Brittany...the quilter, pattern designer and online educator behind Lo & Behold Stitchery. I started quilting in my grandmother's memory and it's turned into an enormous passion of mine! I love connecting with fellow quilters via the internet via quilt patterns, tutorials and online courses. You can read more about Lo & Behold Stitchery here.

This quilt along will live under the "Quilt Alongs" section of our website. Information will be both in a blog post form as well as a video form. You'll find the videos on our You-Tube channel, which will also be linked within the blog posts. I recommend watching the videos AND reading the blog posts, as there will be helpful information in both. So with that said, here we go!
Here's what I cover in the video:
BEFORE YOU GET STARTED
Video Minutes 1:30-4:48
- Quilt Sizes: Pillows/Wall Art, Baby, Small Throw, Large Throw, Twin/Full, Queen, King.
- Quilt Layout Options: Modern, 4-Color, Traditional
-
Choosing Fabrics: You should already have your fabrics picked out, but if you don't, please do not worry! You can find lots of inspiration in the pattern, use Pre-Quilt to choose colors, or purchase a kit from our shop or from a shop that we have partnered with!
-
PreQuilt - We’re happy to share that we’ve again partnered with PreQuilt to bring you free online interactive coloring pages. These make it really easy to test out many different fabric color combinations quickly! Digitally plan this quilt and all Lo & Behold designs with the click of a button. They have a really great free option that allows you to use different brands of solids; or you can upgrade your plan to use prints, save your designs and more! Use the code LOANDBEHOLD for 20% off your annual subscription (either Basic or Market)!
- Lo & Behold Stitchery Quilt Kits
-
Quilt Shops Carrying Knitted Blooms Kits:
-
- Floyd the Fox (Germany)
- Piece Fabric Co. (Alberta, Canada)
- Modern Stitch Co. (Ontario, Canada)
- Sew Curated (Ontario, Canada)
- Scribbly Gum Quilt Co. (Australia)
- The Hackney Quilter (UK)
- Cherrywood (USA)
- Going Coastal (USA)
- Thai Charm (USA)
- Golden Girls Fabric Co. (USA)
- Fieldstone Fabric (USA)
- Blossom Quilt (Denmark)
-
FABRIC PREP
Video Minutes: 4:49-8:24
Pre-Washing Fabrics
Pre-washing simply means to wash your fabric before you cut into them and start sewing. The benefit of pre-washing is that you will wash away excess dye to reduce possible color bleeding. Reds, blues and purple fabrics are notorious for bleeding, so I sometimes pre-wash when I have high contrast colors such as red and white. While I acknowledge that not pre-washing these fabrics is a "risk," often times, I skip pre-washing and use Shout Color Catchers when I wash my quilt for the first time. Typically, these Color Catchers do the trick, but if I ever find bleeding in my quilt after the first wash, I would rather deal with the aftermath than take the time to prewash. This comes down to personal preference and how much you want to be adventurous with it (or not).
Most fabric manufacturers use starch and stabilizers on their fabrics to keep the fibers stiff while they're on the bolt. When you wash your fabric, either before it's in the quilt or after, you wash away that starch. Personally, I like the added stiffness, as it makes for cutting and sewing to be easier. But if you choose to prewash you may decide that you want to add some starch back to the fabric to make it easier to work with.
Some quilters also choose to pre-wash so that they "pre-shrink" their fabric. This makes a difference if you are using various fabric types within your quilt. For example, linen shrinks at a different rate than cotton does. If you use both types of fabric within your quilt, once they shrink they could cause areas of pulling on your seams. If you go ahead and pre-wash/pre-shrink everything, then the fabrics in your quilt will all behave similarly, which will in turn give you a more stable quilt. That being said, I can probably count on one hand the amount of times that I've pre-washed my fabric.
How to Prewash:
Wash fabrics in cool water with a mild detergent. Feel free to use a mesh bag to prevent fabric from stretching or twisting. Dry on low heat and remove the fabrics from the dryer immediately once it's dry. For yardage, re-align selvedges and press the fabric to create a new fold. Most people do not pre-wash pre-cuts (nor fat quarters) because if the fabric frays too much, you might not have the designated amount that you need for your project. Some people also “stay-stitch” about 1/8" away from the perimeter of the edges to help prevent the fabric from unraveling too much.
Again, pre-washing is one of those a highly debated topic in the quilting world, so don't feel like there's a right or wrong answer. Follow your heart. :)
Using Starch:
- Starching - Starch makes your fabric more stiff, which makes it easier to sew and work with. If you do decide to starch, you'll want to starch your fabric before you cut them. For yardage, assess how your WOF is folded. You'll want the two selvedge ends to be right on top of each other. This may mean ironing a new crease in your fabric. When I starch, I spray the entire piece of fabric to get it pretty saturated, then use my iron to press out any wrinkles or creases. This is the starch that I use.
- Pressing - You'll want to press your fabrics to get out all of the harsh creases and wrinkles. Here is the link to my large ironing board that I love!
- Refolding Fabric - This only applies to yardage, but it is super important to refold your fabric so that your strips are straight. Be sure to refer to the video to see how I do this, especially with yardage. Refer to this blog post for details.
CUTTING
Video Minutes: 8:25-22:45
- Favorite Cutting Supplies:
- 8.5" Creative Grids Ruler - This is my favorite and most-used ruler
- 6" x 24" or 8.5" x 24" Ruler - What I use to cut WOF strips.
- 18" x 24" - If you don't already have a larger cutting mat, 18" x 24" is great, or 24" x 36" is even better!
- Rotary Cutter
- Replacement Rotary Blades (if needed)
- Iron - I recently purchased this iron off Amazon and it does a great job for the price. I also love my new Oliso iron & find myself using it a lot!
- Click here for a tutorial on How to Cut WOF Strips. This tutorial also covers how to make "Sub-cuts"

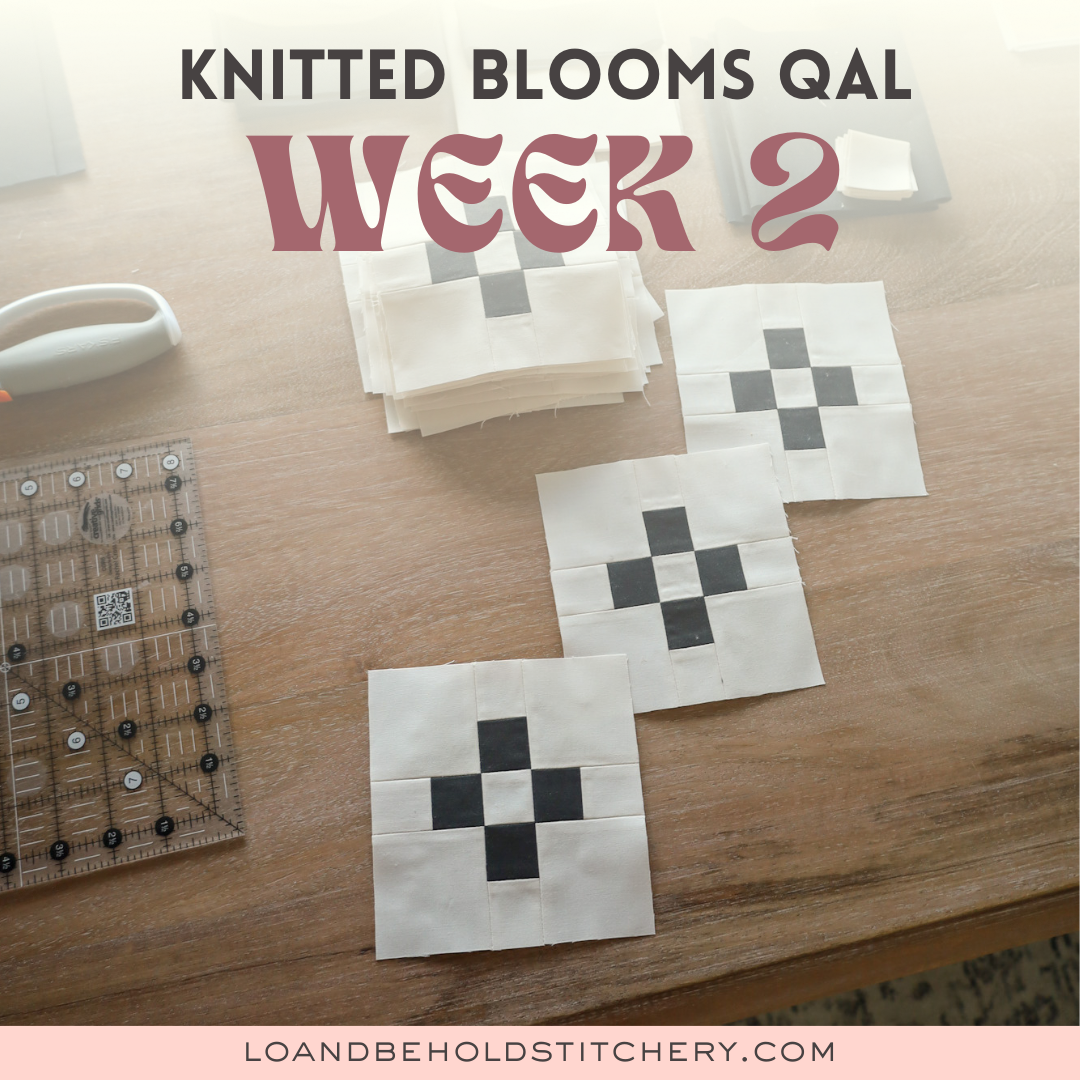
- Mix & Match (Modern version): Video Minutes- 18:49 Each block has three different parts: main flower, small flower, and flower center. We are going to separate the fabric into those three groups & shuffle them around to give a little variety in each block.


- Color Inspiration: You can find lots of color inspiration in the pattern for each version of the quilt!
PATTERN NOTES
- Read through all pattern instructions.
- WOF: This pattern assumes your WOF (width of fabric) is at least 42". This is important because if your fabric is less than 42" you might not be able to do exactly as the pattern says and *may* need some extra fabric. The fabric requirements all have some overage, so odds are, you'll have enough, but it's just something to keep in mind.
- Similarly, if your fabric is greater than 42", you might be able to cut your fabric slightly differently than what the pattern calls for. I notice this when I work with Kona solids, which is usually around 44"45".
- Sub-cuts: Within the Cutting Instructions table, bolded text is a WOF strip. Bullet points listed underneath WOF cuts are "sub-cuts". Here's an example:

This means that you will:
- Cut (7) 2.5" x WOF strips first. Set those strips aside.
- From those (7) strips, cut (16) 2.5" x 6.25" pieces and (64) 2.5" x 2.5".
- Asterisks: Any time you see the asterisk symbol (*), that indicates a square measurement, For example, 2.5"* = 2.5" x 2.5".
WHAT I'M MAKING
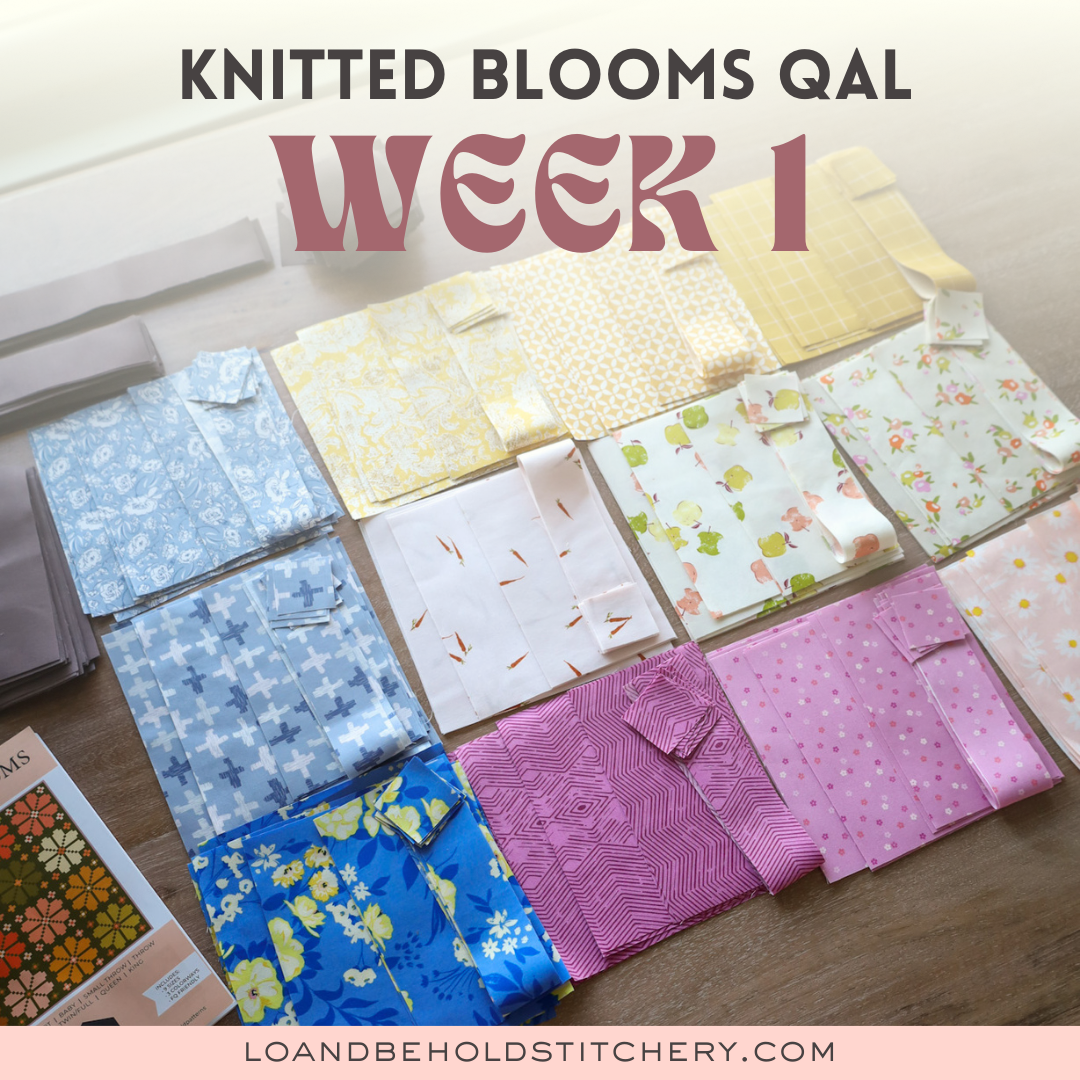
I decided to use small scale prints for this version to try something new. I picked out several of my favorite Art Gallery Fabrics prints including ones with carrots, apples and beautiful little florals. I went with AGF Driftwood as my background to give everything a neutral, dark-ish background. We have kits for this quilt in the shop! Remember that our shop will be close 2/9- 2/28 as we travel for QuiltCon (except for digital items!)

WEEK 1 PRIZE:
Video Minutes: 22:46-24:30

There are prizes for each week of the Quilt Along! This week, we are giving away a Stripology Ruler to one lucky winner!
To enter:
- Only public Instagram accounts are eligible for entry.
- Take a progress photo of this week's progress (ex. your fabrics cut, mix & matched, etc). Please make sure that your photo does not include any part of the pattern material. That is for your eyes only!
- Share the photo to Instagram.
- Use the hashtags #KnittedBloomsQuilt, #LoAndBeholdPatterns, and #KnittedBloomsQAL in the caption.
- Tag @LoAndBeholdStitchery in the photo.
The winner will be shared in the following week's blog post!
"I'm In" Prize:
If you participated in sharing the "I'm In" graphic prior to the QAL starting, it's time to pick a winner for the $75 gift card to our shop! And the winner is...... @a.pair.of.soks!
Congrats! Please send us a DM on Instagram and we'll get you the details!
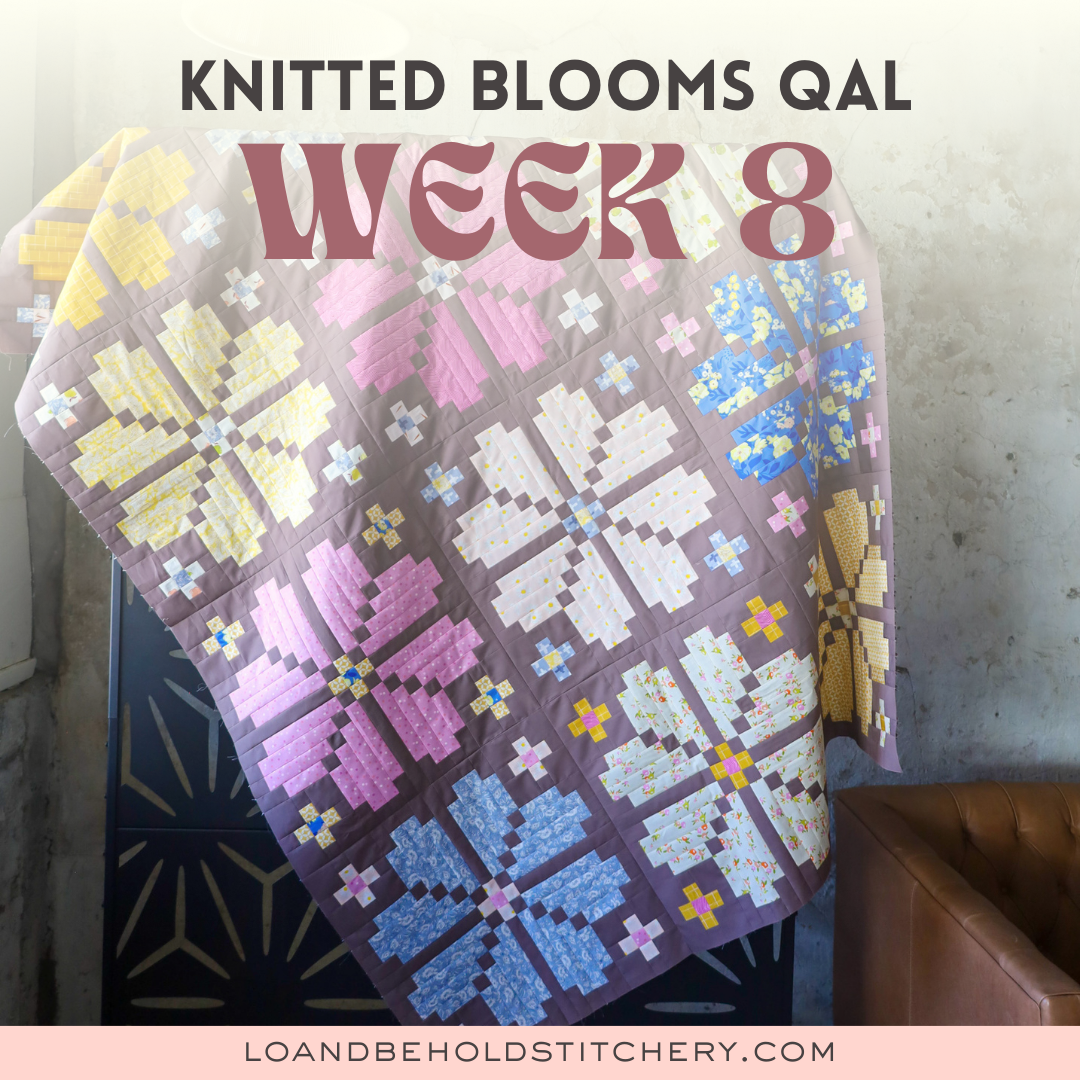
That's all for this week. I'll see you next week for Week 2!
Brittany

.
.
.
This post contains affiliate links. If you purchase that item through my link, I may receive a small commission from your purchase at no cost to you. I only recommend products that I know and love!
Discover more learning opportunities with a Lo & Behold Stitchery course- enroll today!
- Beginner Quilting Academy
- Triangle School
- Curve College
- New Course Coming April 2025!