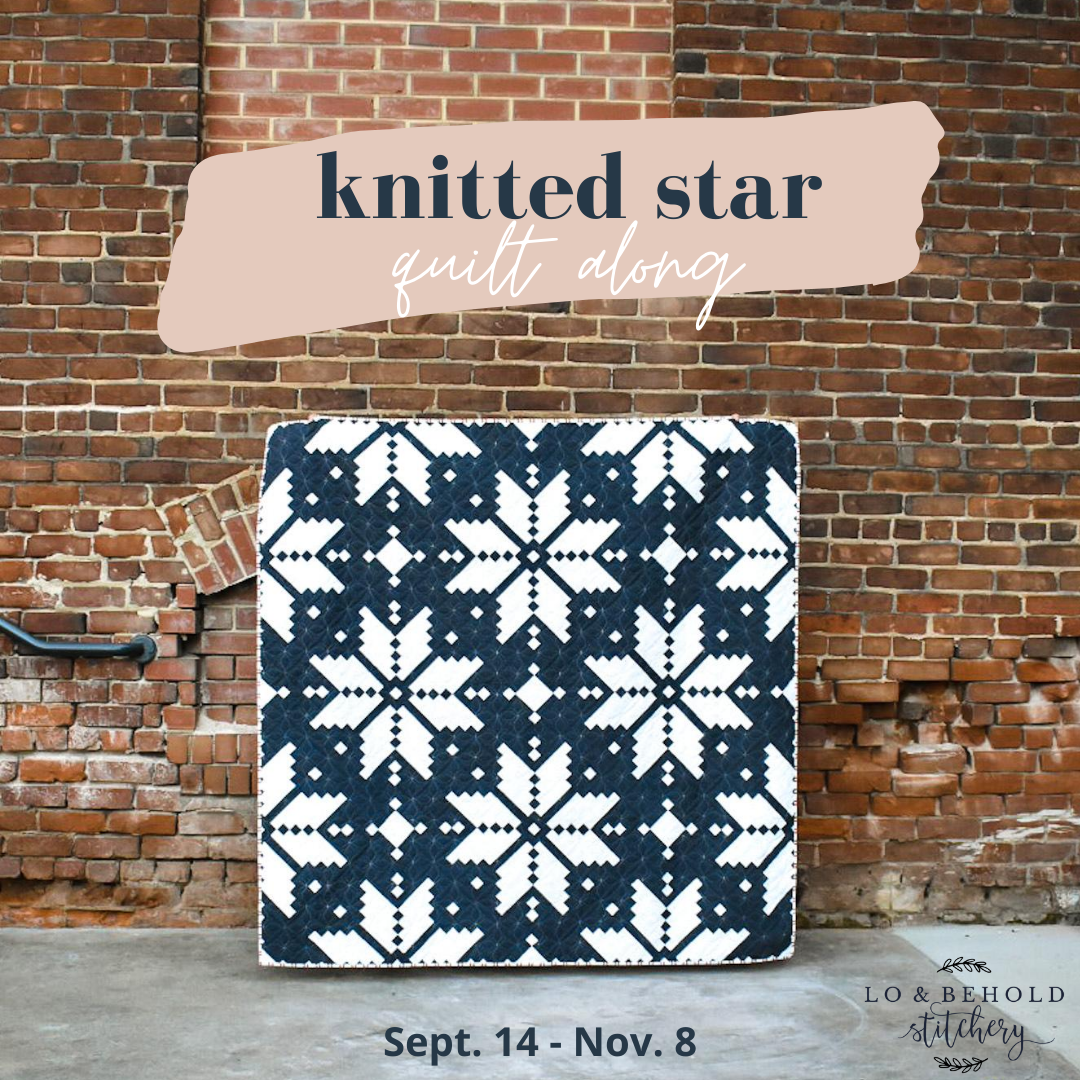
Knitted Star QAL - Week 1
Hello!
Welcome to the Knitted Star Quilt Along!
.
.
If we haven't "met", I'd like to introduce myself! I'm Brittany...the quilter and designer behind Lo & Behold Stitchery. I started quilting in my grandmother's memory and it's turned into an enormous passion of mine! I love connecting with fellow quilters via the internet, and I'm so excited to get started!
Lets jump in!
.

First thing's first: If you haven't already purchased the pattern, you'll need to do that. You can find the digital pattern here and the paper pattern here. Note: the digital pattern will be an instant download after you purchase. The paper pattern will have to be shipped to you. This week, we will be getting all paper pattern orders in the mail on the same day they are ordered. So if you live in the US and order today, it should arrive in 2-3 days.
Every Monday, for the next 8 Mondays, I'll share a new blog post with the weekly prompt. You'll find the task that we are doing for the week, as well as detailed instructions of any key steps. You can create any size, of the pattern, in either Modern or Tradtional; but in order to be entered to win the weekly prizes, you'll have to (at least) create either a Throw or Bed size. (Note: I decided to do blog posts instead of emails like the previous quilt alongs. This way, you can always visit my website and find the information more easily. I will send out emails to everyone on the Knitted Star QAL email list once the posts are ready.
Here is our Schedule:
- Week 1: Plan our quilts, gather materials, orient ourselves to the pattern
- Week 2: Cut our fabrics
- Week 3: Assemble all Part A's
- Week 4: Assemble Row's F-I
- Week 5: Assemble Row's J-L
- Week 6: Block Assembly
- Week 7: Catch up Week
- Week 8: Quilt Top Assembly
Supplies
- Knitted Star Quilt Pattern
- Basic sewing supplies
- The two quilting rulers that I use in this pattern are my 6" x 24" ruler for cutting WOF strips, and my 12" square ruler to cut units from my strip set. If you don't have these exact rulers, but have something similar, you should be able to make it work.
- If you are making the Traditional Knitted Star quilt (especially the bed size), the Stripology ruler is extremely helpful, but not required.
- A wool pressing mat is optional but super helpful to achieve flat seams. Since these blocks have a lot of seams, I would consider using one. I love my Project Wool Mat from Amazon. I've had it for a few years now and it's held up great.
Sizes
This pattern is block-based, meaning if you want to make a larger or smaller quilt, you'll simply add or subtract blocks. The sizes within the pattern are Wall Hanging (27" square), Throw (62" square) and Bed (93" square). When I was writing the pattern, I had a few ideas for different sizes, but they ultimately didn't make the cut. Since these blocks are so big, the sizes jump quite a bit as you change the number of blocks that you're using. With that in mind, it's sometimes easier to just add borders and call it a day. I know many people don't prefer borders (myself included), but feel free to jazz them up by using multiple smaller strips or maybe some other sort of patchwork. If you want them to be more subtle, I would use the same fabric as your Background fabric. I'll include mock-ups of them below, but please note that you'll have to do your own calculations/adaptations to the pattern. Feel free to share what you do in the Lo & Behold Patterns FB group.
Alternate Size #1: Small Table Runner
- Finished Size: 31" x 62"
- # of Blocks: 4
- # Sashing Pieces: 8
- # Cornerstones: 8

Alternate Size #2: Large Table Runner
- Finished Size: 31" x 93"
- Number of Blocks: 6
- # Sashing Pieces: 12
- # Cornerstones: 11

Alternate Size #3: Rectangle Throw
- Finished Size: 62" x 68"
- Number of Blocks: Same as Throw
- # Sashing Pieces: Same as Throw
- # Cornerstones: Same as Throw
- Borders: 3" wide, top and bottom

Alternate Size #4: XL Throw/ Twin
- Finished Size: 62" x 93"
- Number of Blocks: 12
- # Sashing Pieces: 24
- # Cornerstones: 18

Alternate Size #5: King
- Finished Size: 103" square
- Number of Blocks: Same as Bed Size
- # Sashing Pieces: Same as Bed Size
- # Cornerstones: Same as Bed Size
- Borders: 5" wide on all four sides (adjust as needed)

.
Choosing Fabrics
When I initially designed this quilt, I only wanted it to have two colors. I love how striking and simple high-contrast, two-toned quilts are! This is the "Traditional" option in the pattern. For the Cover Quilt, I used Kona Gotham Gray and White, but a good alternative would be Art Gallery Magnetism and Snow. We have kits for this quilt top in our shop!
.

.
I also created a red and white bed size quilt and I love how it turned out! I used Art Gallery Weathered Brick and White Linen. An alternative would be Moda Rhubarb and Off-White.
.

.
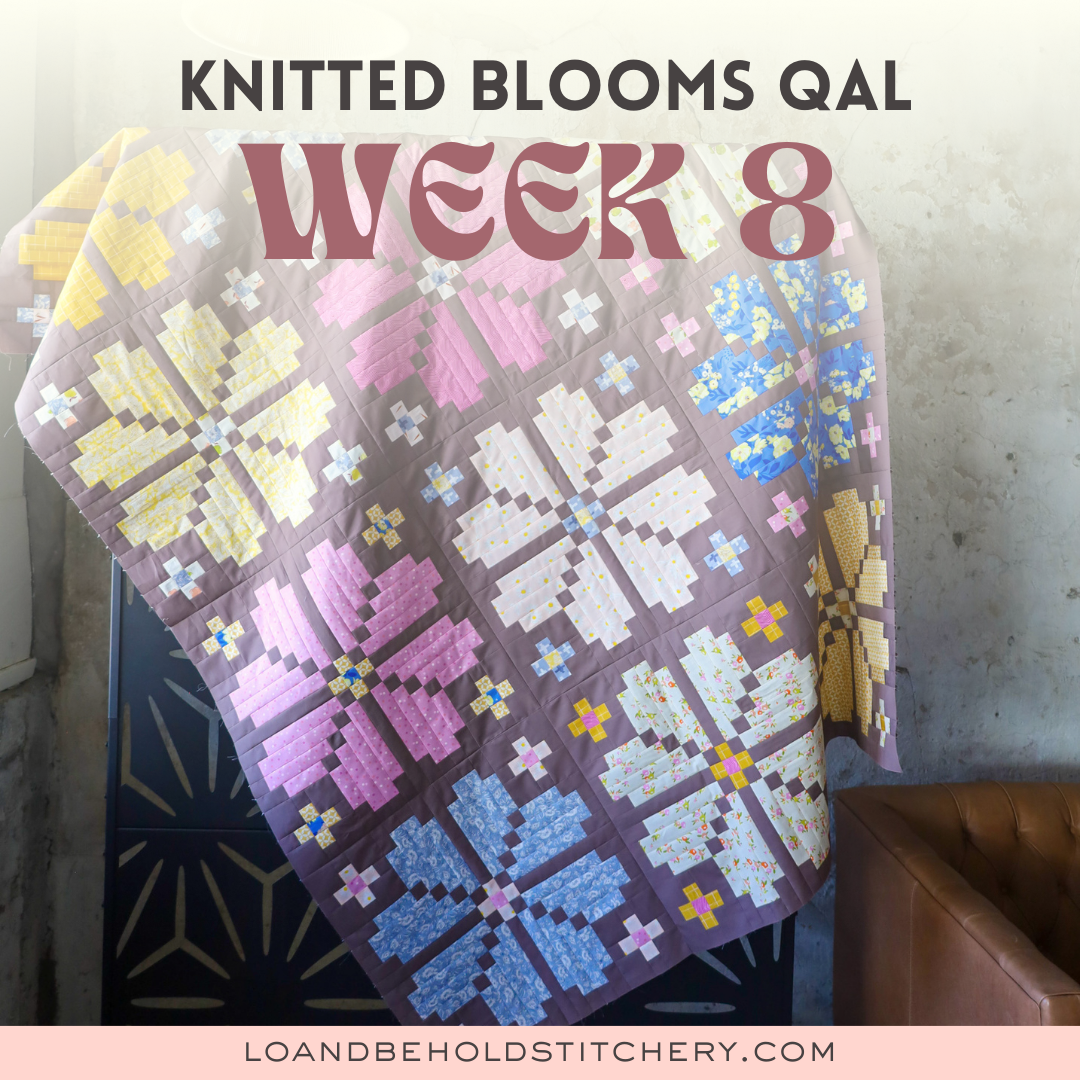
After I created my cover quilt, I began to wonder how the design would look with multiple colors...which led me to create the "Modern" version of the pattern that allows you to use fat quarters. This is a really fun option and is a great way to mix in different colors and themes!
.
.
Keep in mind that you'll be using skinny strips of fabric in this pattern. Smaller scale prints may be best, or....I've seen a few samples that used large scale prints. One of my pattern testers, Rachel, @quiltsforallsparrows created a scrappy Knitted Star quilt and I think it's so cool! Keep in mind that you can still do the strip piecing for this, but shuffle up all of the row pieces before you assemble your blocks so that it has a randomized look.
.

.
For your background I encourage you to think outside of the box. I know that any sort of white or cream is a typical go-to background color. But I feel like this design really POPS when you use a more saturated color.
If you're looking for inspiration, here are some places that you can find it!
- Pattern Tester Knitted Star Blog Post
- SewFinity - Has lots of mock-ups, along with the corresponding fabrics for purchase!
- The #KnittedStarQuilt hashtag on Instagram
- The Lo & Behold Patterns Facebook Group
Here is an extra coloring page that has sharper lines than what the coloring page in the pattern has. Feel free to use colored pencils, markers, etc. to plan your quilt. You can also save the file as a PDF and use something like Adobe or the ReColor app to digitally plan your quilt.
.

.
Pre-washing Fabrics
I've gotten a lot of questions about pre-washing, especially since I know many of you are using red and white fabrics. There is no right or wrong answer to this, it's simply a matter of personal preference. I very rarely prewash my fabrics. I could probably count the amount of times that I've pre-washed my fabrics on one hand. The reasons that I don't like it? For one, it takes a lot of effort. Once you take the fabric out of the dryer, you then have to refold and iron it. If it's a large cut of fabric, this can be a bit of a daunting task. Secondly, I like the "crisp-ness" of fabric that is unwashed...it seems to hold it's shape better and be easier to work with.
That being said, once my quilt is assembled, I am very generous with the Shout Color Catchers. I know some people only use 1 or 2....at minimum, I use 5, depending on the size of the quilt. They're relatively cheap, so there's no harm in using a liberal amount. Feel free to use Color Catchers for the first few washes, or just once.
Again, this is just MY personal preference. If it would make you feel better to prewash your fabrics, be my guest! I've found that the quilting community is split pretty evenly on this topic. Just keep in mind: You will need the full WOF for this pattern. I know some fabric manufacturers (Ruby Star Society is one of them) that have smaller width of fabric measurements and larger selvedges. If you choose to prewash your fabric just be aware that if your fabric shrinks to be less than 42" wide, you may need additional fabric. The same goes for fat quarters. If you look at the fat quarter cutting diagram, you'll see that there isn't much wiggle room. Just be aware of this if you're on the fence about pre-washing. :)
Starching Fabrics
To be honest, I don't really use starch that much. However, I've found that if I am working with smaller pieces (like this pattern) or bias edges, it really does help with accuracy. Starch makes your fabric more stiff, which makes it easier to sew and work with. I also tend to starch fabrics that are thinner/more "silky". Two brands that come to mind are Ruby Star and Art Gallery. I LOVE love love their fabrics; they're high quality, super soft and quilt up very nicely... but I've noticed that I'm more likely to use starch when I sew with these two fabric brands. I don't think I've ever starched Kona, just because it already has a naturally stiff hand.
Remember that you'll want to starch your fabric before you cut them, so if you decide to use it, I recommend going ahead and doing that this week. For yardage, assess how your WOF is folded. You'll want the two selvedge ends to be right on top of each other. This may mean ironing a new crease in your fabric. When I starch, I spray the entire piece of fabric to get it pretty saturated, then use my iron to press out any wrinkles or creases. This is the starch that I use.
Shops Carrying Kits
I've partnered with several fabric shops to create some gorgeous quilt kits!
.
.
.
.

.
.
Scribbly Gum Quilt Co. (Australia based, ships internationally!)
.
.

.
.

.

.

.

.
We also have a few kits in our shop!
.
.
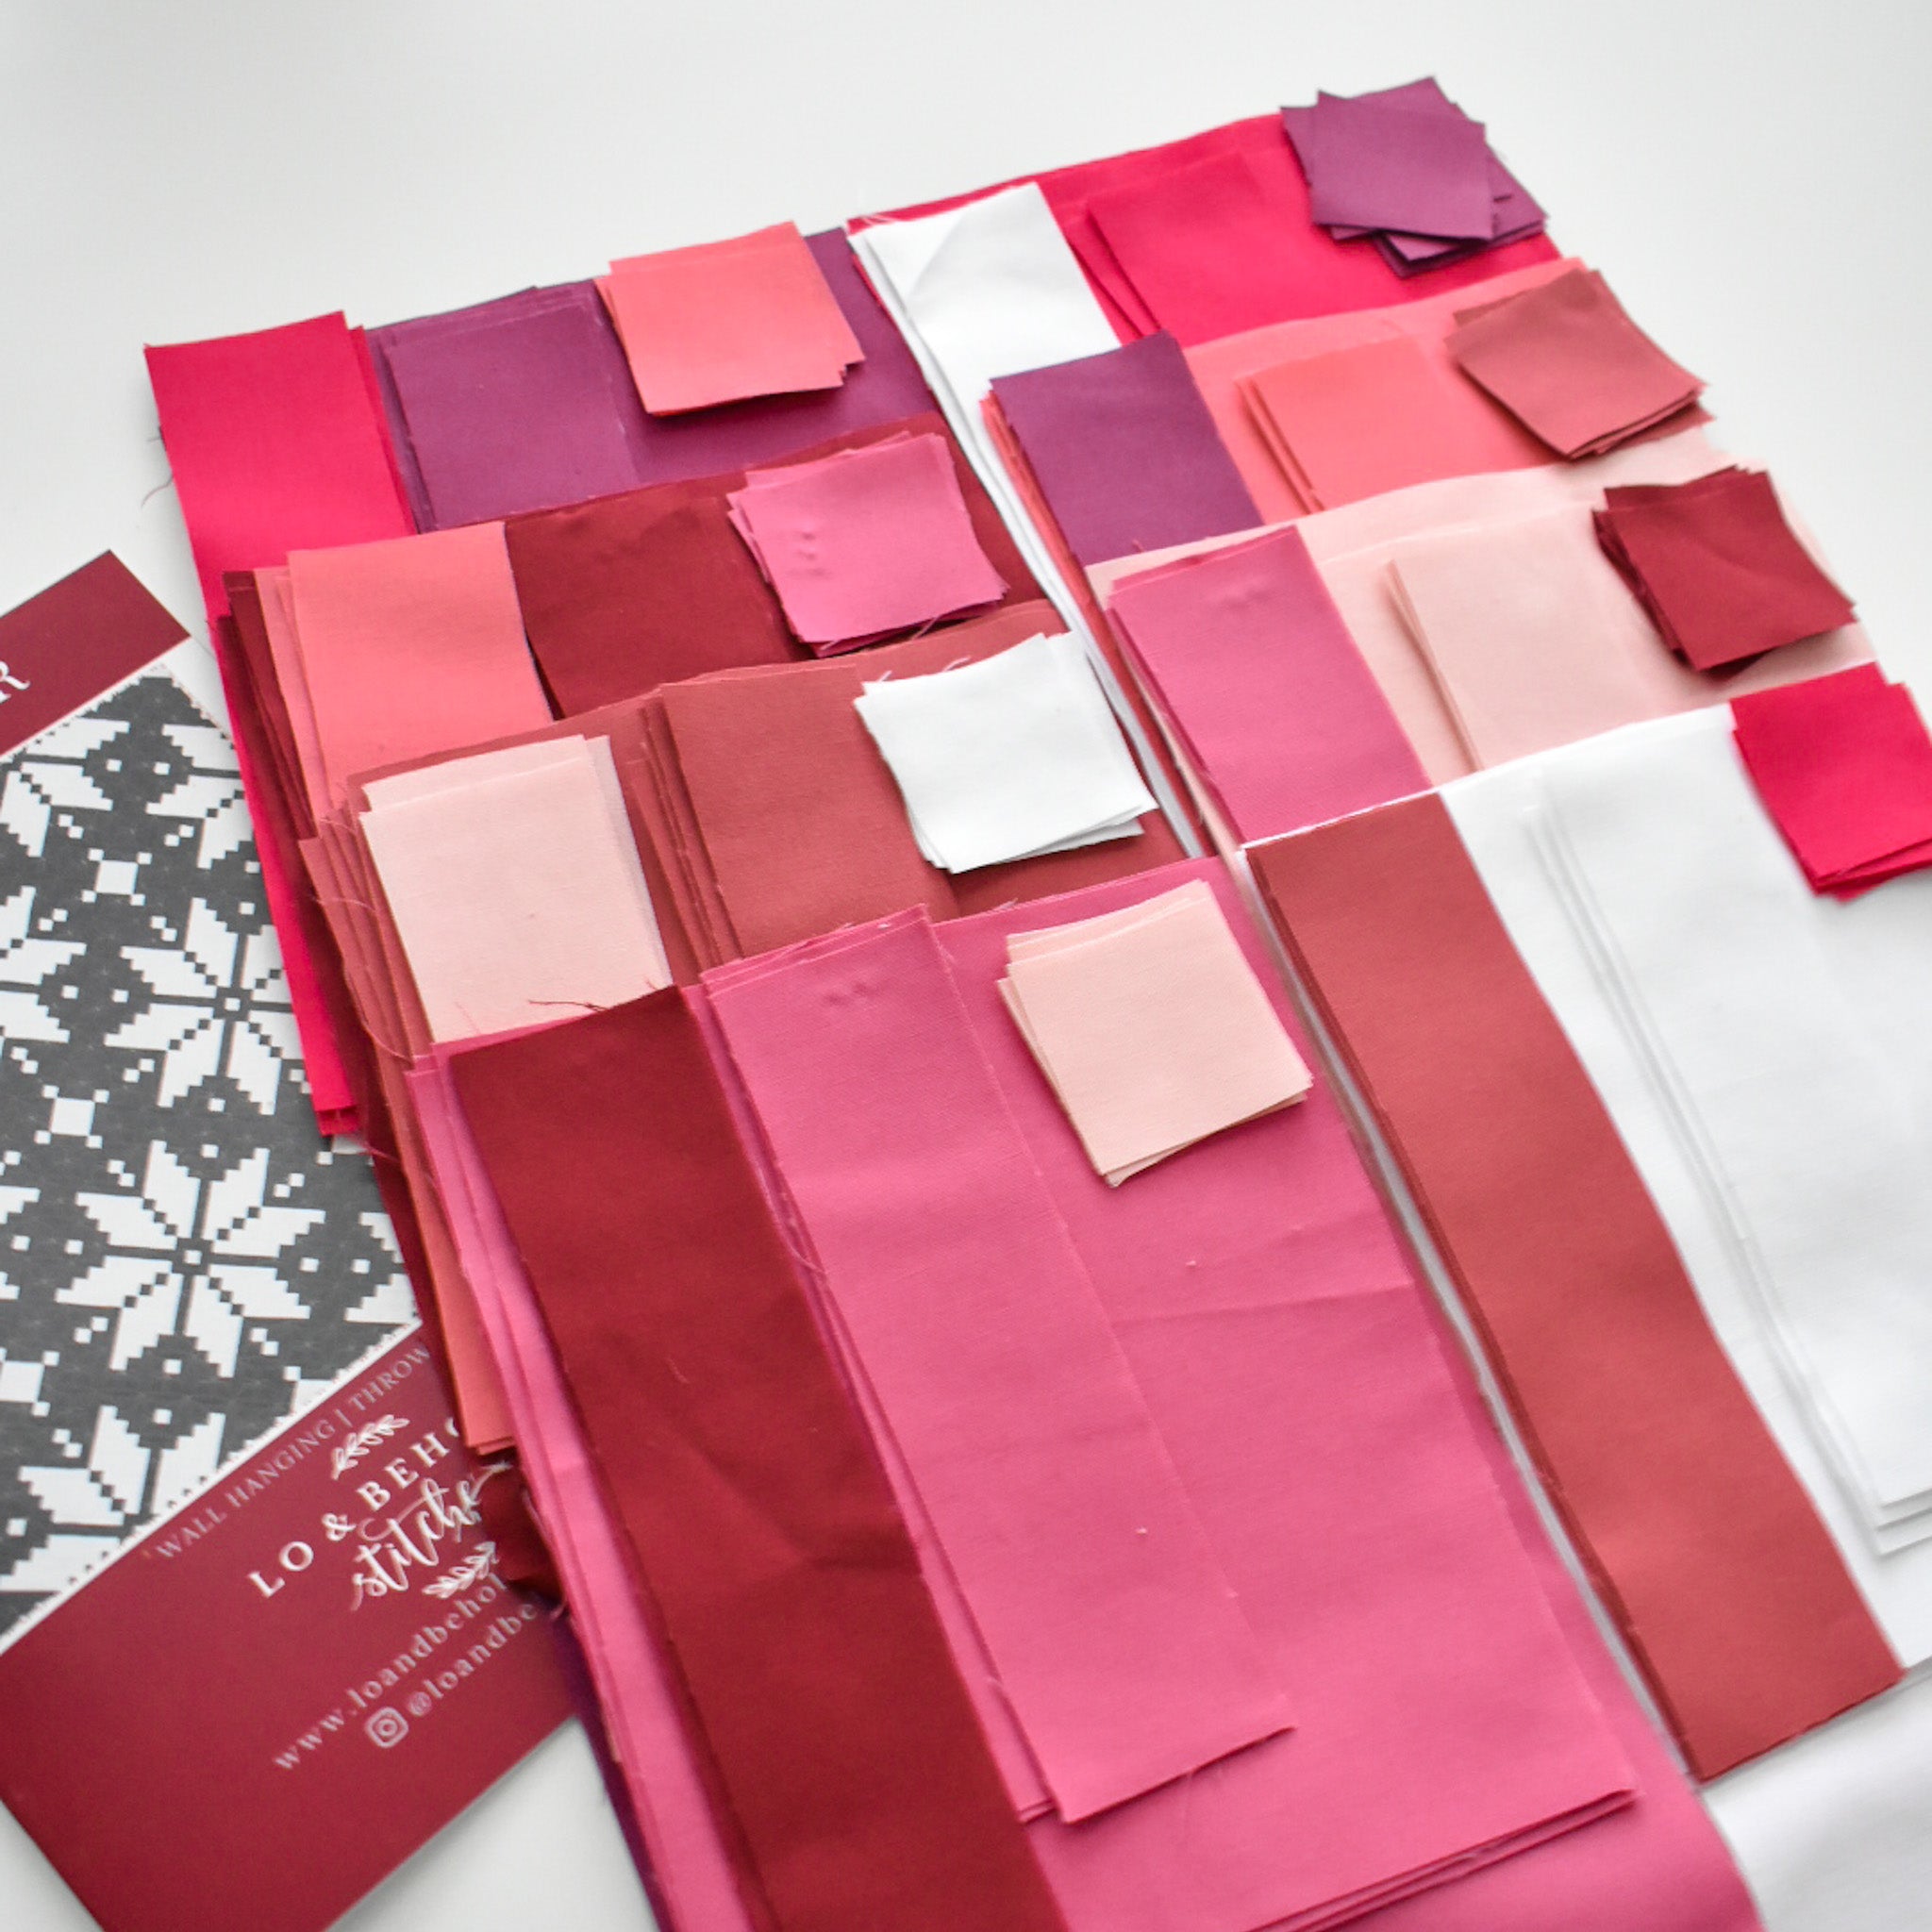
I'll be making the Pink & Purple Knitted Star seen above. I'm really excited about it!
.

.
Fabric Requirements
If you're wanting to shop from your stash, a local quilt shop or your favorite online shop, here are the fabric requirements!

So what do I need to do this week?
Choose your fabrics! Starch and prewash if desired. Iron out all of the wrinkles and creases. Next week, we will be cutting into our fabrics, so go ahead and get everything ready for that. Take some time to orient yourself to the pattern. I'll cover everything step by step in the following weeks so don't stress about the details...but it'll be helpful if you have a general understanding about how this pattern works. It can be a little intimidating at first glance, but I PROMISE, it'll all make sense once you get into it!
Week 1 Prize
This week, our prize is a $50 gift card to Sewfinity! If you love solids, lots of pretty gradients/ ombre quilts, Sewfinity is the place to shop! She makes it super easy to choose colors, whether it's choosing from her digital quilt-mock-ups, or through purchasing fabric swatch magnets. I highly recommend checking her out!
Share a photo of your fabric pull on Instagram and use the hashtags #knittedstarquilt, #knittedstarqal, and #loandbeholdpatterns, and you'll be automatically entered to win! You have until Sunday night at Midnight PST to enter. Note that your account must be public in order for us to see your posts. You do not have to have an Instagram account, nor share your photos in order to participate in the Quilt Along. This is optional. :)
 .
.
Grand Prize
I'm really excited to share that the grand prize is FREE edge-to-edge long arm quilting by Tawny Oland (@tawnyoland). Tawny is based out of Oceanside, Ca, but accepts "mail-in" quilts! She will quilt your Throw or Bed size Knitted Star and also provide free batting and return shipping! If you haven't seen her work yet, you'll have to check out her Instagram feed. It's top-quality and stunning. Not to mention, she always chooses the best quilting options for her customers!
Enter to win by participating in all 8 weeks of the Quilt Along weekly prompts! The winner will be randomly chosen at the end of the Quilt Along!
Giveaway winner

.
The winner of the "I'm in" giveaway for the $25 gift card to my shop is @quiltygirl_knits! Please send me a Direct Message over on Instagram! Thanks for participating, everyone!
Facebook Group
If you participated in the Homecoming Quilt Along, you'll remember that there was a Quilt Along Facebook group. This was a great place to ask questions, run ideas by each other and share Quilt Along progress! For this QAL, instead of starting a new group, we will use the Lo & Behold Patterns Facebook Group!
.
.
Alright friends! I believe that's all for now! Comment below if you have any questions! I'm so excited to get started and I can't wait to see everyone's progress!
.
Brittany


