Summer Pop QAL - Week 1

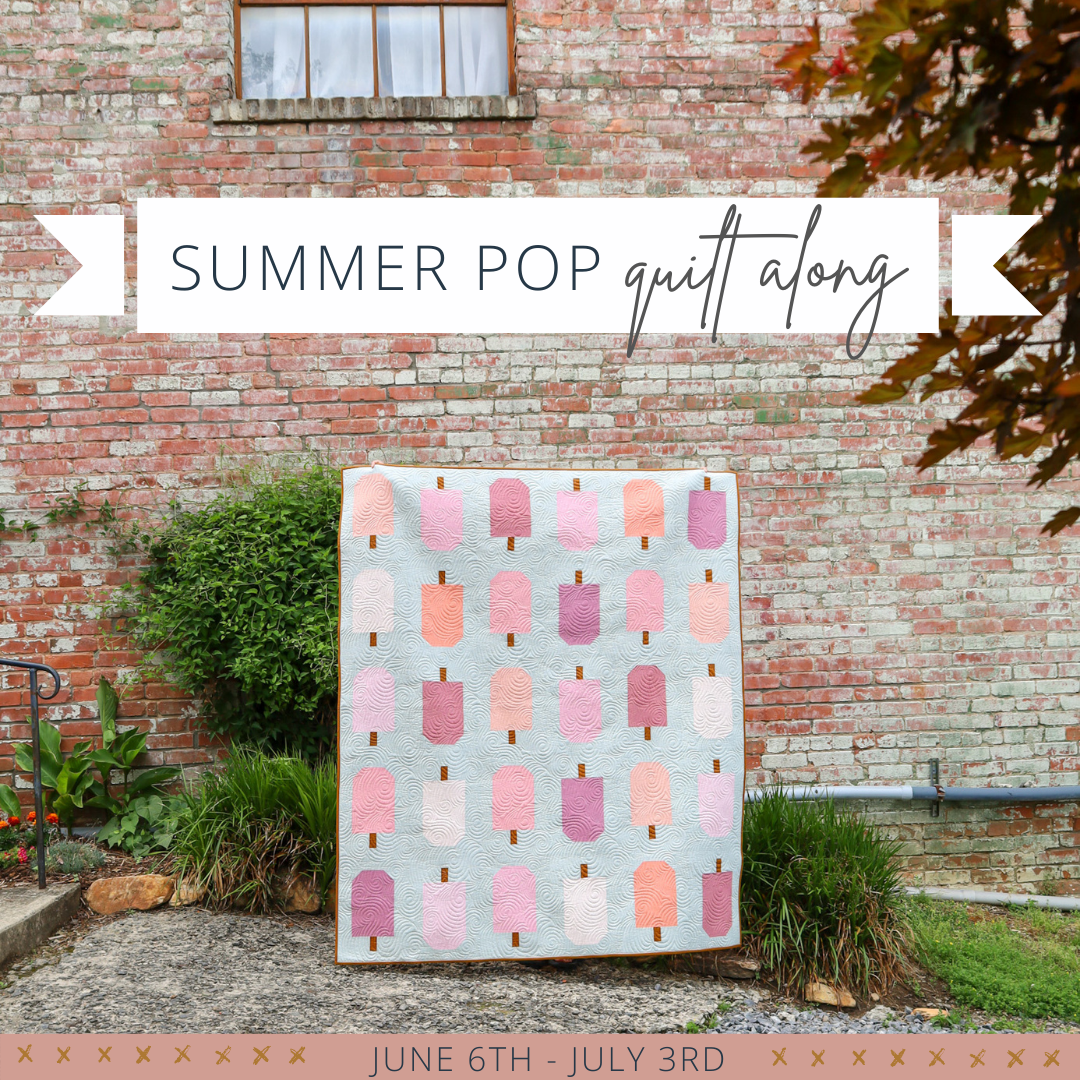
Hello and welcome to the Summer Pop Quilt Along! I am so excited that you are here!

.
If we haven't "met", I'd like to introduce myself! I'm Brittany...the quilter and designer behind Lo & Behold Stitchery. I started quilting in my grandmother's memory and it's turned into an enormous passion of mine! You can read more about me and my story here!
Otherwise, let's jump in!
SCHEDULE
Here's a look at our schedule these next 4 weeks.
- Week 1 - June 6th - Cut Fabrics
- Week 2 - June 13th - Sew 15 Blocks
- Week 3 - June 20th - Sew 15 Blocks
- Week 4 - June 27th - Assemble Quilt Top
.
SUPPLIES
If you don't already have the pattern, be sure to grab that in my shop! You can purchase a PDF Digital Download here or a Printed Paper copy here. (Note that starting on Tuesday, June 7th, we will be "out of the office" until July 1st, so if you want to order a paper pattern and have it ship immediately, I recommend ordering from String & Story!)
You'll need basic quilting supplies like a rotary cutter and cutting mat. You can find a complete list of my favorite beginner quilting supplies here. Here are a few extra items that are nice to have....
- Diagonal Seam Tape - This comes in handy when constructing the "snowball" or "stitch and flip" portion of the blocks. You can also DIY this tape using regular masking or washi tape. Alternatively, you can draw a line using a temporary marking pen or hera marker.
- 8.5" x 24" Ruler or a 6.5" x 24" ruler
- 12" square ruler
- Wool Pressing Mat - Is a great tool for extra flat seams.
- Tailor's Clapper - If you've never used a Clapper before, essentially, you place the clapper over a seam immediately after you've pressed that seam with your iron. The wood absorbs the heat and helps lock in the seam to keep it nice and flat. It can be really helpful when you are pressing lots of seams open, like in this quilt! Again, I'll show you a DIY option as well!
.
.
INSPIRATION & QUILT KITS
If you already own the Summer Pop PDF, these mock-ups are all listed within the pattern. The Paper version of Summer Pop has most of these listed, but not all. And if you don't already own the pattern yet, you'll be seeing these for the first time! :) Let's take a look!
First up, we have fabrics from Carolyn Friedlander for Robert Kaufman. It's a little hard to envision Summer Pop with prints but I've found that abstract motifs, or designs like strips, dots, or some sort of small repeating theme....work really well! Exhibit A:

.
Next up is the "Holiday" pop that would be so cute for a July 4th celebration! The solids are Kona by Robert Kaufman.

.
This next one is one of my favorites....for obvious reasons. It uses fabrics from my Palette Picks bundle with Robert Kaufman! You can read about that bundle in this blog post. If the Caramel background isn't your speed, I recommend something like Kona Snow or if you want to go dark...Gotham Grey.

.
If you're looking for a super fun and bright Summer Pop quilt, this one using Rashida Coleman Hale's Speckled fabrics is SO pretty. I'm calling it "Tropical Pop" because it gives me all the tropical, fruity vibes.

.
If you're looking to make a Bed size quilt you can grab the Fisherman's Bend Coordinates FQ bundle by Violet Craft for Robert Kaufman. It makes the most beautiful muted rainbow quilt!

.
Summer Pop includes two different "BONUS" sections and the first explains how to create a multi-color Background. To do this, you'll replace the Background yardage with fat quarters. You need 6 FQs for the Crib size, 10 for the Throw and 19 for the Bed size. For this method, you need the entire 18" x 21" of your FQ. If you would like more wiggle room then you'll need a few more fat quarters. Take a peak at page 7 of the pattern and you'll see more instructions for this method! This is actually what I'll be making for the QAL! We have kits available in our shop! (Note that we are currently out of the office and kits will not ship until the very end of June). All fabrics are Kona solids by Robert Kaufman.

There's also a bonus section that explains how to create layered popsicles like this "Firecracker" pop. :)

.
And here is a look at some online shops that are carrying Summer Pop Kits:
.

.

.
The following two kits are for the Throw size. The photo represents one sample of the blocks.

.

.
.

.

.

.

.
.

.
.

.
.

.

.

.

.

.

.

.

.
And here is a look at the Fabric Requirements:

.
.
WEEK 1
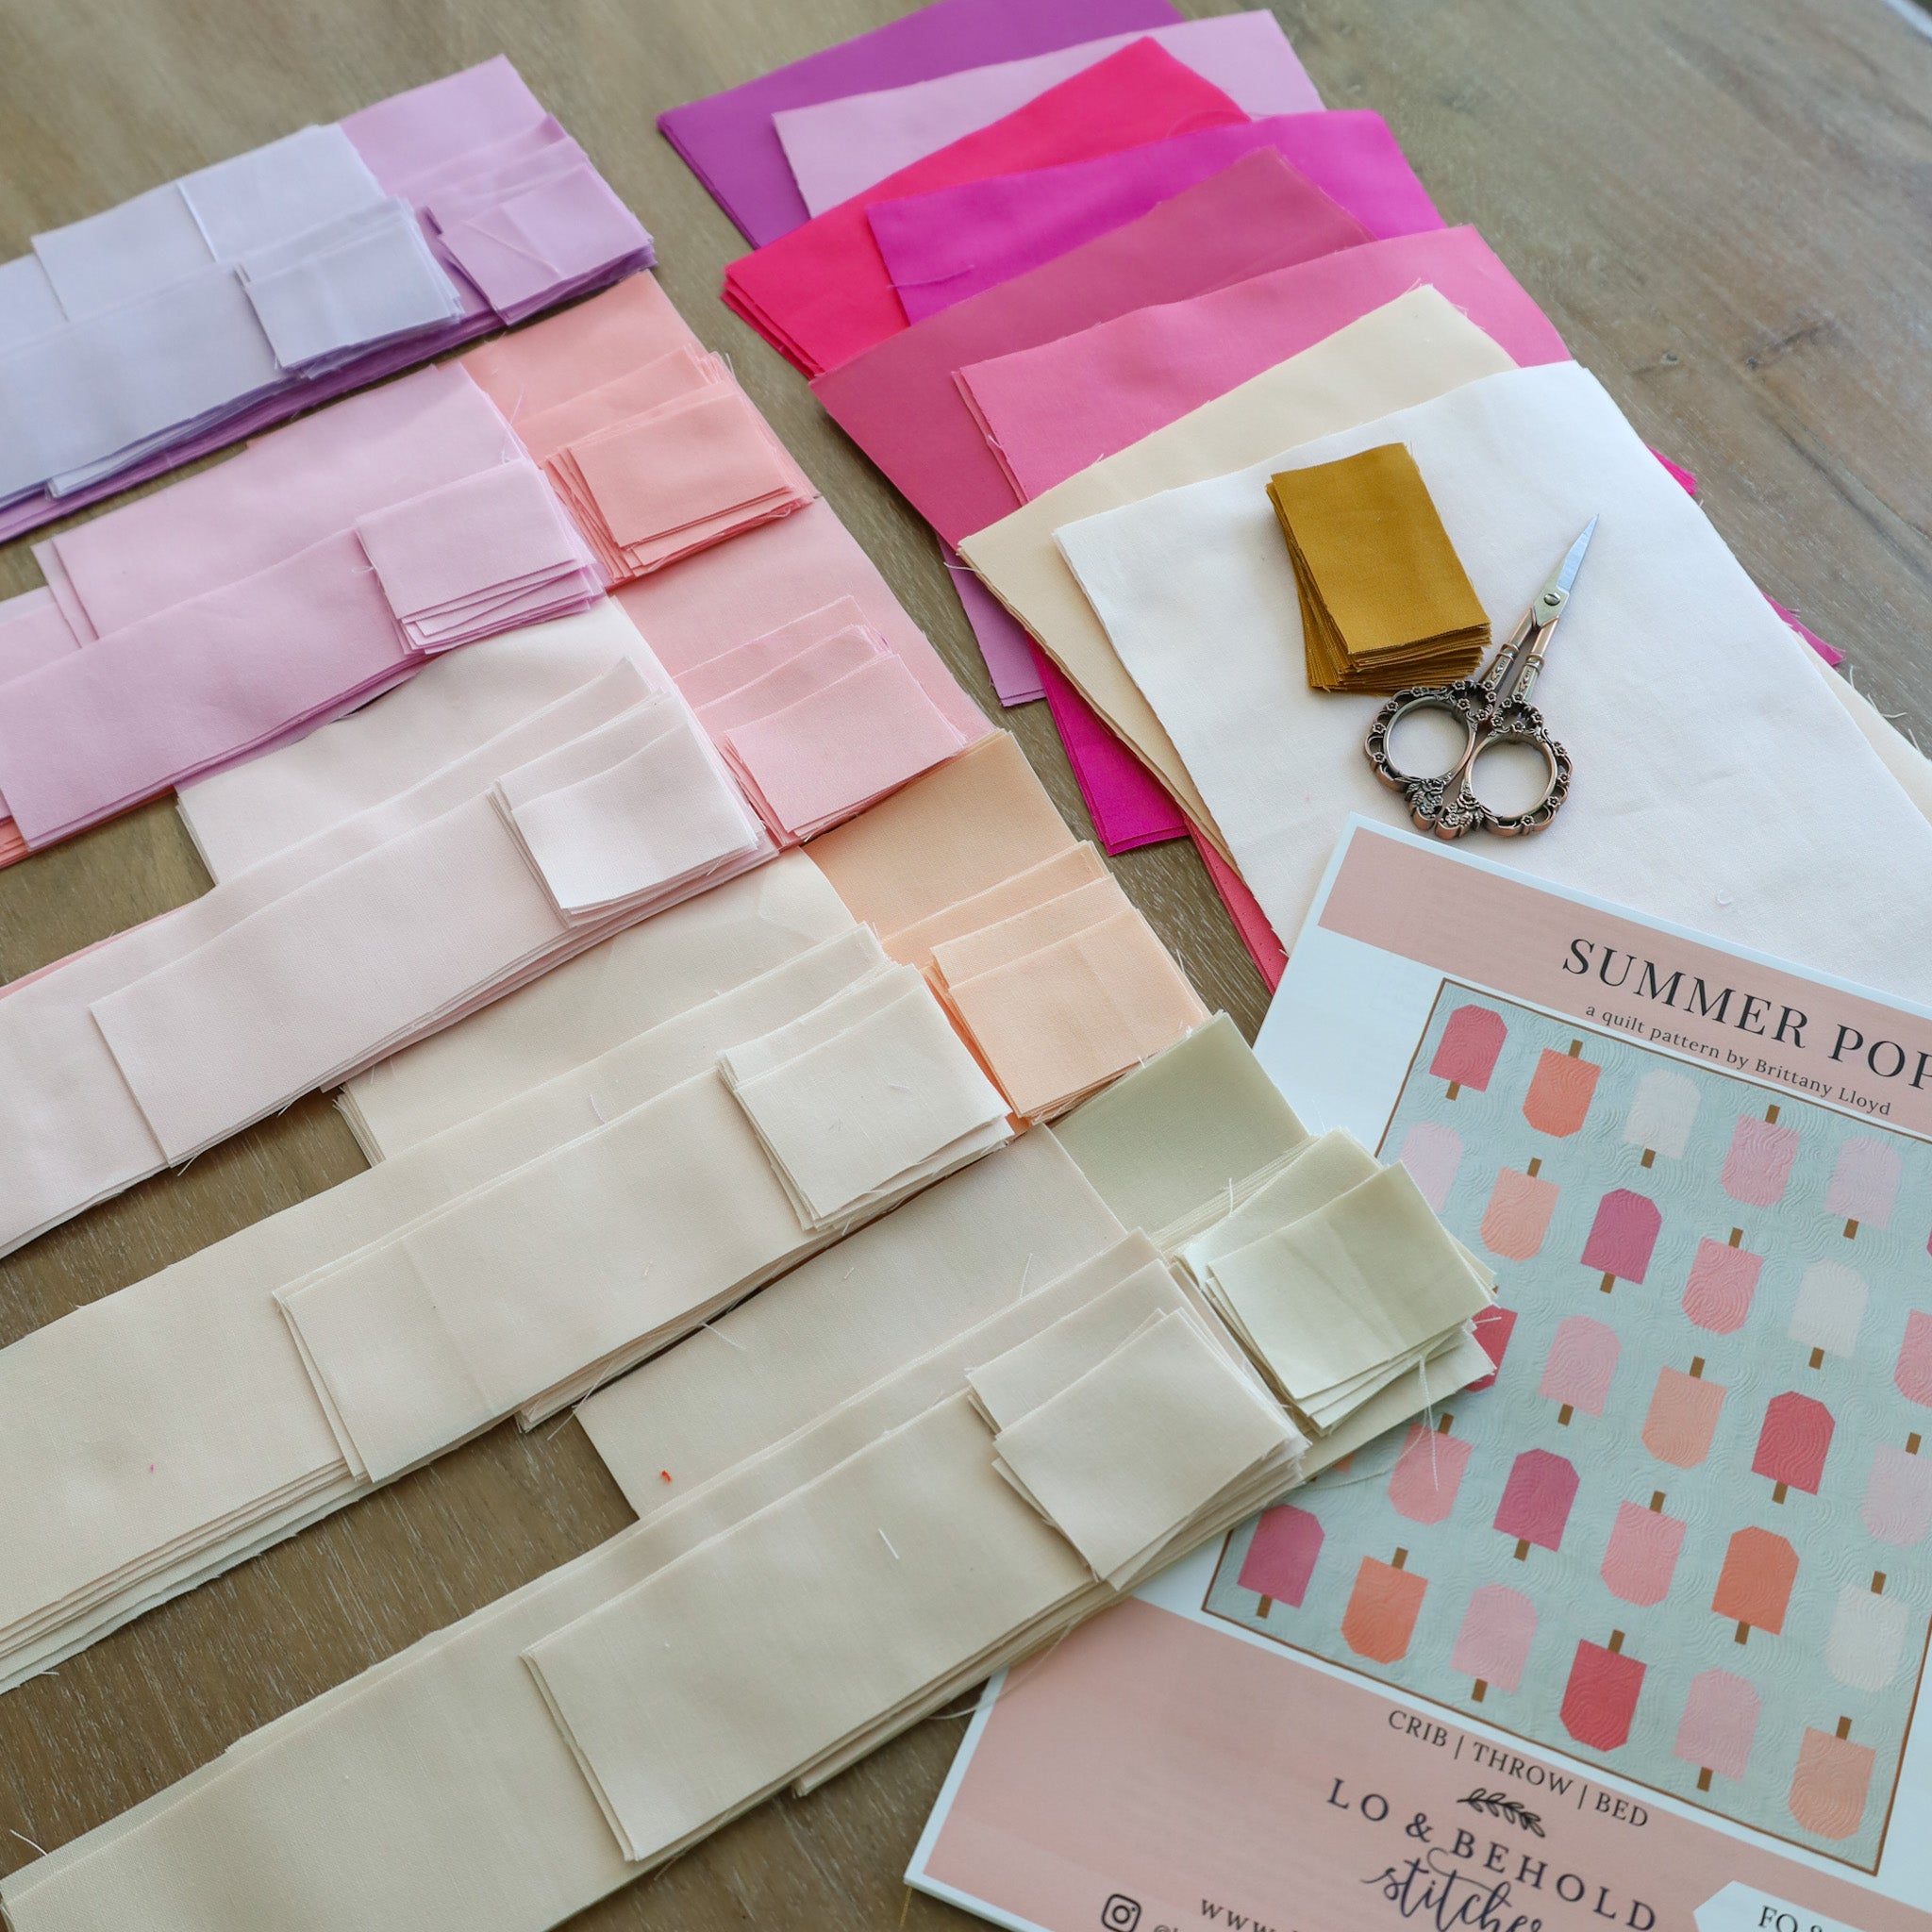
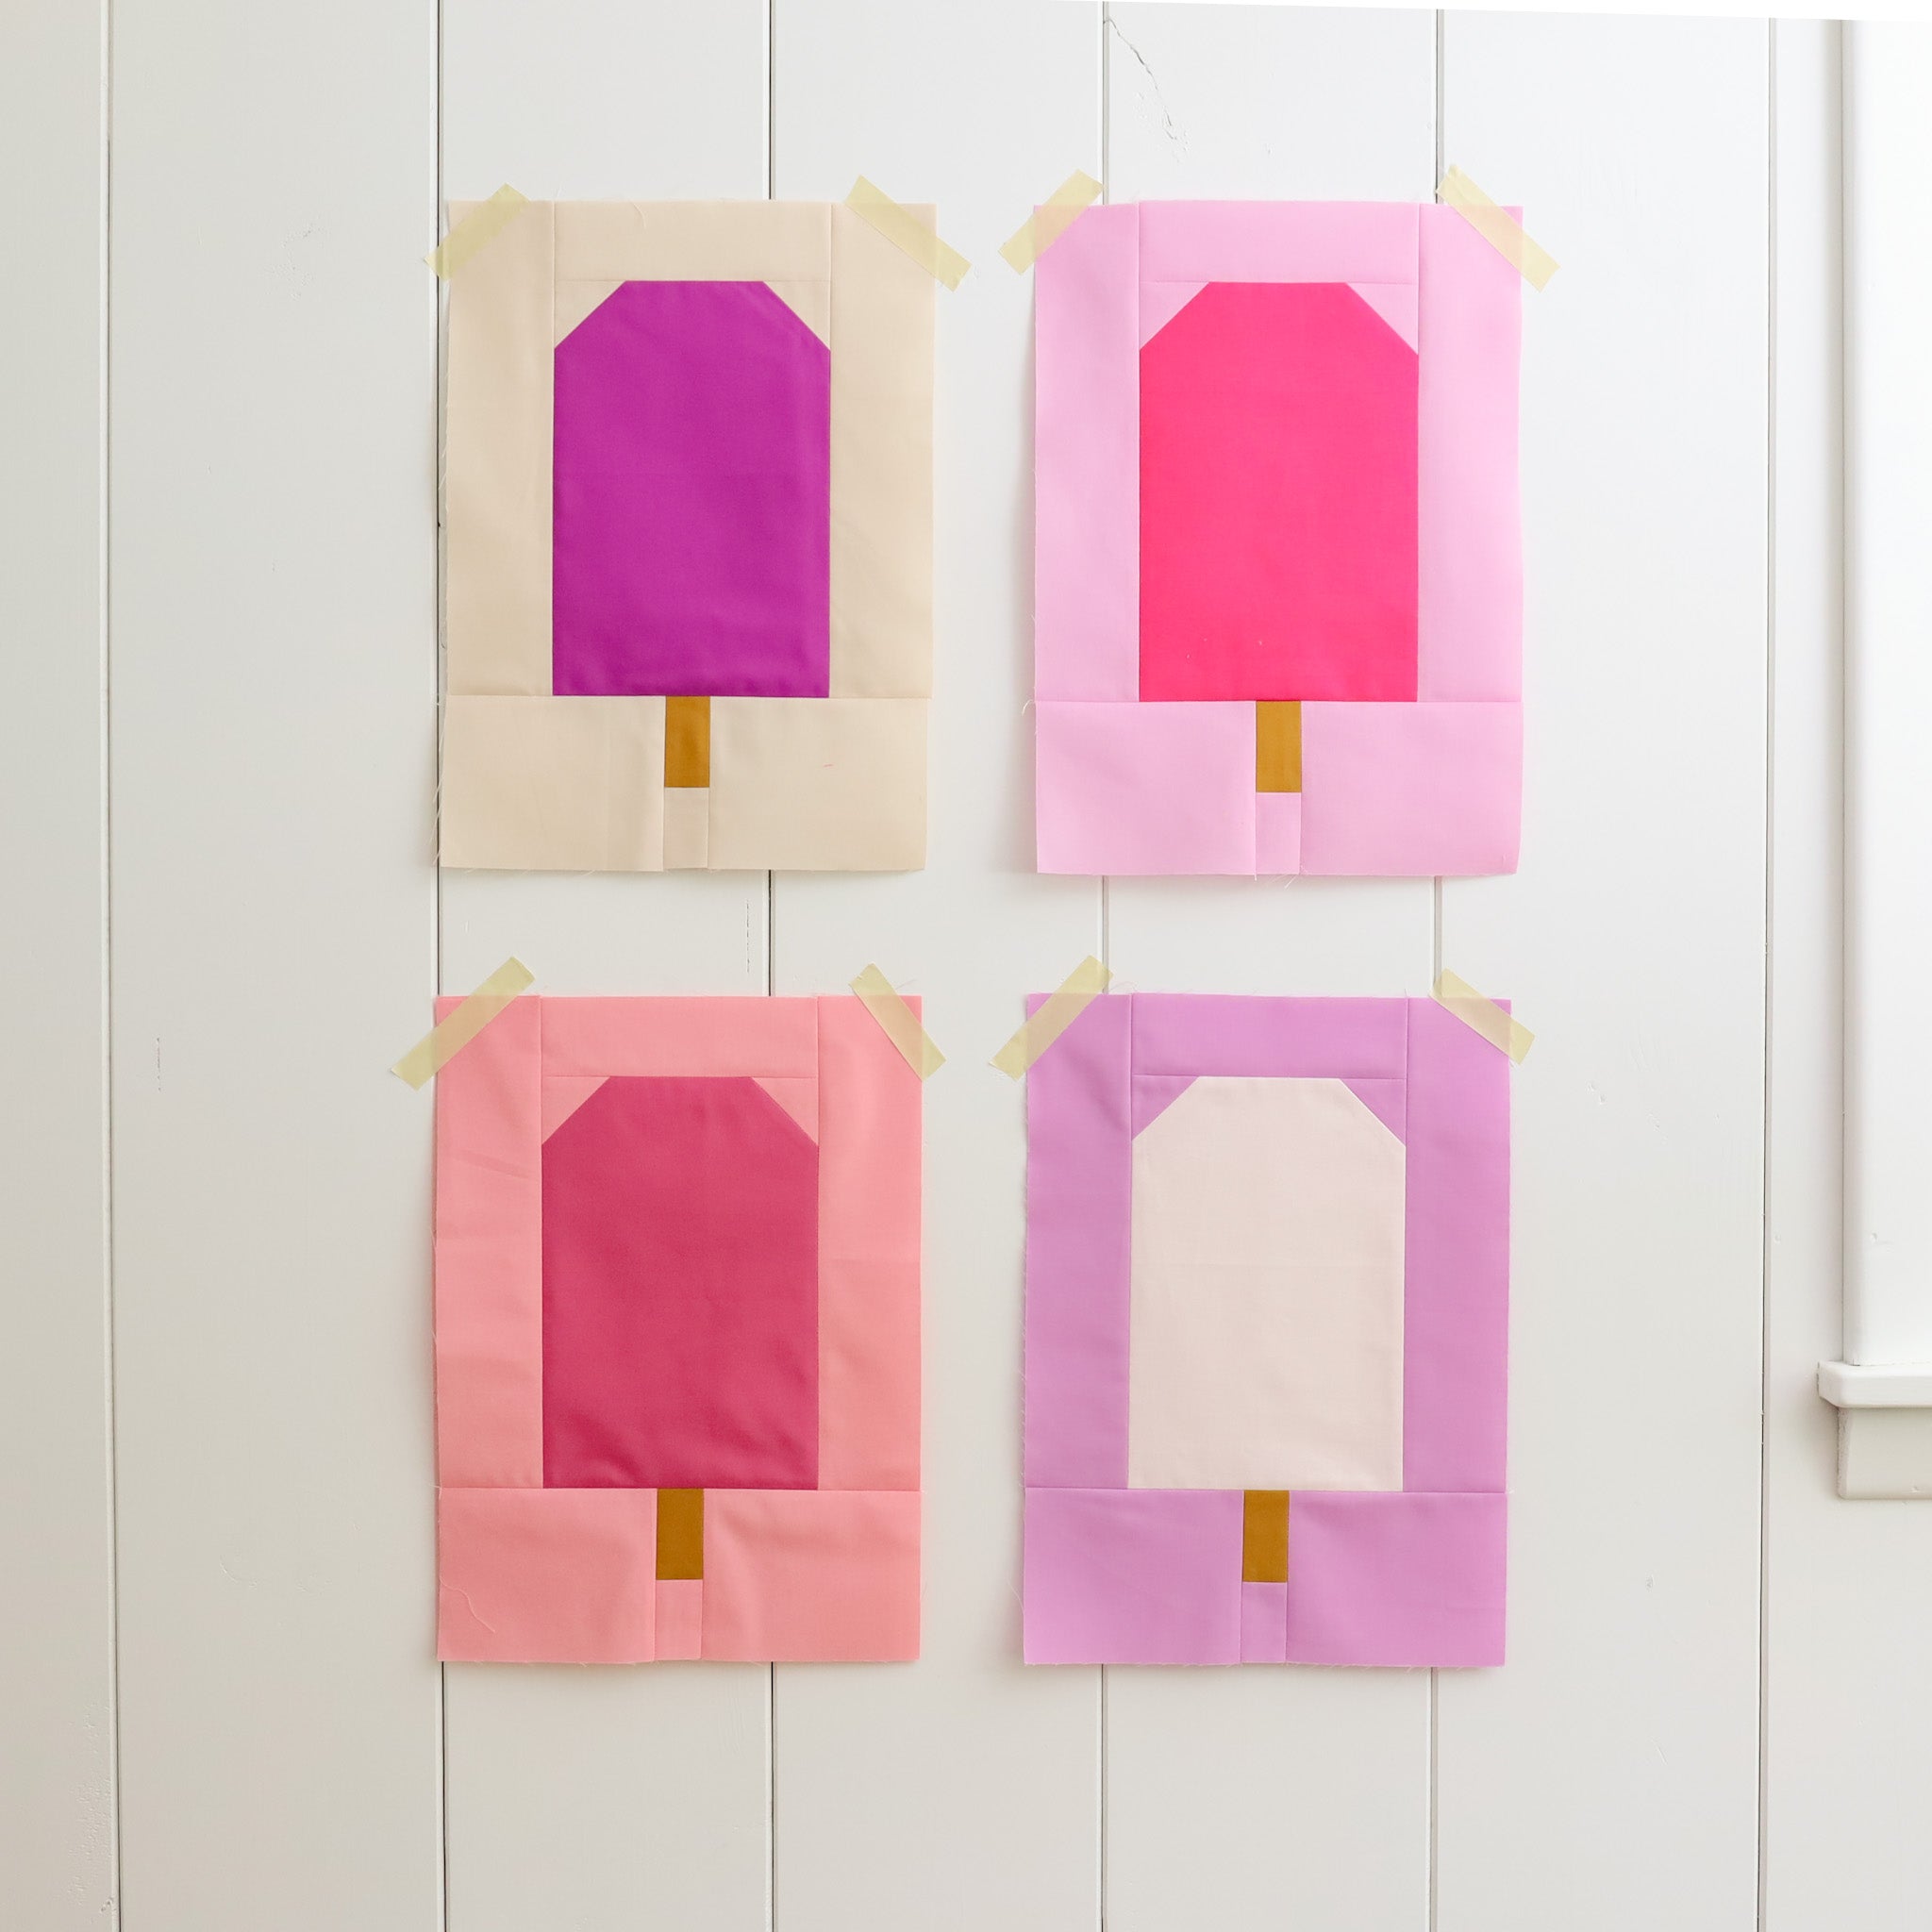
This week, we are jumping right in and cutting our fabrics! There are three main sections to this quilt top: Ice Cream, Stick and Background.
- The Ice Cream portion is the most straight forward. You need one rectangle (see pattern for measurements) for each block in your quilt. You can cut this rectangle from a Layer Cake (Precut 10" square), fat quarter or 1/4 yard. Instructions for half yards or fat eighths aren't listed in the pattern, but the math is really easy if you want to use those as well! You can also use your scraps...especially if you end up creating the layered popsicle, seen in the Bonus section of the pattern.
- The Stick portion of the block is strip pieced. So look ahead to the Sewing Instructions and you'll see what I mean by that. We'll talk more about that next week, but for now, know that you'll just be cutting a WOF (width of fabric) piece. This pattern assumes that your WOF is at least 42", so if yours is a little bit less than that (especially for the Throw and Bed size), then you'll have to individually piece a few of your Stick units according to Step 4b in the Sewing Instructions section.
- The Background portion of the blocks uses yardage, but you can also follow the Bonus instructions to use FQs, which is what I'll be doing for the QAL. :) I also think it'd be really fun to use low-volume fabrics or scraps for the background section.
.
.
General Cutting Tips
- Be sure you have a fresh rotary blade (or that it was recently changed)
- Try to use the lines on your ruler vs. the lines on your cutting mat for a more accurate cut
- Measure twice, cut once! Double check your measurements before you cut.
- "Subcuts" mean that you cut smaller pieces from the larger piece of fabric. For example, if the bullet point says to cut (2) 2" x WOF; subcut (32) 2" squares.....that means that you'll cut your 2" x WOF strips first, then from those strips, you'll cut (32) 2" squares.
.
Video Tutorial
Here is a video tutorial for how to cut the Ice Cream portions from 1/4 yards and Fat Quarters...and also how to cut a Fat Quarter according to the Bonus instructions on page 7. Be sure to take a look if you are newer to quilting! If you're confident with your cutting, feel free to move right along...you got this. :)
.
.
BACKGROUND (yardage)
When you go to trim your selvedges, make sure you aren't trimming too much. You'll need the entire 42" of selvedge for some of these cuts, so be sure you are leaving yourself with at least that. If you accidentally trim off too much or if your WOF is less than 42", you should have a little bit of leftover fabric at the end to cut those remaining pieces.
You'll use the same cutting techniques that I mention in the above video (align selvedges to make sure the fold is square, cover your desired measurement with your ruler, etc.). I also recommend folding your fabric accordion style. This is to help manage the bulk of your fabric as you are cutting. You can also press/ realign selvedges as needed in this same fashion. It can be a lot of steps back and forth from your cutting table & ironing board, but I really prefer doing it in chunks rather than all at once.

.

.
If you are using yardage for the Background portion, check out this video from the Deco Quilt Along last year. Obviously it's a different pattern but there are a lot of similarities. Topics covered in this video are how to cut "on-grain", how to square up fabric, batch-cutting, how to interpret "sub-cuts" and more!
.
.
BACKGROUND (fat quarters)
If you are creating a multi-color Background, according to page 7 of the pattern, refer to the Summer Pop video at minute mark 09:22 for a demonstration of how to cut one fat quarter. It's a little tight to squeeze 3 Background portions from each fat quarter, but if you cut carefully and accurately, you should be fine! Be sure to measure your FQs before you start. If you want to play it safe and only get 2 Background portions from each FQ, then you'll need, (8, 15, 28) FQs for the Background.
Once all of my pieces were cut from each FQ, I kept them in a pile like this:

.
PRE-WASHING FABRICS
I've gotten a lot of questions about pre-washing and it's simply a matter of personal preference. I very rarely prewash my fabrics. I could probably count the amount of times that I've pre-washed my fabrics on one hand. The reasons that I don't like it? For one, it takes a lot of effort. Once you take the fabric out of the dryer, you then have to refold and iron it. If it's a large cut of fabric, this can be a bit of a daunting task. Secondly, I like the "crisp-ness" of fabric that is unwashed...it seems to hold it's shape better and be easier to work with.
That being said, once my quilt is assembled, I am very generous with the Shout Color Catchers. I know some people only use 1 or 2....at minimum, I use 5, depending on the size of the quilt. They're relatively cheap, so there's no harm in using a liberal amount. Feel free to use Color Catchers for the first few washes, or just once.
Alternatively, you might want to prewash if you are using lots of red or navy, as these are colors that tend to bleed more easily. Also, if you are using a few different substrates in your quilt (linen, cotton, flannel, etc.) prewashing also "preshrinks" the fabrics so that they all behave similarly. These different substrates all have different rates of shrinking, so doing that upfront could help eliminate problems later on once they're all sewn together.
Again, this is just MY personal preference. If it would make you feel better to prewash your fabrics, be my guest! I've found that the quilting community is split pretty evenly on this topic. Just keep in mind: You will need the full WOF for certain parts of this pattern. I know some fabric manufacturers (Ruby Star Society is one of them) that have smaller width of fabric measurements and larger selvedges. If you choose to prewash your fabric just be aware that if your fabric shrinks to be less than 42" wide, you may need additional fabric. Just be aware of this if you're on the fence about pre-washing. :)
I also want to point out that most people choose not to prewash pre-cuts. If you are using a FQ, you can choose to "stay-stitch" or zig-zag stitch around the perimeter of your FQ to prevent it from fraying too much. I would not prewash Precut 10" squares.
.
STARCHING FABRICS
To be honest, I don't really use starch that much. However, I've found that if I am working with smaller pieces (like this pattern) or bias edges, it really does help with accuracy. Starch makes your fabric more stiff, which makes it easier to sew and work with. I also tend to starch fabrics that are thinner/more "silky". Two brands that come to mind are Ruby Star and Art Gallery. I LOVE love love their fabrics; they're high quality, super soft and quilt up very nicely... but I've noticed that I'm more likely to use starch when I sew with these two fabric brands. I don't think I've ever starched Kona, just because it already has a naturally stiff hand.
Remember that you'll want to starch your fabric before you cut them, so if you decide to use it, I recommend going ahead and doing that before you cut. For yardage, assess how your WOF is folded. You'll want the two selvedge ends to be right on top of each other. This may mean ironing a new crease in your fabric. When I starch, I spray the entire piece of fabric to get it pretty saturated, then use my iron to press out any wrinkles or creases. This is the starch that I use.
.
FACEBOOK GROUP
If you have any burning questions, or if you're just looking for community and support, join the Lo & Behold Patterns Facebook group! It is not required- all of the information for the QAL will be delivered via email/blog. That being said, if you are looking for advice with fabrics or anything else, the FB group is a great place to look!
.
MY FABRIC PULL
I am making the Berries & Cream Summer Pop, seen on page 7. I'm so excited to see how this will turn out!

.
GRAND PRIZE BUNDLE
Share a weekly progress photo for each of the 4 weeks of the QAL and you'll be automatically entered to win our GRAND PRIZE BUNDLE (valued at over $500!) Here's what's in the bundle:
- FREE seat in Free Motion Quilting Academy by String & Story
- FREE edge to edge long arm quilting for your Summer Pop quilt top by Stitch Lab Quilting
- FREE Robert Kaufman Palette Picks 24 piece FQ bundle by yours truly :)

.
Enter to win by sharing your weekly progress photo to your public Instagram account (note that if your account is private, we will not see your entry). Use the hashtags #summerpopQAL, #summerpopquilt & #loandbeholdpatterns and you'll be entered to win!
Please refrain from sharing photos of the *inside* of the pattern! This is copyrighted information for your eyes only. If you want to share a photo of part of the pattern, use the cover. :)
One lucky winner will be chosen at random at the end of the QAL. This giveaway is not sponsored by IG.

.
.
Sip & Sew
Last, but not least! I wanted to share about a "Sip & Sew" happening over on String & Story's IG page (@stringandstory) every Monday night at 7PM EST. HollyAnn and Darcy will be working on their Summer Pop quilts live and I invite you to join them for more Summer Pop tips, community and general entertainment. :)
I cannot wait to see everyone's progress! Next week, we'll start sewing. See you then!
Brittany


