Vintage Lace Quilt Along- Week 1

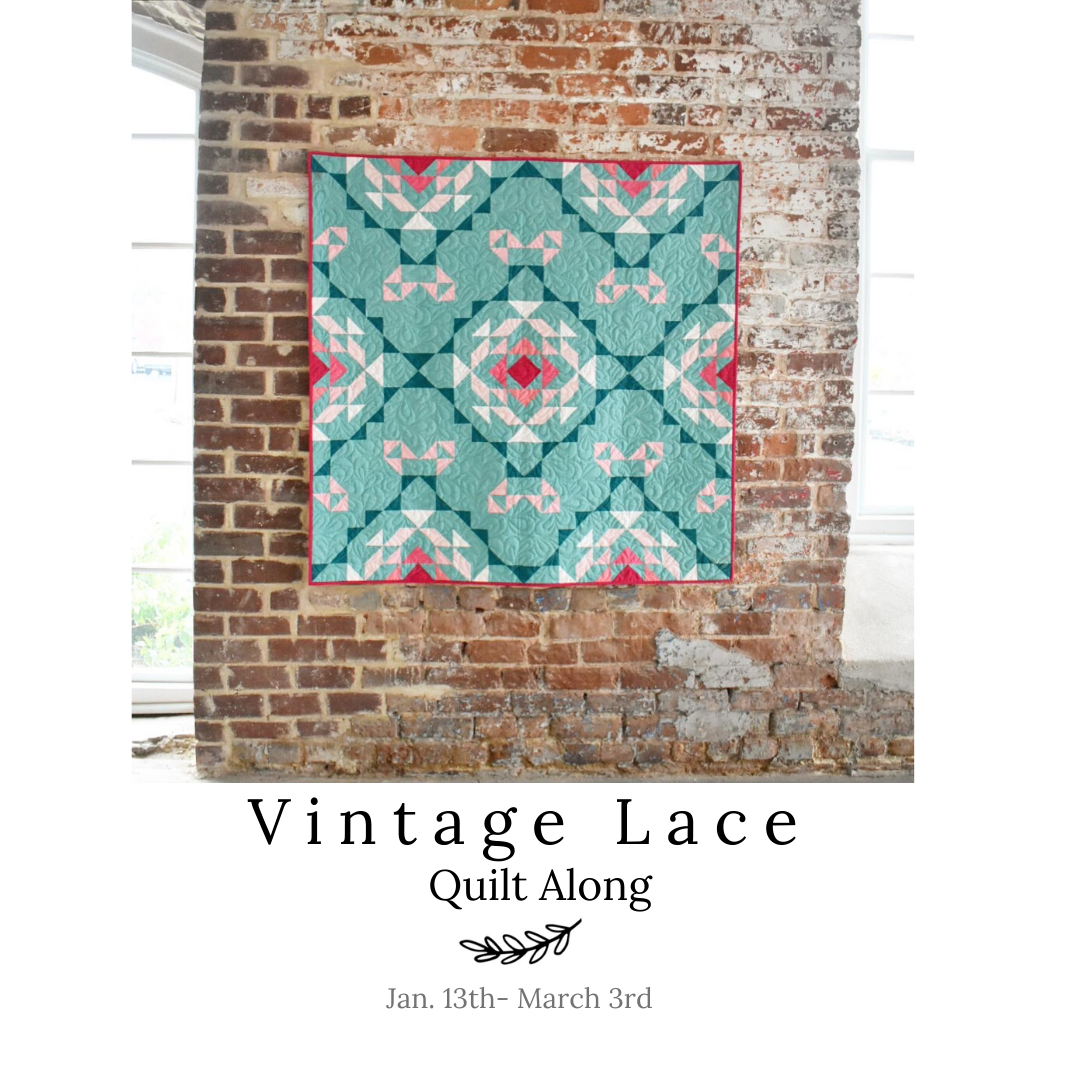
Welcome to the Vintage Lace Quilt Along! I'm so excited to kick things off and create a Vintage Lace Quilt with you all!
.

.
It is Week 1 of the Quilt Along which means we are jumping right into cutting our fabrics! Complete all fabric cuts within the Cutting Instructions table. This pattern is scaled up/down for the three different sizes. This means, there are the same number of pieces for a baby size that there are for a king size. However, you'll notice that the size of those pieces varies. There are a LOT of pieces for this quilt, but I promise you, it'll be worth it in the end. Just remember to take one week at a time, and we'll get there. :) .
.

I wanted to go ahead and list a few supplies, other than your basic quilting supplies, that you might want to try for the coming weeks. These aren't required, but they do make life easier! You can also find a list of my favorite quilting supplies on my Amazon page.
- hera marker: I like to use this for marking my HST lines
- Bloc-Lock ruler: is helpful with trimming HSTs; 6.5" square, 4.5" square
- rotating cutting mat: again, not necessary, but I love mine!
- Stripology Ruler: this saves SO much time when cutting your squares and rectangles; plus, if you ever plan on making my Interwoven Quilt, you'll appreciate having this ruler on hand. I whipped up a little You-Tube video of how I use the ruler for this pattern, you can find that here.
..
..
___________________________________________________
.

.
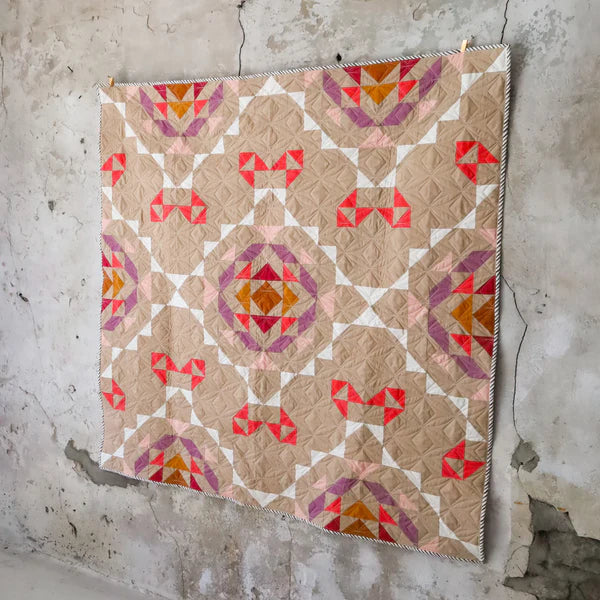
A cool idea with this quilt is to create a color gradient. Meaning... maybe you have the center of the medallion (starting with Color 1) as a darker color, with it fading to lighter colors as you work your way to Color 7. Just keep in mind that Color 4 appears in 2 places in this design....so you may or may not want it to be a high contrast color. Try using the coloring sheet to plan your fabrics. If you know you are going to create several drafts, consider making a copy of it first. :)
.
.
I also want to point out, that if you don't want to create as many HSTs, you can construct your top using only 2 panels. Check out the "Quilt Assembly" diagram in your pattern to see what I mean. If you use the Bed size instructions to create 2 panels, that would make your quilt 54" x 54", which is a generous baby size quilt or a small throw/lap size. You could also use the Throw size instructions to create a 2 panel quilt, which would make your quilt 36" x 36". You'll have to do a little bit of reverse engineering to figure out how much fabric you'd need, but it is definitely an option! Abby (@abby.c.wilson) created an example of what I'm talking about.
.

.
.
.
.
Alright friends, next week is pedal to the metal! We will be making all 320 of our HSTs...wahoo!
.
See ya'll next week!
.
.
.
.
.
.
This post may contain some affiliate links meaning I may receive a small commission from each sell. Rest assured, I only share my favorite items with you!


