Deco Quilt - the baby version & other ideas

The next stop on our Deco Pattern release train is my Baby Deco quilt!
In case you missed it, the Deco Quilt pattern is now available!
If you haven't already read my initial blog post about the two-color Deco quilt that I made, be sure to check that out here. You'll find my inspiration, pattern sizes fabric requirements and other details about Deco.
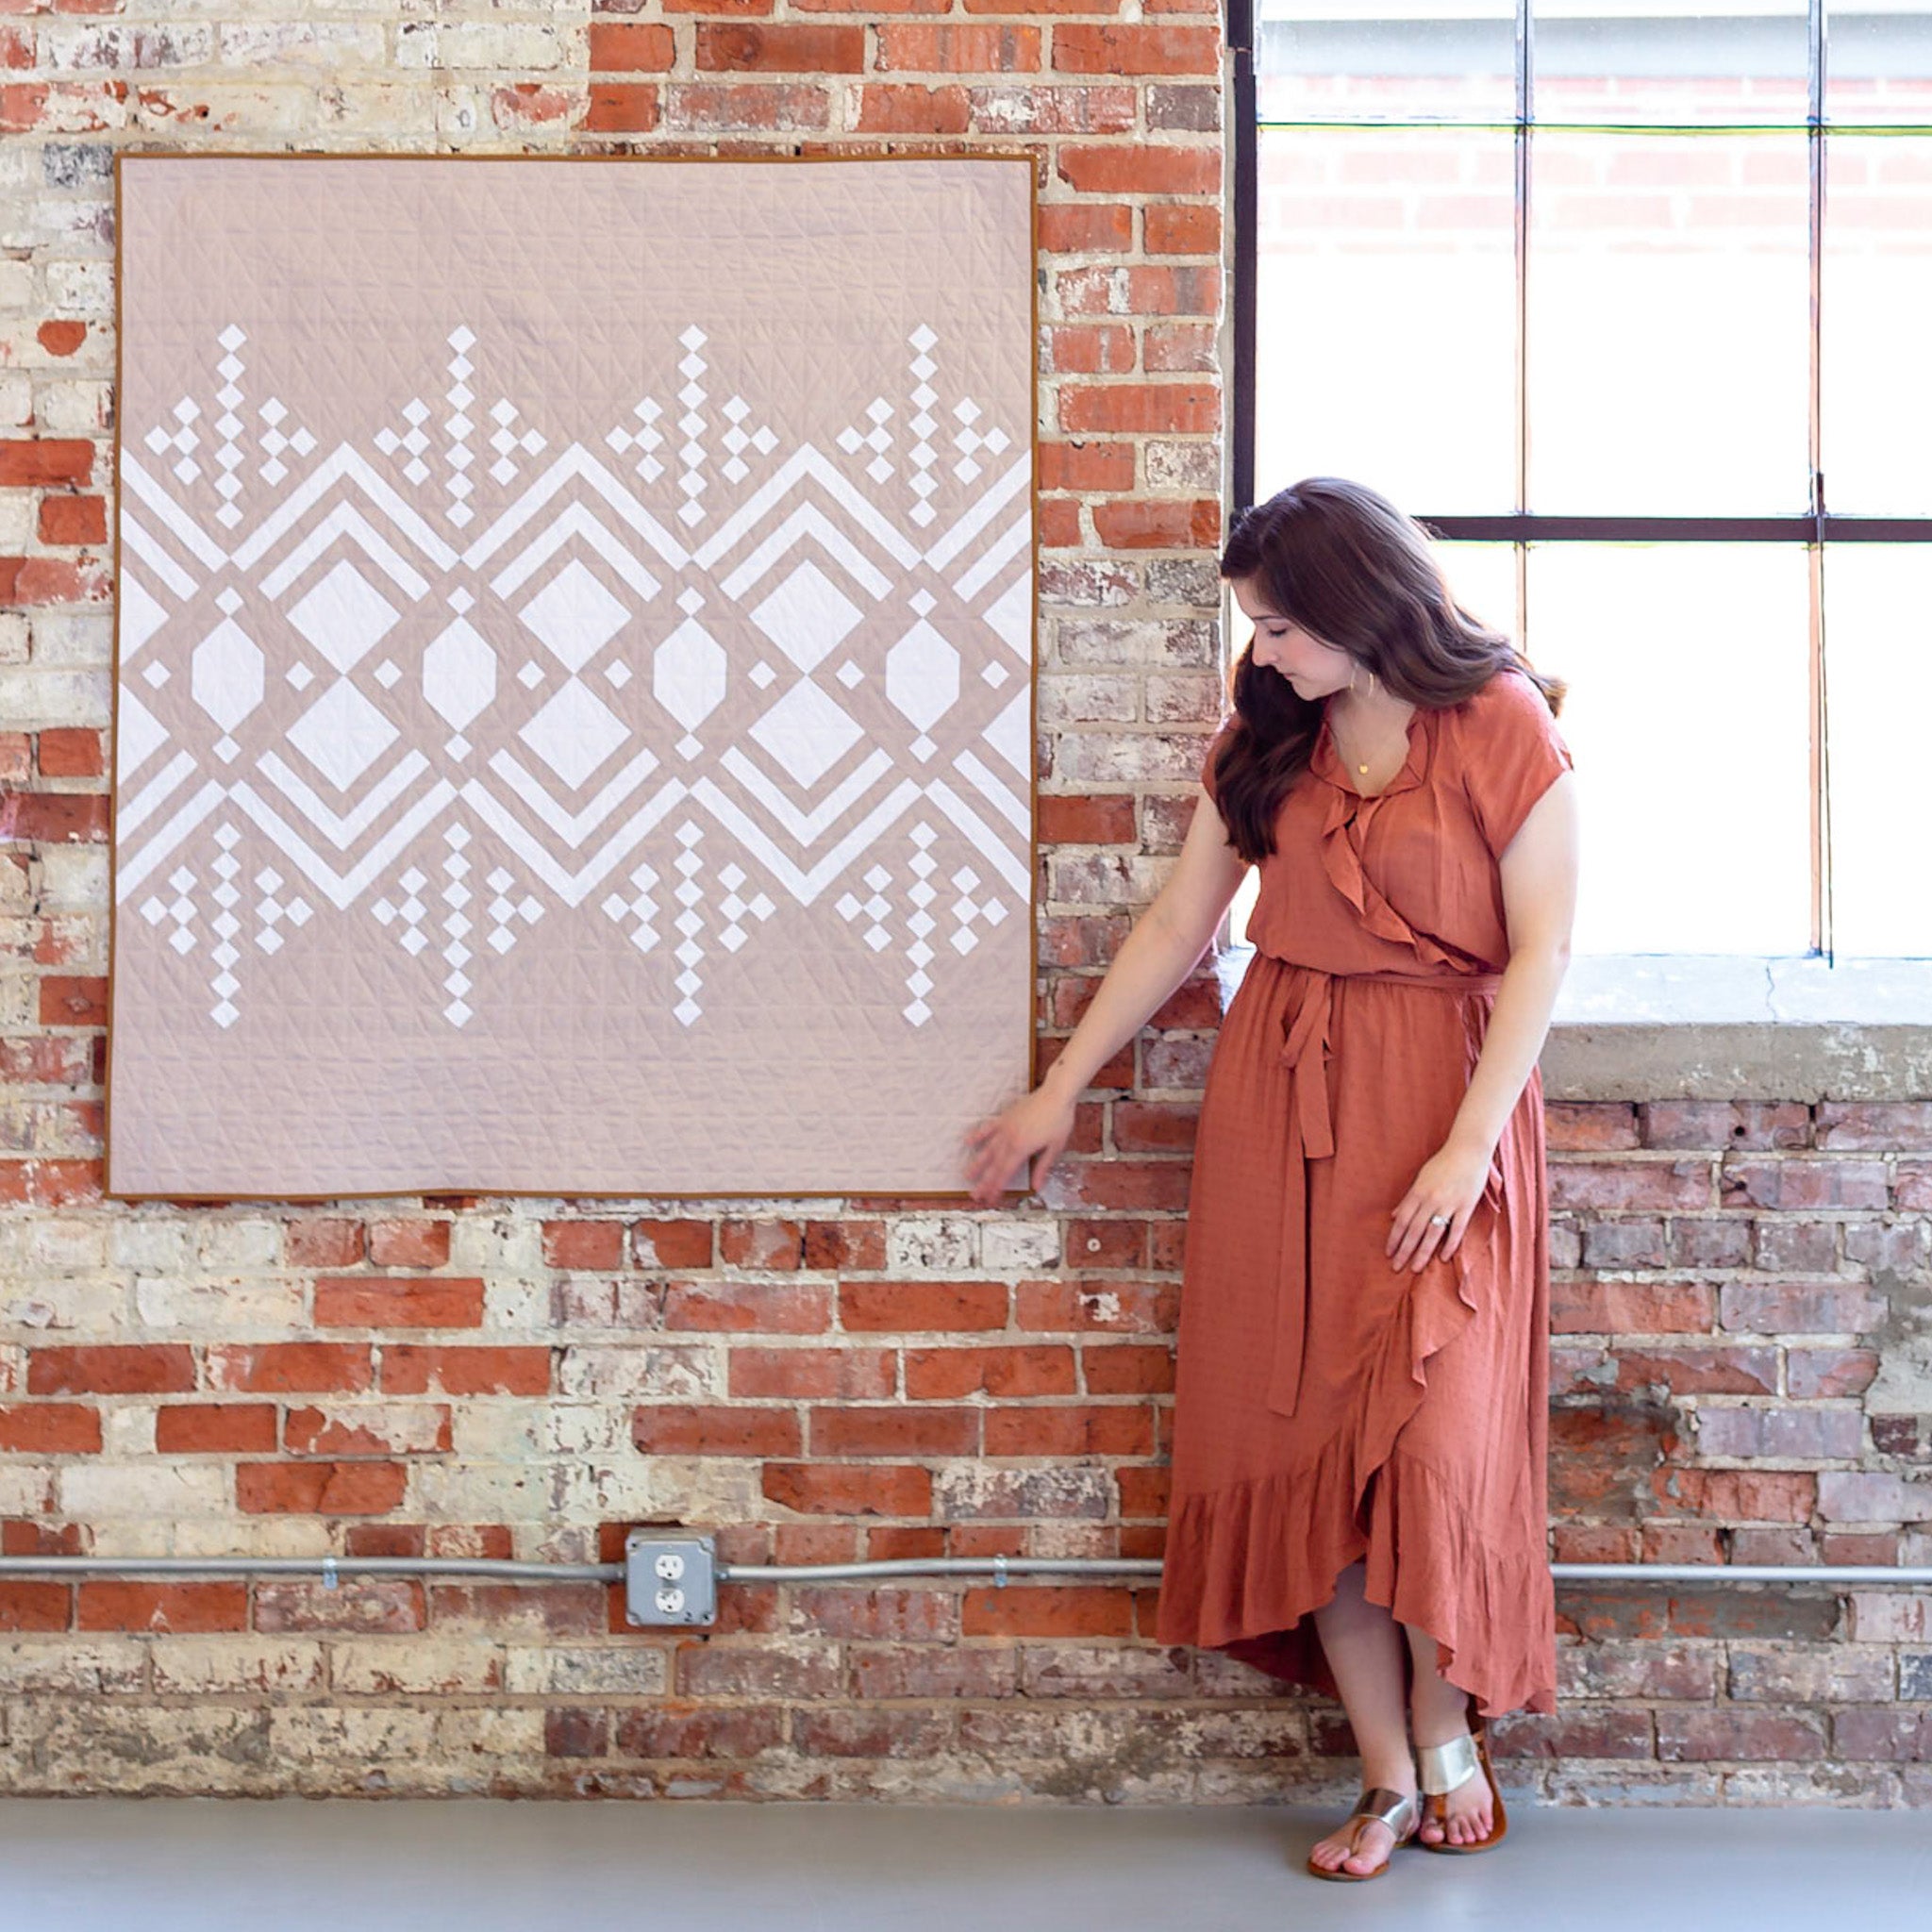
Converting my original Deco design into a baby quilt took a lot of trial and error. I knew that I didn't want to scale down the blocks, so I played around with different layouts of the same size blocks that are used in the Throw. Initially, the baby quilt looked more similar to the Throw, in that there were blocks on the top and bottom of the quilt as well. But then I accidentally landed on a really neat, sort of minimal layout that features a lot of negative space. At first glance, this design kind of mimics the look of lace. I get serious wedding dress vibes from the daintiness of the dots mixed with the solid blocks in the foreground. I love it so much that I contemplated making the throw size mirror this look, but in the end, I decided to leave it like this. Maybe one day I'll convert this specific layout to other sizes!
.

.
Since my other Deco quilts were more bold and moody, I wanted this one to be different. One of my favorite fabric combinations of all time is Kona Snow and Doeskin. You might recall that Peter's Interwoven quilt uses these two colors and so does my Vintage Lace quilt that I made for myself. I absolutely love how soft and subtle both of these quilts are, so I wanted to create a Deco quilt using this fabric combination as well! The only difference is that I might a slight fabric substitution for what I had on hand. Instead of Snow, I used White, is it's a little more bright and crisp.

Here's what I used for this quilt:
- Color: Kona White - 1 yard
- Background: Kona Doeskin - 2 yards
- Binding: Kona Leather - 1/2 yard
- Backing: AGF Happily Ever After - 3 yards (or less if you have multiple seams in your backing)
We have quilt kits for this entire quilt (quilt top, backing and binding) in our shop!
.

I decided to machine quilt this quilt myself. Anytime I know that I'll have a quick finish, or a relatively smaller quilt, I like to go ahead and do the quilting myself (versus sending it off to a long-armer). I sometimes get asked what my preferences are with basting and hands down, I like to pin baste over spray! Personally, I seem to get puckers on the backing whenever I spray baste, but I know people who will say the same thing about pins. I also really love that pins are more sustainable. Make one purchase and you're set for life. With the spray, you have to keep buying it...and I don't like using aerosolized chemicals if I don't have to! You can find my pin basting tutorial here.
.

.
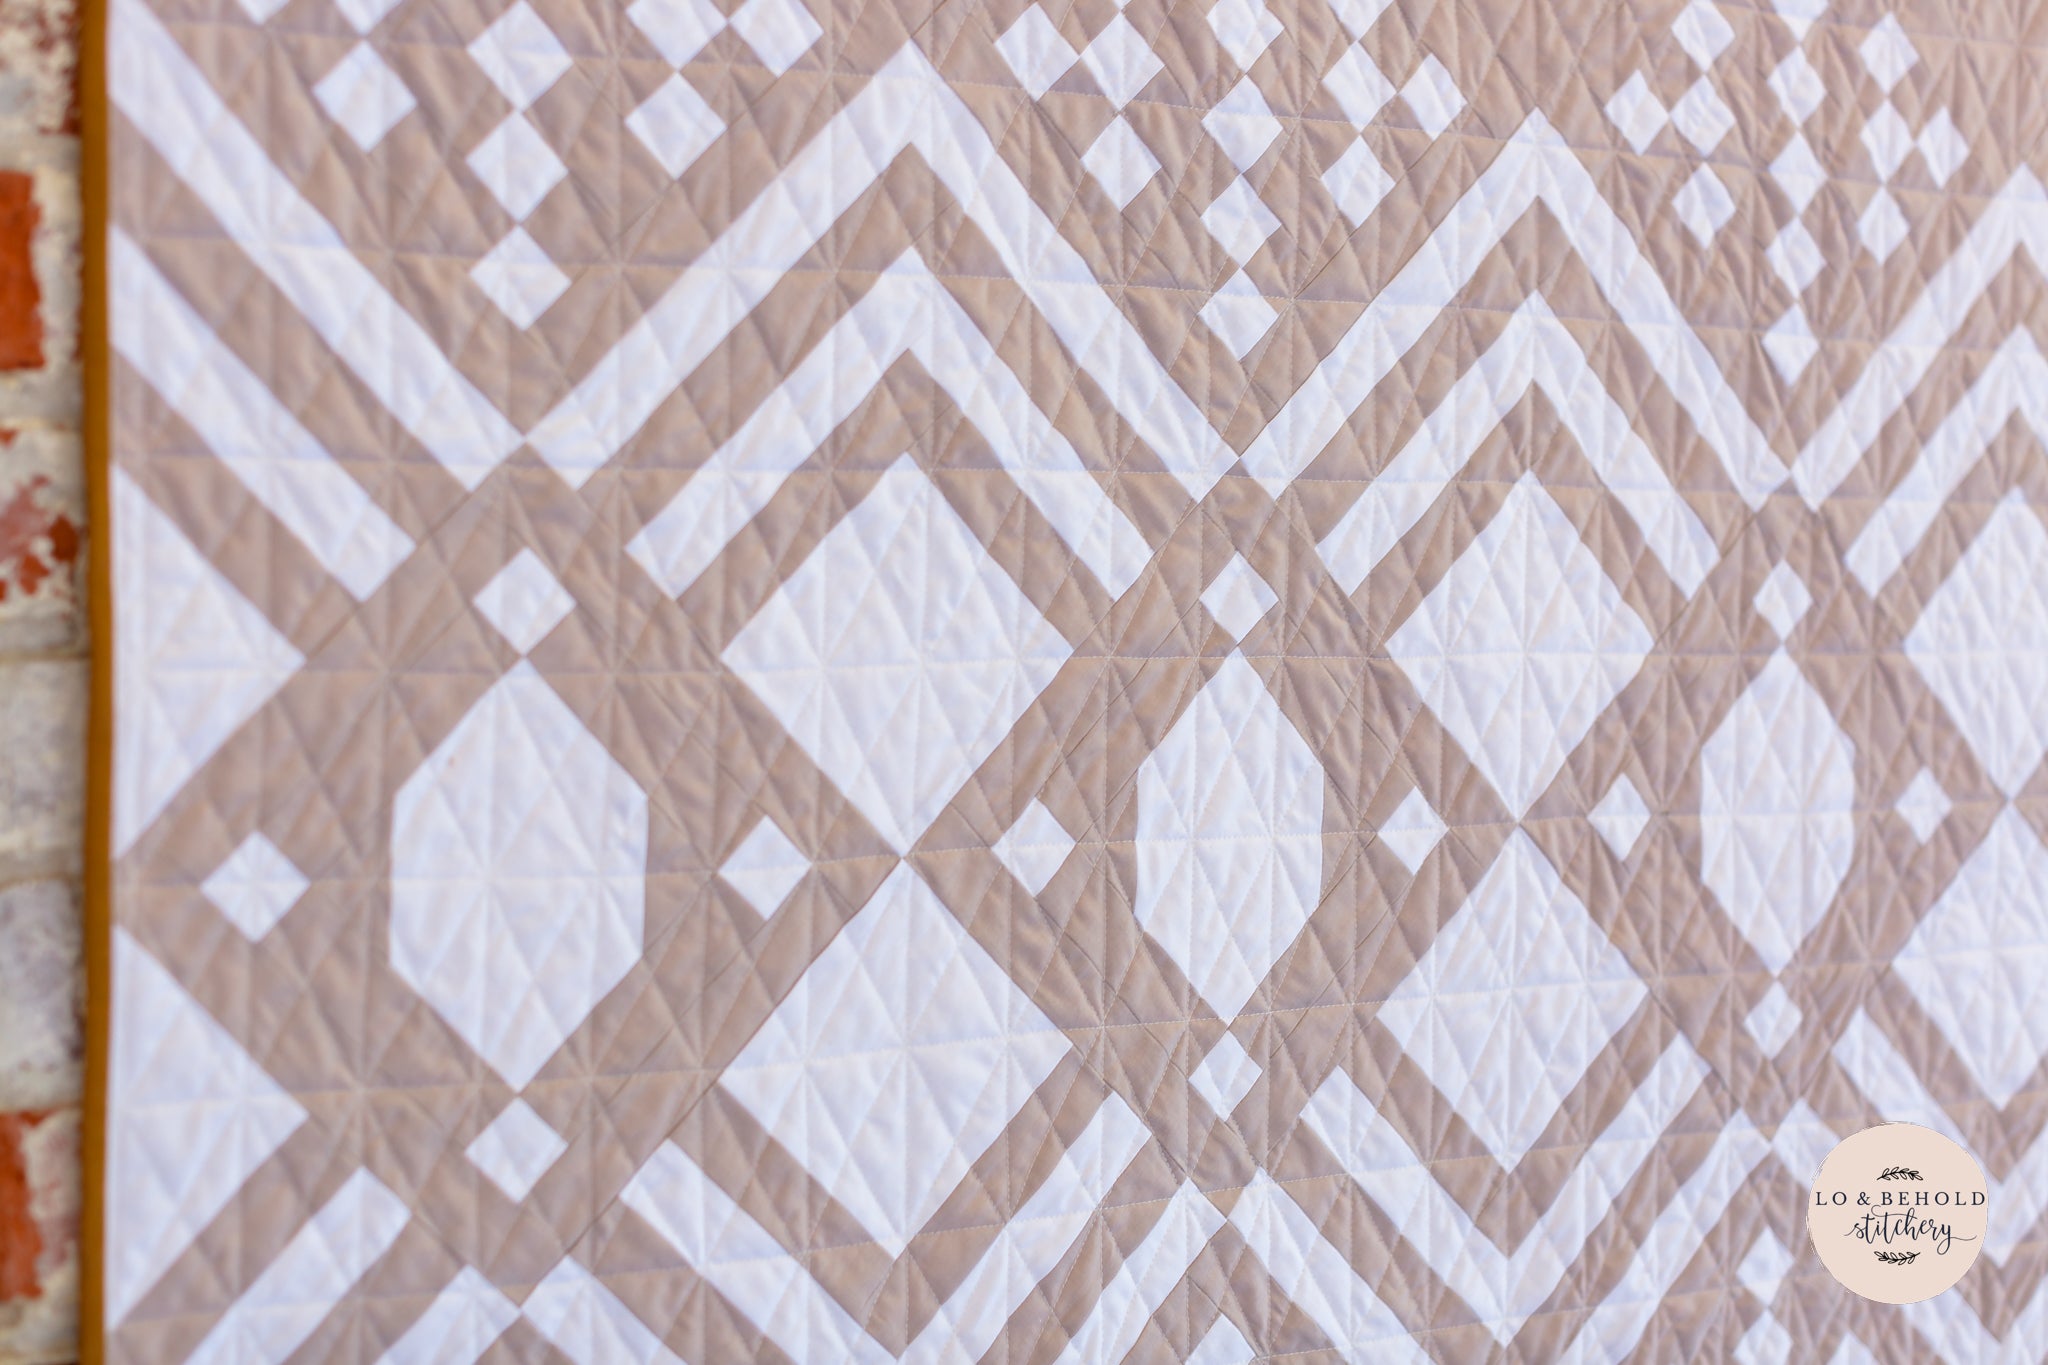
Once my quilt sandwich was basted, I used my Janome Continental M7 for the straight line quilting. I loved the texture of the quilting on my Kismet Nightingale Quilt, so I wanted to recreate that. I also did something similar for my cover Celtic Crossing 2.0 quilt. Essentially, I quilted Horizontal lines that were ~2.75" apart and vertical lines that were ~1" apart. Then I quilted diagonal lines to intersect all of the corners of the quilted rectangles. Since my quilting lines were not parallel to any seams in my quilt, I marked the first horizontal and vertical line. This was my reference point moving forward. If it makes you feel more comfortable, you could certainly mark all of your lines with a hera marker or painters tape. I'd rather just go for it. :)
.

.

.

.
For the backing, I used "Happily Ever After" by Art Gallery Fabrics. I've always loved this sweet print...I was actually saving this fabric for a Valentines day quilt, but I thought it would look really cute for this one! And for the binding, I used Kona Leather which is what I used on my Vintage Lace quilt.
..

.

.

.
Again, I just love the negative space in this quilt. Something about it feels so sophisticated and elegant. Which is definitely on-brand with the title, so I suppose that's a good thing. ;)
.

.

.

.

.

.

.

.

.
Part of me wishes that this quilt was bigger, but a quick finish really is nice! From start to finish, this quilt took me about three days! Granted, I was booking it with the quilting, haha, but this would still be a great weekend project!
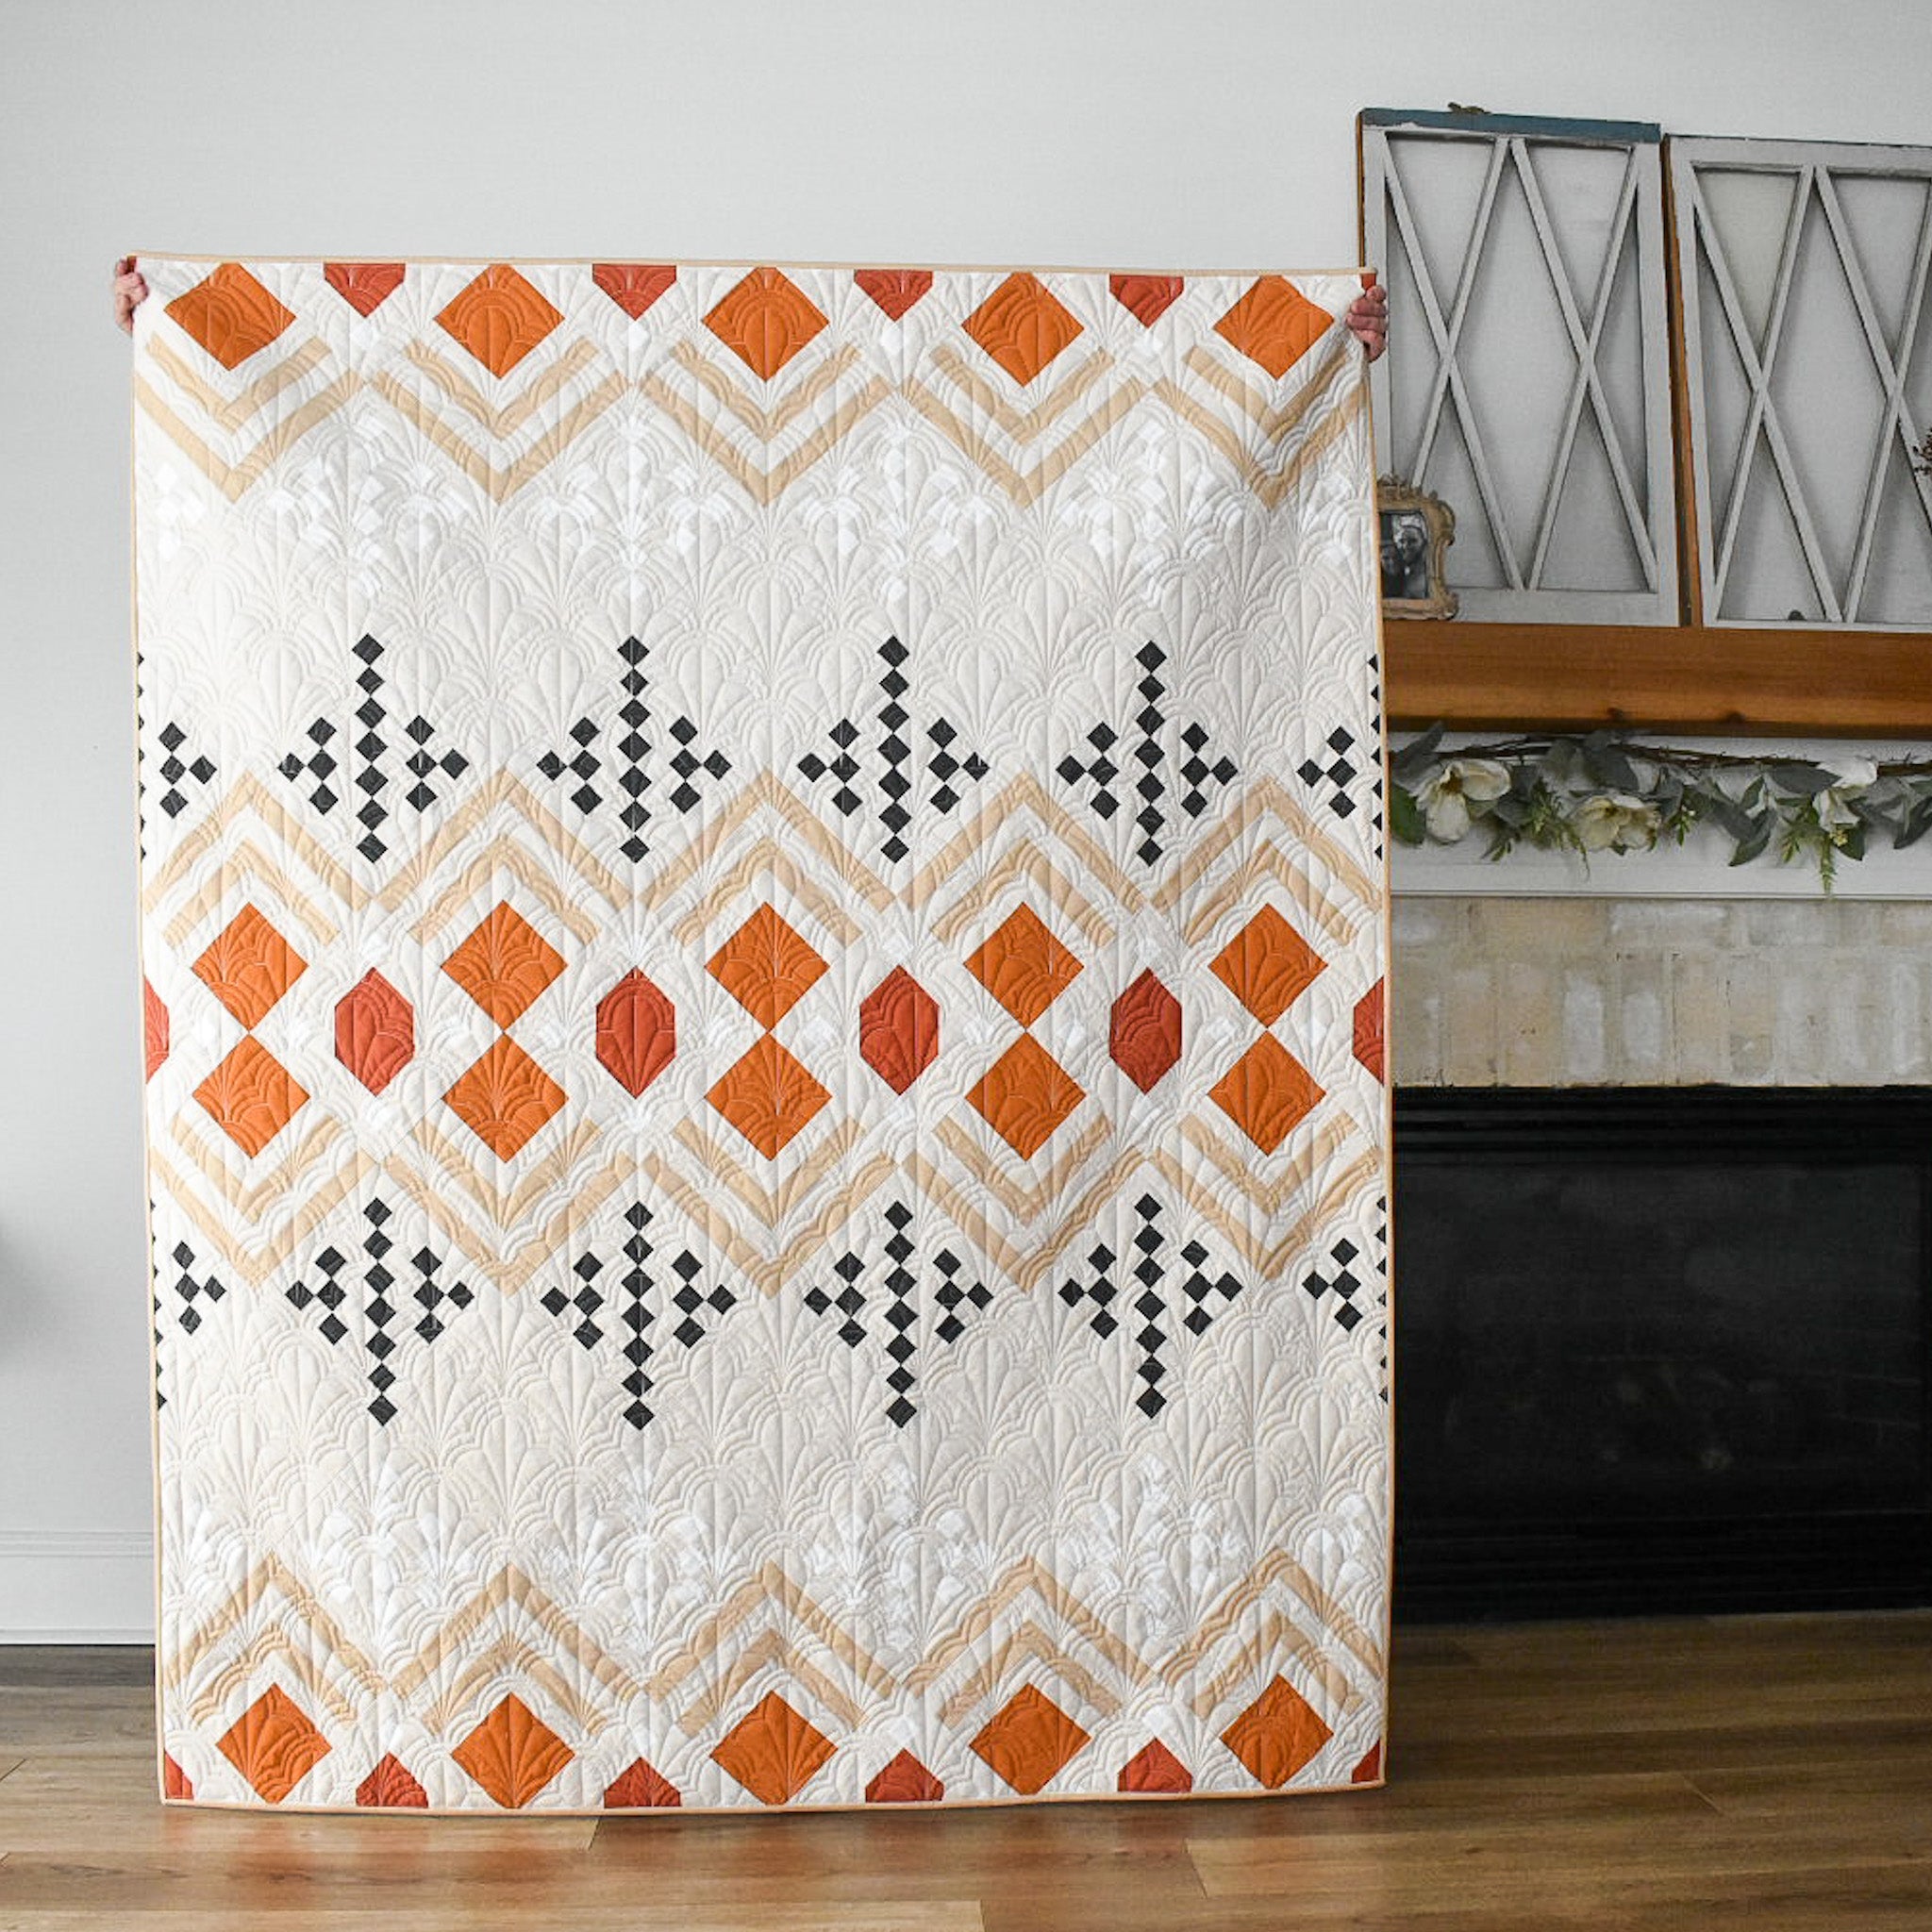
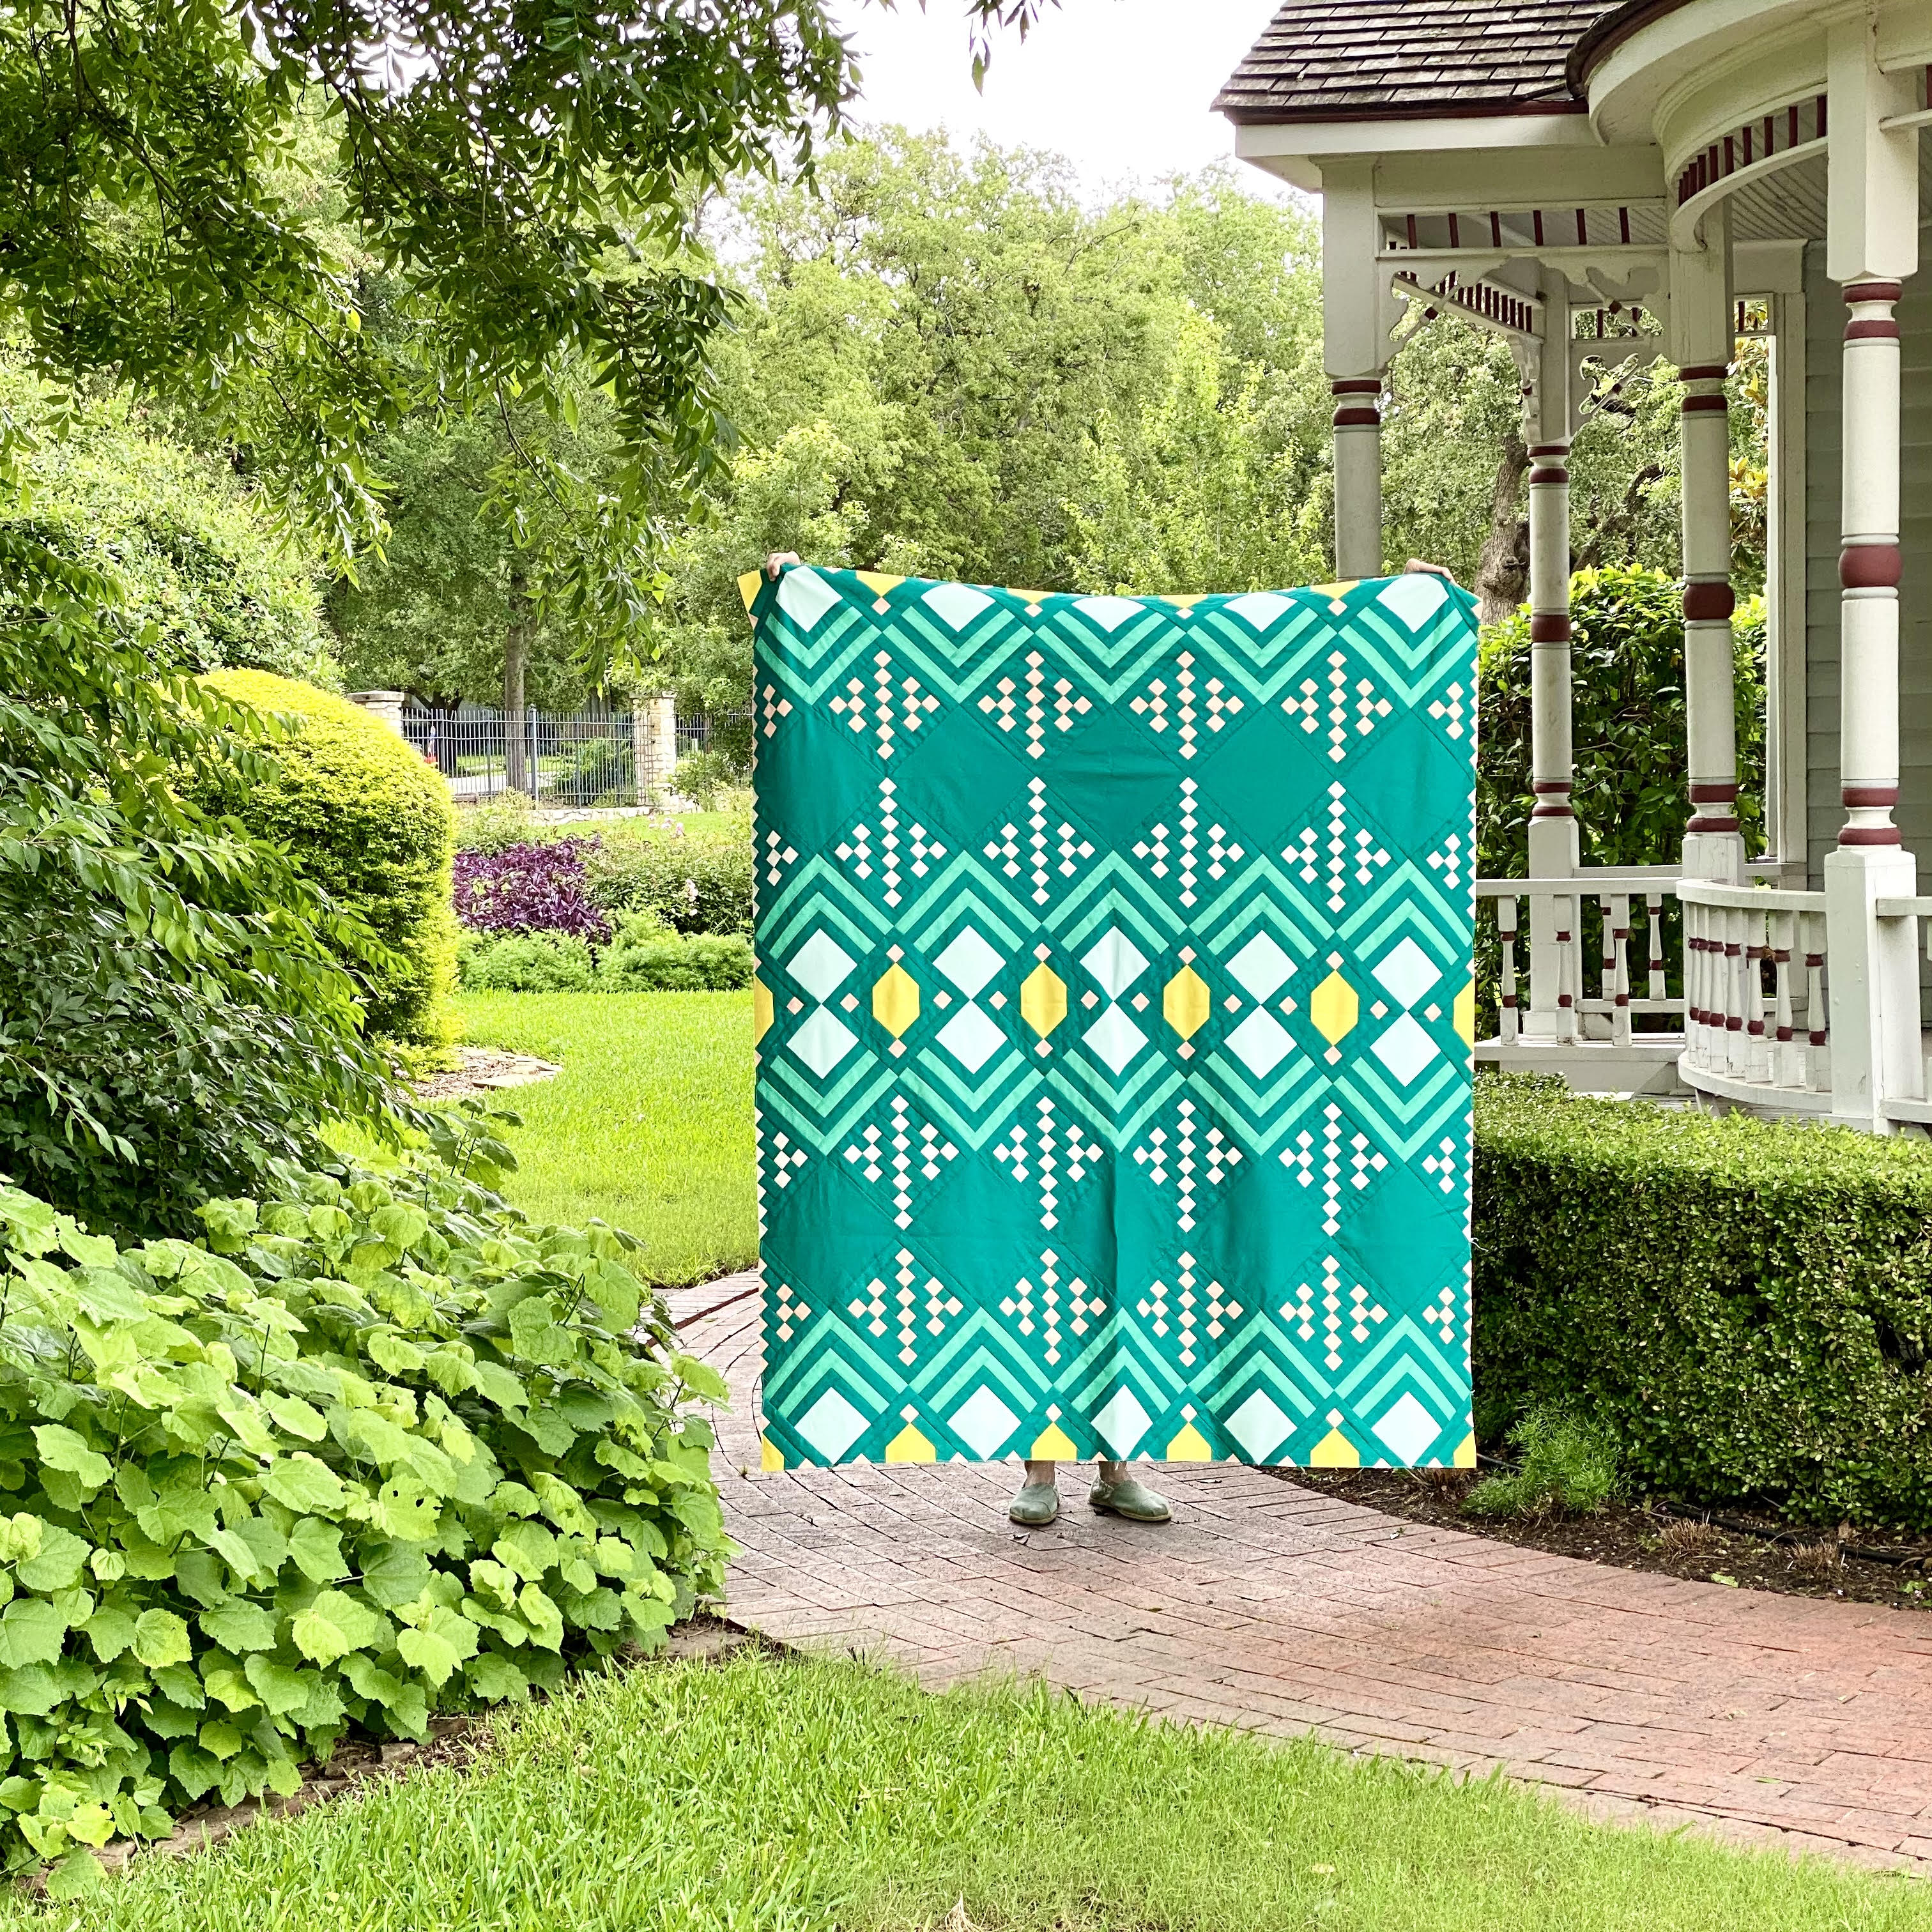
Since I have you here, I figured I'd go ahead and show you a few other ideas for the baby quilt.
This one is the inverse of the the quilt that I made. Doeskin as the Color, White as the background.

.
- Color 1: Kona Everglade
- Color 2: Kona Emerald
- Color 3: Kona Capri
- Color 4: Kona Acid Lime
- Background: Kona Haze

.
- Color 1: Kona Primrose
- Color 2: Kona Melon
- Color 3: Kona Wasabi
- Color 4: Kona Jade Green
- Background: Kona Foxglove

.
- Color 1: Kona Cedar
- Color 2: Kona Pimento
- Color 3: Kona Salmon
- Color 4: Kona Pepper
- Background: Kona Haze

.
- Color 1 - Kona Gold
- Color 2 - Kona Butterscotch
- Color 3 - Kona Peach
- Color 4 - Kona White
- Background - Kona Nectarine

.
- Color 1 - Kona Copen
- Color 2 - Kona Cadet
- Color 3 - Kona Slate
- Color 4 - Kona White
- Background - Kona Cloud

.
- Background: Kona Roasted Pecan
- Color: Kona Pepper

.
- Background: Kona Shadow
- Color: Kona Cadet

.
Don't forget! All digital and paper patterns are 15% off through Monday. No code needed!
.
LINKS:


