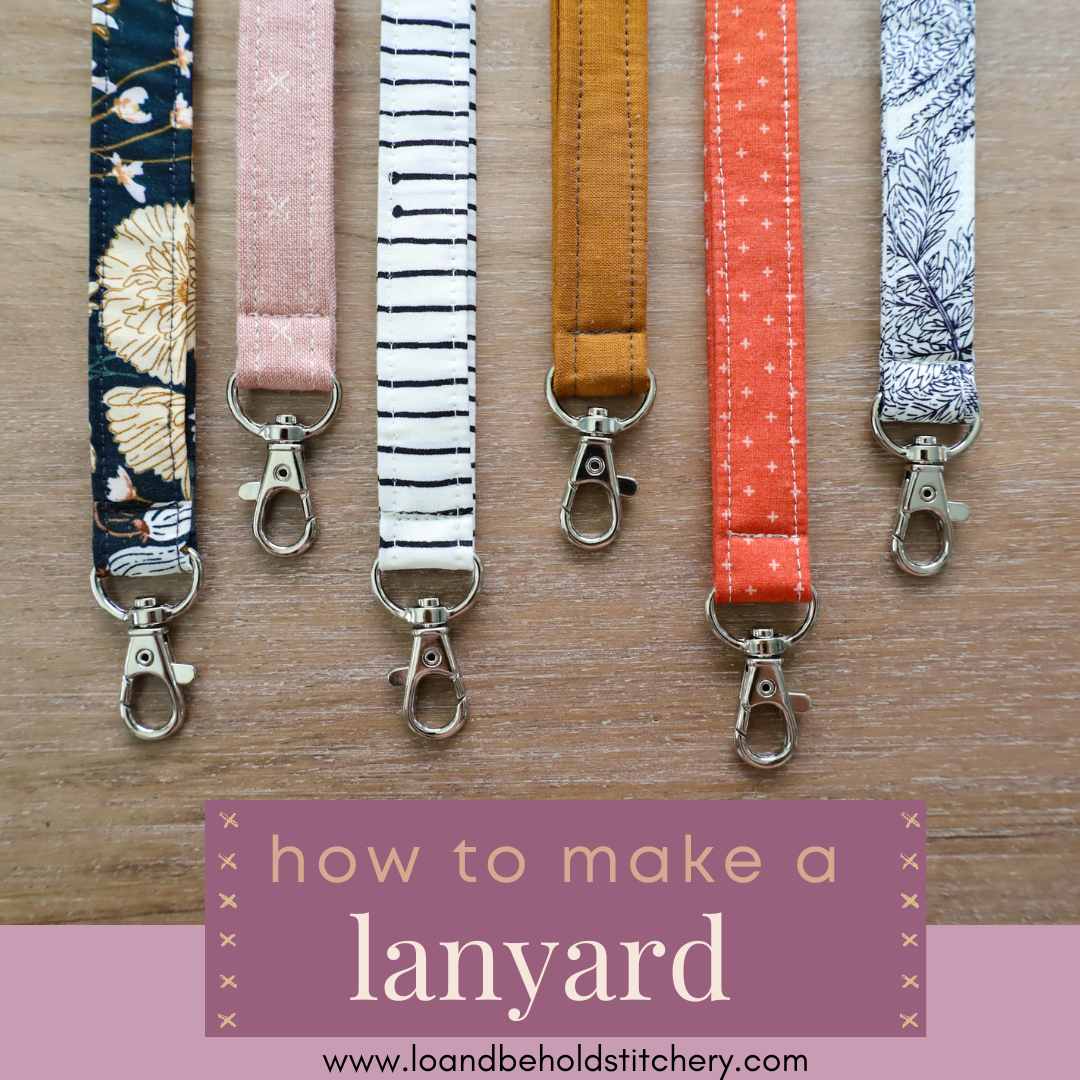
How to make a Lanyard

Ever wonder what you're going to do with all of your leftover scrap fabric and batting? Make a lanyard, my friend! Creating a lanyard is a quick and easy project that allows you to use up your scraps and wear your favorite fabrics!
.
.
Here's what you'll need:
- 3" x 36.5" piece of fabric - if you would like for the lanyard to be longer or shorter, adjust the length, but leave the width at 3"
- 3/4" x 36" piece of batting - any kind will do; if you adjusted the length of your lanyard, make the batting piece 1/2" shorter than your fabric piece
- lobster claw swivel clasp - you can use a variety of different types of hardware, this is just my favorite for this project. Make sure the D-ring is at least 3/4" wide.
- hand sewing needle
- thread
- sewing machine; a quilting needle is preferred
- scissors
- clips- you could also use pins
- iron
.
Lets get started!
First, fold your fabric in half lengthwise, and iron a crease.
.

.
Fold the top portion of the fabric so that the raw edge touches the lengthwise fold. Press to create another fold along the length of the strip.
.
.

.
Place the 3/4" x 36" piece of batting in the center of the fabric, so that it's 1/4" inside the short edge of the fabric. Fold the remaining fabric around the batting, as seen below. Press with a hot iron to create another fold. Both lengthwise raw edges should be folded in the lanyard at this point.
. .
.

.
.
.

..

.
The batting should be 1/4" shorter than the fabric strip, but if it's not, trim the batting.
.

.

Next, add your hardware to the lanyard.
.

.
Then you'll want to sew the two raw edges of your lanyard together (making a closed loop). Place them right sides together and pin in place if desired. Using a 1/4" seam allowance, sew the two ends of fabric together.
.

.

.

.
.

.
.
At this point, you can use an iron to press this seam open, or you can finger-press this seam open. Place your batting back in the center of your lanyard. And refold the edges so that everything is closed up. If the batting pieces are overlapped a little bit, you might want to trim them to prevent creating a "bump" in your lanyard. I usually put my final seam in this area, which tends to hide imperfections really well.
.

.


..
Sew a seam about 1/8" from the edge of your lanyard. Move the lobster clasp as you sew around your lanyard.
Some people like to stitch back and forth to start and end their seams, but I've always been a fan of burying my threads. To do this, you'll want to bring the bobbin thread above the fabric. Gently pull on the needle thread as you slowly turn the hand-wheel towards you. This will create a "loop" of the bobbin thread, as seen below. Gently pull on both threads so that you have enough room to tie a knot later on.
.

.

.


Once you come back around several inches before the start of the seam, tie a knot in the needle and bobbin thread 2 or 3 times. Then insert your needle right where the knot is in the fabric. Keeping the needle in the middle layers of the lanyard (don't go through to the other side) have the needle come out of the fabric about an inch or so away from where the knot is. Pull the needle through, then gently pull on the tails so that the knot "pops" underneath the fabric. Cut the thread "tails", then VIOLA! You have buried your threads.
.

.

.

.
.
Then continue stitching until you reach the start of the seam. Bury those threads and repeat this exact same process for the other edge of the lanyard.

..

 ..
..
Then, you'll want to create a seam just above your lobster clasp. Stitch back and forth at the beginning and end of your seam or bury your threads.


.
.
.

.
.
.
You did it! Enjoy your new lanyard!
Brittany
.
.
.
.
.
.
.
.
This post may contain some affiliate links meaning I may receive a small commission from each sell. Rest assured, I only share my favorite items with you!


