How to Make a Pillowcase with French Seams

One of the things I love most about making pillowcases is being able to customize each one by picking out fabrics that reflect our own (or the recipient's) personal style. We have different pillowcase sets to mark the changing seasons and to celebrate different holidays. It's a such a fun little extra touch for our bedroom decor that otherwise doesn't change too much throughout the year!
Over the years gifting them also marks the beginning of the holiday season in my family; its become a tradition that everyone looks forward to. I have 29 to make in the next week or so; thankfully they come together quickly!
THE DETAILS:
- Skill Level: Beginner. This is also a great project to make with kids/grandkids.
- Time Needed: 30-60 minutes
- Size: Makes one Standard 21" x 31" pillowcase with French Seams.
- Bonus: Be sure to read to the end for how to add an embroidered message to the trim!
- Pillowcase PDF: click here for a printable Pillowcase tutorial PDF.
- Pillowcase Kits: This is a great scrap busting project or we also have a beautiful selection of kits to choose from in the shop!

WHAT YOU'LL NEED:
- CUFF: 11" x WOF*
- TRIM: 2" x WOF*
- BODY: 27" x WOF*
*Assumes width of fabric is 42". Trim off selvedges from WOF's before beginning.

Preparing the Trim: Fold the 2" x WOF Trim piece in half lengthwise and press on the fold. Note: If you would like to add a custom embroidered message to your trim be sure to read the bonus at the end of the tutorial and complete that step now, before making the pillowcase.

Making the Pillowcase: Stack the three fabrics on top of each other in this order: Cuff on the bottom, Body in the middle, and the Trim on the top. All fabric should be right side up with the raw edges aligned at the top as shown below. Pin or clip in place.

Sew a ¼" seam along the top edge.

Turn the fabric over so the wrong sides of the Body and Cuff are facing up. Fold the Cuff fabric away from the Body and press right side up.

Turn the fabric back over so the right side of the Body and the wrong side of the Cuff fabric are facing up. Fold the top edge of Cuff fabric down ¼" and press in place.


Fold the Cuff fabric down so that it just covers the seam on the Trim and pin in place.


Press a fold along the length at the top of the Cuff. Then, Topstitch a scant ¼" seam where the Cuff and Trim meet, making sure the Trim seam stays hidden underneath.


Align the raw edges and fold the fabric in half, wrong sides together. Pin or clip in place.

Sew a ¼" seam along both edges. This creates the first part of the French Seam that will encase the raw edges.


Turn the pillowcase inside out and press the seams. It is helpful to pull the fabric “out” from the seam as you press to ensure a nice flat seam.
Sew along the two seamed edges with a ⅜" seam allowance. Accuracy is important to ensure the raw edges get enclosed. If your fabric edges show through the seam; try using a slightly larger seam allowance but no bigger than ½".

Turn the pillowcase right side out and press the seams. Your seams should now be completely enclosed and protected from fraying!


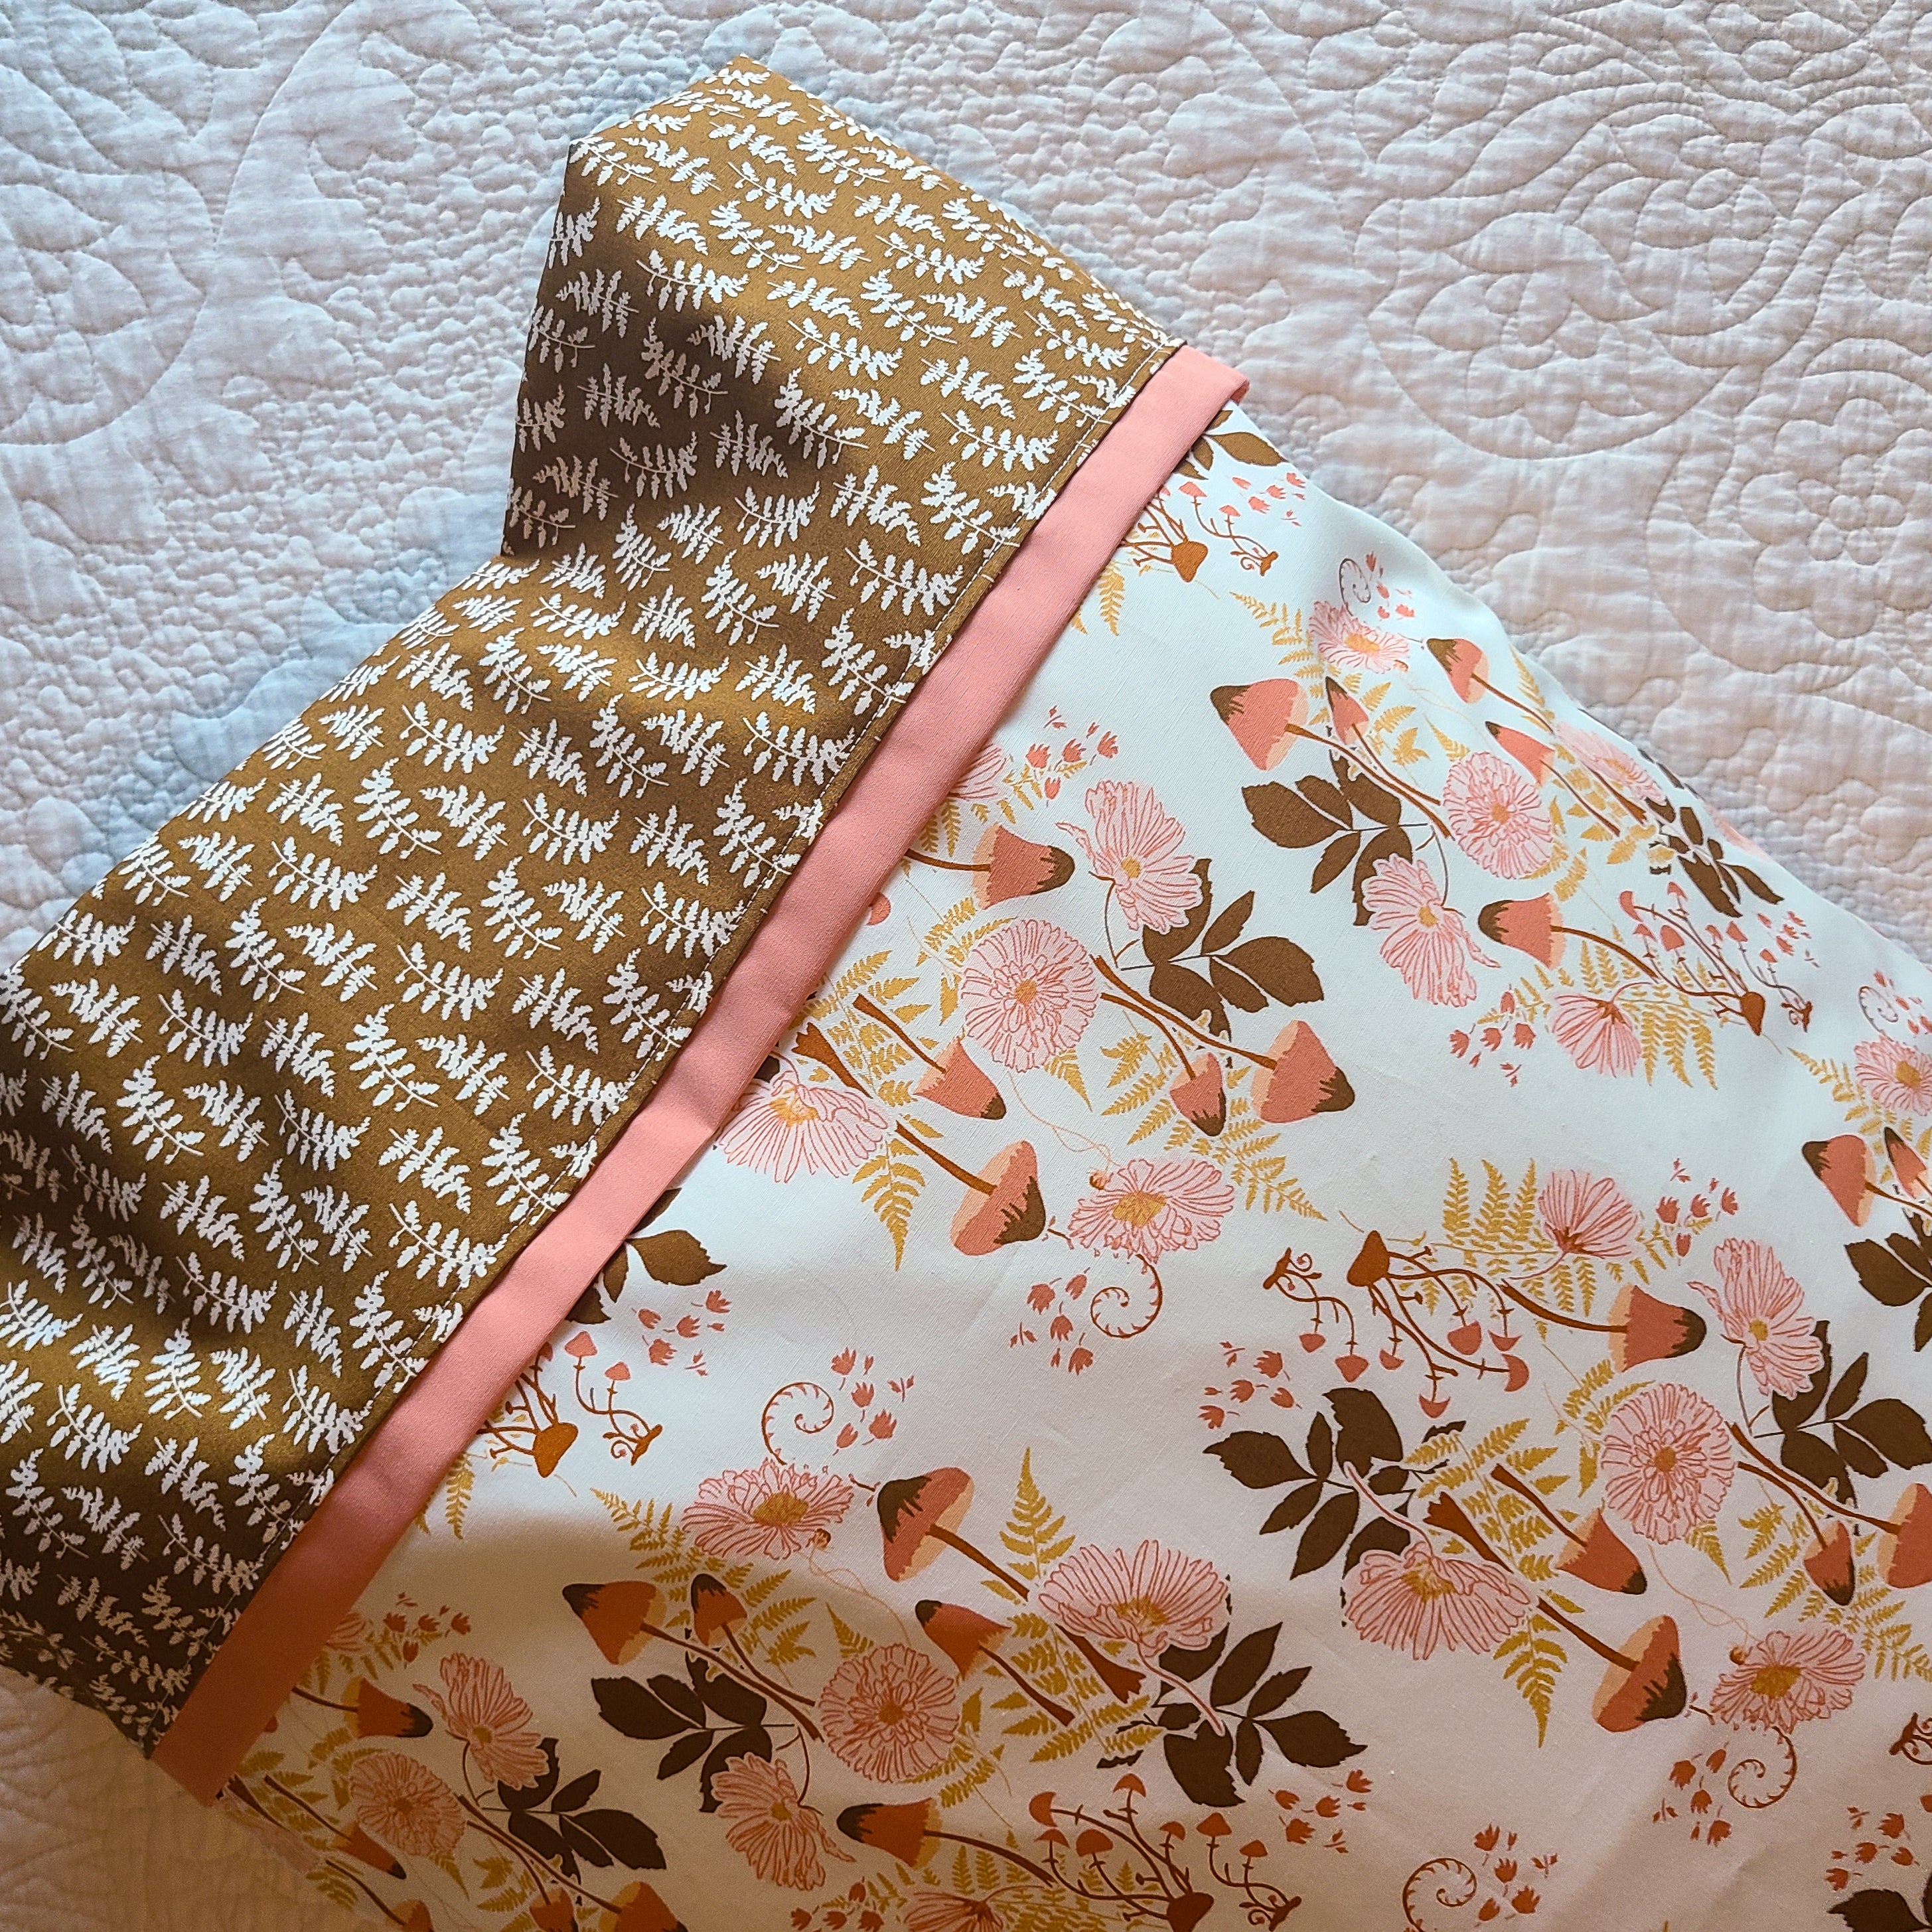
 You can find this Wild Forgotten pillowcase kit here.

BONUS: Adding A Custom Embroidered Message
If you have the option on your sewing machine to sew characters you can add a fun custom message to your pillowcase trim. I have an entry level sewing machine that I used to stitch this message; you dont need anything fancy!
Here are a few tips before getting started:
- Test your message on scrap fabric until you are happy with the results. You may need to play with the stitch height, length and/or spacing to get things just the way you want them!
- Refer to your Sewing Machine Owners Manual for directions specific to stitching characters with your machine.
- Message Length: Choose a message that is no longer than 7"- 8" when stitched out (demo shown is 4.75"). This keeps the message to the right side of the pillowcase and provides balance.
- Character Height: Set the character height between 1/4" - 3/8". This provides "breathing space" above and below the message.
- Choose a thread color that contrasts with the Trim. This creates an easy to read message that "pops".
- Hand Embroidery: If your machine doesn't have an option to sew characters consider hand embroidering them!

Once you have tested your message and are happy with the results you are ready to stitch it on your Trim!
Next, you'll want to determine where to start sewing your message so that it ends close to, but, does not run off of the edge of the Trim. Calculate this by adding 2.5" to the length of your message. For example, if your message is 5.5" you would measure 8" in from the right edge of the Trim (5.5" + 2.5") and begin sewing there.

Open the trim, measure and mark the starting point. Align the left edge of your presser foot with the fold of the fabric as show below and drop your presser foot at the starting point. Stitch the message on the trim keeping the presser foot aligned with the fold.

 Once you have the message stitched on the Trim, scroll back up and follow the "Making the Pillowcase" instructions above.

 You can find this Winter Wishes pillowcase kit here.
 LINKS:

