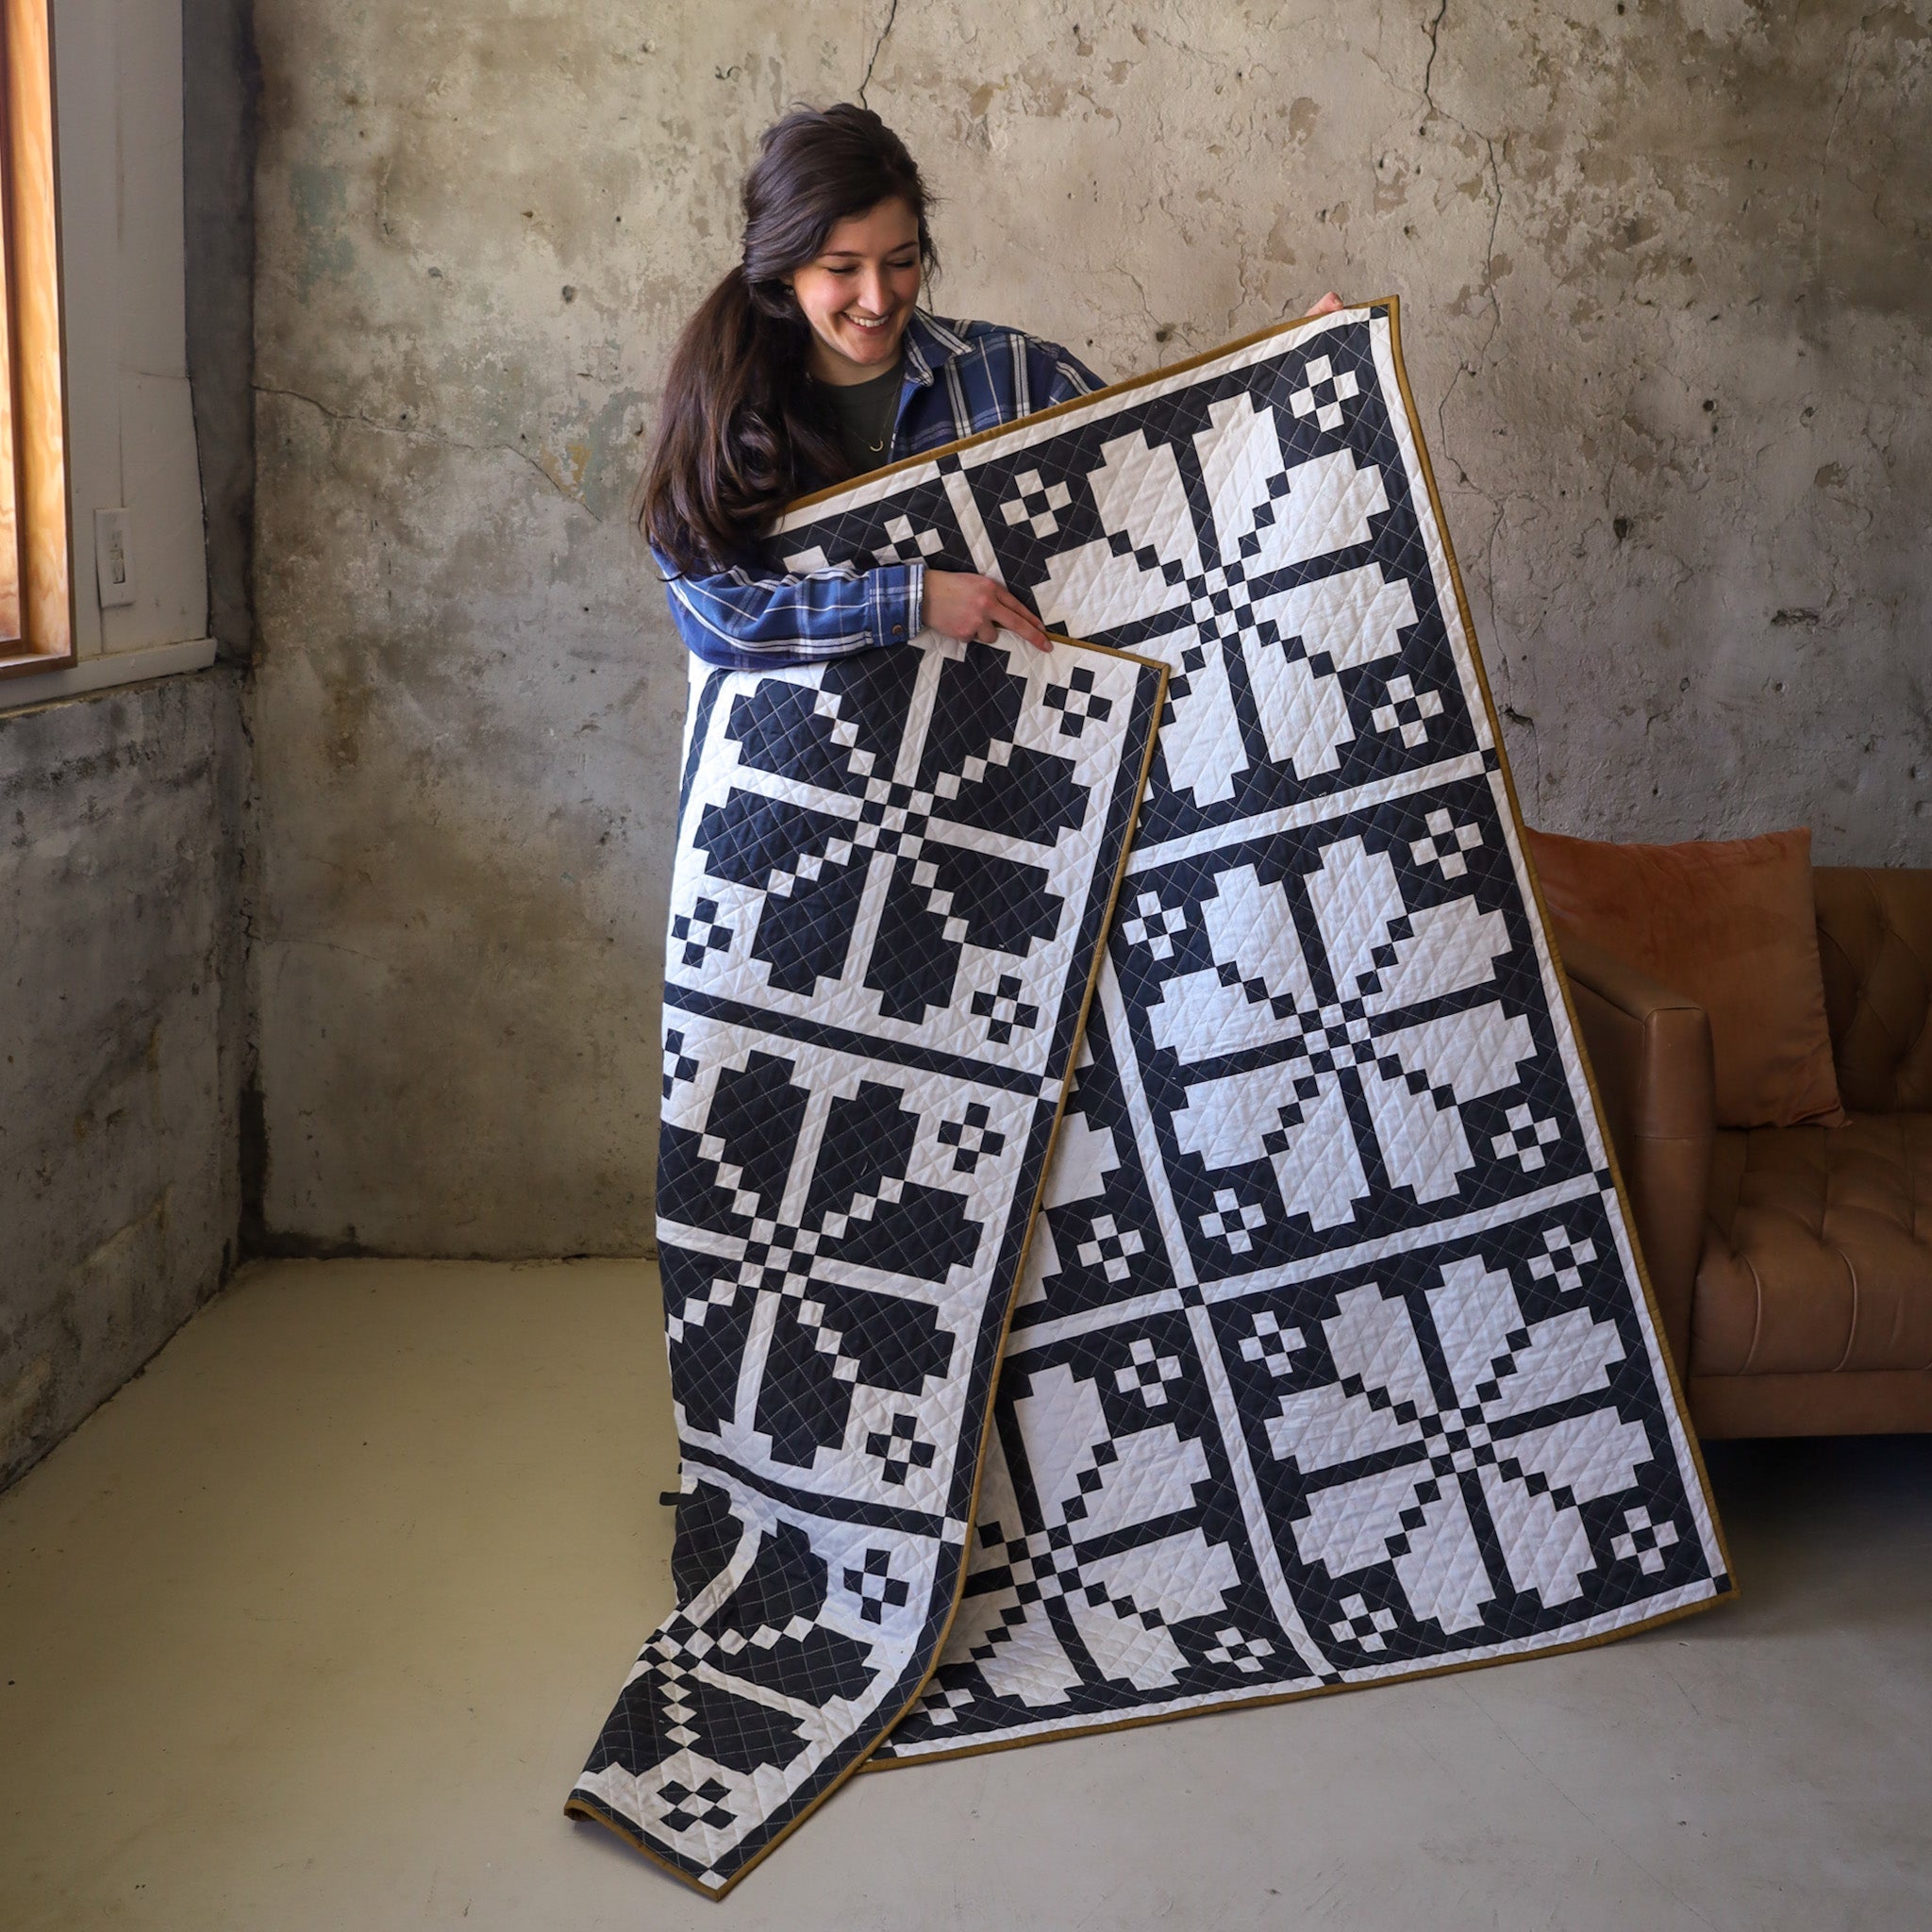
Knitted Blooms Quilt - the double sided version!
"What have I gotten myself into??"
That's what I was thinking as I basted this quilt. haha. Don't get me wrong, I am so thrilled with how it turned out, but there was a point during the process that I questioned everything. I'm glad that I persevered because it was such a good learning experience and I'm already thinking about making a double-sided quilt again. Let's dive in!


This is my fourth Knitted Blooms quilt and it's very different from the rest! If you're curious, you can read about my other Knitted Blooms samples here.
The thing I love about the two color version of Knitted Blooms is: a) there's sashing and b) the sashing that matches the Foreground instead of the Background. As I was early on in the design process, this element was something that got me SO excited to make because it really contributes to the knitted or woven blanket feel. 😍 I have been so excited about making this version ever since I first drafted the design. As we were playing around with mock-ups of different color-ways to put in the pattern, we had the realization that a double-sided quilt HAD to happen for this!


For my fabrics, I wanted shades that are "black and white" but a little more warm and not quite as stark. I landed Bella Charcoal and Kona Ivory and it feels like a cozy representation of a classic combination.
We have kits for this exact quilt as a "quilt top only" OR as a "double sided quilt" in the shop!
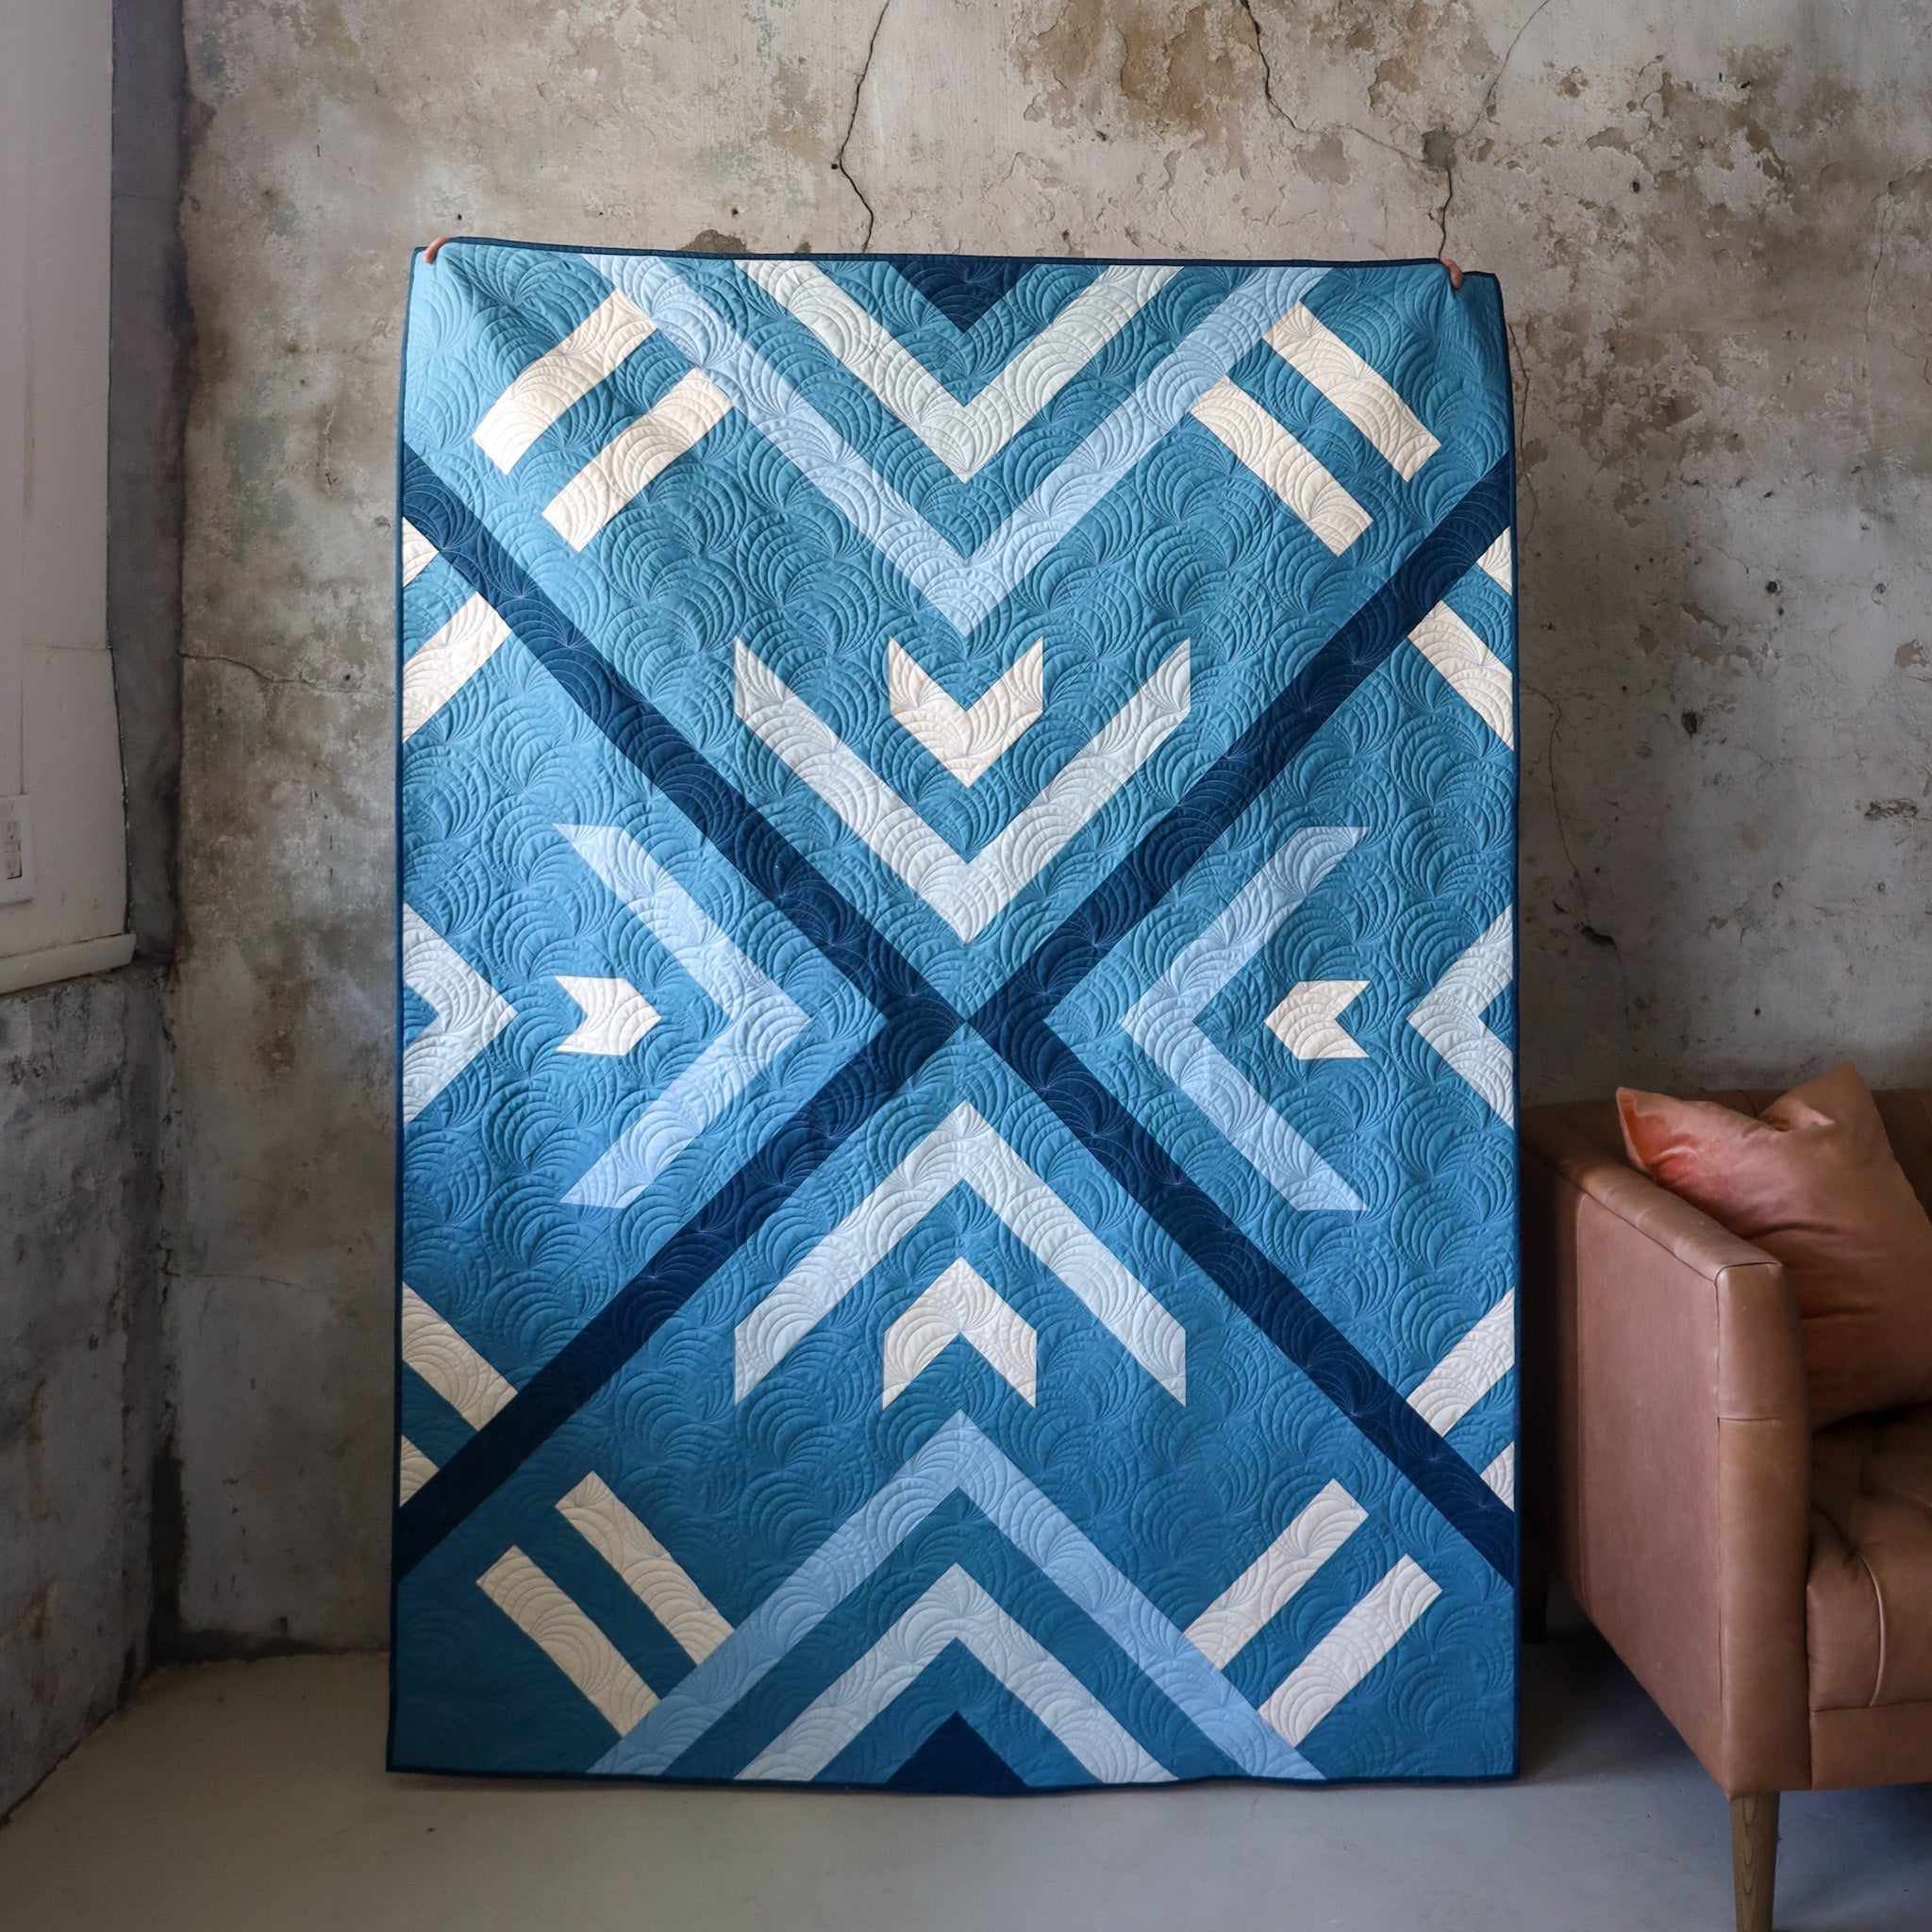
Like I mentioned, I have never made a quilt where there are essentially two quilt tops: one on the front, one on the back. However, Elizabeth, on Team Lo & Behold HAS made one before and she gave me all the confidence that I could do it too. If you're curious, here is the double-sided quilt that she made using our Celtic Crossing quilt pattern. Really, the biggest challenge is lining up the two tops during the basting process and and basting the quilt sandwich SUPER well so that it doesn't shift as you are quilting it. Here is a breakdown of what I did:
I started out by basting the first quilt top to the batting. I basted on my table top, which is a game changer if you're someone who normally bastes on the floor. I did this in two sections using curved safety pins. Then I marked 2” from the quilt top, then trimmed away the batting so that it extended past the quilt top exactly 2”.


Next, I flipped it over and basted the second quilt top to the other side of the batting. This part was a little trickier. I made sure that the quilt top was both centered on the batting and 2” away from the edge of the batting. I actually tag-teamed making this quilt with someone else, which isn't ideal because we each had slightly different seam allowances. This meant that one quilt top ended up measuring slightly smaller (~1.5") than the other, which made for an interesting challenge when basting and squaring up my quilt after quilting. It also meant that on two of my edges, I was focusing on getting the second quilt top centered and it was a little less than 2" from the edge of the batting.

At this point, I had pins on both sides of my quilt, so I removed the pins on one side so that the quilting process was a little bit easier. This part seemed a little redundant but I’m not sure if there was a way around it. I made an IG reel of this process here.
I decided to quilt 45 degree lines, so I used the 45 degree line on my ruler to align with a horizontal seam in my quilt, then using a hera marker, I mark my first line on the center diagonal of my quilt. This is where I will quilt my first line and align subsequent lines from there.
I stitched on that line using my walking foot, then moving forward, I aligned the previous line with the right edge of my presser foot to give my lines even spacing. They ended up being a little more than 1" apart.
I quilted all of my lines going in one direction, then I rotated my quilt and quilted all of my 45 degree lines going in the other direction, again starting in the center and working my way out. I made an IG reel of this process here.
Once my quilt was quilted, it was time to square up my quilt top. This is the moment of truth where I’ll see how well my quilt tops are aligned on the front and back. I knew that I was going to have to trim away a little bit from the larger quilt top, but my hope was that it wouldn't be super noticeable. Since the sashing finishes at 1", I decided to trim away a little more than what I needed to so that the binding would completely cover the sashing on that side, instead of having a little tiny sliver of sashing peeking out from underneath the binding.

This wasn't ideal, but I figured that the focus wasn't really going to be on the outside edges of my quilt, but more so on the blocks. I showed it to Peter and he said that he wouldn't have noticed if I didn't point it out, so I suppose that's a positive!
Once I squared up the quilt, I added binding using AGF Golden Bronze. I loved that I kept it neutral for this quilt, but it could also be an opportunity to add some color if you'd like!


Overall, even though a couple of my borders got chopped off, I am really proud of how this quilt turned out. It ended up about twice as heavy as a normal quilt, since there are so many seams in one Knitted Blooms quilt top, let alone two. Plus I love that it looks like the inverse of a woven blanket. I would 100% make a double-sided quilt again!


Thanks for reading!
LINKS:
- Knitted Blooms quilt pattern (PDF) (Printed)
-
Knitted Blooms Charcoal + Ivory quilt kit