How to Perfect your Seam Allowance
Have you ever sewn pieces of fabric together and wondered why they didn't measure what you thought they would? Or have you found yourself trimming blocks to make sure everything fits together correctly? Well, my friend, I've been there too. And lo and behold, it was because of my seam allowance.
Your seam allowance is arguably one of the most critical parts of piecing a quilt. If you are making any sort of pattern/design that has multiple size pieces, your seam allowance is what allows all of your pieces to fit together like a puzzle. If your seam allowance isn't correct, then things my not fit together as nicely as they should. This tutorial will help you test your seam allowance so that your sewing is as accurate as possible. :)

Pattern featured above is "Getaway" found here.
What is a Seam Allowance?
Your seam allowance is the area that is in between the edge of your fabric and your seam. It will eventually be hidden on the underside of your quilt top and within your quilt. In quilting, there is an assumed standard seam allowance of 1/4". This means that there is 1/4" of fabric in between your seam and the edge of your fabric.

.
What is a Scant 1/4" Seam Allowance?
Good question! A scant 1/4" seam allowance accounts for the width of your thread and the fold of your fabric. Depending on a few different factors, you might need to use a scant 1/4" seam allowance, which is just a teeny tiny bit smaller than 1/4". To read more about a scant 1/4" seam allowance, check out this blog post.
.
What factors can affect my Seam Allowance?
There are several things that can play into your seam allowance. It's not so much about using the same exact seam allowance for every single project, but it's more about assessing how these factors affect your results and making small changes as needed.
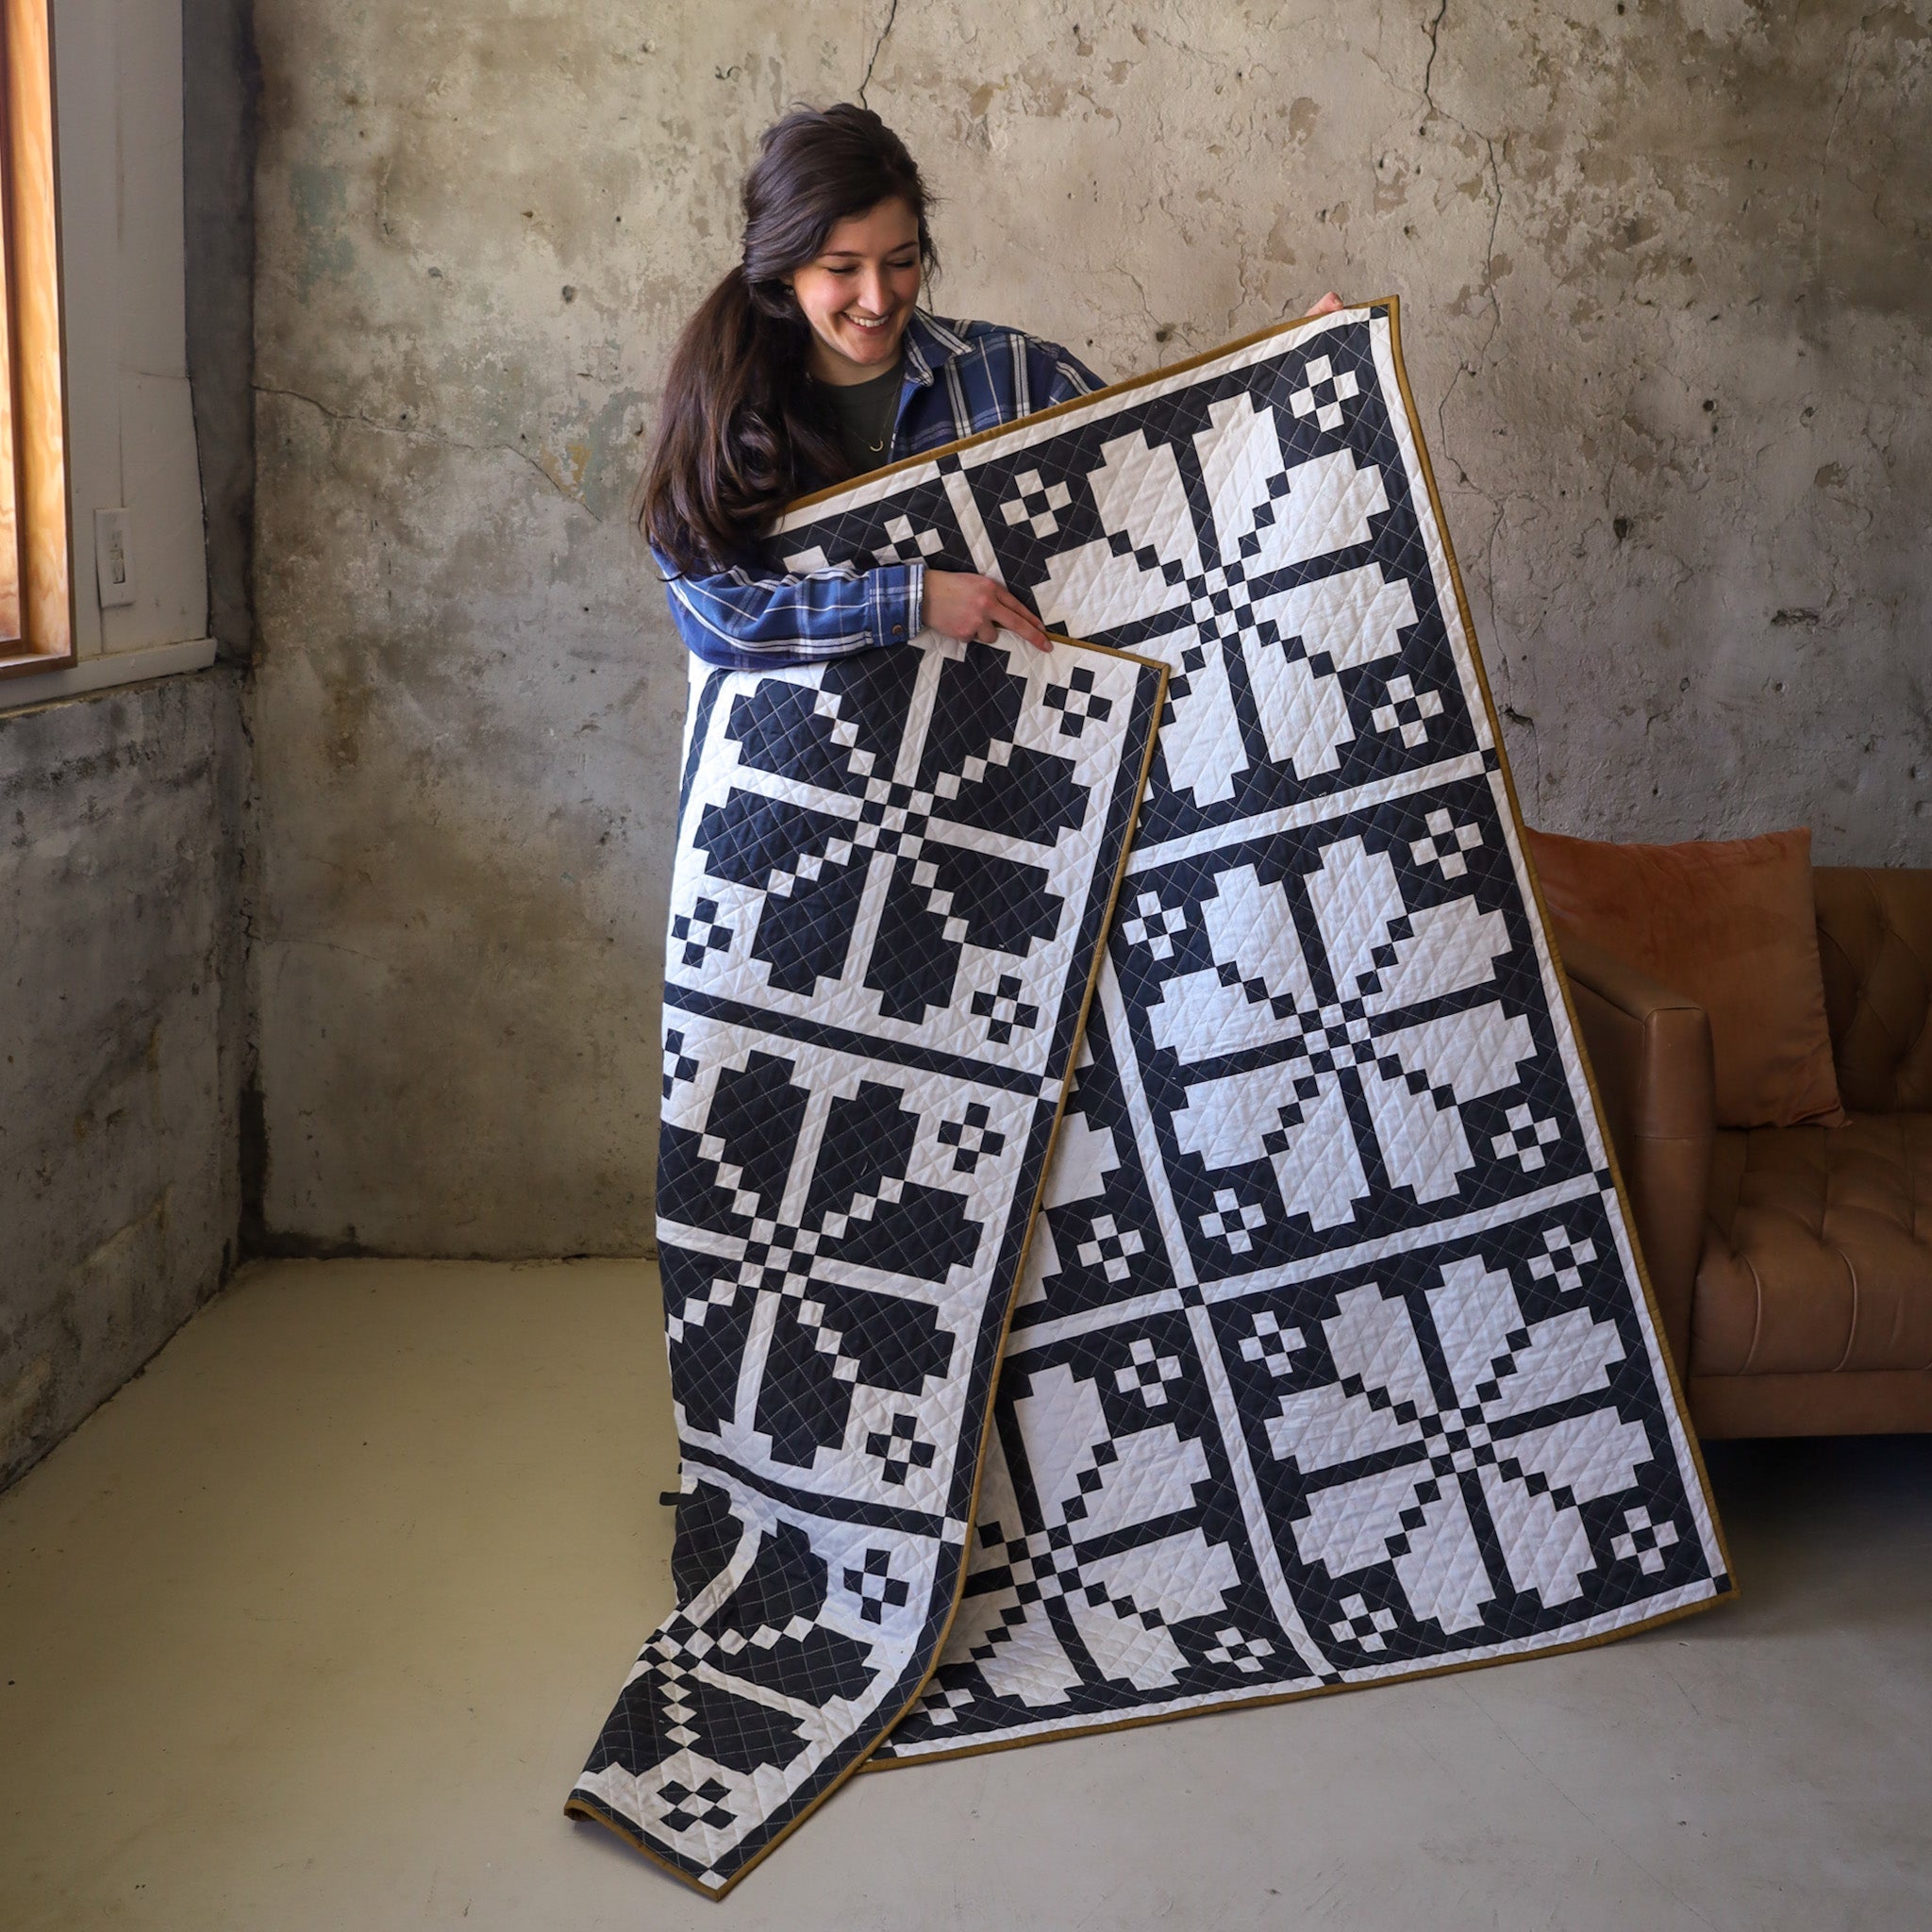
- The Pattern or Piecing Technique - Before you start any new project or technique, it's always important to try a test block first. For example, your seam allowance will likely need to vary slightly if you are sewing 10 strips together versus only sewing 3 strips together. The more pieces that are in a block, the more likely it is that you'll need to use a scant 1/4". Hence why Deco, Interwoven, Rhythm and Knitted Star all suggest a scant 1/4" seam. These patterns have blocks that have lots of piecing so there are many opportunities for your seam allowance to become "off" in the process. Not to mention, if you have more seams in a block, that's more fabric that is "eaten up" by that thread. With only two seams in a block, this might not be so noticeable, but it can really add up when you add more pieces. There are also certain piecing techniques, such as "stitch and flip" or the snowball technique that would benefit from a scant 1/4" seam as well.
.

The patterns featured above are Deco, Interwoven, Knitted Star and Rhythm.
- Thread Thickness - 50 weight, 2 ply thread is typically preferred for piecing. If you sew with 40 weight thread or anything thicker, you will likely notice an effect on the accuracy of your seam allowance. A thicker thread will "eat up" more of your fabric and affect the overall size of your finished piece.
- Pressing Direction - Generally speaking, pressing your seams open will give you a more accurate measurement than pressing a seam to one side. This is because when you press your seam to one side, the fabric has a higher chance of creating a larger fold around the seam (see below). Open seams are generally flatter and thus more accurate. If you are wanting to press your seam to one side, be sure that the nose of your iron gently gets into the seam so that there is a minimal fold around the thread. I've also noticed that things like a wool pressing mat and tailor's clapper really help with flat seams. If you're pressing all of your seams to one side, you might need to slightly decrease your seam allowance to account for the thread-width and fold of fabric.

- Fabric Thickness - You might notice that you have to adjust your seam allowance with thicker fabrics. I notice a slight difference between using Art Gallery and Kona Solids. Kona seems to be a little more stiff and thick, meaning that slightly more fabric may get "eaten up" by the seam allowance. This means that you might need to make a tiny adjustment to your seam allowance based on what fabrics are in your project.
How do you Test your Seam Allowance?
It's always best to test your seam allowance before each project, especially if you are using a new technique or a different kind of fabric/thread that you may not normally use. There are a few variables that can effect your seam allowance with the main one being how many pieces are in your block. Because of this, it's always helpful to test your seam allowance based on the pattern that you are working on. Sewing 10 strips together is a lot different than sewing 3 strips together, remember?
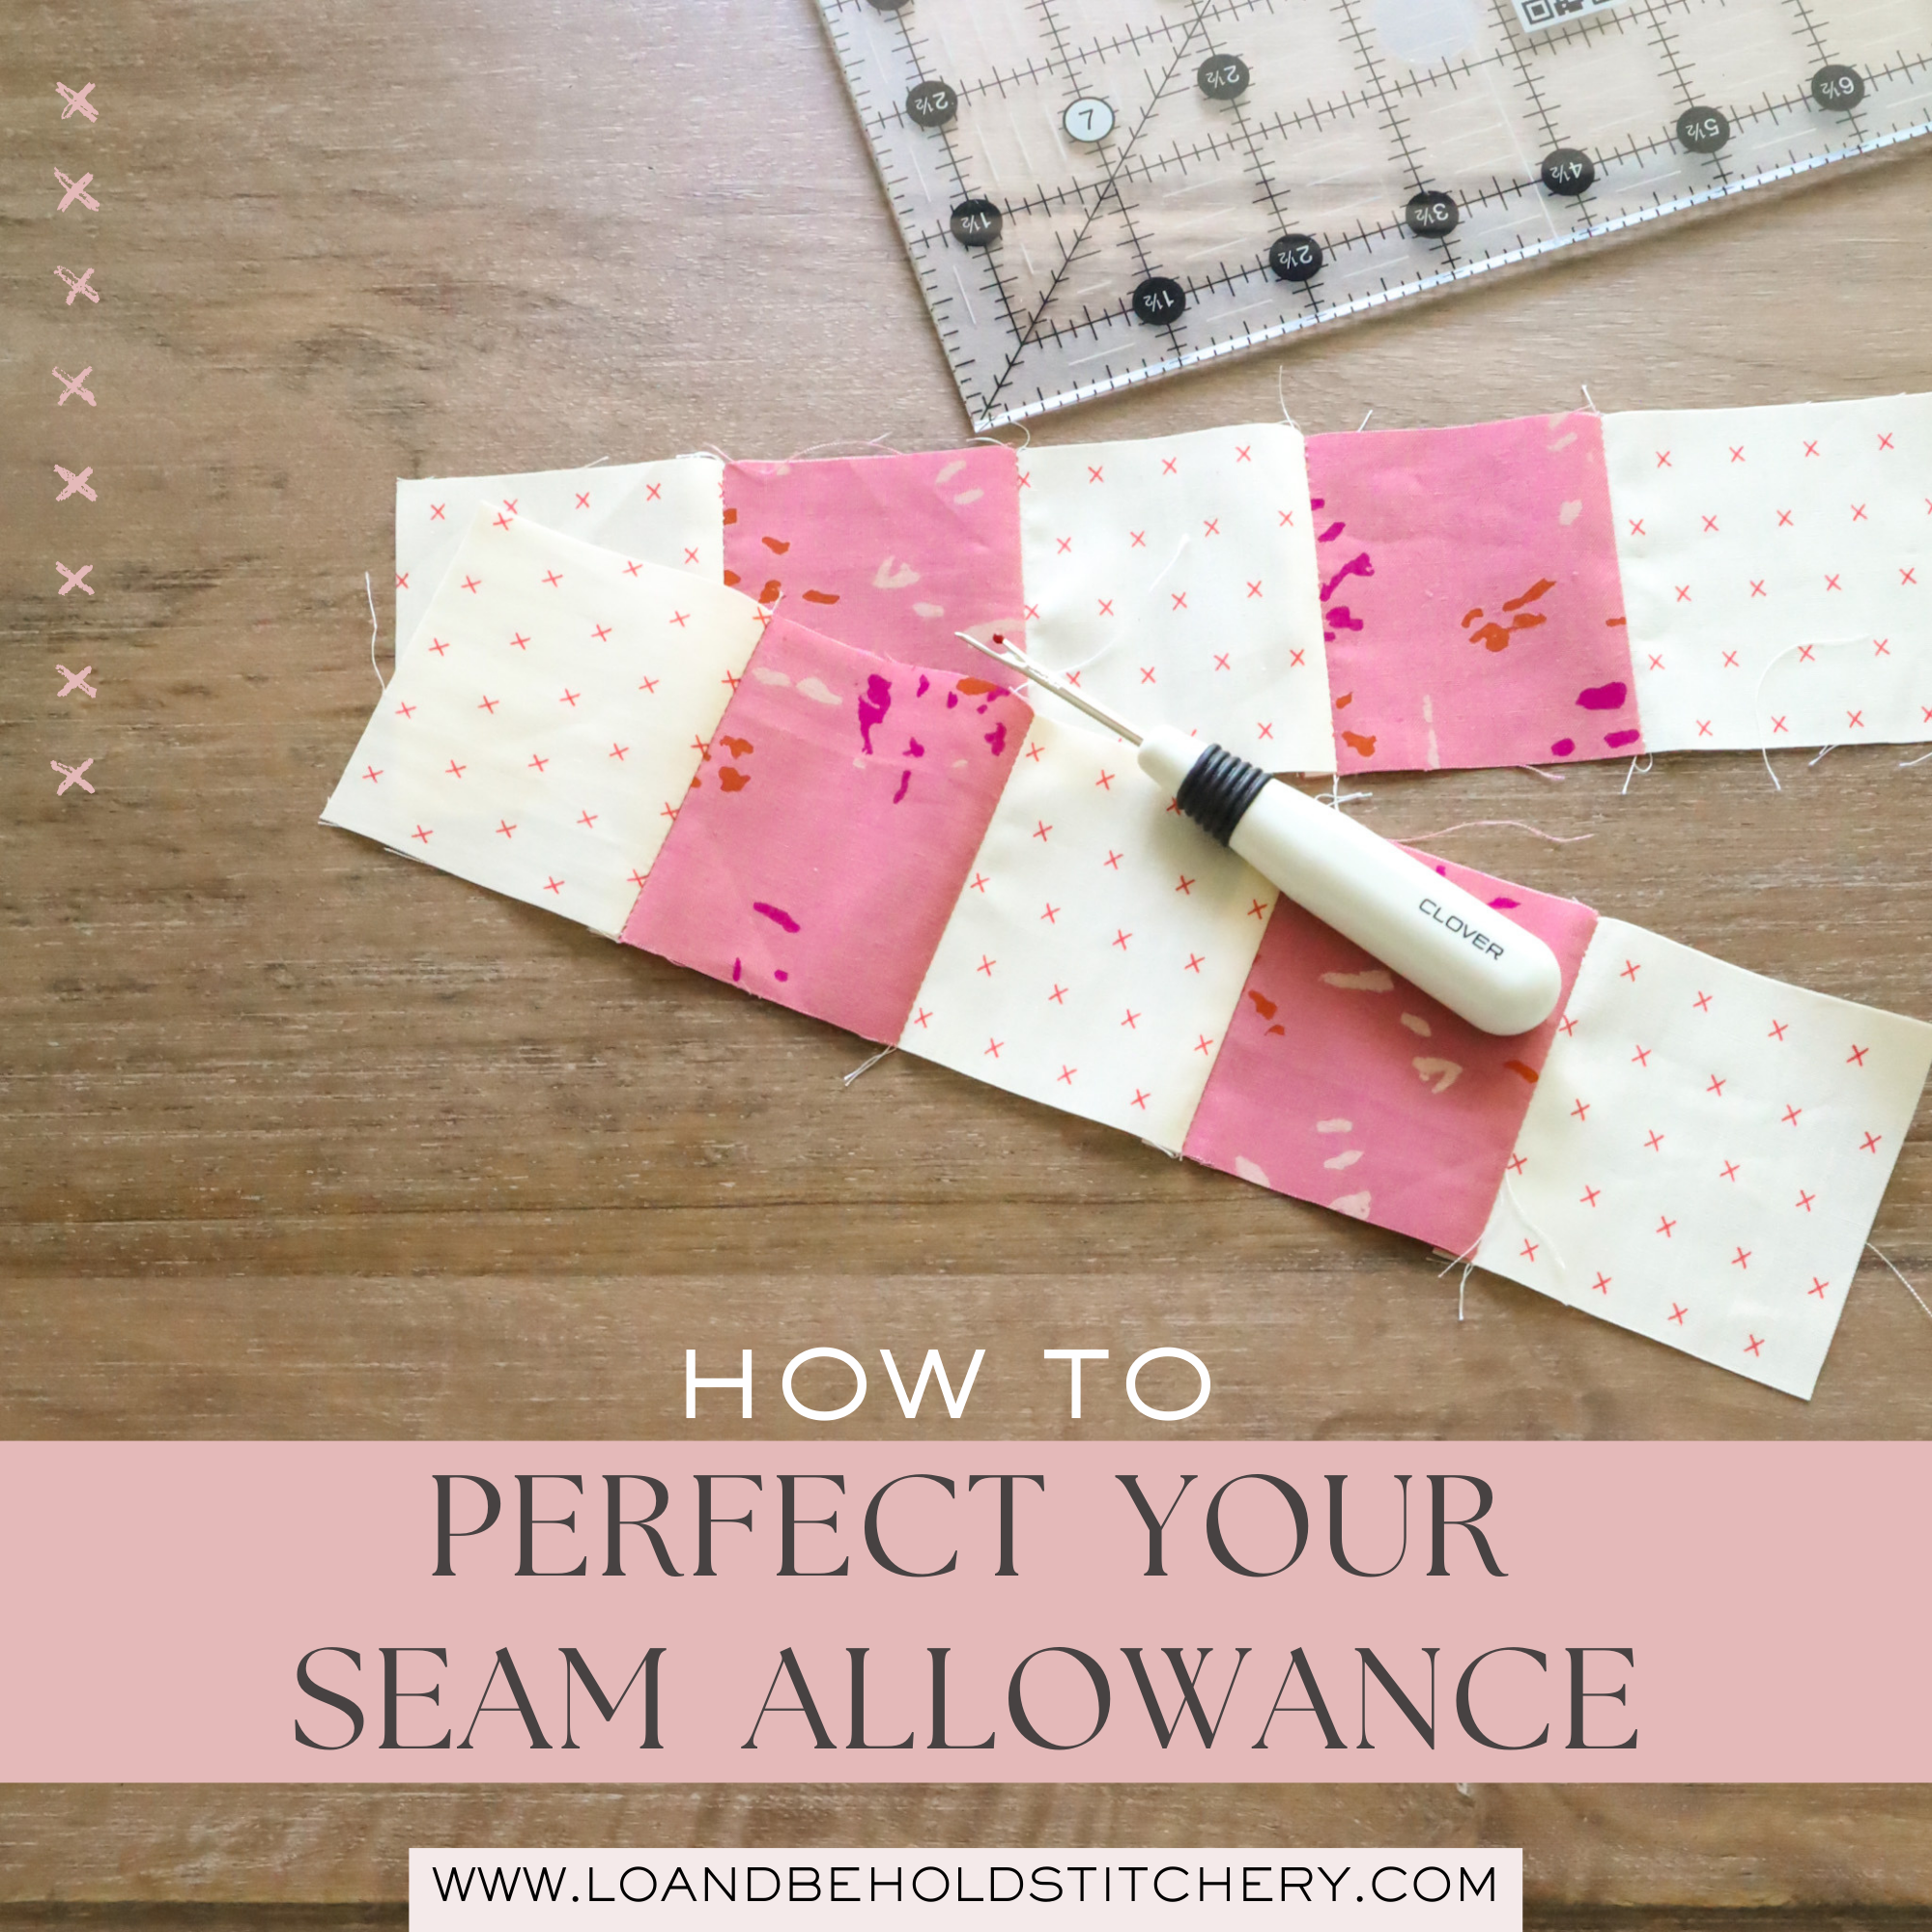
So let's do a little experiment, shall we?
Sew two 2.5" strips together.
2.5" plus 2.5" is 5" but because of your seam allowance, your piece should end up measuring smaller than that. If you are using a 1/4" seam allowance, you'll subtract 1/4" from each piece, meaning your unit should then measure 4.5".
With this logic, any time you are testing a seam allowance, you can add up the starting size of your pieces (often referred to as unfinished size), then subtract 1/2" for each seam allowance (since there are two fabrics in the seam, each with 1/4").
Use this equation with any size pieces that you sew together. For each seam allowance, subtract 1/2".
So say you're making a quilt block that has (5) 2.5" strips in it.
(5) x 2.5" is 12.5".
Subtract 1/2" for each seam (there are 4 seams, so you'll be subtracting 2".
So your sewn piece should measure 10.5". If you zoom in, mine is actually just a smidge small on the right, but I call this good enough. :)

It's also best for this experiment to press your seams according to how the quilt pattern instructs you to. Some patterns call for pressing seams to one side to create "nesting seams" while others call for pressing seams open. Remember that this can affect the overall measurement of your pieces so if you plan to press to one side, it's helpful to see how that plays a role.
Make sense?
Again, it's always helpful to test your seam allowance with the same fabric and thread that you are using for a project. It's also the most helpful if you can make a test sample block or at least a portion of the block to make sure your seam allowance is okay. So if you are creating a pattern that uses 1.5" strips, it's best to use 1.5" strips to test your seam allowance.
To measure your finished pieces, place your ruler on the piece so that you're really pressing those pieces flat to get an accurate assessment of what they truly measure.
What happens if my seam allowance is off?
Don't panic! It's normal to have some trial and error. You'll simply need to make a few adjustments and re-test. Simple as that!
If your blocks are too small...
If your block measures *smaller* than what it should be then your seam allowance was too large. You will need to make your seam allowance smaller. If your machine has the ability to move the needle to the right, that can fix the problem. Take note if you need to swap out your presser foot or needle plate with the new needle position.
If your needle position is stationary and doesn't move, then you'll need to move your fabric to the left to create a smaller seam allowance.
If your blocks are too big...
If your block measures *larger* than what it should be then your seam allowance was too small. You will need to make it larger. You can do this by moving your needle to the left or moving your fabric to the right.

Needle Position & Presser Foot
You might find that a 1/4" presser foot is all you need; however, it's important to test this before you get started. If you use a 1/4" seam presser foot, pay attention to your needle position. You may need to adjust it a little to achieve a true 1/4", especially if you discover that your seam allowance needs to be scant. (Again, refer to this blog post if needed). While a 1/4" presser foot is helpful for consistency, it is not the end-all be-all for accuracy. You still might need to make small adjustments. For example, with my 1/4" presser foot, I have to move my needle all the way over to the right. If your sewing machine needle does not move from left to right, then you may not benefit from a 1/4" presser foot. You can find a 1/4" presser foot on Amazon. This is a universal presser foot, so be sure to check and make sure that it will work with your specific machine.

Personally, I stopped using a 1/4" presser foot when I discovered the HP foot that came with my Janome machine. I've been piecing with it ever since. With this foot, I align the edge of my fabric with the right edge of the presser foot. For a scant 1/4" seam, I align the edge of my fabric just inside the right edge of the presser foot. Essentially, there is a "thread width" in between the edge of my fabric and the right edge of the presser foot.


Note that your method of achieving a 1/4" seam allowance my look different than mine depending on the factors previously mentioned. In the fabric shown above, I'm using Art Gallery Fabrics and a Ruby Star Fabrics. Both are a little more thin and silky and after testing, I needed to use a true 1/4" seam allowance. For the Stripe Essex Getaway quilt that I made, those fabrics were all Robert Kaufman Essex Cotton/Linen blend, so they were a little more thick and sturdy. I found that I needed to use a scant 1/4" seam allowance for that quilt.
Create a Landmark
If your needle position doesn't move and/or you have limited presser feet options, you may need to create a landmark on your sewing machine so that you know where to line up your fabric. You can do this with something like masking tape or diagonal seam tape. If you want to create a "ridge" on your machine for the fabric to butt up against, consider taping a stack of index cards or something similar to your machine.

Some machines come with a metal attachment that screws into your needle plate and allows you to line up the edge of your fabric while creating a consistent and perfect 1/4" seam. Look at your sewing machine accessories and see if you have one!
Finished vs. Unfinished Measurements
A "finished" measurement means that the piece of fabric is completely "finished" within the quilt and that it has a seam on all sides of the piece. Noting the finished measurement can also be a helpful way to assess your seam allowance. In the example above, each unfinished 2.5" piece should measure 2" finished once you sew your pieces together.
Which is more important, consistency or accuracy?
It really depends on the pattern. For some patterns, it really only matters that your seams are consistent. You might be able to get away with using a certain seam allowance and you'll just have a slightly smaller or larger quilt in the end. For example, if you are making a quilt that is entirely made up of squares (like the free Patchwork Squares pattern found here), you can technically use whatever seam allowance you wish to use and it will not make a difference in the end. As long as you are consistent.

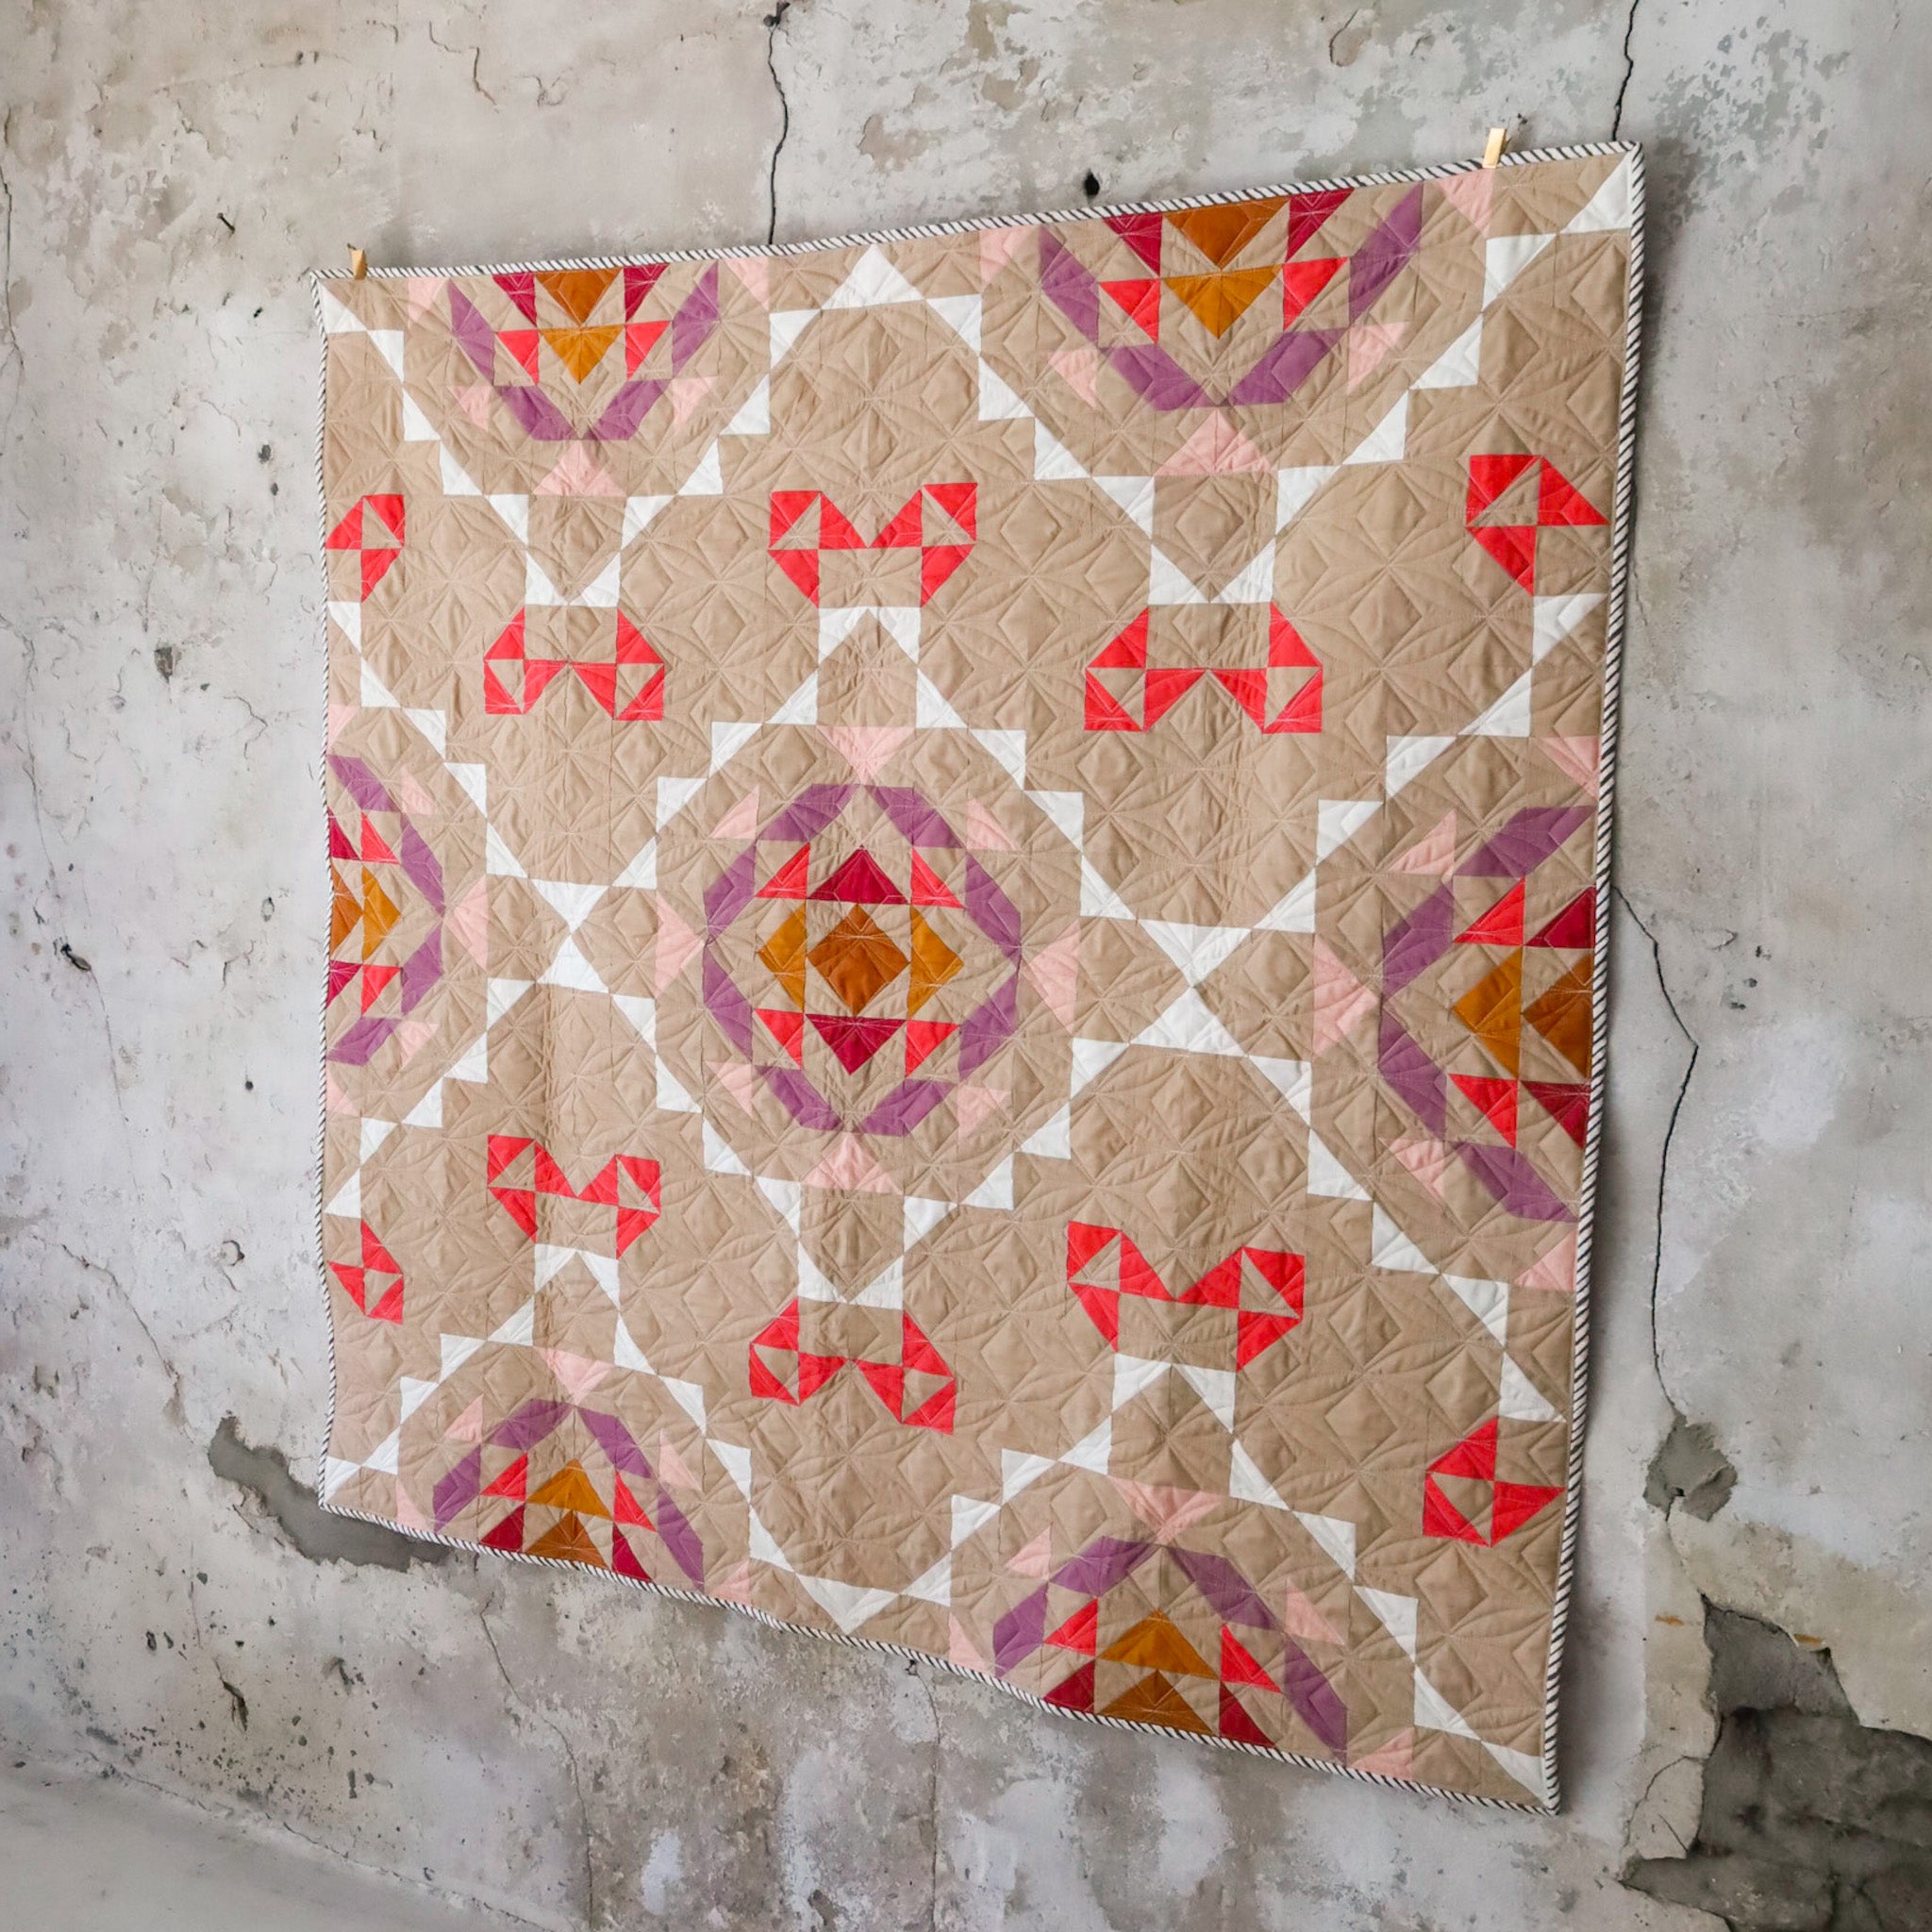
For most quilt patterns the blocks may not look right within your quilt if they are not accurate. For example, with Getaway and Interwoven, you really want the blocks to measure accurately, otherwise, the lines created within the quilt will not 100% connect from block to block. In the end, this may not bother you, but it can be pretty noticeable. I try not to stress too much about things being 100% perfect in my quilt, but I do like things to align. Everyone has different levels of perfectionism so feel free to tweak and adjust as you see fit. But remember quilting is meant to be FUN, so no stressing allowed, okay? :)

Pattern featured above is "Interwoven" found here.
Once you master testing and tweaking your seam allowance, you're all set up for success! Knowing when and how to make adjustments to your seam allowance is a skill that take some practice, but I have full confidence that you can do this, my friend! :)
Happy Sewing!