How to use directional fabrics in Nightingale

I wanted to share this tutorial for anyone who wants to use directional fabrics for their Nightingale quilt. Normally, I don't really pay too much attention about how my fabrics are placed within my quilt, but for this pattern you may or may not care to have your fabrics go a certain direction. It's optional....but I wanted to show you how exactly I planned, cut and pieced my fabrics so that they all looked cohesive throughout my block.
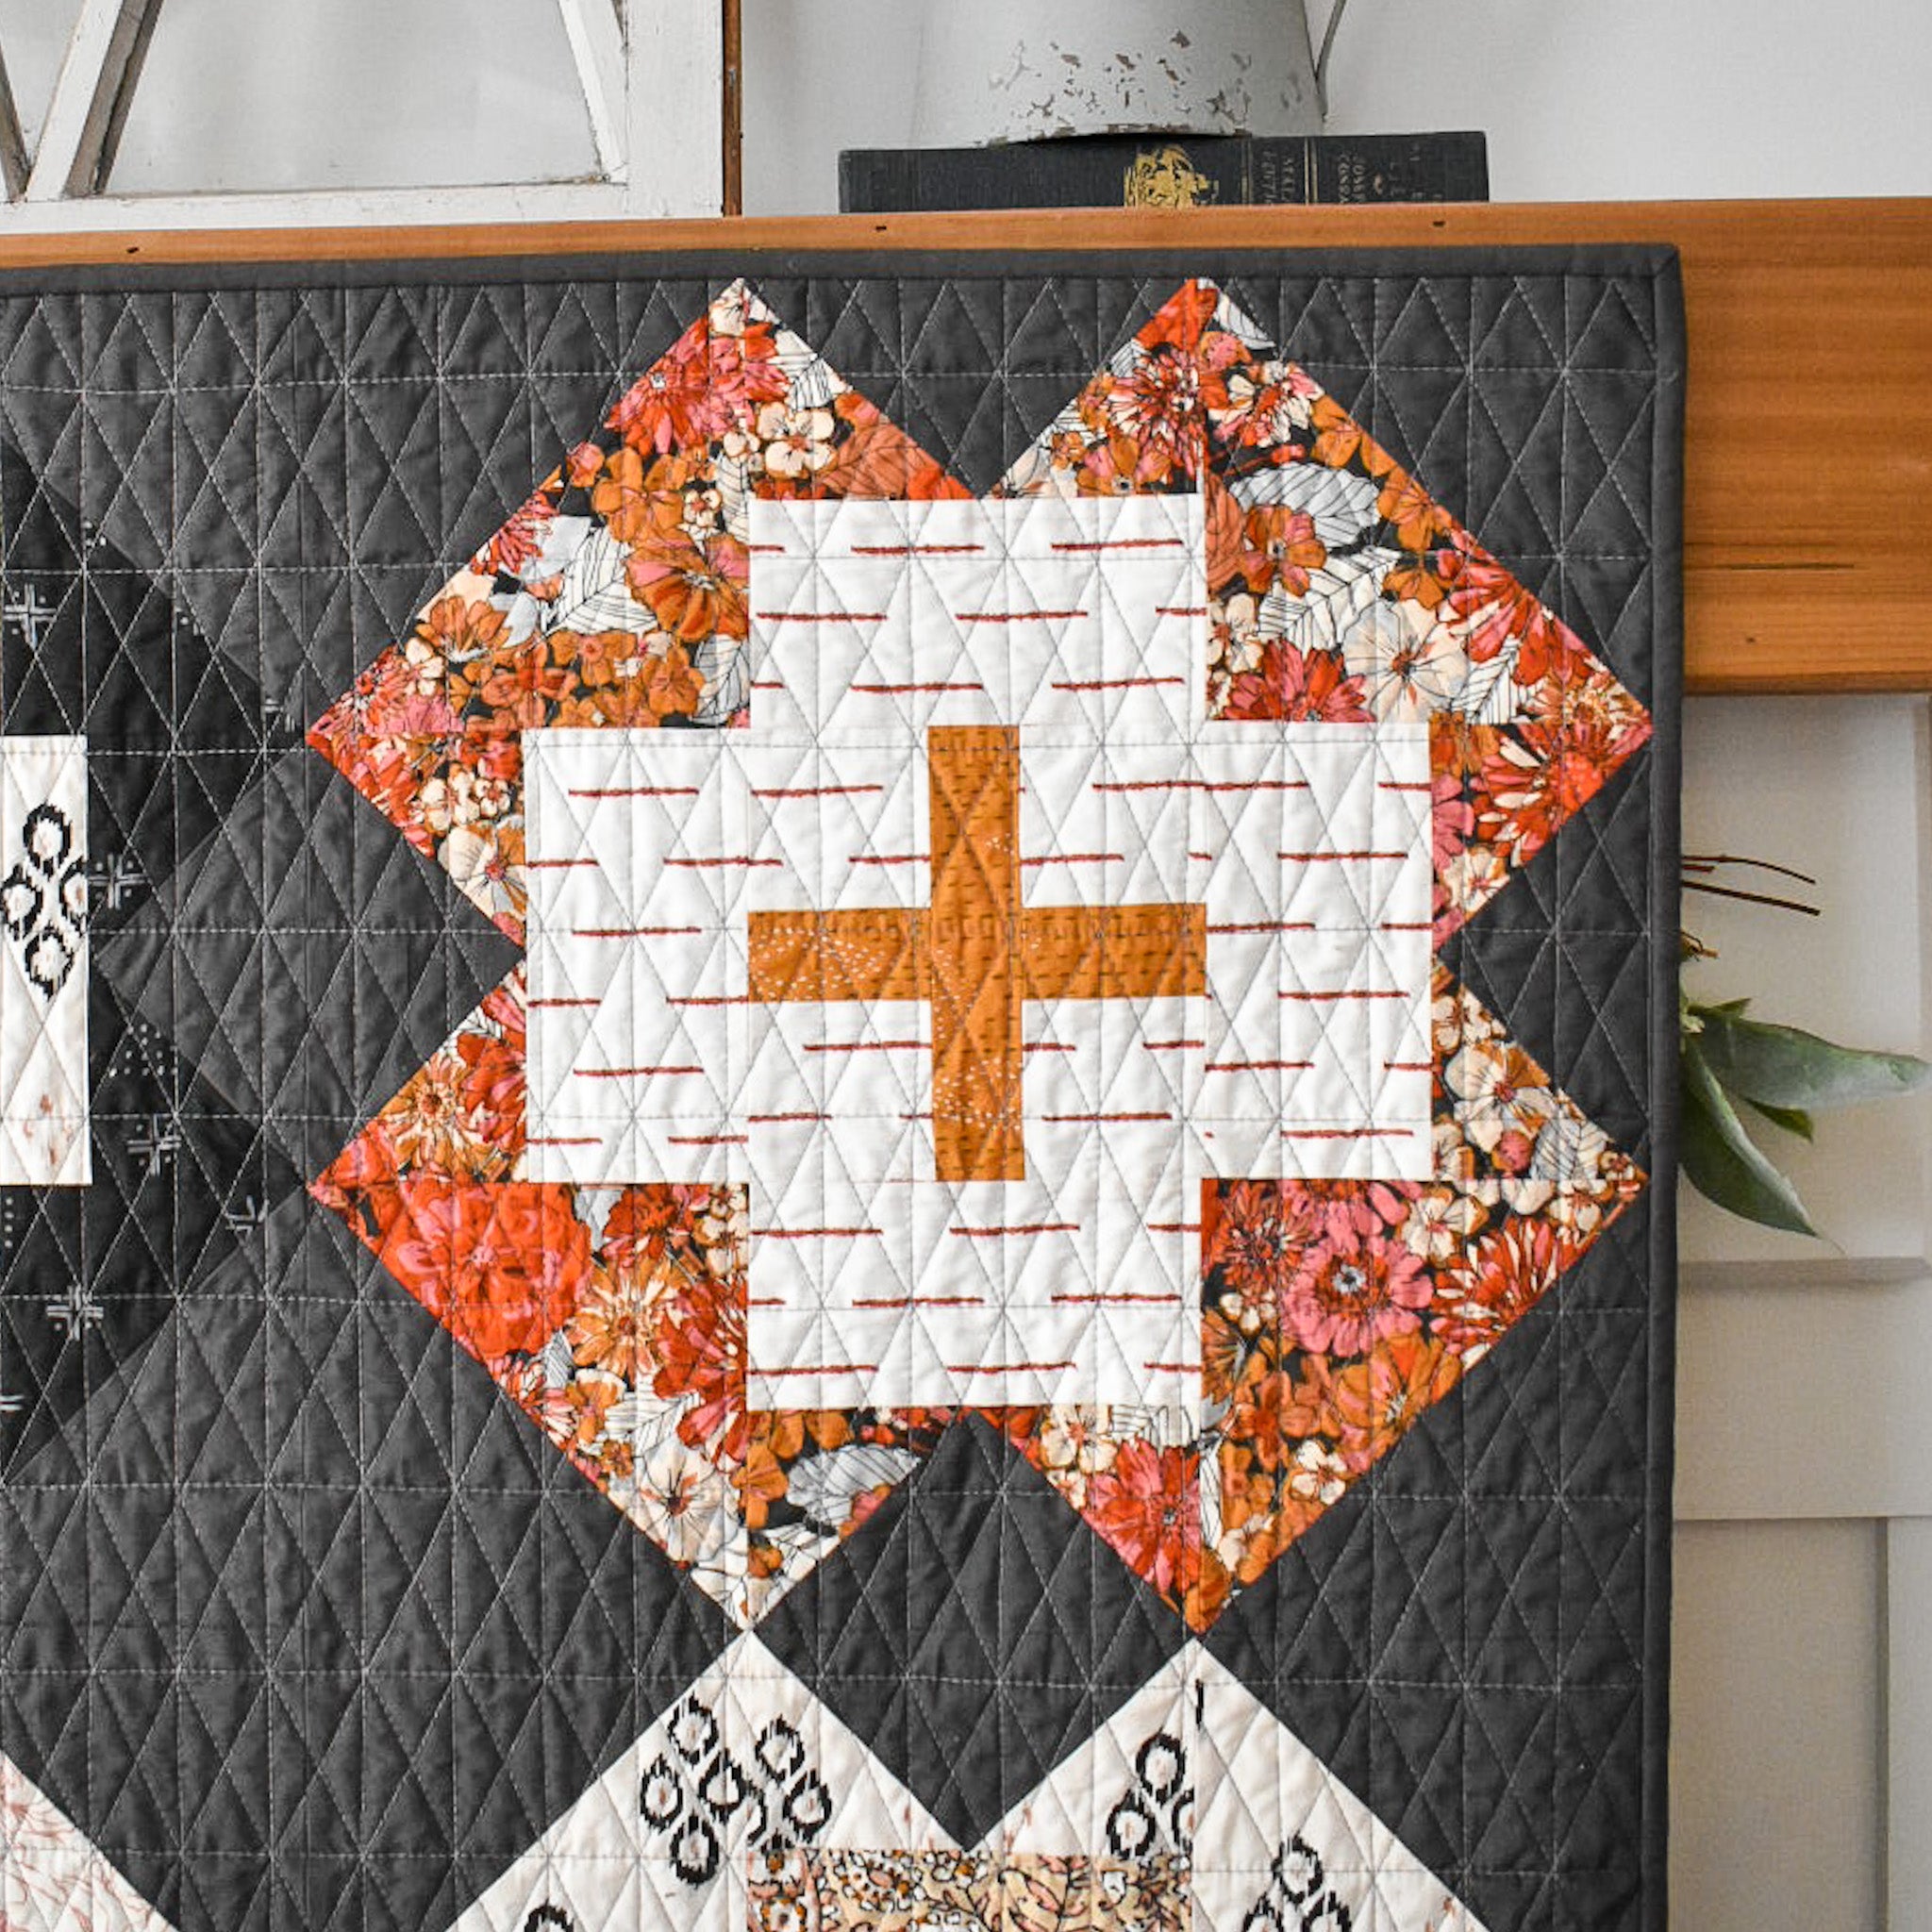
You can see in the block below that I intentionally pieced my fabrics within my block so that they are all facing the same direction. The floral is a non-directional fabric, so I didn't do anything special with that one.
.

.
You can see in the block below, I did NOT pay attention to the orientation of the stripes in this block. It's not super noticeable, but you might prefer that it looks uniform.
.

.
When I say "directional fabrics," I'm referring to fabrics that have a certain "right way." So think about stripes, or certain repeating geometric designs, etc. Most fabric collections have a mix of directional and non-geometrical fabrics. The cutting diagram in the pattern demonstrates cutting for NON-directional fabrics. So if you are using fabrics that have a certain direction to them, and you want them to go the same direction within your blocks, consider the following:
.
Rectangles
There are three different size rectangles that you'll be cutting for each block. Cut one of the small rectangles and two of the larger rectangles perpendicular to how the diagram depicts them. Cut the medium size rectangles exactly how the pattern depicts. When you go to piece your block, rotate those larger rectangles until they match the direction of the fabrics in the center portion of the block.
.
Squares
You don't need to cut the squares differently, but you will pay attention to how they're placed before you sew your half square triangles (HSTs) and flying geese.
For the half square triangles, since you are creating two at a time, orient each square so that one is rotated 90 degrees from the other, as seen below.
.

.

.

.
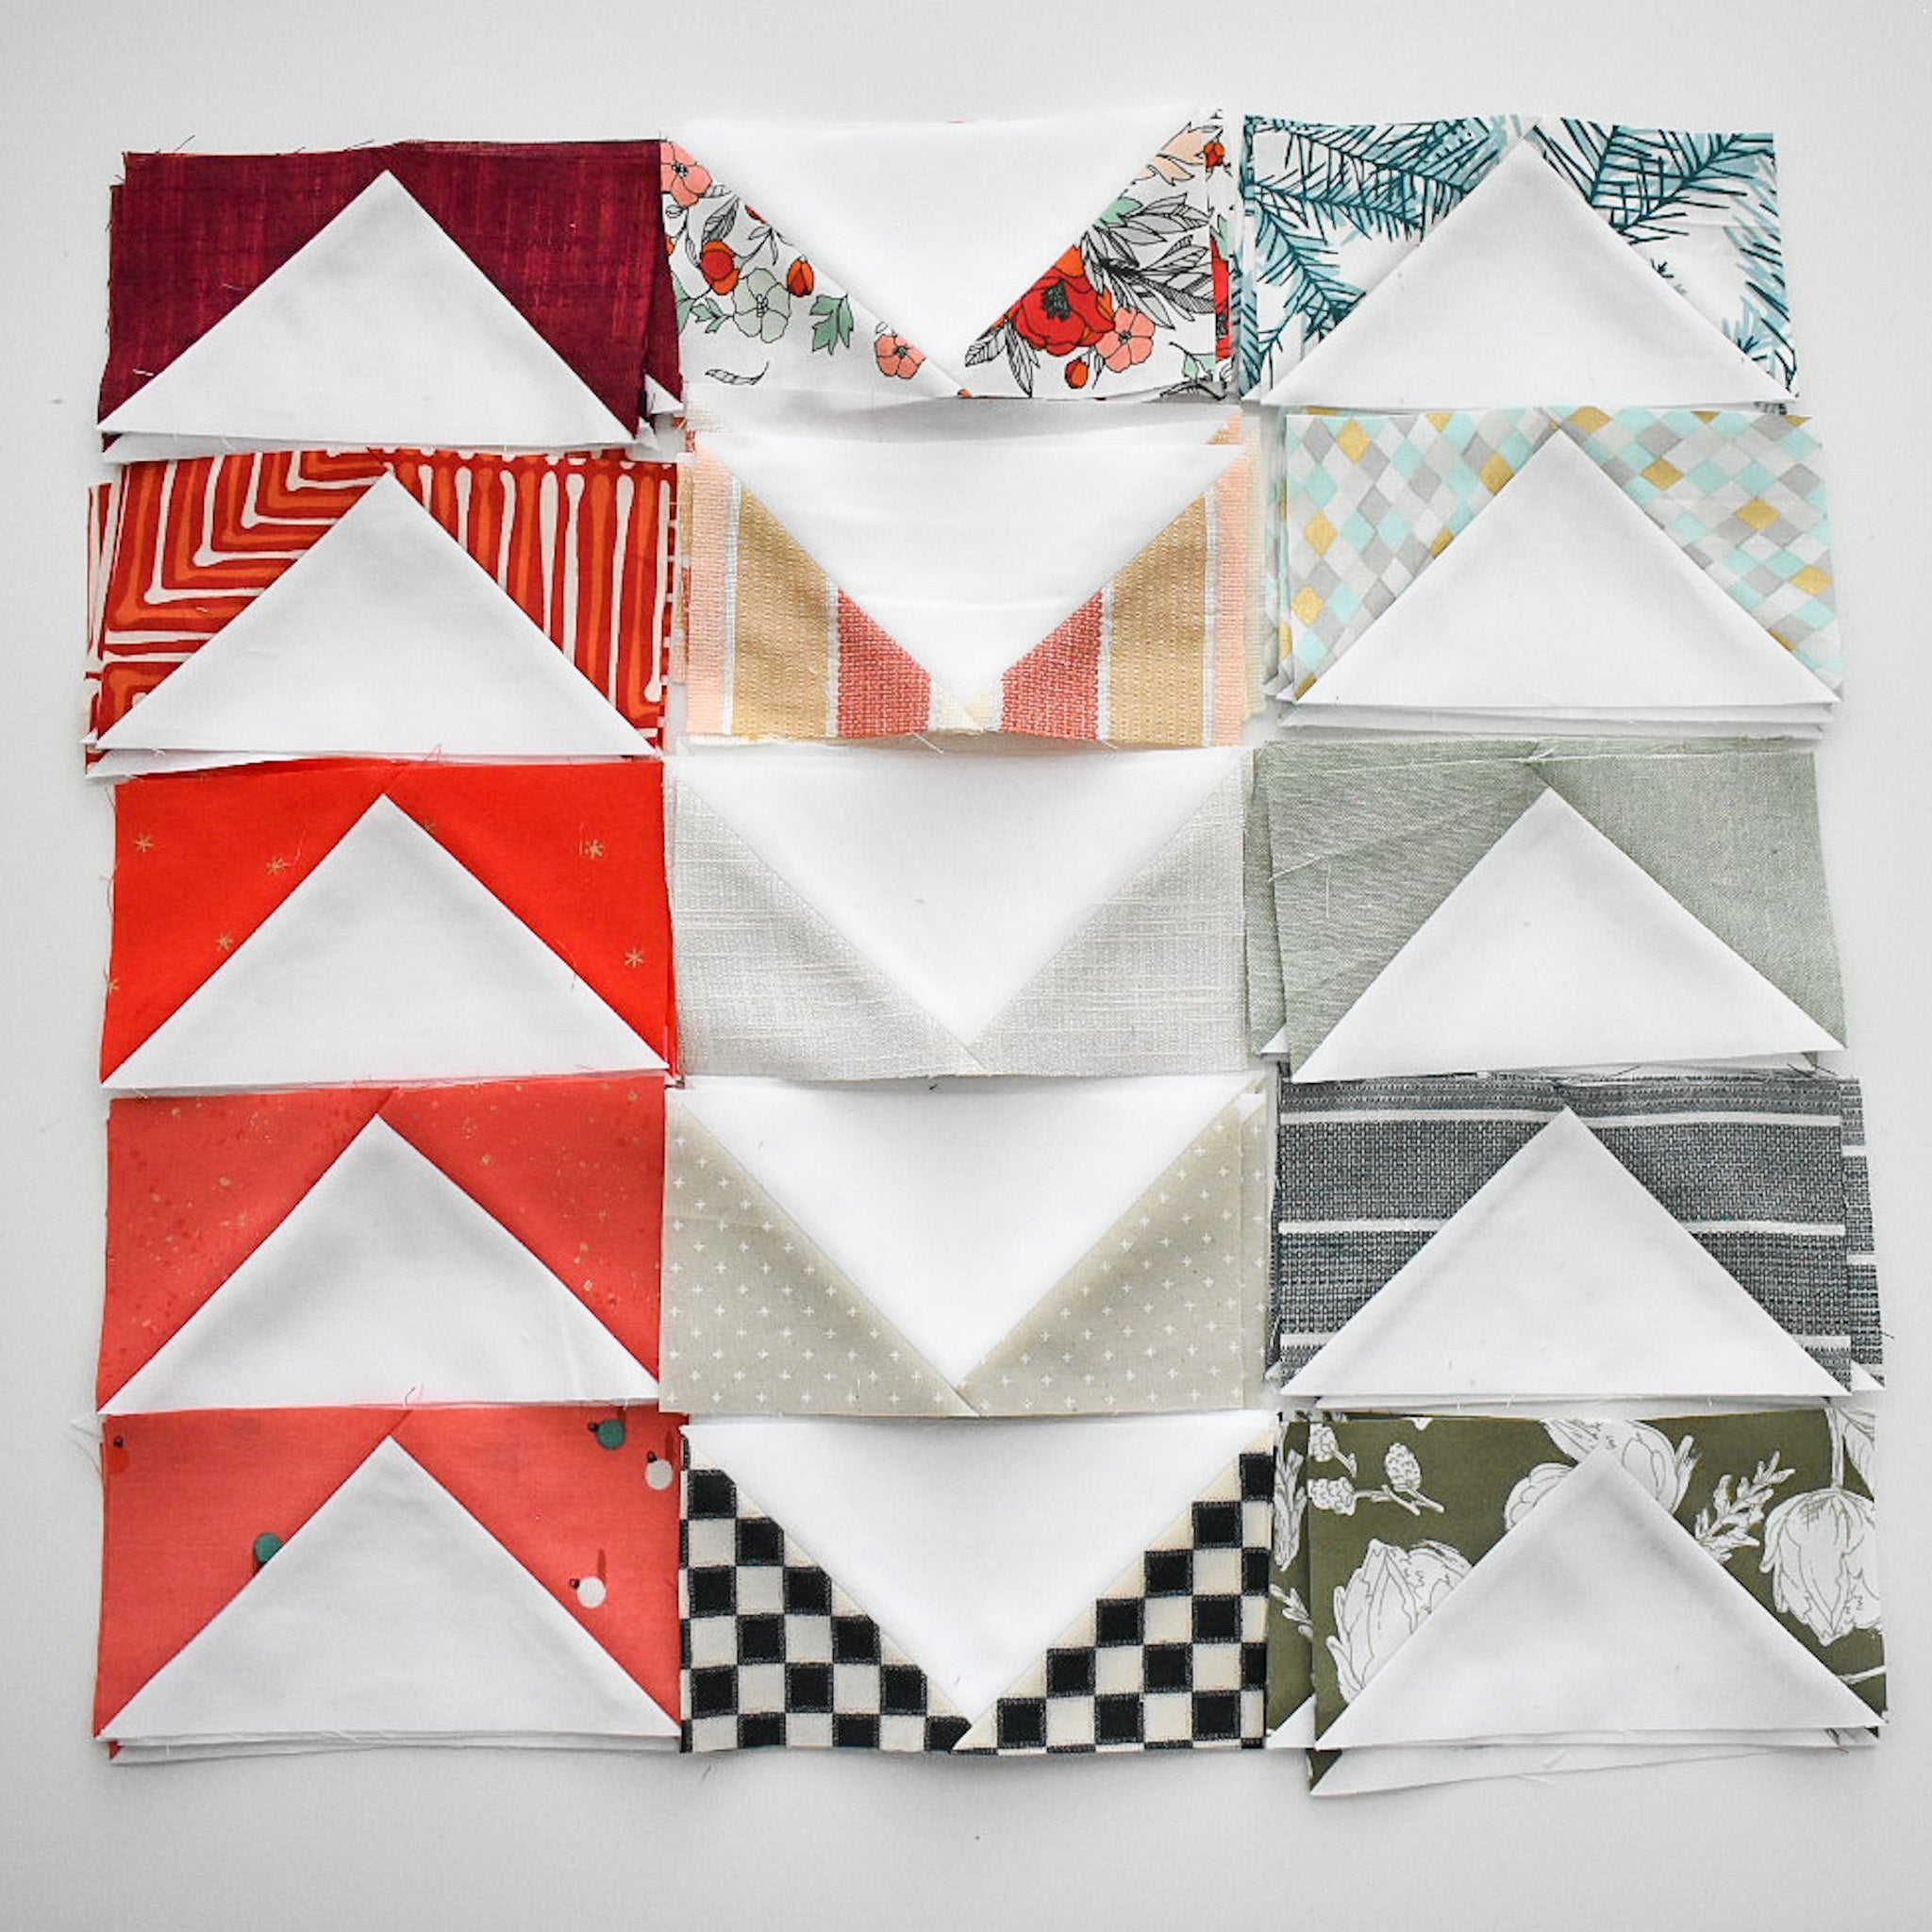
For the flying geese, check your squares before sewing them to the Background square, to make sure that they are both facing the same direction.

.
When you cut them apart and press the seam, place the next square right sides together with that unit and flip the square over to check and make sure that the fabric is oriented correctly. Rotate it if needed so that the prints are going in the same direction.

.

.
.
Here is a PDF that has cutting diagrams specifically for directional fabrics.
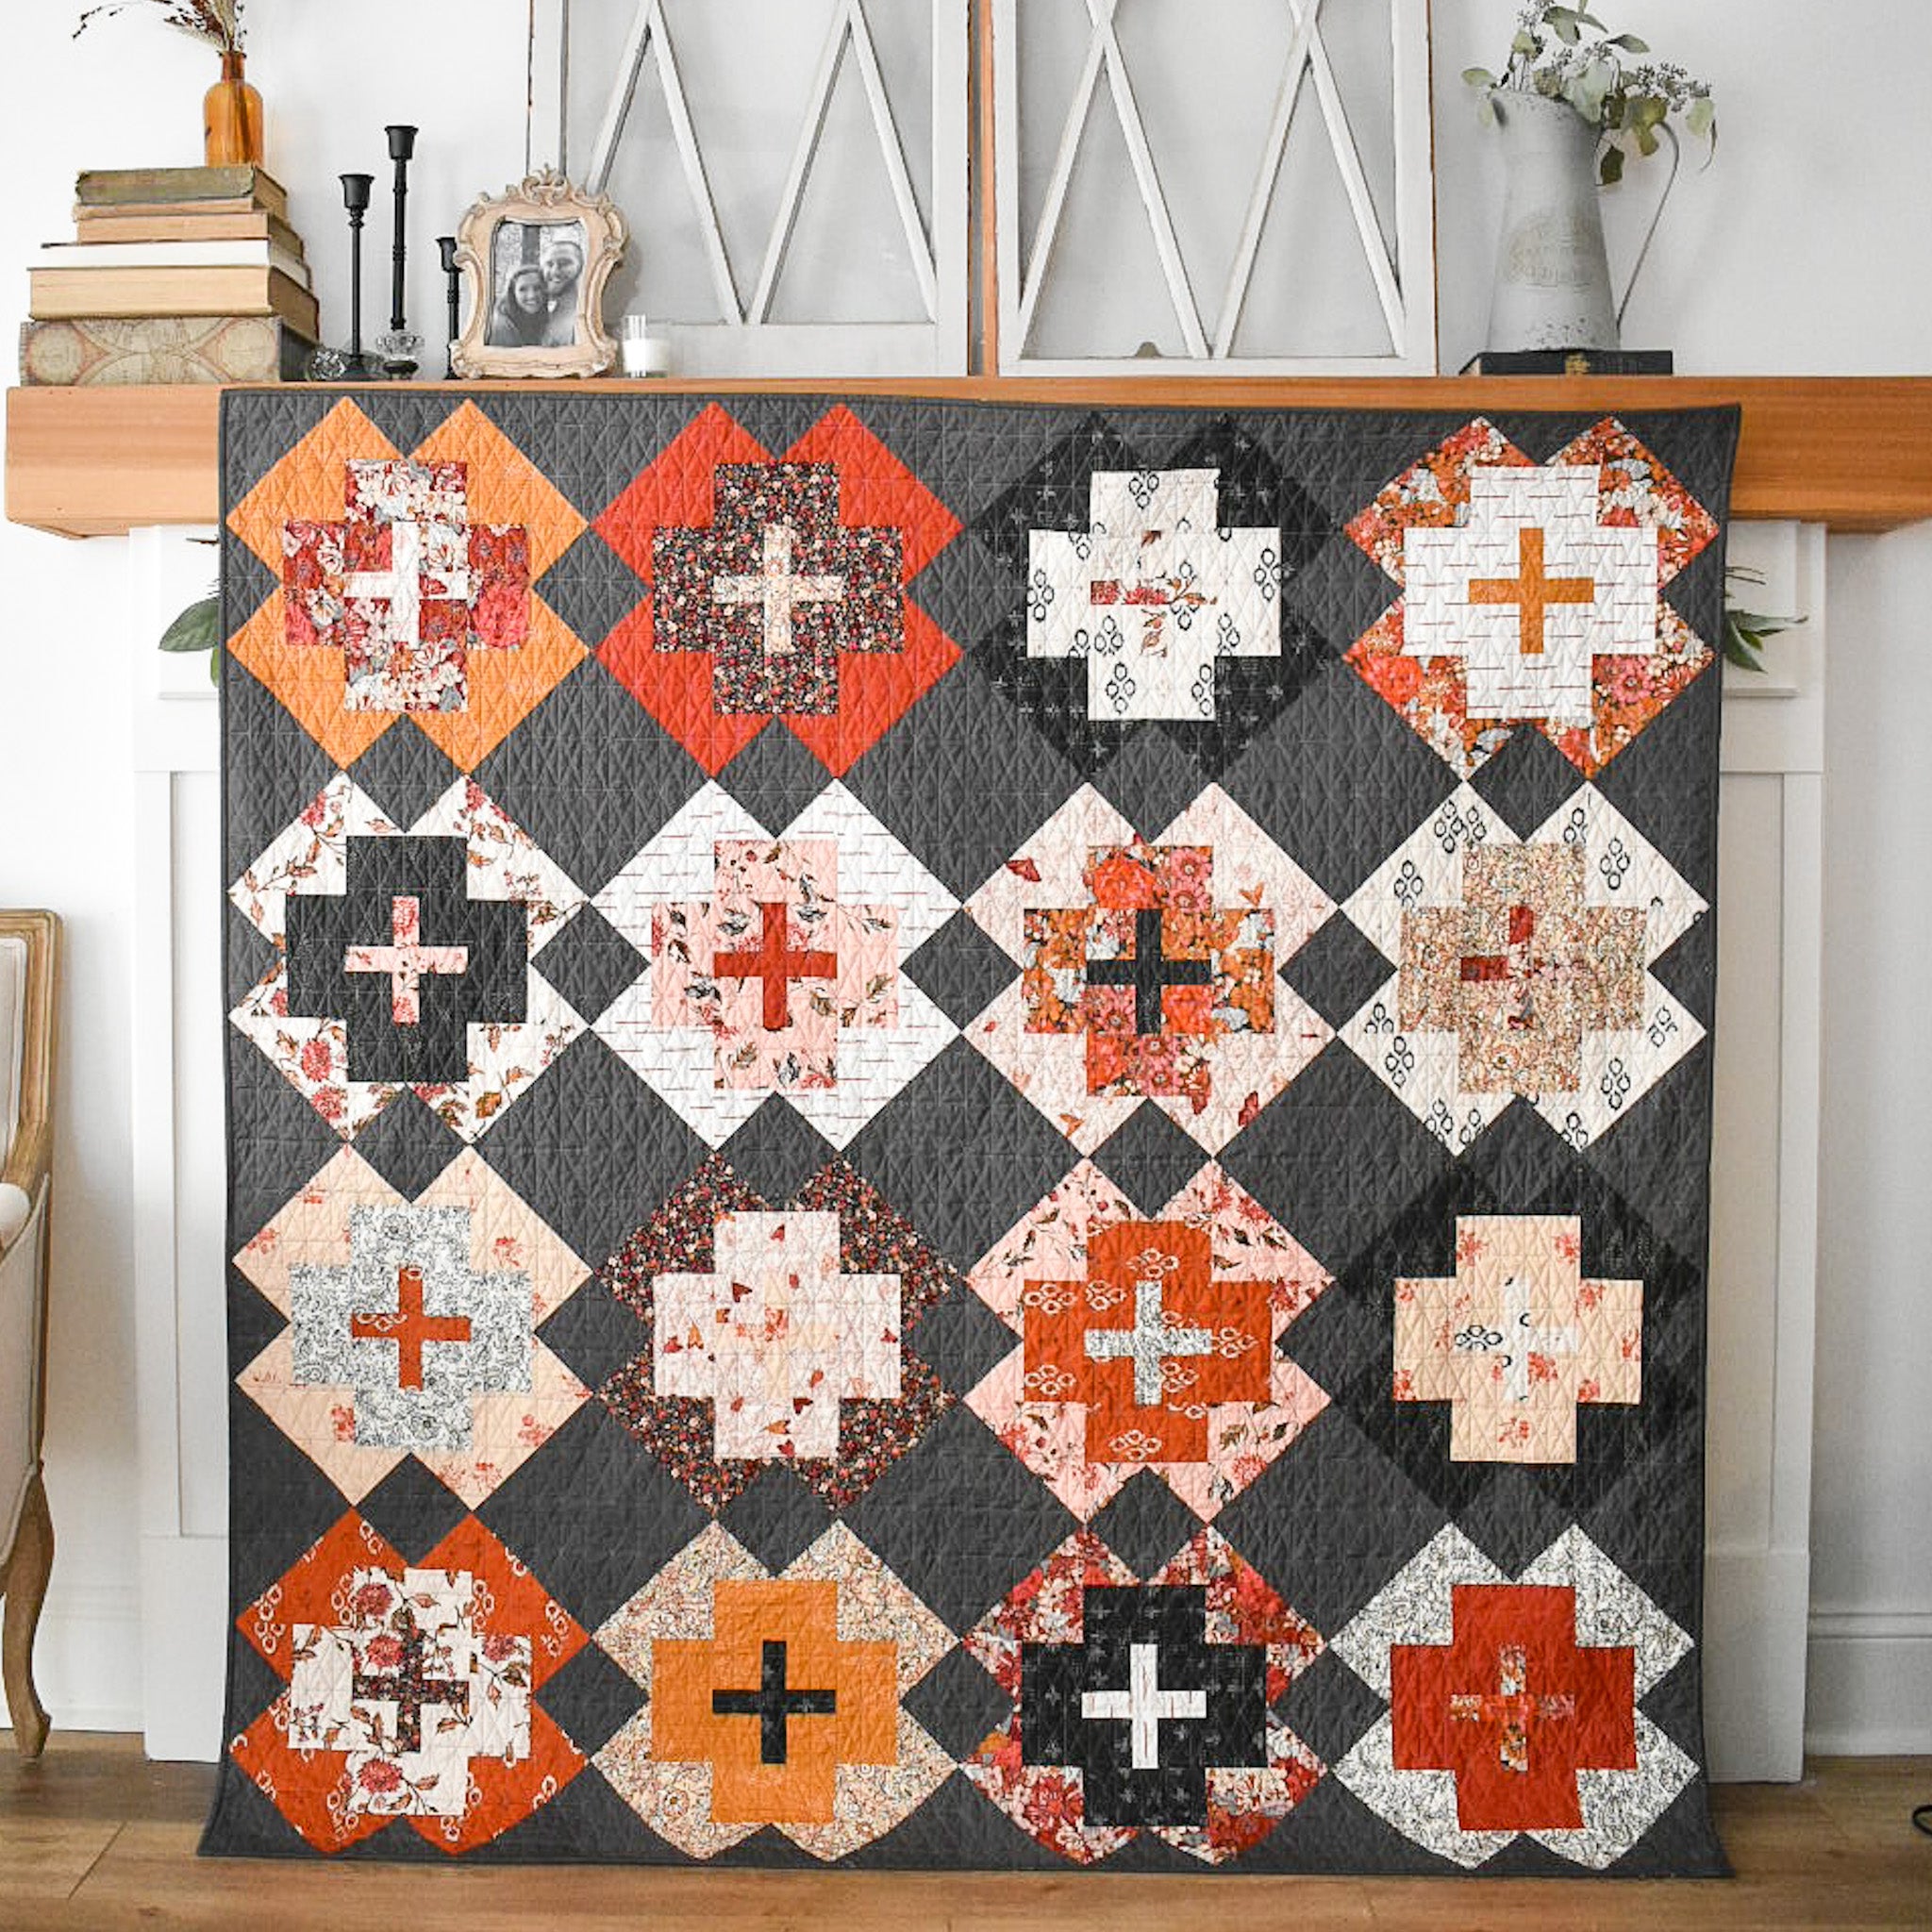
The quilt seen below is my Kismet Nightingale Quilt. You can read about that here.
.

.
LINKS:
- How to Trim HSTs
- How to Trim Flying Geese
- Nightingale Quilt Pattern - PDF Download
- Nightingale Quilt Pattern - Printed
- Nightingale Quilt Pattern - Cover Quilt Blog Post
- Nightingale Quilt Pattern - Kismet Quilt Blog


