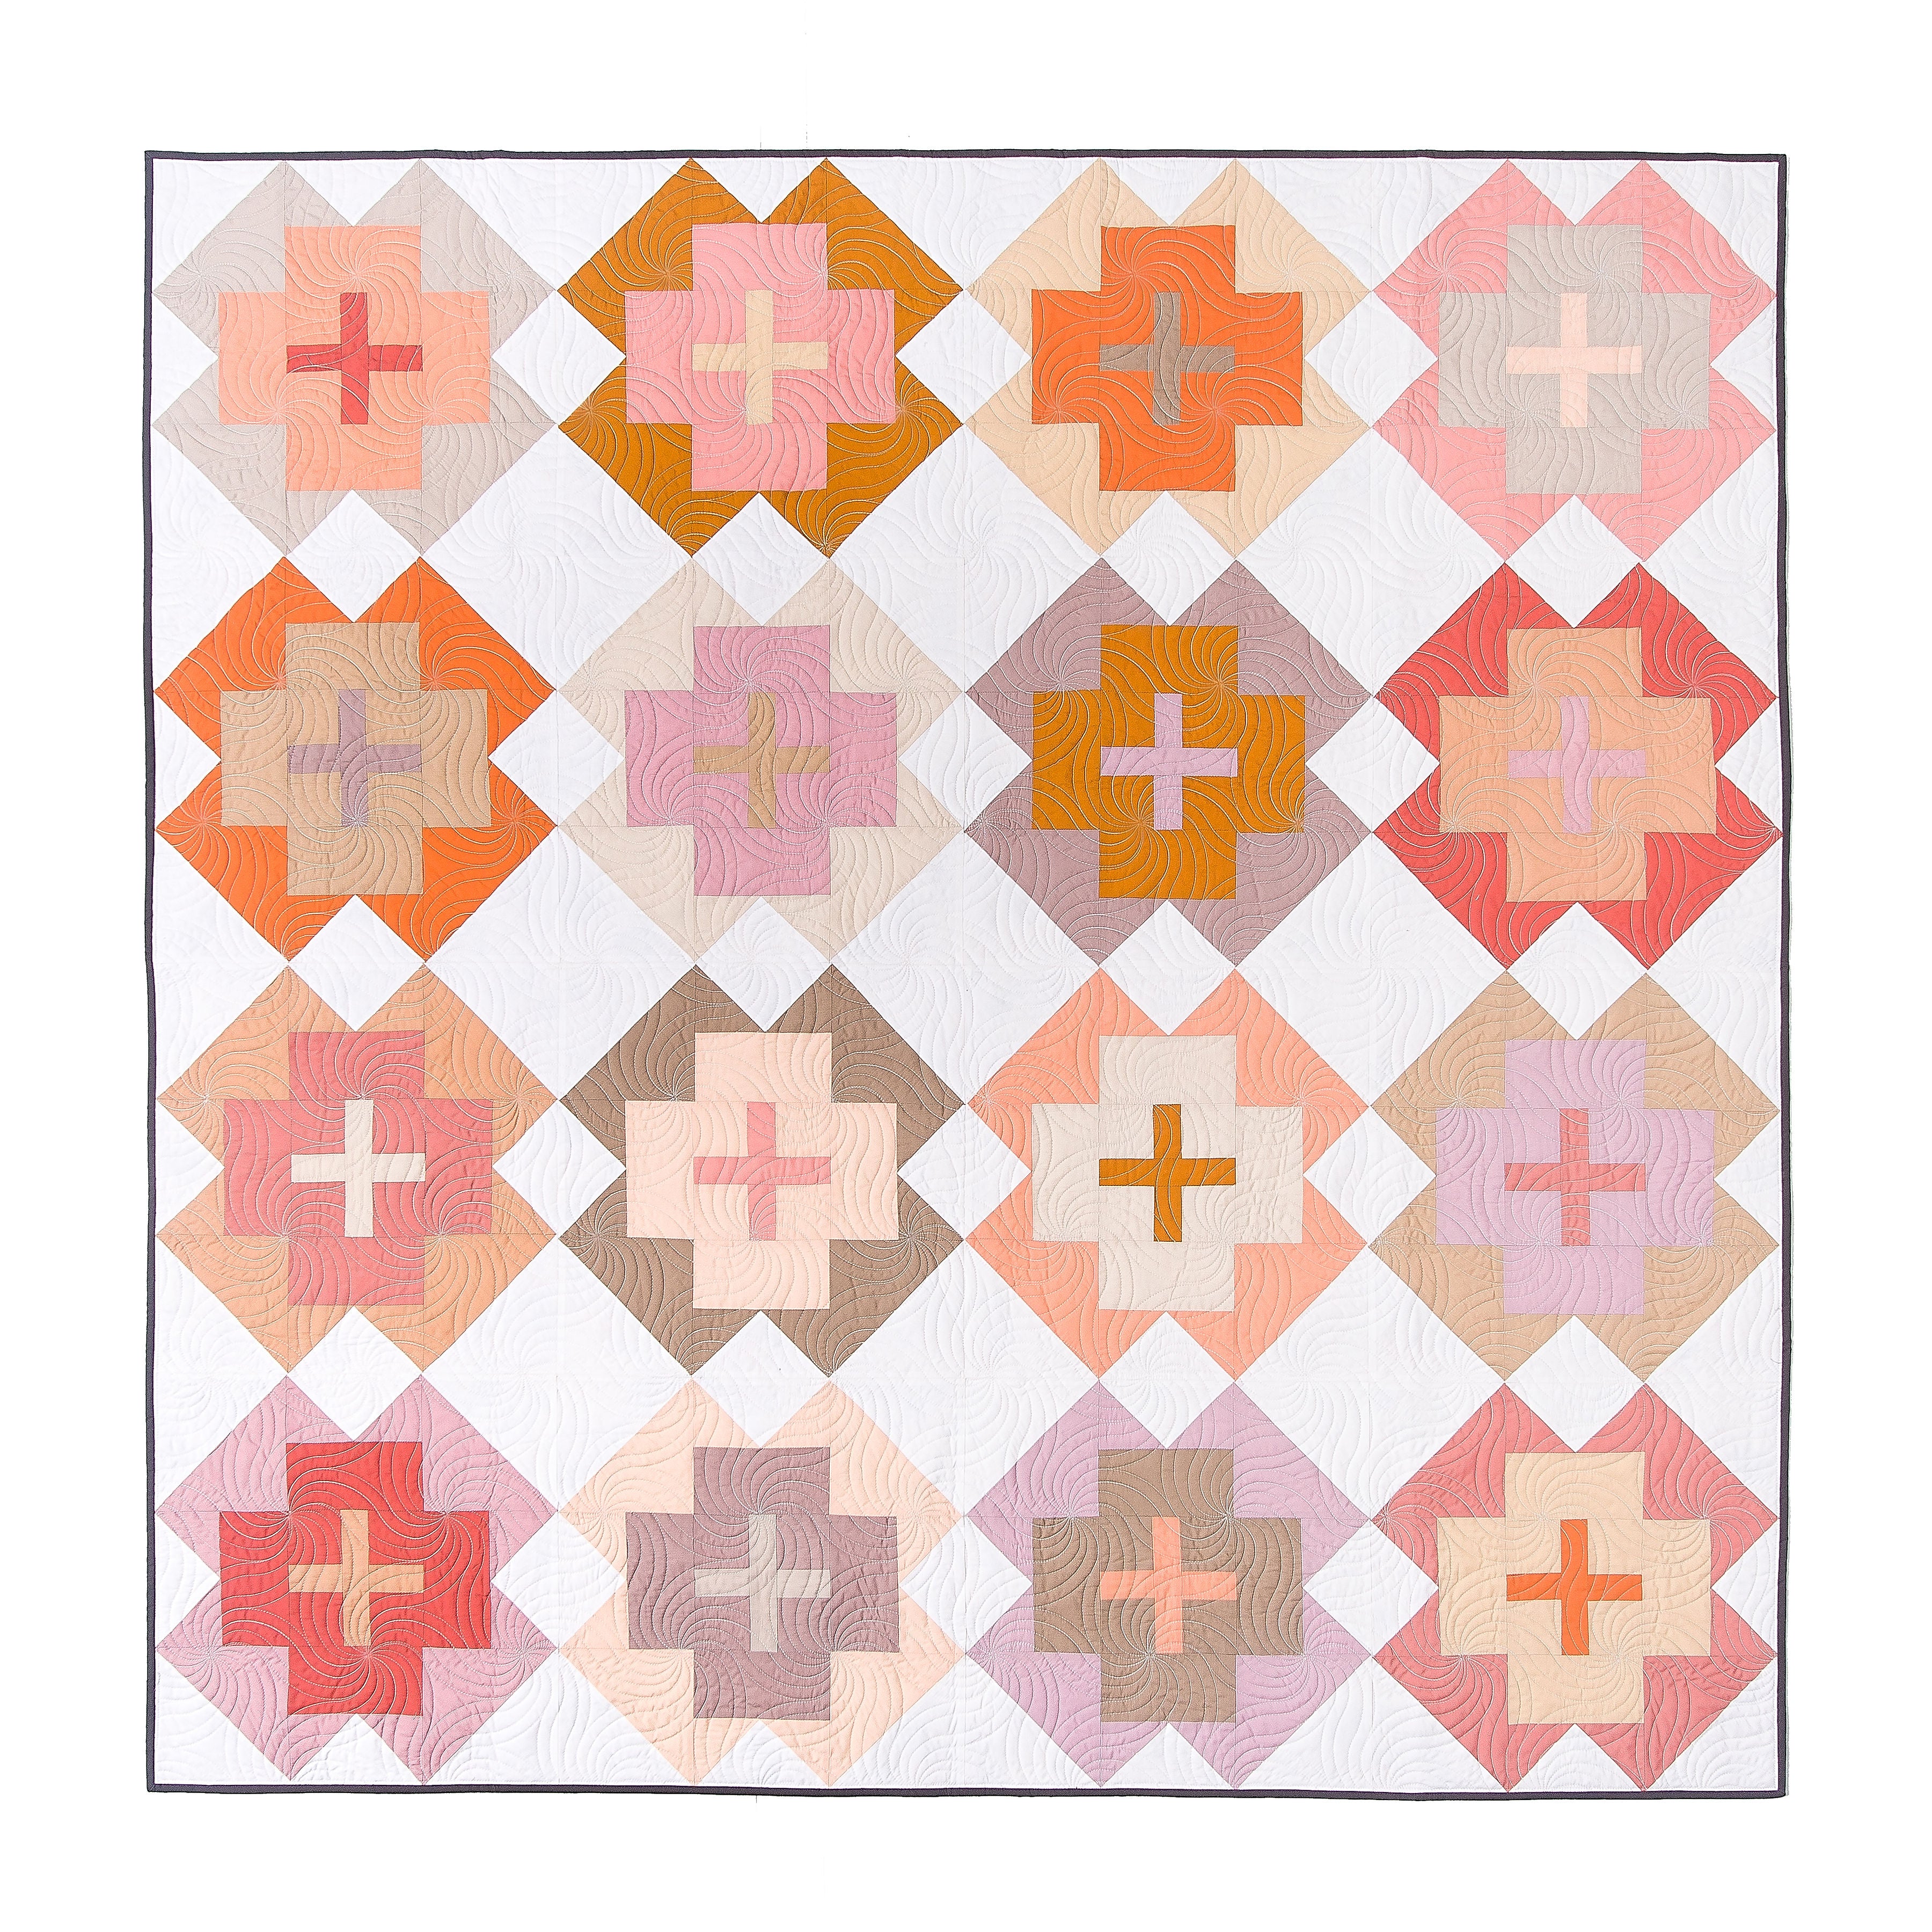
Nightingale Quilt - the Kismet version
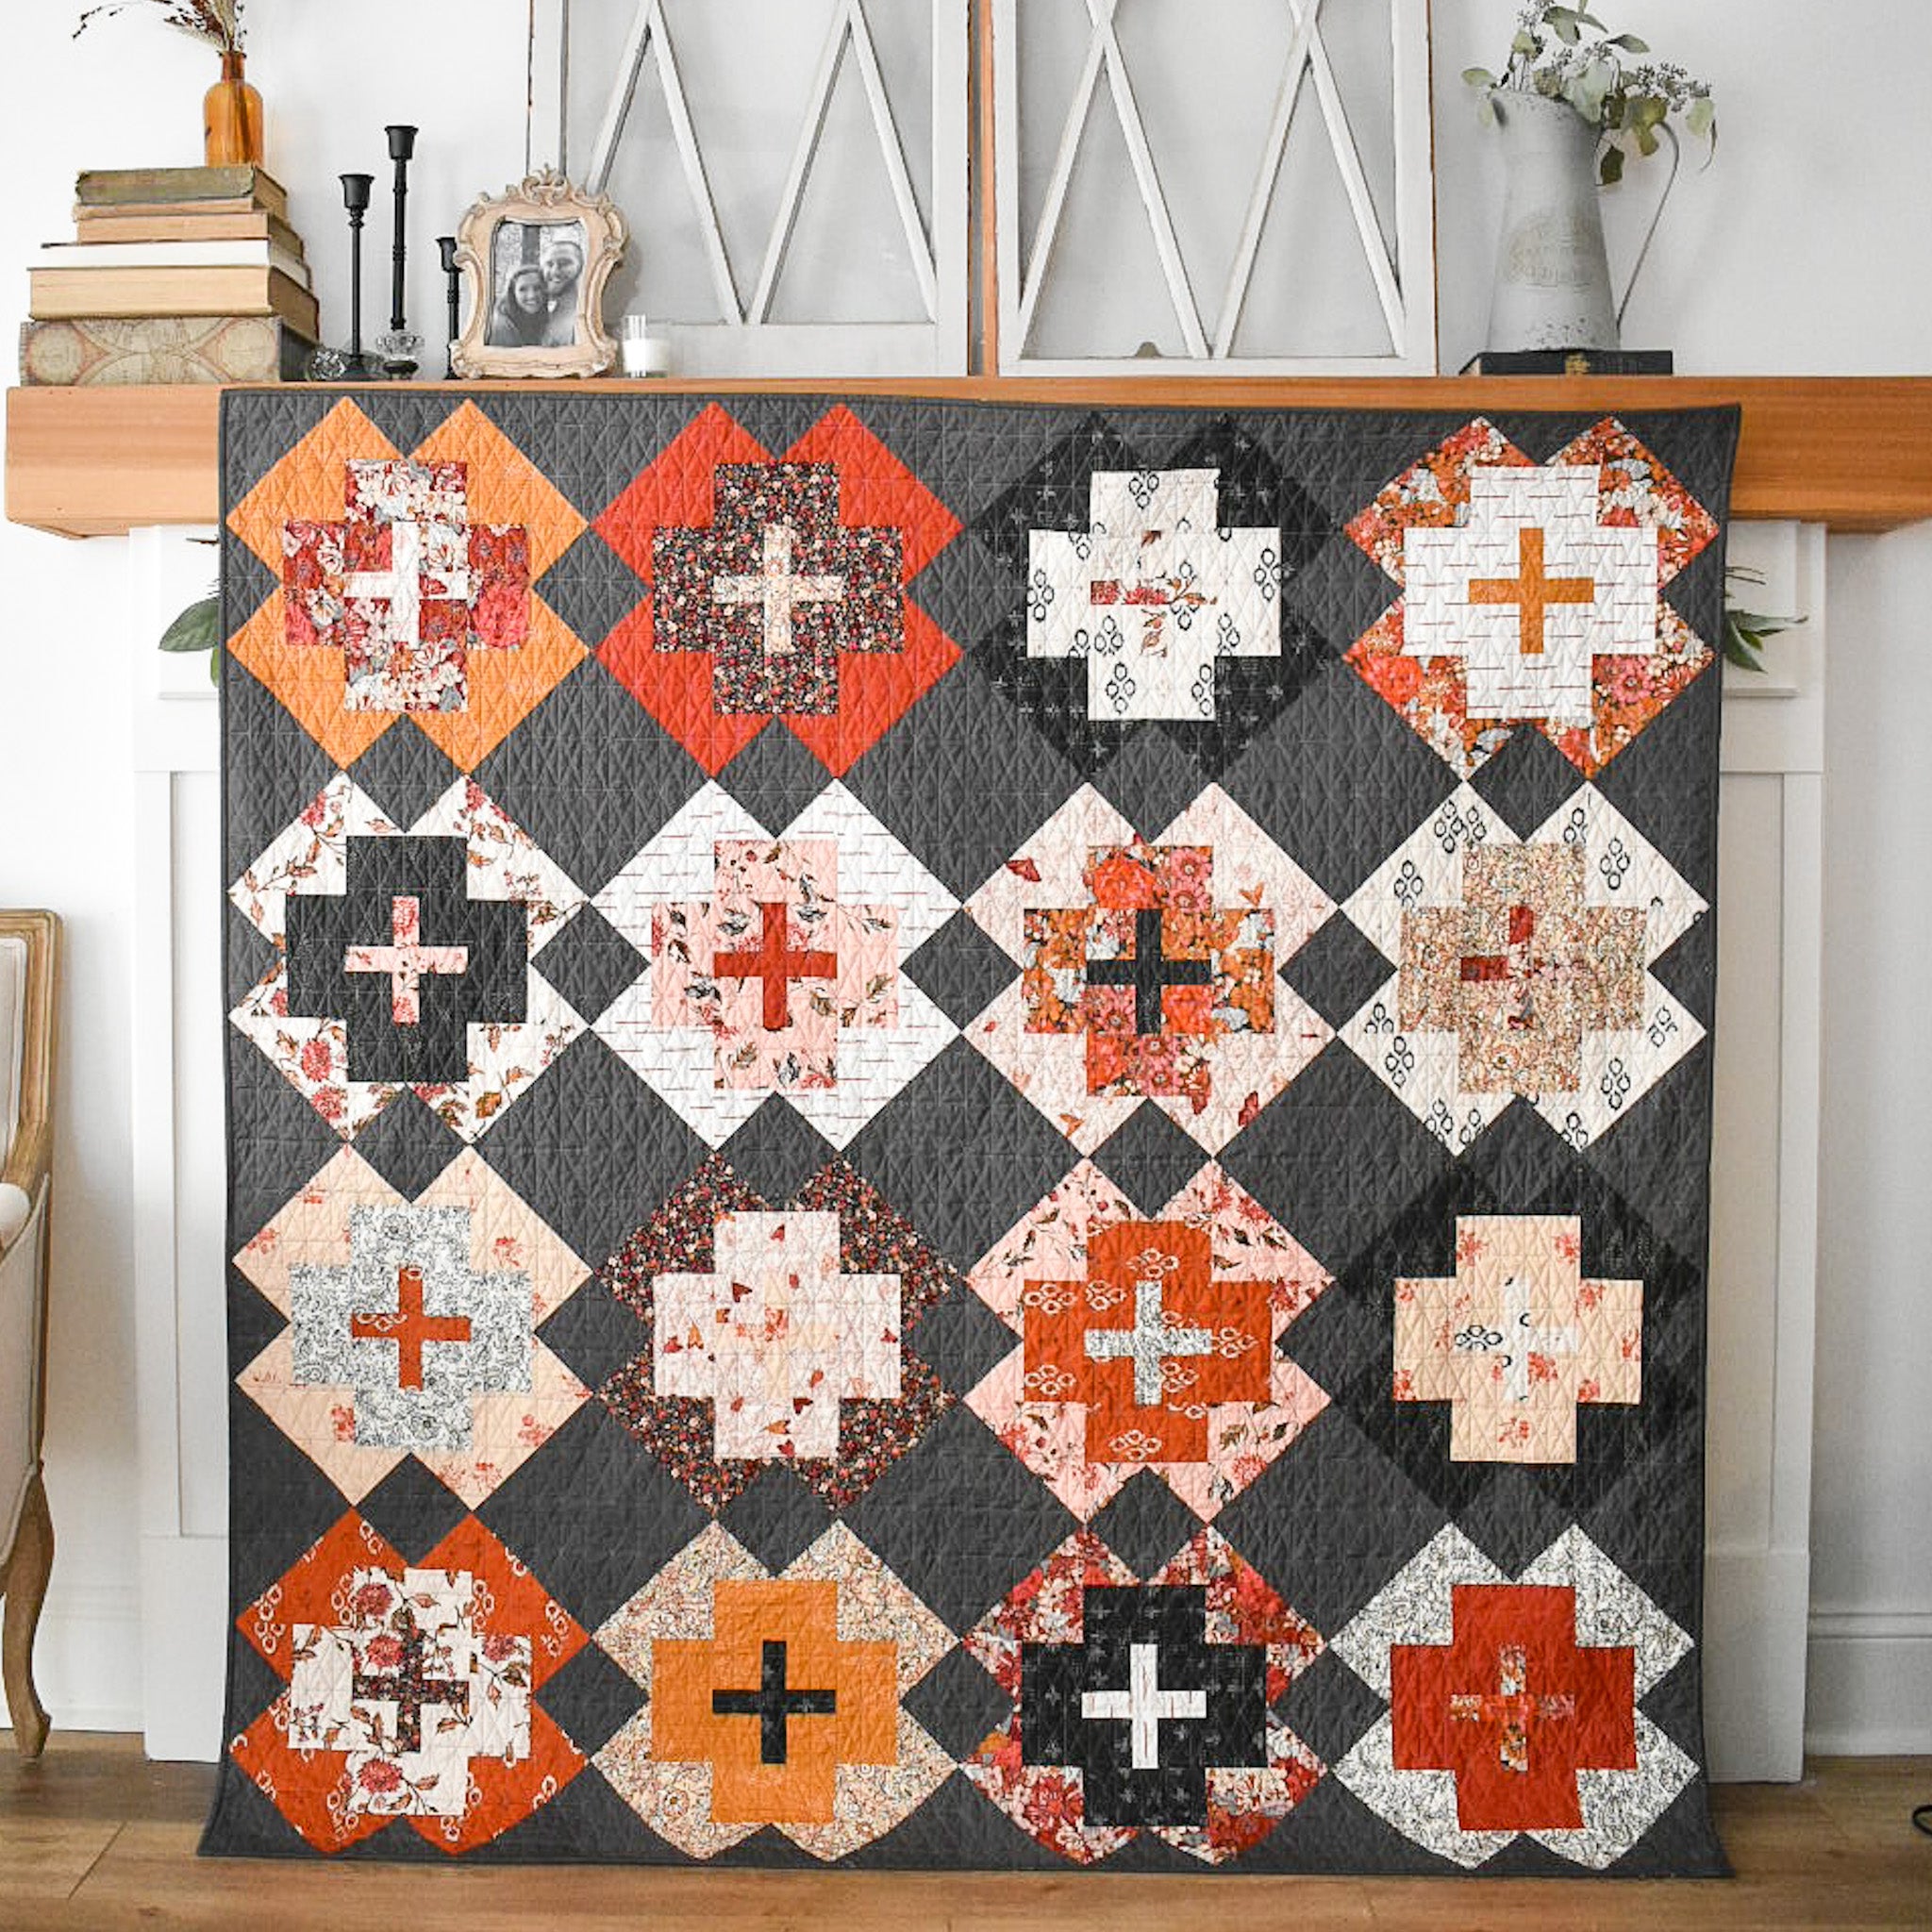
NIGHTINGALE quilt pattern is NOW available!
I'm sure ya'll have seen the new Kismet fabric collection? I have been looking forward to this collection for MONTHS! Sharon Holland recently released it with Art Gallery Fabrics, and let me tell you....they're PERFECT.
.

.

.

.

.

.
We have quilt kits for this quilt top, as well as the backing fabric in our shop!
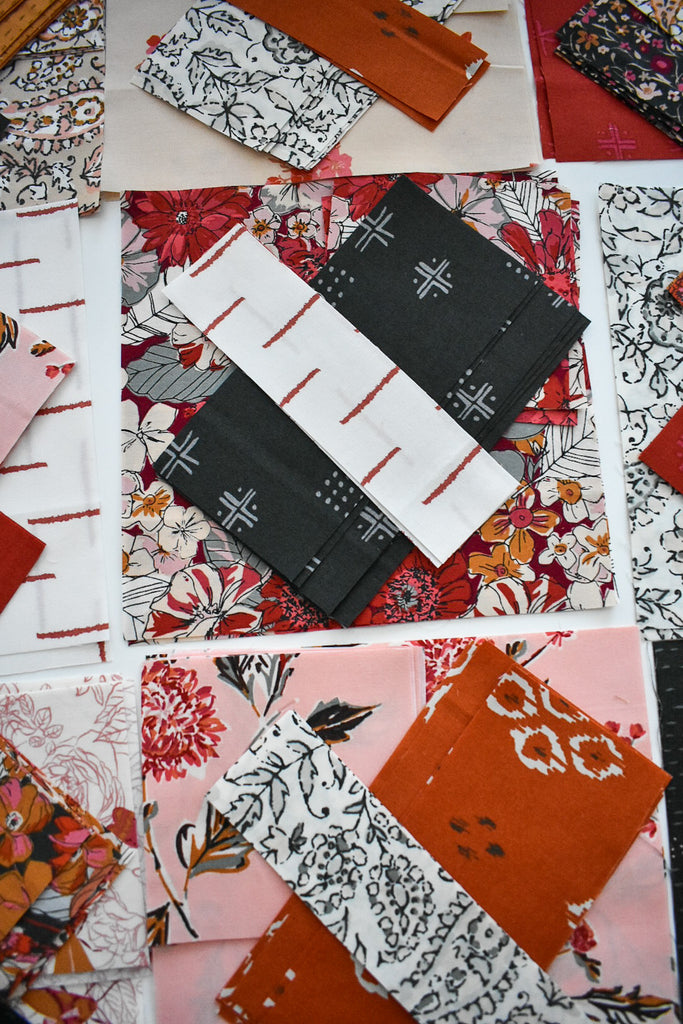
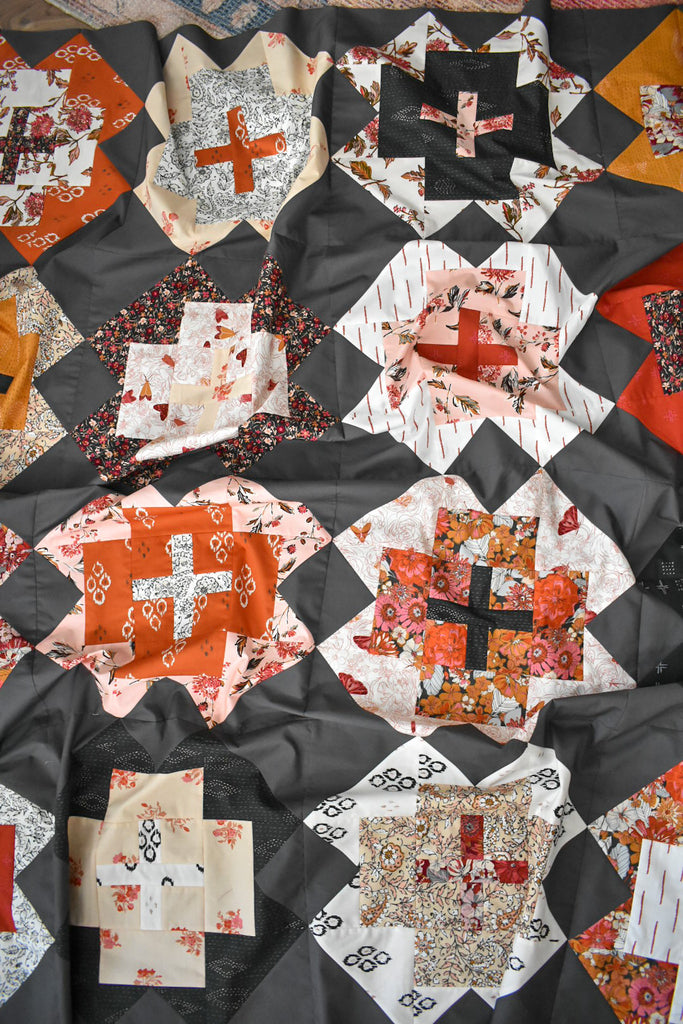
Since there are 16 fabrics in the collection, I decided to make the Square throw, which has 16 blocks and is 60" square. Similar to my Homecoming cover quilt and my Knitted Star cover quilt, I went with a darker background (Magnetism) with this one....I really feel like it makes everything really pop! I LOVE how simple and straight-forward the background cutting is. You literally only have to cut one size square! Once everything was cut, I organized them into piles, then carefully mixed up my pieces. I say "carefully" because I definitely put more thought into this quilt than I did with my cover quilt. I not only wanted to consider colors and values, but also the scale of the prints. I knew that I was going to try to make all of my directional fabrics go the same way in my blocks, so I also wanted to only use one directional fabric per block...just to try to make it easier down the road.
I have a blog post for using directional fabrics with Nightingale!
.

.

.

.

.

.
.
It was so fun to watch these blocks come together!
.

.

.

.

.

.
.

.
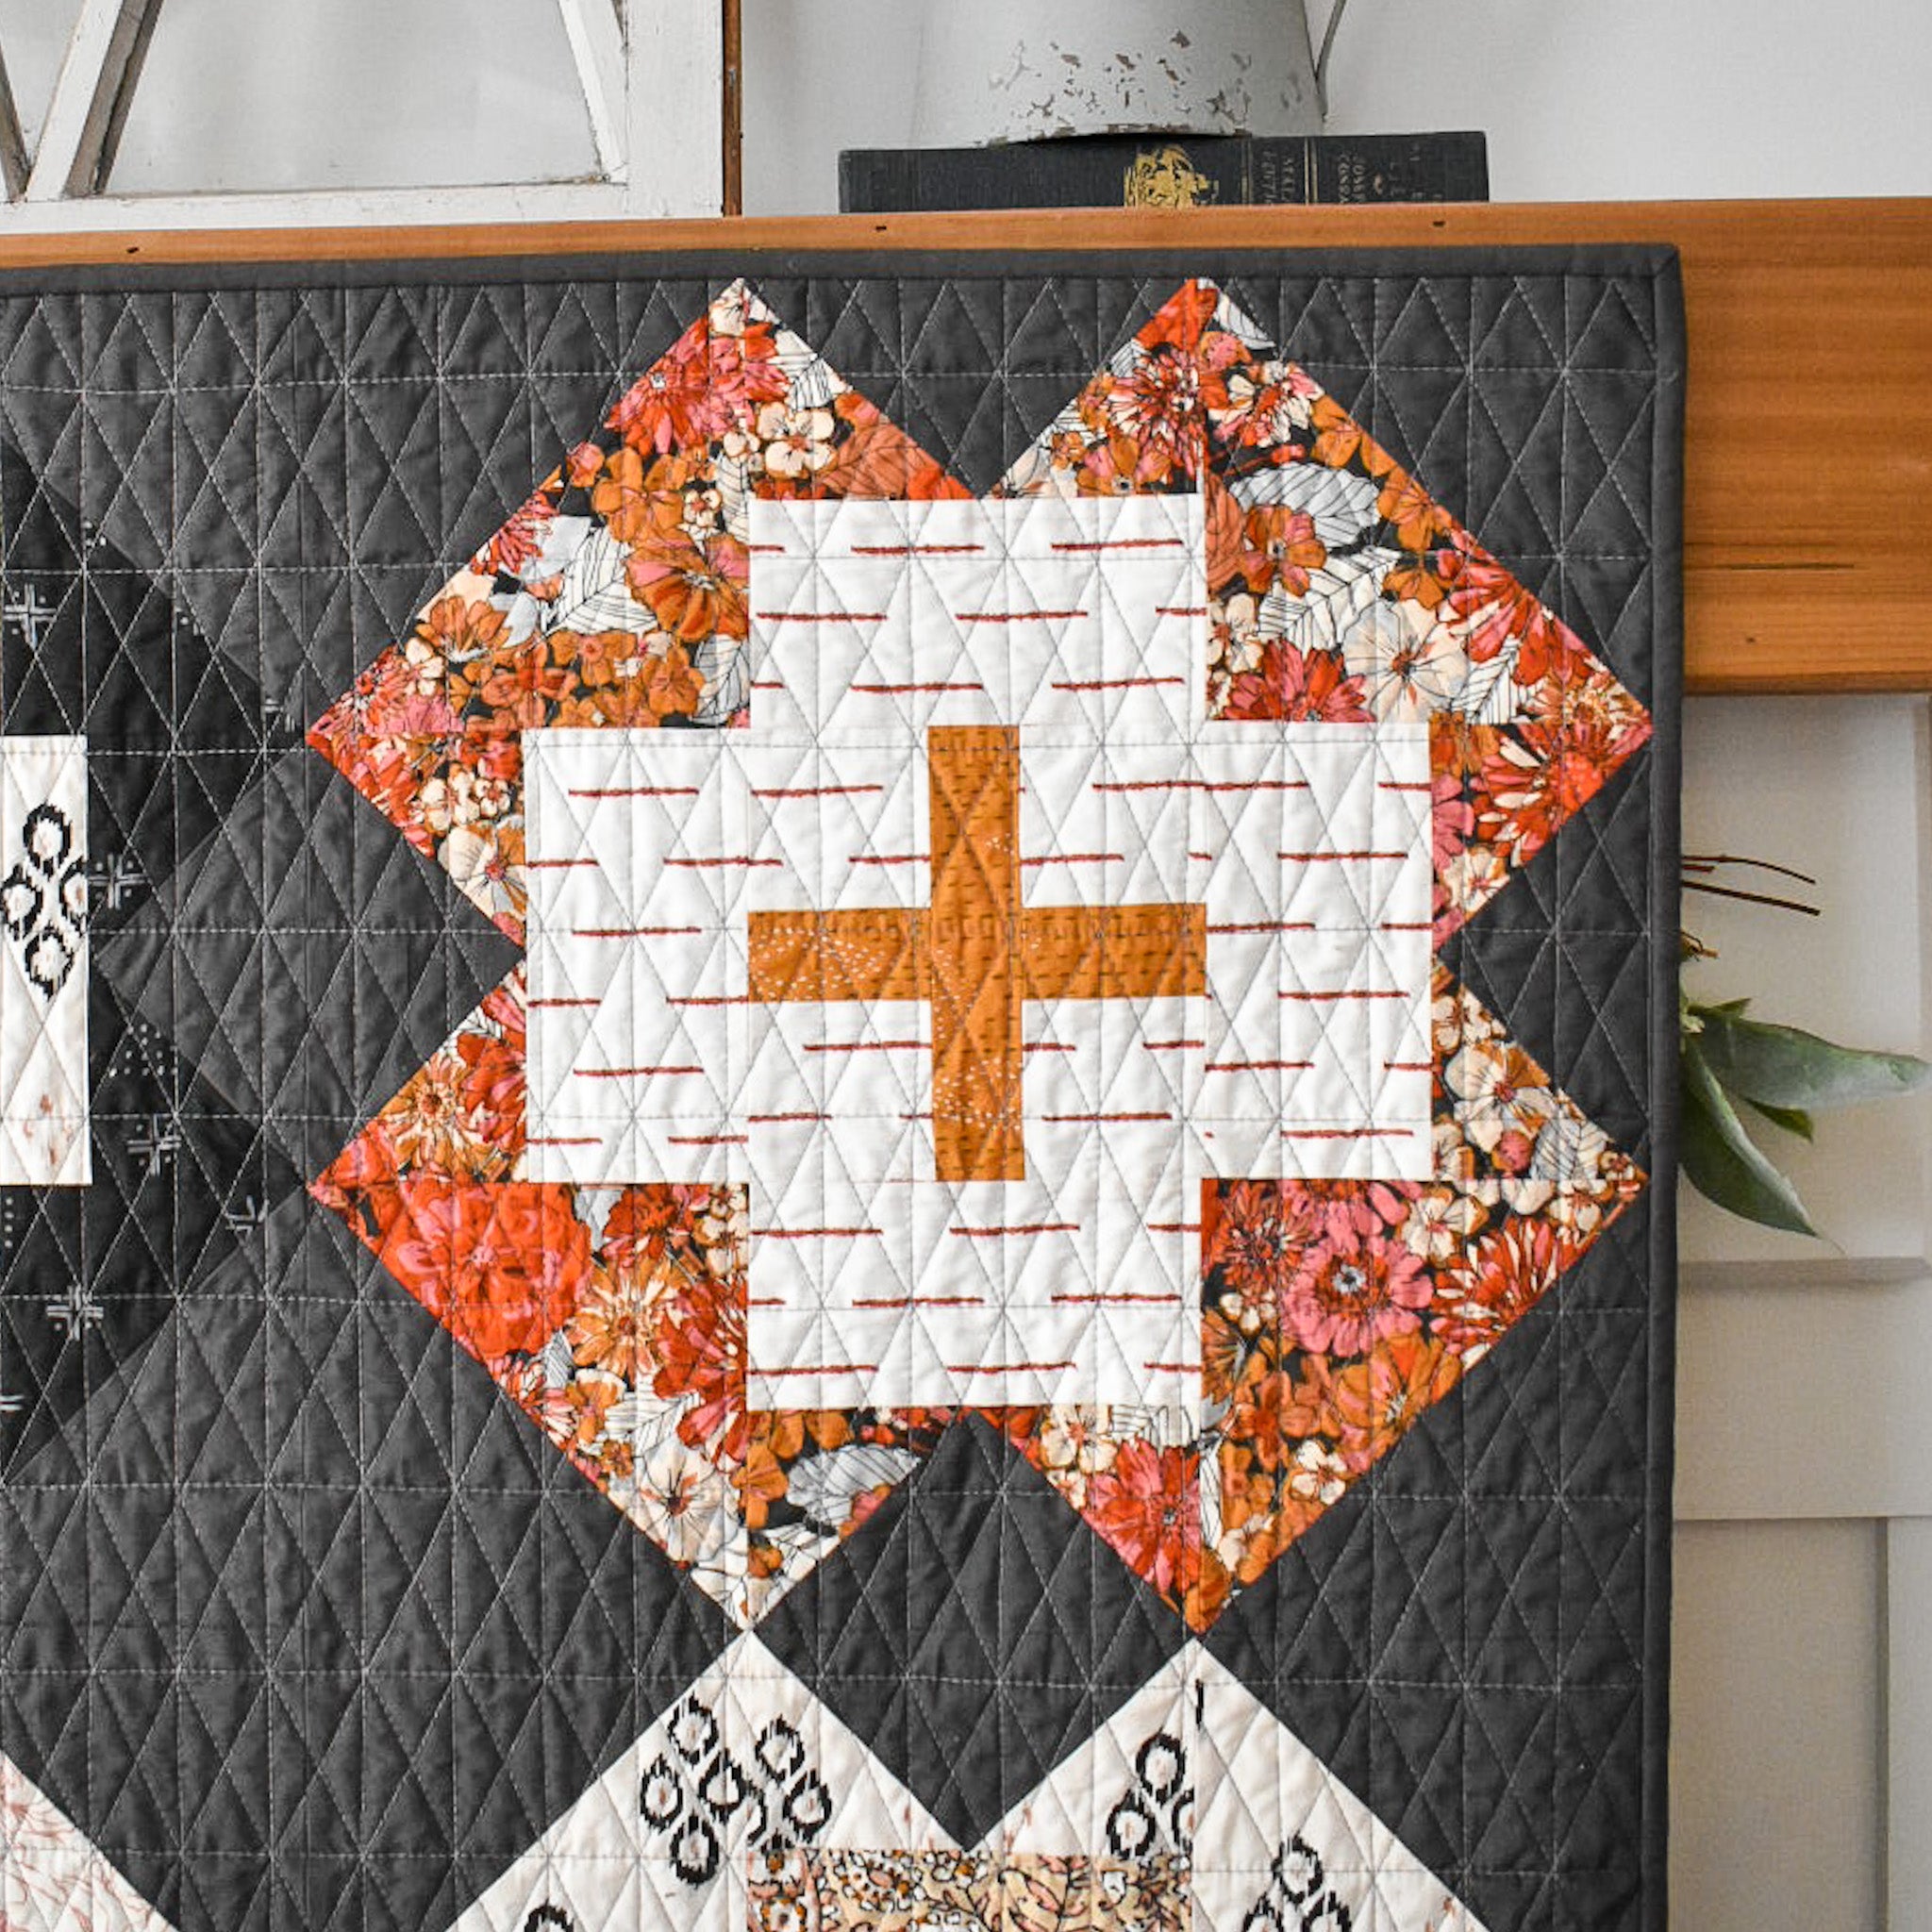
I decided to quilt this quilt myself. This is actually one of my goals for 2021....I want to finish more quilts myself! I'm currently enrolled in String & Story's Free Motion Quilting Academy, so that's one step. But there is also a LOT that I can do with just my walking foot! I wanted to try out a simple geometric design with this quilt. The end result has LOTS of texture! Keep scrolling!
.

.

.

.
You can find my pin basting tutorial here.
You can find my walking foot tutorial here.
I used my trusty Janome 6700P and stitched lines that were 2 inches apart. Then I rotated my quilt 90 degrees and stitched lines that were 1 inch apart. This created a rectangle grid.
.

.

.
Then, I stitched lines diagonally going in both directions so that they intersected in the grid portion of the design. Ohhhhhh the texture! I don't think I realized just how dense this would be, but I do really love how it gives a "vintage" feel. In hindsight, since I was trying to finish this quilt rather quickly, I probably should have made larger rectangles in the beginning....like maybe 3" one way and 2" the other. But again, I think this quilt will have lots of yummy crinkle once it's washed and dried, so ultimately, I'm happy with the scale. All in all, I estimate that the quilting took be about 15 hours? I didn't keep track, but that seems about right.
.

.
I didn't draw any of these lines before hand, I just went for it. For the vertical and horizontal lines, I used the seams on my quilt as my guide and for the diagonal lines, I used the grid intersections as my guide. It was a little tricky getting the angle of the lines correct when I was initially starting my stitch line, but after some practice, it got a lot easier.
Just a word of caution, if you decide to give this a try: not ALL of my intersections lined up. There were some areas that were pretty off. At first, this worried me and I thought that it'd be noticeable and distracting. However, once it was all finished, you really can't tell! So even if it's not perfect, keep on pluggin' away!
.

.

.

.

.

.

.

.

.
I also love how this quilting gives the quilt a "garden lattice" kind of feel. It plays nicely with the romantic florals, and overall I LOVE LOVE LOVE how it turned out! I'll definitely be using this technique again!
I used a dark gray thread for the front of my quilt so that it'd blend in with the Magnetism. Then for the back, I used a cream color thread, since my backing is mostly cream. I'm so glad that I went with two different threads!
For my binding, I was planning on using the mustard yellow print, since it's one of my favorite colors. But once I got it all quilted, I felt like it need just a solid border....so I went with Magnetism. I machine stitched the binding onto the front of my quilt and hand stitched it down using DMC pearl cotton #8 thread, which I explain in this tutorial.
.

.
.

.

.

.

.

.

.

.

.

.
.
I'd love to see what you all create! Please tag me on social media @loandbeholdstitchery and use the hashtags #nightingalequilt & #loandbeholdpatterns.
Don't Forget! All digital and paper patterns are 20% off through 11/22. Discount applied at checkout - no code needed!
LINKS:
- Nightingale Quilt Pattern - PDF Download
- Nightingale Quilt Pattern - Printed
- Nightingale Kismet Bundle
- Nightingale Cover Quilt Blog Post
- Nightingale Directional Fabrics Blog Post
