Scrap Key Fob Tutorial
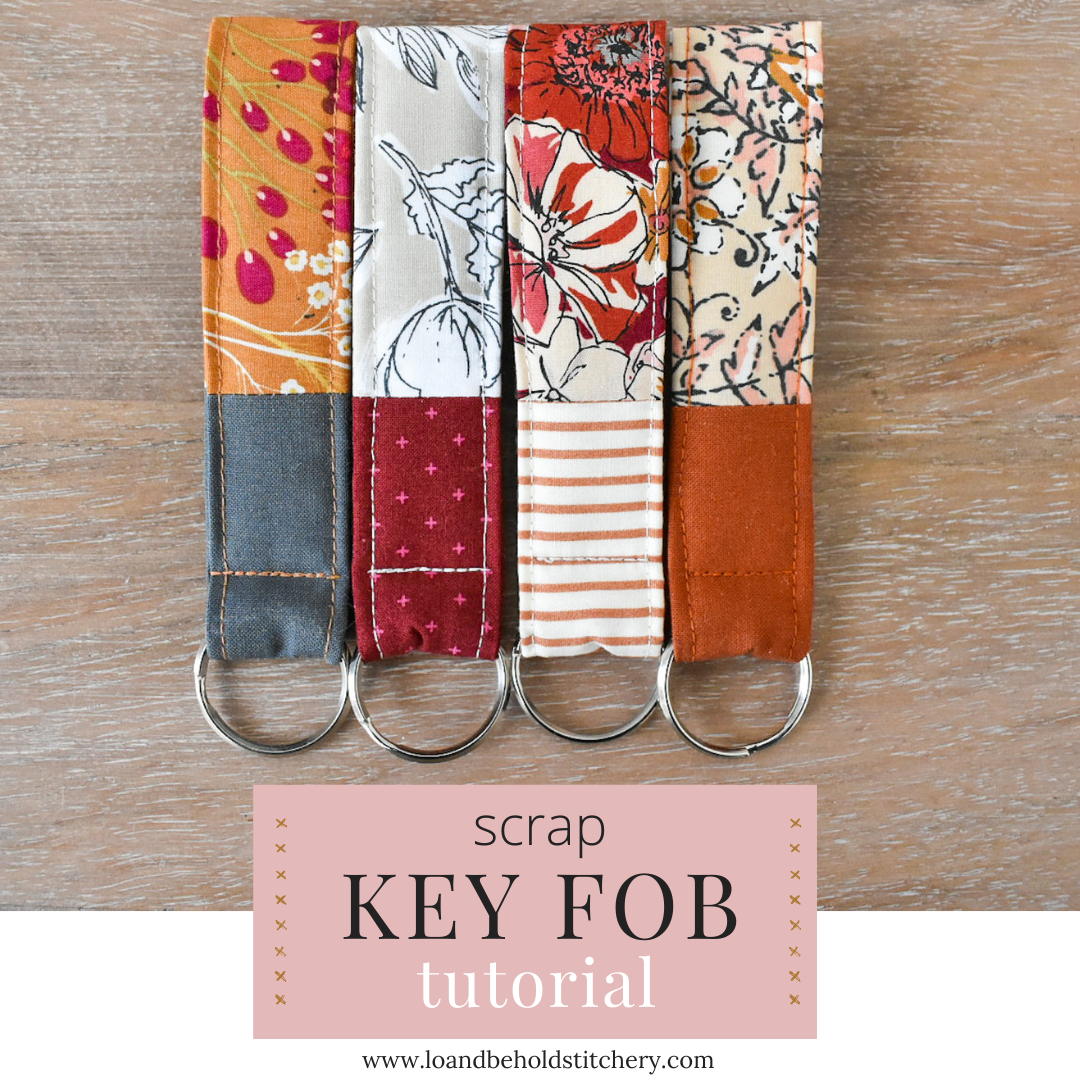
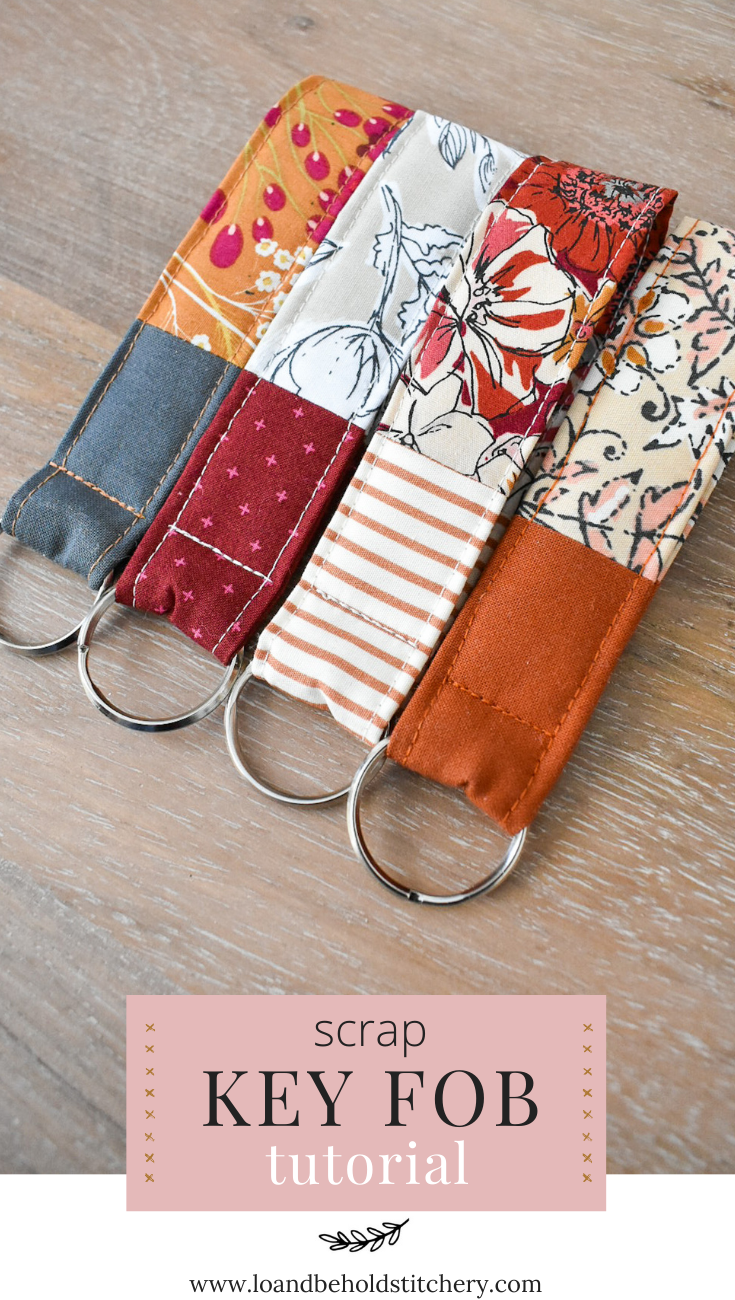
If you've been around since the beginning of Lo & Behold Stitchery, you might remember that key fobs were my JAM. Back in the early days, I cranked out SO many key fobs in all sorts of variations and stocked my Etsy shop with them. They are super fun to make and very quick and rewarding! I eventually phased out of making them for sale, but I do still really enjoy making one from time to time! They make great teacher gifts, stocking stuffers, party favors....whatever you'd like! All you need is some scrap fabric, scrap batting and a key ring (which you probably already have!) Gather all of your supplies and lets get to it!
PS - Looking for a printable PDF? I have this tutorial condensed into six lovely, printable pages for your convenience. Download it here.
.
.
Okay, here's what you'll need:
-
Basic sewing supplies (Sewing machine, rotary cutter, cutting mat, scissors, iron, ironing board, etc.) You can find a list of all of my favorite supplies here.
-
Fabric - One 3" x 6.5" piece & one 3" x 4.5" pieces for the accent
-
Batting - One 1" x 10" piece
-
(Optional) Stabilizer / Interface - Use one 1" x 10" piece to create a more stiff key fob.
-
Hardware - Use any sort of metal key ring. I just took one off of my keys. :)
-
Needle for burying threads.
-
90/14 needle for your sewing machine. A universal needle would work, but since you are sewing through many layers, you may need a quilting needle.
-
50 Weight Cotton Thread for your sewing machine.
-
Clips for holding fabrics together. These are non-negotiable in my opinion! Alternatively you could use straight pins, but since this project is so small, it's really easy to stab your self over and over. Trust me, I tried it. :)

Sewing Instructions
1. Sew the two pieces of fabrics together along the short ends. Press the seam open.

.
2. Fold the piece of fabric in half lengthwise so that the wrong sides are together. Press a crease.

.
3. Place the piece of batting inside the fabric against the crease. Be sure that it is centered with approximately 1/4" overate between the edge of the batting and the edge of the fabric on both ends.

.
4. Fold the bottom edge of the fabric pieces around the batting. Press a crease.

.
5. Fold the top edge down about 1/4" on top of the batting. Press a crease.

.

.
6. Insert the key fob material into the key ring. Add two clips to hold the folded edges of fabric together.

.
7. Fold the key fob in half so that the two raw ends are aligned.

.
8. Slightly unfold the two raw ends so that the entire 3" of the fabric pieces are aligned. Move the batting out of the way so that you do not sew over the batting. Pin in place.

.
9. Sew a 1/4" seam. This will make a closed loop.

.
10. Using your fingers, press the seam open.

.
11. Replace the batting pieces to where they were.

.
If they overlap, trim the batting pieces so that they are butted against each other.

.
12. Fold the fabric back over the batting as it originally was. Clip in place.

.

.
13. Bring your bobbin thread above your needle plate. Pull the needle and bobbin thread so that there is enough thread to eventually tie a knot, about 5" will do. Start sewing about 1/8" from the edge around the loop. Move the hardware and clips as you are sewing.

.
14. Note that some people like to backstitch to secure seams. If the seam is going to be visible, I always like to bury my threads. For this key fob, since the seam is starting and stopping in the same place, I recommend tying a knot and burying the threads before you stitch back to where you started. To do this, stop sewing with your needle down about 2-3 inches from where you started.
15. Gently pull on one of the threads to bring the other thread to the same side. Tie both of those threads in a knot. Insert a needle close to where the knot is and have the needle come back out of the fabric about 1-2 inches away. Do not go through all layers of the key fob.

.

.
16. Gently pull on the thread so that it "pops" underneath the fabric. Trim the thread tails.

.
17. Continue stitching until you reach the beginning of the seam. Bury the threads.
18. Repeat Steps 13-16 for the other edge of the key fob.

.
19. Arrange the hardware in the middle of the accent fabric. Clip the key fob around the hardware.

.
20. Starting with about 5" of bobbin and needle thread above the needle plate, stitch across the width of the key fob. I like to stitch forward, backwards, then forwards again. Bury the thread tails as explained in steps 15-16.

.
21. Enjoy!

.
Fair warning: they become very addicting! :)
.
Download the printable PDF for this tutorial here.
Happy Sewing!
.
.

.
.
