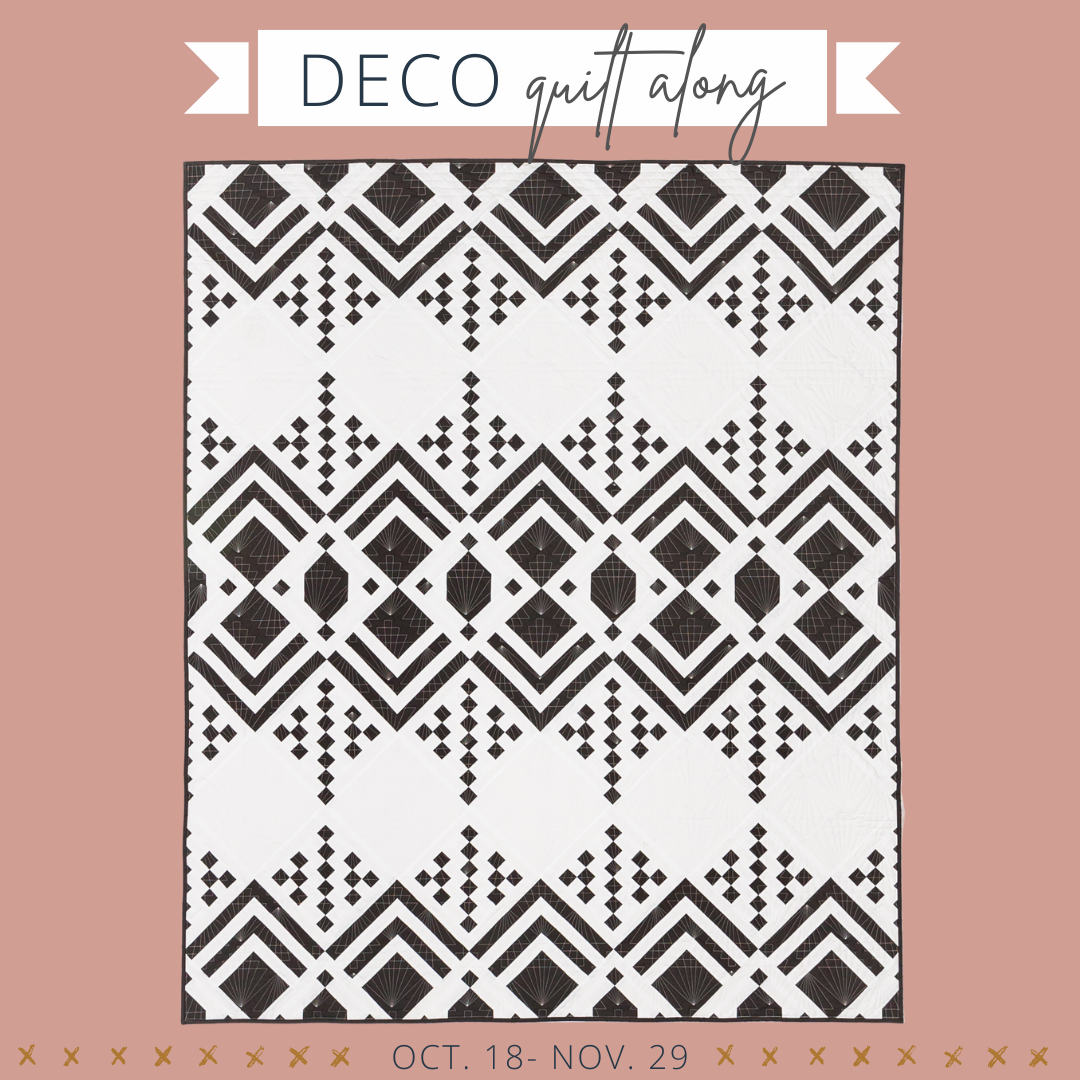
Deco QAL - Week 1

.

.
A little about me....
If we haven't "met", I'd like to introduce myself! I'm Brittany...the quilter and designer behind Lo & Behold Stitchery. I started quilting in my grandmother's memory and it's turned into an enormous passion of mine! You can read more about me and my story here!
.

.
A little about this quilt....
I was inspired to create an "Art Deco" design really at the turn of last year. Changing decades from 2019 to 2020 felt like a really big deal to me. To know that the 1920s was only 100 years ago was quite a sobering reality. Time has always been a mystery to me. The Roaring 20s felt like such a distant time until there was a marker that made it so much more relevant. To think about everything that happened in the 1920s, things are so different....yet in a way they're also the same. Thinking about these similarities and differences, and just the fact that this new decade has been quite the interesting one.....led me to create a piece that is a timeless commemoration of both then and now.

.
Schedule
You can download a printable Quilt Along schedule here. Here's what the next seven weeks will look like:
- Week 1: Oct. 18 - Oct. 25 - Choose fabrics, gather supplies & prepare fabrics
- Week 2: Oct. 25 - Nov. 1 - Cut fabrics
- Week 3: Nov. 1 - Nov. 8 - Sew all Block 1s
- Week 4: Nov. 8 - Nov. 15 - Sew all Block 2s
- Week 5: Nov. 15 - Nov. 22 - Sew all Block 3s
- Week 6: Nov. 22 - Nov. 29 - Catch up, if needed
- Week 7: Nov. 29 - Dec. 6 - Assemble quilt top
.
Week 1
If you don't already have the pattern, be sure to grab that in my shop! You can purchase a PDF Digital Download here or a Printed Paper copy here.
Our task for this week is to choose/prepare our fabrics and gather supplies. Before we get into that, I want you to read the "Before you begin" section of the pattern. The main thing that I want to point out for this week is that you really want fabrics that are at least 42" wide (WOF). If your fabric is a little shorter than that, you may need more fabric. I also want to point out that non-directional prints and/or solids work best for this quilt pattern. That's not to say that you *can't* use prints, just know that Colors 3-5 use small pieces, so if you have a print that you want to keep intact, use that for Colors 1 or 2.
There are two different color-way options for this quilt. The Traditional option features two fabrics, while the Modern option features five fabrics plus a Background fabric.
.
Traditional Deco
If you choose to create a Traditional Deco quilt, you'll just need to decide if you want a darker foreground or background. You can see with the examples below how the emphasis really changes as you switch the two.

.

.

.

.

.
Remember that the "foreground" of the quilt is referred to as "Color" throughout the pattern. So if you decide to use blue as your Background and white as the foreground....the white is still referred to as "Color". Be sure to keep that in mind because it can be a little confusing! Here are the fabric requirements for the Traditional version:

If you choose to go with the Modern color-way, you'll simply choose more fabrics. Here are the Modern Fabric Requirements:

.
Using Fat Quarters
I've gotten asked if you can use fat quarters for Deco. Technically, you can...but it'll involve some extra math and planning. For example Colors 4 and 5 require yardage because you use the entire WOF for strip piecing. Hypothetically, you could still use FQ for those Colors, know that the directions do not cover that. Color 2 can use one FQ but Color 1 technically require two FQs. There are so many pieces for Color 3, so I recommend just following the pattern for that one.
.
Color Placement
As far as deciding where you want each individual color to be in the quilt....that really comes down to personal preference. When designing this quilt, I wanted the center of the quilt to radiate outward and have a "glow" to it. This lead me to choose Color 1 (red), Color 2 (orange) and Color 4 (dark grey) so that they had a similar value or saturation level. Then Color 3 (the strips of the log cabin) had a medium value, which help gives that radiation appearance...almost like rays from the sun. I noticed that if Color 3 was darker than Colors 1 and 2, then the quilt looked very "chevron-y" which isn't really want I'm going for. You can see what I mean in the mock-up below. It's not a bad option....it just puts the focus on the quilt in a different area.
.

.
Color 5 represents the dots at the top and the bottom of the quilt. I briefly debated leaving those blocks as Color 4, but I really liked the thought of using a low volume color, to make them appear as an echo or afterthought. This softens the design a little bit and doesn't make everything so "in your face." It also adds another element of interest and an opportunity to introduce more color. You can see in the mock-up below what the design would look like if Colors 4 and 5 were the same. Again, not bad, but it seems a little bit chaotic. Then the second design shows my final mock-up that I based this quilt on. If you're stumped on how to choose your Color 5, I would consider using something that is somewhat similar to the Background fabric.
.

.

.
Again, I kind of used this rule of thumb moving forward with all "Modern" versions of Deco, but it doesn't necessarily mean that it's the right way or the only way. There are coloring pages within the pattern (and more below)....experiment with different ideas either on paper or in a computer program like ReColor, Photoshop or Adobe and see what you think. Let your ideas and creativity run wild!
.
Modern Deco
Here are some ideas for the Modern version:
.

.

.

.
Inspiration
If you are still wanting to brainstorm other ideas, here are a few places that you can look:
- #decoquilt hashtag on Instagram
Deco blog posts:
- Black & White Deco & Pattern Details
- Ivory Deco
- Doeskin & White Baby Deco
- Pattern Tester Deco quilts & other Inspiration
- Cover Deco
- Deco Fabrics Deco
.
Coloring Pages
There are coloring pages within the pattern, but if you would like extra, feel free to download them here.
.
A Note about the Setting Triangles
This quilt is constructed "on-point" using a diagonal row construction. This means instead of horizontal and vertical rows, there are 45 degree columns. Refer to the Quilt Top Assembly portion of the pattern to see a diagram of this method.
The blocks that are on the edge of a "on-point" quilt are often referred to as "setting triangles." Normally, these triangles are slightly larger than what the blocks on the inside of the quilt measure. However, with this design and many other of my "on-point" designs, the repeating pattern within the quilt covers the entire quilt, from edge to edge. There are two different ways to achieve this look.
That being said, there are pros and cons for Option 1 and 2 listed above. Again, the pattern uses Option 2, but I wanted to explain this portion of the design before we get started. If you are someone who is going to want that 1/4" overlap, then you will need more fabric.
If you are making the baby size, you *will* have a 1/4" overlap with the Background squares on the top and the bottom of the quilt, as indicated by the red circles in the pattern. The left and right edges will not have a 1/4" overlap. Again, if that is something that you want for those blocks, you will need more fabric.
.
Quilt Kits
Quilt kits are a great way to take out all of the guess work. I've partnered with many wonderful online quilt shops to bring you a wide variety of kits!
.
.
.
.

.


.
.
.
.
.
.
..
.
.
.
.
.
.
.
Other Supplies
You'll need basic quilting supplies like a rotary cutter and cutting mat. You can find a complete list of my favorite beginner quilting supplies here. Here are a few extra items that are nice to have....but they aren't required.
- Diagonal Seam Tape - This comes in handy when constructing the "snowball" or "stitch and flip" portion of Block 2s.
- 8.5" x 24" Ruler - I LOVE this ruler for cutting WOF strips. Especially for this pattern that has some 8.5" x WOF strips. If you have a 6.5" x 24" ruler, that'll work just fine, but I do love using having this extra large ruler!
- Stripology Ruler - You might want this ruler to cut units for Blocks 3A and 3B. It's not required, but it is a handy ruler to have.
- Wool Pressing Mat - Makes it like you are ironing both sides of the fabric at the same time!
- Tailor's Clapper - I wasn't fully convinced that a tailor's clapper really made a difference until recently. Essentially, you place the clapper over a seam immediately after you've pressed that seam with your iron. The wood absorbs the heat and helps lock in the seam to keep it nice and flat. It can be really helpful when you are pressing lots of seams open, like in this quilt!
.
Pre-washing Fabrics
I've gotten a lot of questions about pre-washing and it's simply a matter of personal preference. I very rarely prewash my fabrics. I could probably count the amount of times that I've pre-washed my fabrics on one hand. The reasons that I don't like it? For one, it takes a lot of effort. Once you take the fabric out of the dryer, you then have to refold and iron it. If it's a large cut of fabric, this can be a bit of a daunting task. Secondly, I like the "crisp-ness" of fabric that is unwashed...it seems to hold it's shape better and be easier to work with.
That being said, once my quilt is assembled, I am very generous with the Shout Color Catchers. I know some people only use 1 or 2....at minimum, I use 5, depending on the size of the quilt. They're relatively cheap, so there's no harm in using a liberal amount. Feel free to use Color Catchers for the first few washes, or just once.
Again, this is just MY personal preference. If it would make you feel better to prewash your fabrics, be my guest! I've found that the quilting community is split pretty evenly on this topic. Just keep in mind: You will need the full WOF for this pattern. I know some fabric manufacturers (Ruby Star Society is one of them) that have smaller width of fabric measurements and larger selvedges. If you choose to prewash your fabric just be aware that if your fabric shrinks to be less than 42" wide, you may need additional fabric. Just be aware of this if you're on the fence about pre-washing. :)
.
Starching Fabrics
To be honest, I don't really use starch that much. However, I've found that if I am working with smaller pieces (like this pattern) or bias edges, it really does help with accuracy. Starch makes your fabric more stiff, which makes it easier to sew and work with. I also tend to starch fabrics that are thinner/more "silky". Two brands that come to mind are Ruby Star and Art Gallery. I LOVE love love their fabrics; they're high quality, super soft and quilt up very nicely... but I've noticed that I'm more likely to use starch when I sew with these two fabric brands. I don't think I've ever starched Kona, just because it already has a naturally stiff hand.
Remember that you'll want to starch your fabric before you cut them, so if you decide to use it, I recommend going ahead and doing that this week. For yardage, assess how your WOF is folded. You'll want the two selvedge ends to be right on top of each other. This may mean ironing a new crease in your fabric. When I starch, I spray the entire piece of fabric to get it pretty saturated, then use my iron to press out any wrinkles or creases. This is the starch that I use.
.
Pressing fabrics
Whether or not you choose to prewash or starch your fabrics, I do want you to go ahead and press all fabrics so that they are ready to go for next week. For the large cuts of yardage, I like to press that in sections, then fold it accordion style on my ironing board as I go. Take a look at the photo below....the fold is closest to me and the selvedges are on the other end. This will set you up for organized cutting next week.

.
Once all of your fabrics are pressed, lay them on a flat surface so they stay nice and crisp for next week.
.
Facebook Group
If you have any burning questions, or if you're just looking for community and support, join the Lo & Behold Patterns Facebook group! It is not required- all of the information for the QAL will be delivered via email/blog. That being said, if you are looking for advice with fabrics or anything else, the FB group is a great place to look!
.
$50 GIFT CARD WINNER
When I announced the QAL a few weeks ago, I also announced a giveaway for those of who who share'd the “I'm In!" image. The winner of the $25 gift card to our shop is........ @jessierosequilts! Congrats! Please send me an email and I will get you your gift card!

.
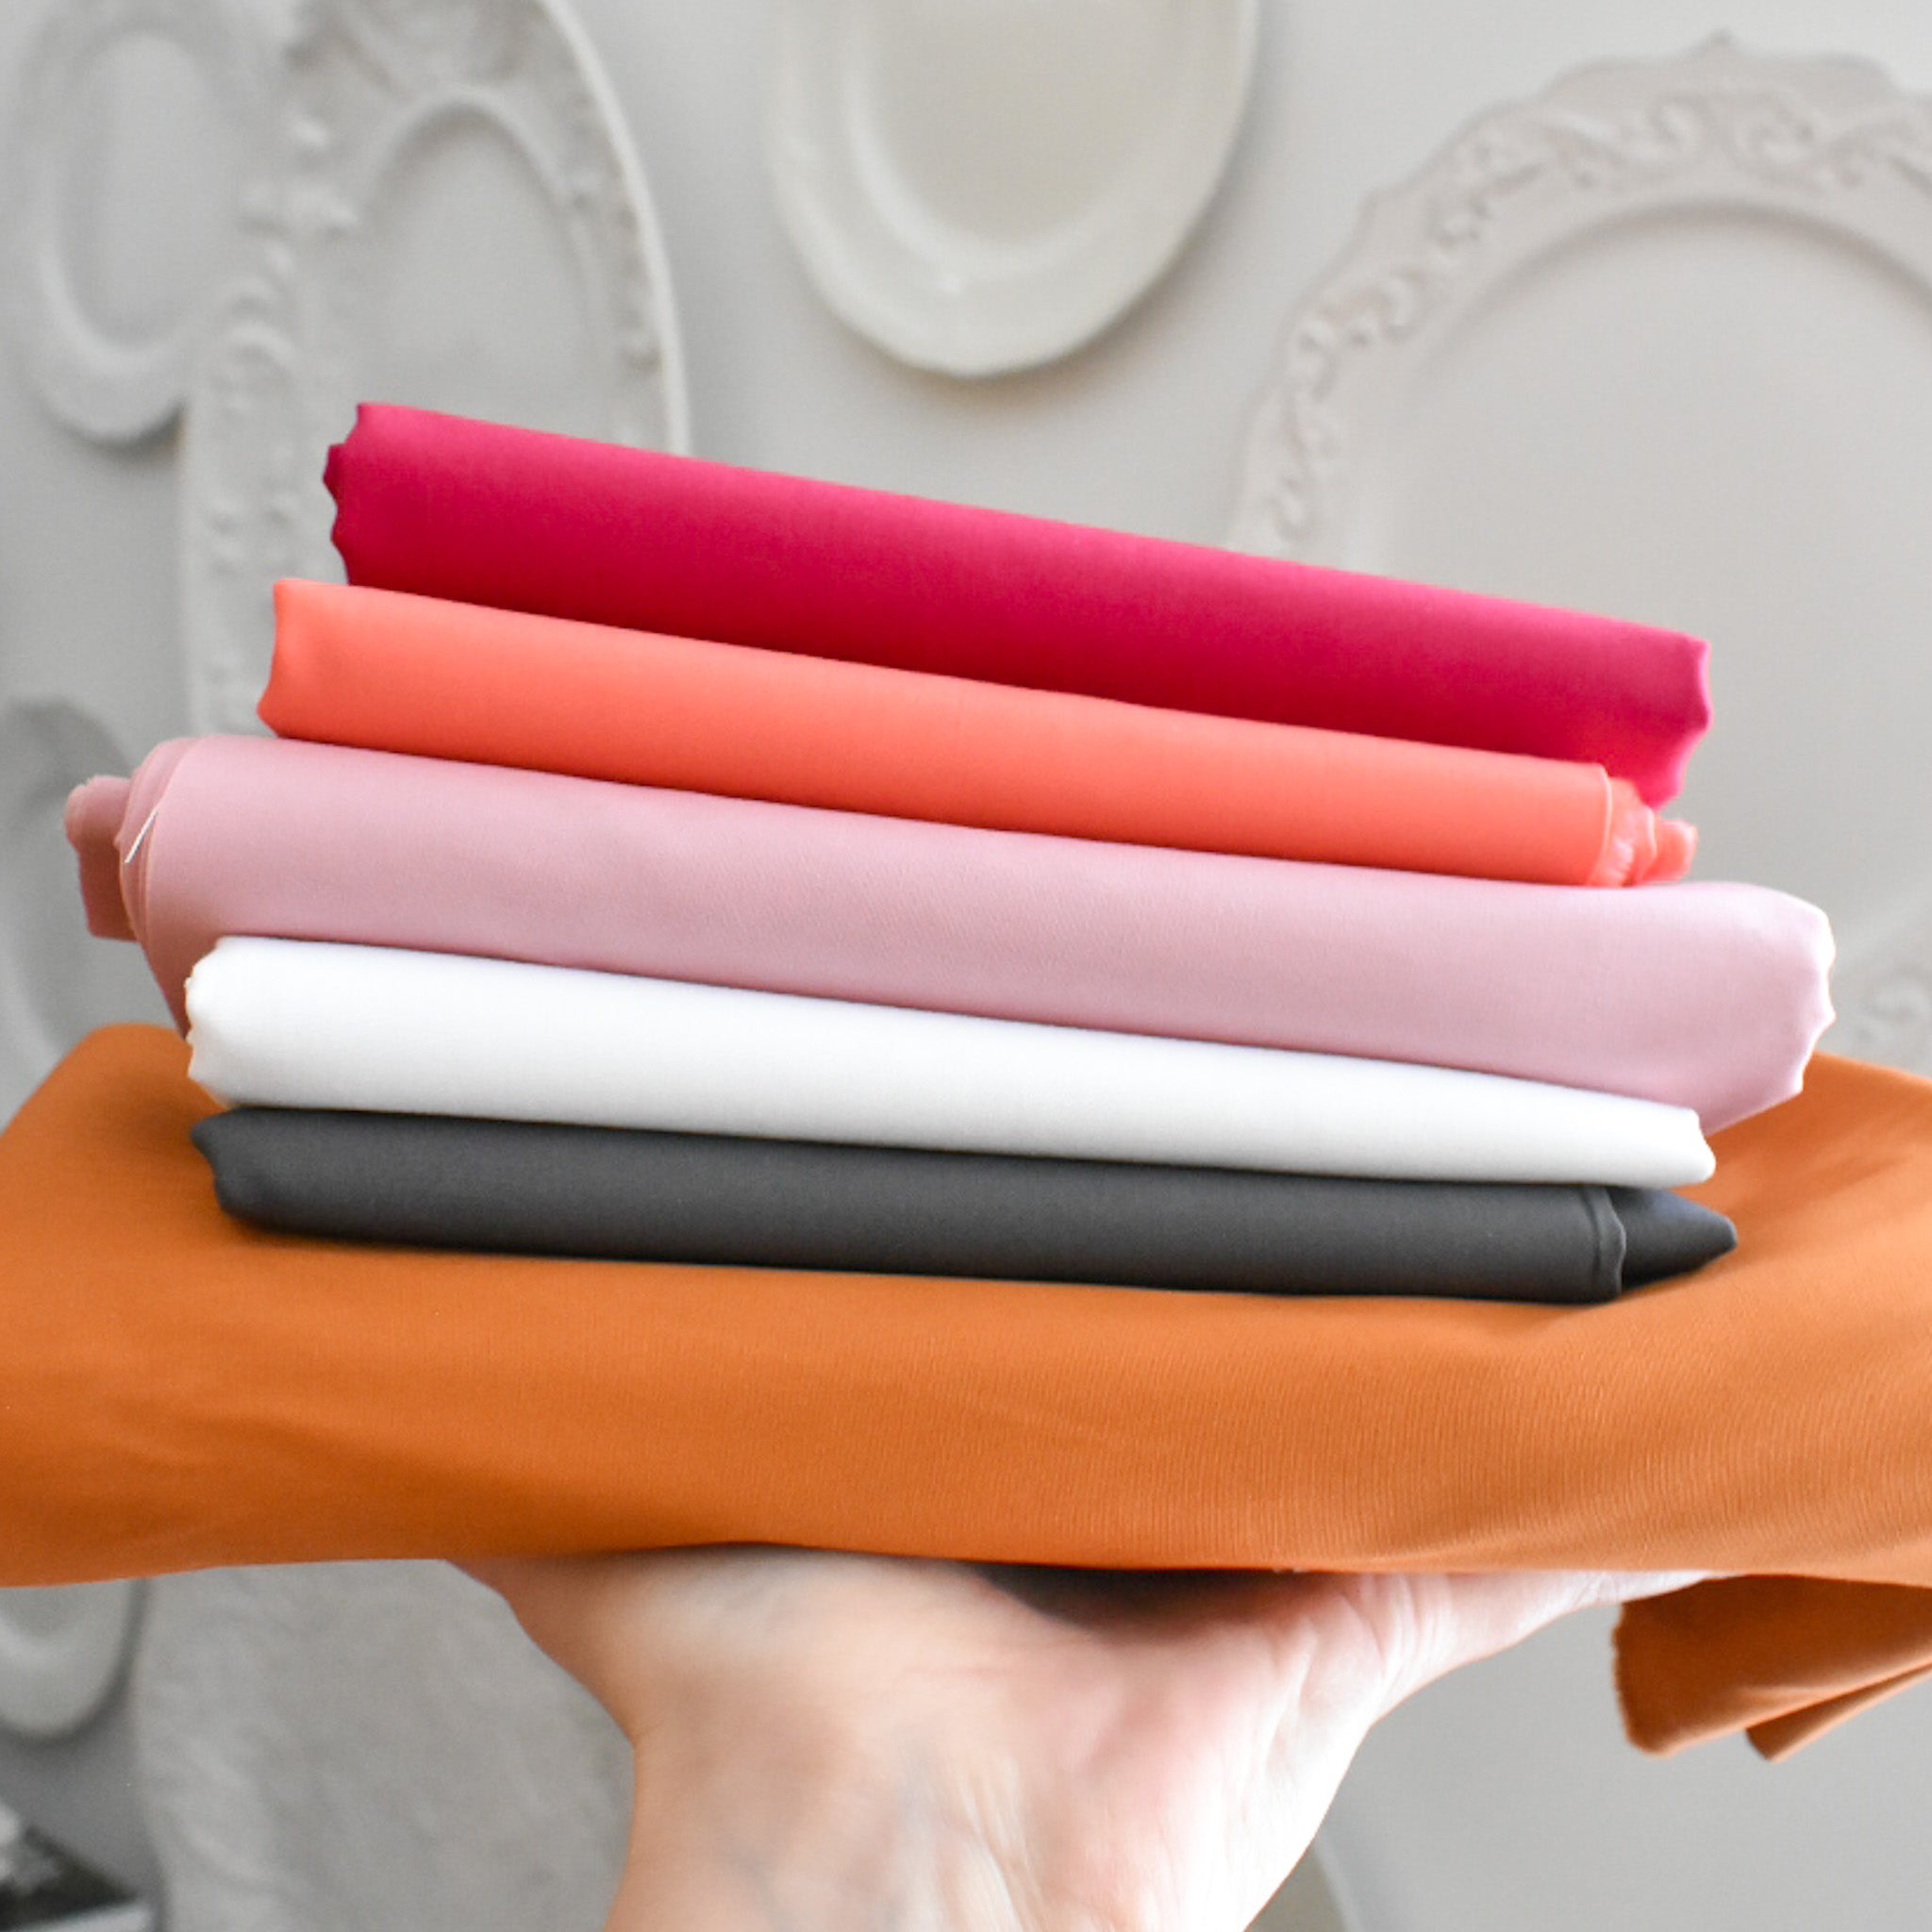
My Fabric Pull
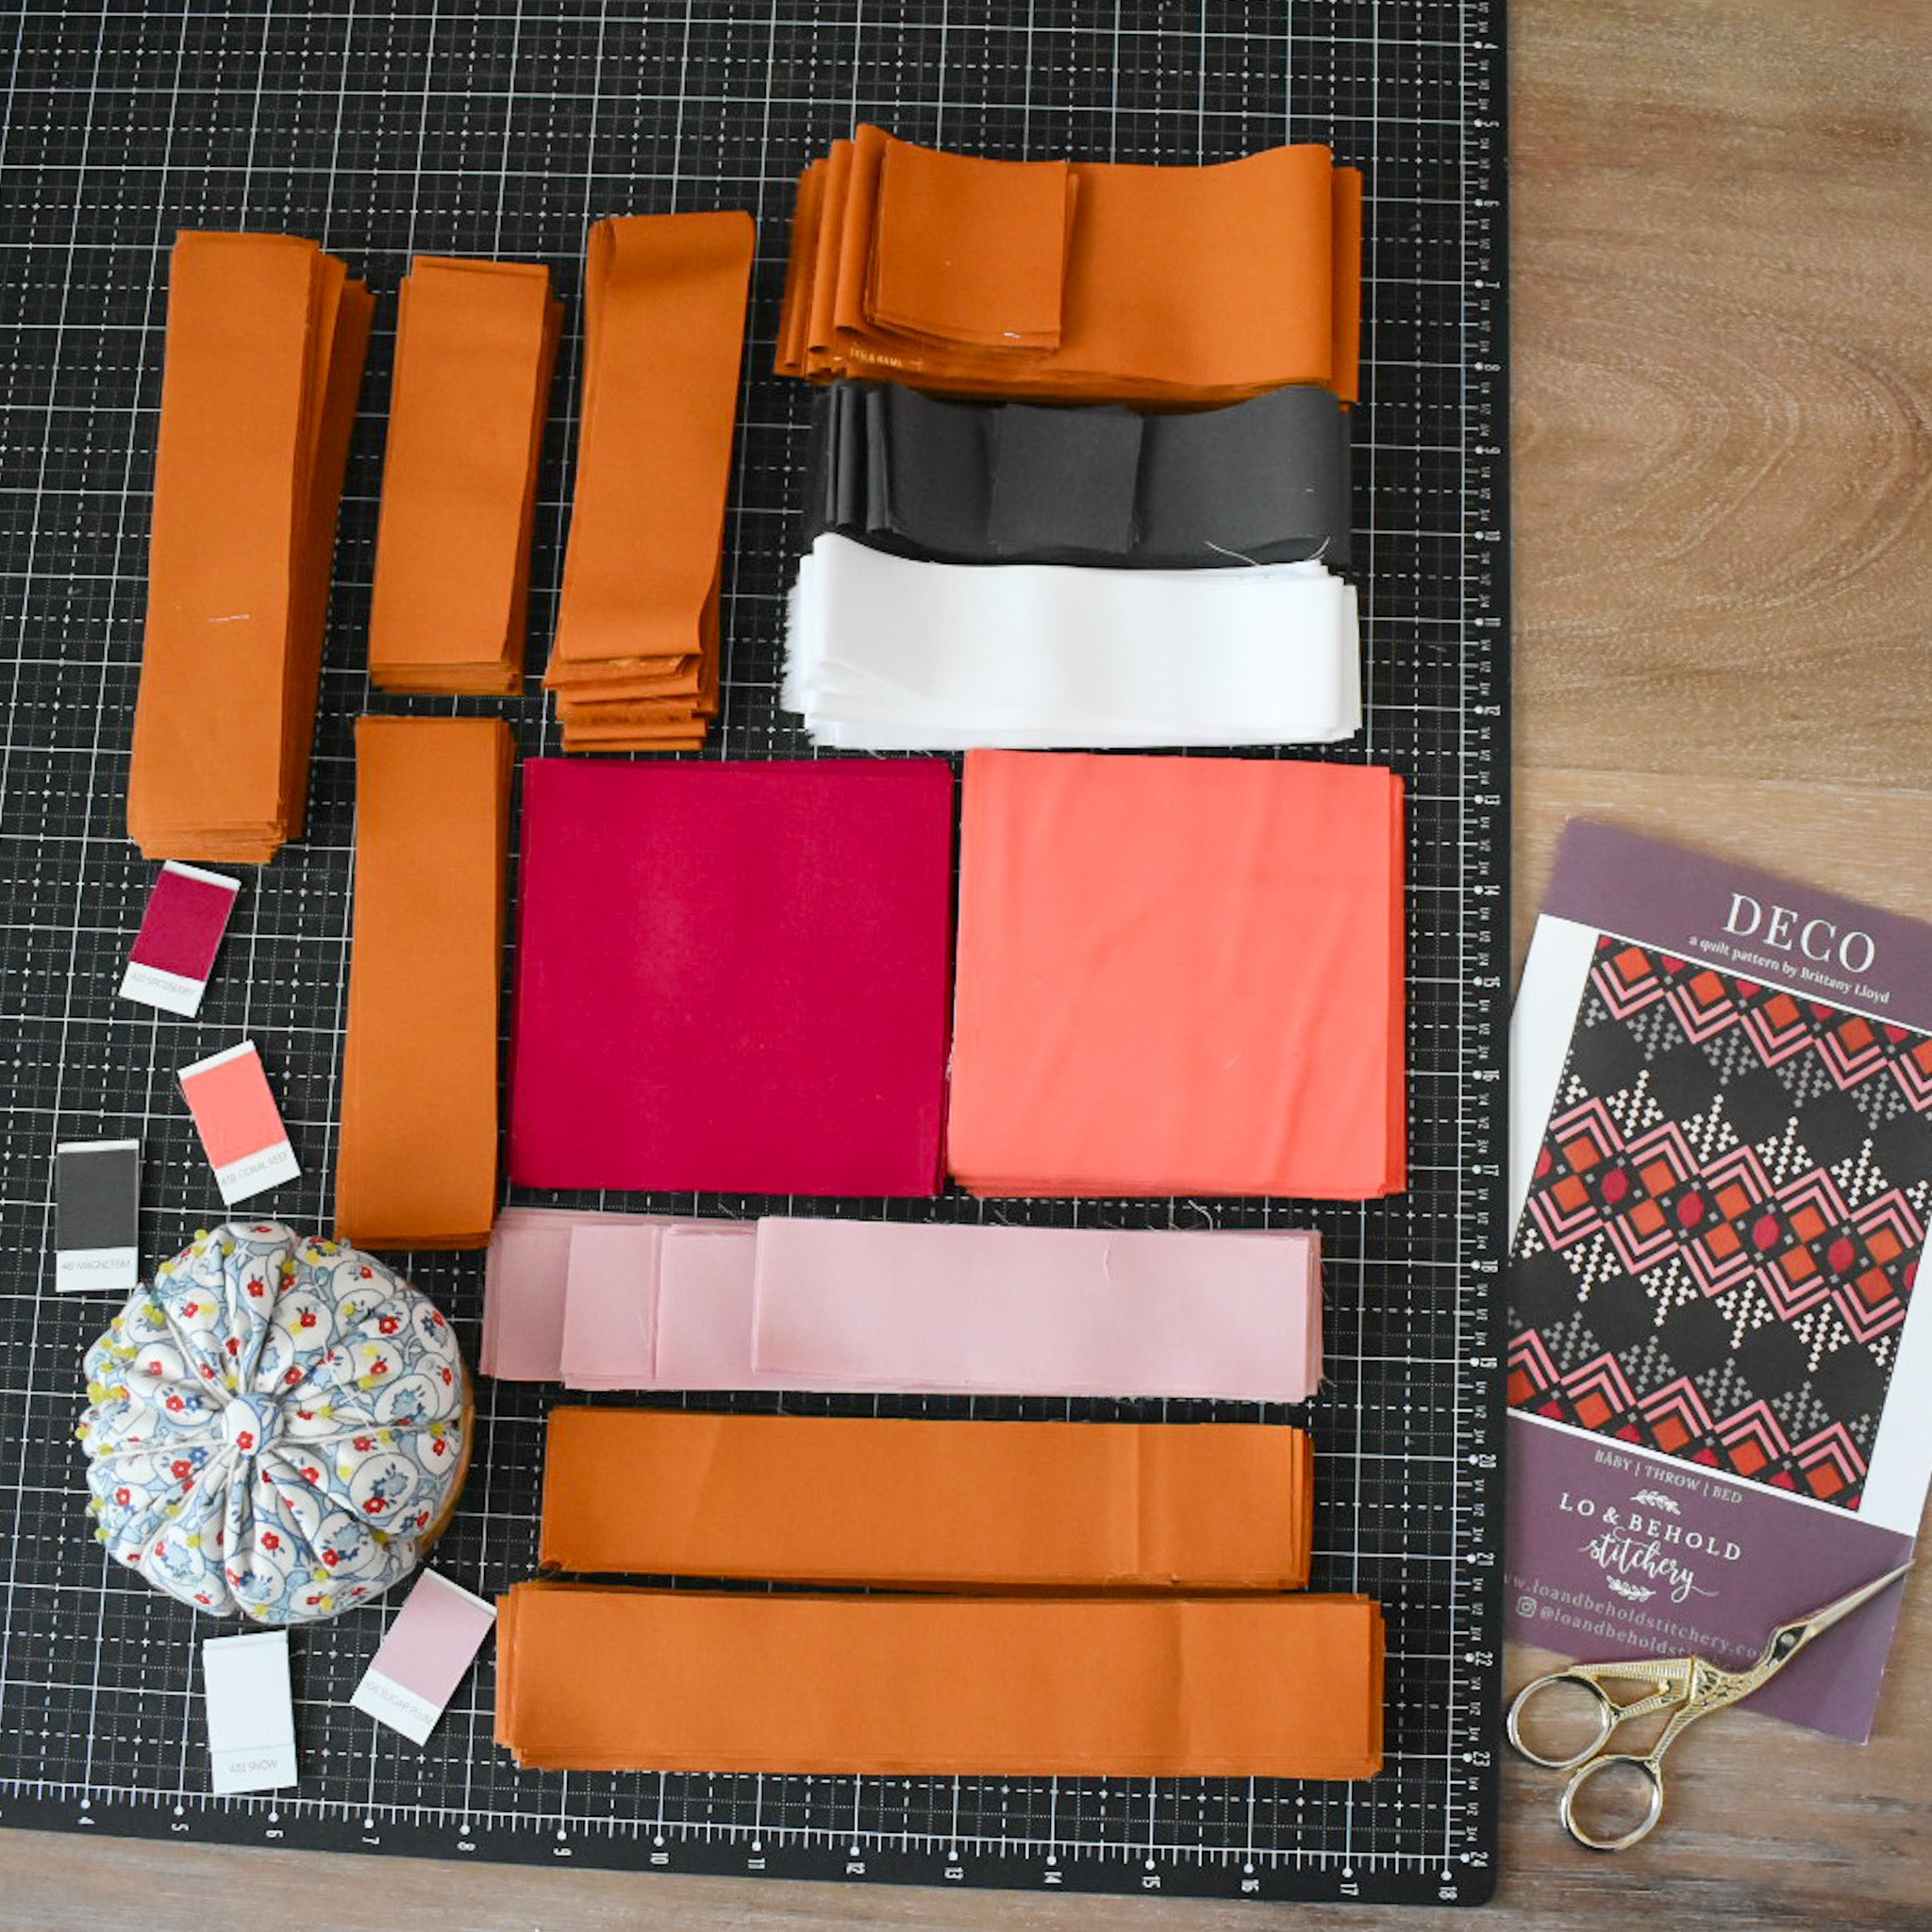
I decided to go a little "moody autumn" for my Deco quilt. I generally sew with these colors year round, but I'll take the extra excuse to create a fall-inspired quilt right now. :)
.

.
From top to bottom, my fabrics are:
- AGF Spiceberry (Color 2)
- AGF Coral Reef (Color 1)
- AGF Sugarplum (Color 3)
- AGF Snow (Color 5)
- AGF Magnetism (Color 4)
- AGF Gingerbread
And here is a mock-up of what my quilt will look like. SQUEEEEE! I'm thinking that the background fabric in the mock-up looks slightly darker than what it'll actually be, but you get the picture. :) We have a small number of kits for these in our shop.

.
Week 1 Prize
This week, your task is to nail down what fabrics you'd like to use for your quilt and do any necessary prep work that you wish to do. Gather all of your supplies and get ready to start cutting next week! Take a photo of your fabric pull and share it to Instagram using the hashtags #decoquilt, #decoQAL and #loandbeholdpatterns. One lucky quilter from within these hashtags will be randomly chosen at random to win a "Wild Forgotten" bundle from Elizabeth Bolten Studios!

.
Remember that your account must be public in order for us to see your posts. I can't wait to see everyones beautiful fabric pulls!! You have until Monday October 25th at 8am EST to get your entry in. Good luck!
.
See you next week!
-Brittany


