Deco QAL - Week 2

Welcome back to the Deco QAL!
SCHEDULE
Here's a look at where we've been and where we are going. Click where you see an underline to take you to that week's blog post!
- Week 1: Oct. 18 - Oct. 25 - Choose fabrics & gather supplies
- Week 2: Oct. 25 - Nov. 1 - Cut fabrics
- Week 3: Nov. 1 - Nov. 8 - Sew all Block 1s
- Week 4: Nov. 8 - Nov. 15 - Sew all Block 2s
- Week 5: Nov. 15 - Nov. 22 - Sew all Block 3s
- Week 6: Nov. 22 - Nov. 29 - Catch up, if needed
- Week 7: Nov. 29 - Dec. 6 - Assemble quilt top
.
WEEK 2
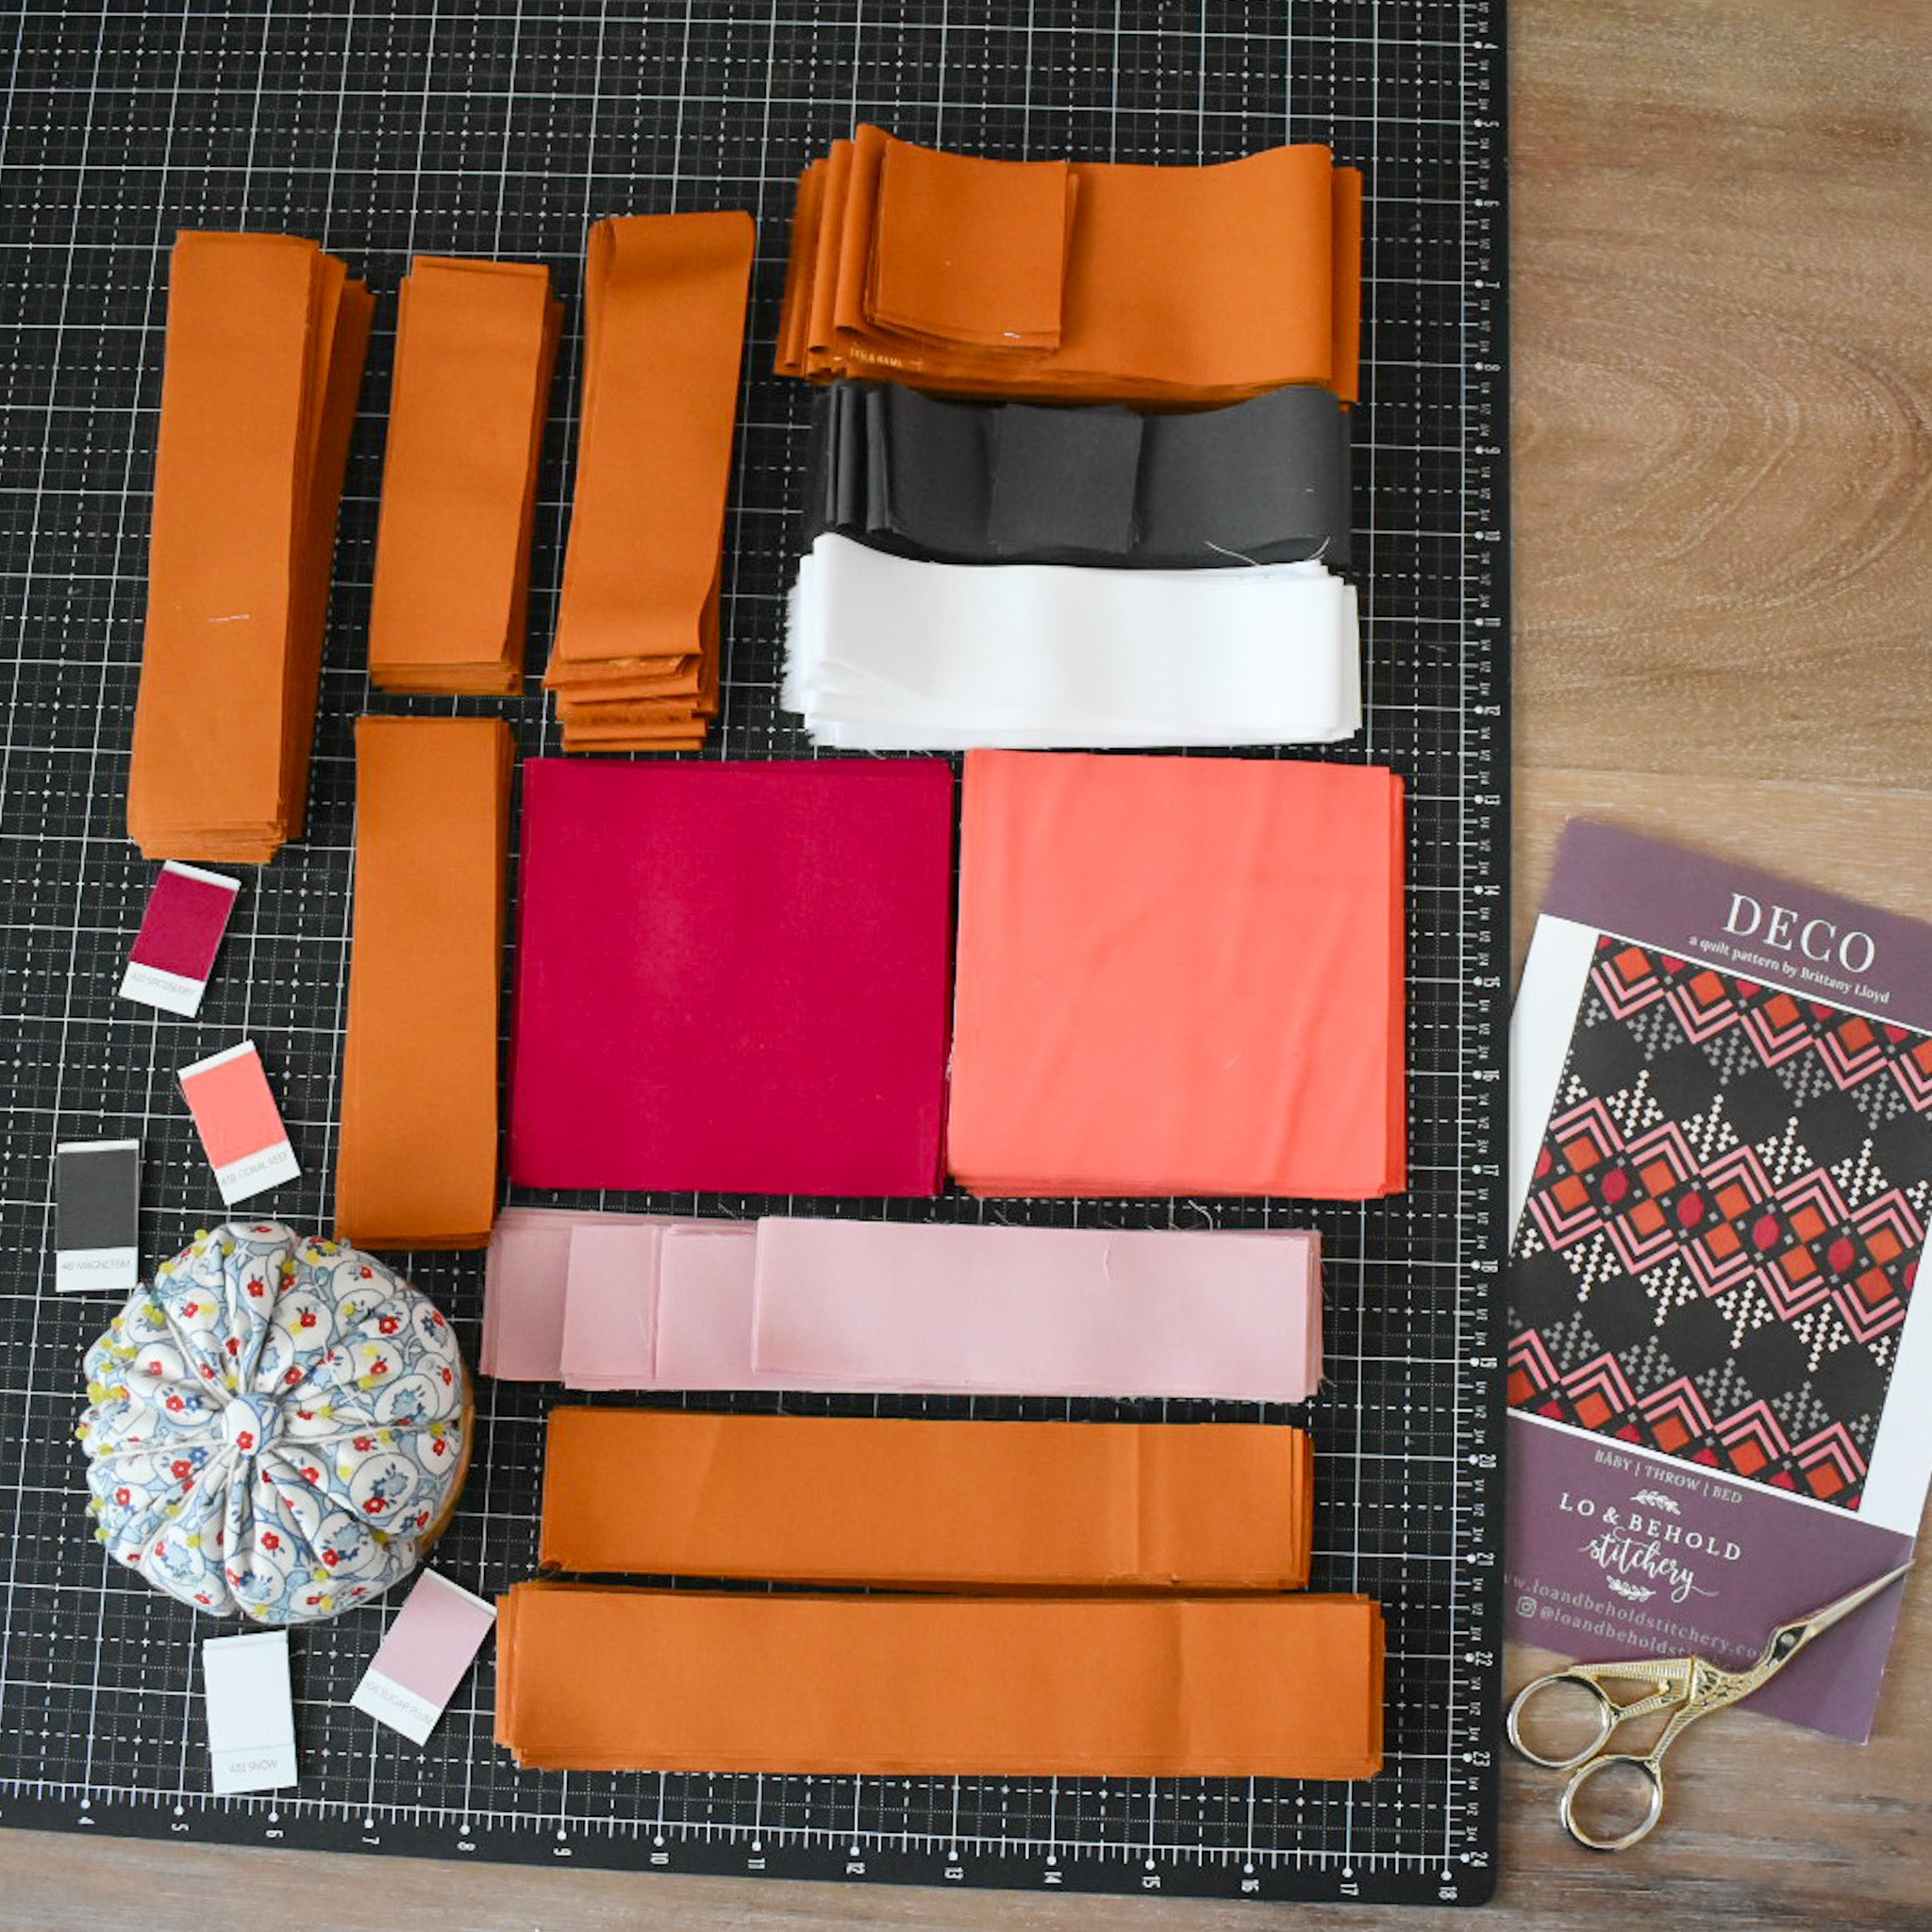
This week, we are cutting our fabrics!
Take note that there are two different Cutting Instructions Tables for each version (Modern vs. Traditional). Work through the table by focusing on each bullet point, one at a time. The number in the parenthesis refers to the quantity of strips that you'll need for that bullet point, then if it says "sub-cut", you'll cut those strips into the following measurements. Cut the sub-cuts in the order that they appear, but hold onto all of your scraps in case you mis-cut and need more fabric.
For this pattern, I really tried to maximize how you'll be using your fabric. You'll notice that you might cut some 1.5" x 8.5" pieces one way and the remaining 1.5" x 8.5" pieces a different way. This is all in efforts to conserve fabric, so just follow the pattern, and you'll get the correct number of pieces in the end. :)
- How's your rotary cutter blade? If you need a new one, go ahead and change it out.
- Pay attention to the width of your selvedge. Be sure not to trim off too much because in some instances, you'll need the full 42" WOF.
- For yardage, try your hardest to cut "on-grain". Sometimes fabric isn't stored on the bolt perfectly square. Since you'll be cutting some WOF pieces, in order to ensure that the fabric around the fold stays straight, you'll want to make sure that your fabric is square before you cut it. To do this, lift up the top piece of fabric and align the selvedges so that they are perfectly parallel. Gently push up any excess fabric towards the fold. Press a new crease in your fabric if necessary. You can do this in sections, or all at once. (There are also some great tutorials out there on ripping fabric to get it on-grain. Personally, I have never used this method, but I know some people love it!)
- Whenever possible, it's best to cover your desired measurement with your ruler and use the lines on your ruler vs. the lines on your cutting mat. This will give you a more accurate cut. I have both an 8.5" x 24" ruler and a 6" x 24" ruler. The 8.5" x 24" ruler is perfect for the 8.5" x WOF strips, but if you do not have this size ruler, you can also use a 12" square ruler and cut the fabric in two segments.
- Consider batch cutting for sub-cuts. (There's a demo of this in the video)

- Label your pieces to help stay organized.... if that's your thing. :)
- Slow down and take your time. Cutting your pieces accurately will set you up for success in the following weeks.
- When cutting your background fabric, cut on the largest surface that you have. Fold the fabric "accordion style" and keep it just off your cutting mat.

.
.
FOOTNOTE EXPLANATION
There is a footnote underneath the Cutting Instructions table that refers to the 8.5" x WOF Background strips. Refer to the pattern for the exact measurements. You'll be cutting squares and rectangles from those strips. Cut all of the squares first, then go back and cut the rectangles from the leftovers. The * footnote means that you will cut the rectangles as seen below.

Links to my favorite cutting supplies:
- Any time I'm cutting lots of 1.5" strips, I sometimes like to use my Stripology ruler. I tend to use the 15" x 22" for cutting WOF strips, and it especially comes in handy for Block 3. Check with your local quilt shop for this ruler.... I purchased mine here. Note: The brand is Creative Grids. They are the original designers of the ruler. This ruler isn't required, but it's helpful.
- I have a few different size cutting mats, but my favorite is my Fiskars 24" x 36". I highly recommend getting this size, if you have the space for it. It's great for cutting yardage.
- This is my 6" x 24" ruler and a I also have a 8.5" x 24" ruler.
- This is my 12.5" square ruler.
- For rotary cutters, I have a Fiskars 45 mm, which is probably the most popular size.
.

.
.
Week 1 Winner
The winner of the 16 piece FQ bundle from Elizabeth Bolten Studio is:
Congratulations! Please send me an email we will get you your prize!
.
Week 2 Prize
This week, our prize is an "Advent" style countdown box from Global Fiber Shop! One lucky winner will win a 31 day box with individually wrapped fat quarters to build your stash and countdown to your favorite holiday or simply have 31 days of fun. :) If you win the prize and you've already purchased the box, you can either receive a second box, or a refund for your original purchase.
Enter to win a countdown box by sharing a photo of your Week 2 progress. Use the hashtags #decoquilt, #decoQAL and #loandbeholdpatterns. Remember that your account must be public in order for us to see your entry! A winner will be chosen at random by 8am EST at the start of next week.
There is also a 15% off coupon code for the countdown boxes through October 31st. Use code DECOQUILTSA15 at checkout!

.
Please remember as you are photographing your progress this week to NOT include any parts of the inside of the pattern. This includes the cutting instructions table. That is all copyrighted information that is for your eyes only. :) If you want to include any portion of the pattern in your photo, use the cover.
That's all for this week. I'll see you next Monday for the start of Week 3!
.
Brittany
.
.
.
.
.
.
This post contains affiliate links meaning that I earn a teeny tiny commission from each product that you purchase through a link. This does not cost you anything extra, but it does allow me to continue to offer free and helpful content. Rest assured that I only recommend products that I know and love!


