Deco QAL - Week 5

Hello and welcome back to the Deco QAL!
SCHEDULE
Here's a look at our schedule. If you are just now joining us, click where you see an underline!
- Week 1: Oct. 18 - Oct. 25 - Choose fabrics & gather supplies
- Week 2: Oct. 25 - Nov. 1 - Cut fabrics
- Week 3: Nov. 1 - Nov. 8 - Sew all Block 1s
- Week 4: Nov. 8 - Nov. 15 - Sew all Block 2s
- Week 5: Nov. 15 - Nov. 22 - Sew all Block 3s
- Week 6: Nov. 22 - Nov. 29 - Catch up, if needed
- Week 7: Nov. 29 - Dec. 6 - Assemble quilt top

.
Week 5
This week, we are making Blocks 3A and 3B. There is a lot of sewing in this step....I timed myself and it took me about 6 or 7 hours with a few small breaks. Rest assured that next week is a catch-up week, so if you get behind, don't stress!
Read the pattern thoroughly for this section so that you understand what makes these two blocks slightly different. Take some time to familiarize yourself with the table on page 6 of the PDF or page 5 of the printed pattern. Let's walk through the table step by step so that you can understand how to read it.
- Refer to the column on the far left of the table. Only pay attention to the lines that refer to the version and quilt size that you are making. For example, if I am making the Modern Throw, I will only refer to the 3rd and 4th row down where it says "Modern Throw".
- Looking at the 3rd horizontal row of the table, I see that I am using my Background fabric and Color 4 to create Block 3A. Then under the "# of Strip Sets" column, this tells me how many Strip Set A, B and C that I need to make. So I'll make one Strip Set A then cut 20 Row As. Then I'll make one Strip Set B then cut 20 Row Bs. Then I'll make one Strip Set C, then cut 20 Row Cs. This will render 10 Block 3As.
- Then repeat this process for Color 5 to create Block 3Bs.
- If you are making the Traditional version, you'll combine both Block 3A and 3B for this first part.
- Refer back to Week 4 for strip piecing tips.
- Remember to use a *scant* 1/4" seam, but remember to make a test block first to see exactly where your seam allowance needs to be.
- The pattern instructs to press seams open, but if you would prefer to press to the dark side, you can. Just keep in mind that sometimes this "eats" up a little bit of your fabric and you really want these pieces to be accurate.
- If you get confused looking at this table, try skipping ahead in the pattern and working your way backwards. It helps to know how many blocks you need, then how many Rows you need for those blocks, then that will clue you in to how many Strip Sets you need to create for each row.
Remember to measure the height of the strip set BEFORE you subcut your pieces.

.
Once you've created all of your Rows A, B and C, lay them out so that they are oriented correctly as seen in the pattern. Then sew all three rows together starting with Row A and B.

.
Pay attention to the intersections. This is a good place to use pins!

.
Also make sure that you are keeping those 90 degree angles as your add strips. Sometimes seams can start and stop a little on the skinny side, so be sure that doesn't happen and that you don't unintentionally stretch the top strip as you sew.
If you are looking for tips to try to keep pieces square, here are a few things that I've found:
- If you notice that your fabric likes to shift at the last second, some people like to use a stylus to grab the fabric and keep it underneath the presser foot.
- Speaking of presser feet, not all presser feet are created equally. I've found that presser feet with more surface area can create weird tension for your fabric. I started using my HP2 foot, which is very skinny and I noticed a huge decrease in my fabric shifting at the beginning and end of my seams. A walking foot can also help with this!
- Chain piecing also helps keep your fabric from shifting to the left or right as you are starting or ending a seam. Peter (my husband) has a pretty significant issue with seams starting out skinny. Using a leader piece of fabric solves this issue for him. Just keep in mind that gravity can sometimes play a factor as you continue to add pieces to your "chain". Reach behind your sewing machine and make sure that there isn't any weird pulling happening due to gravity.

.
Chain piece to speed things up.

.
Press all row seams open.

.
Then add Row C.

.
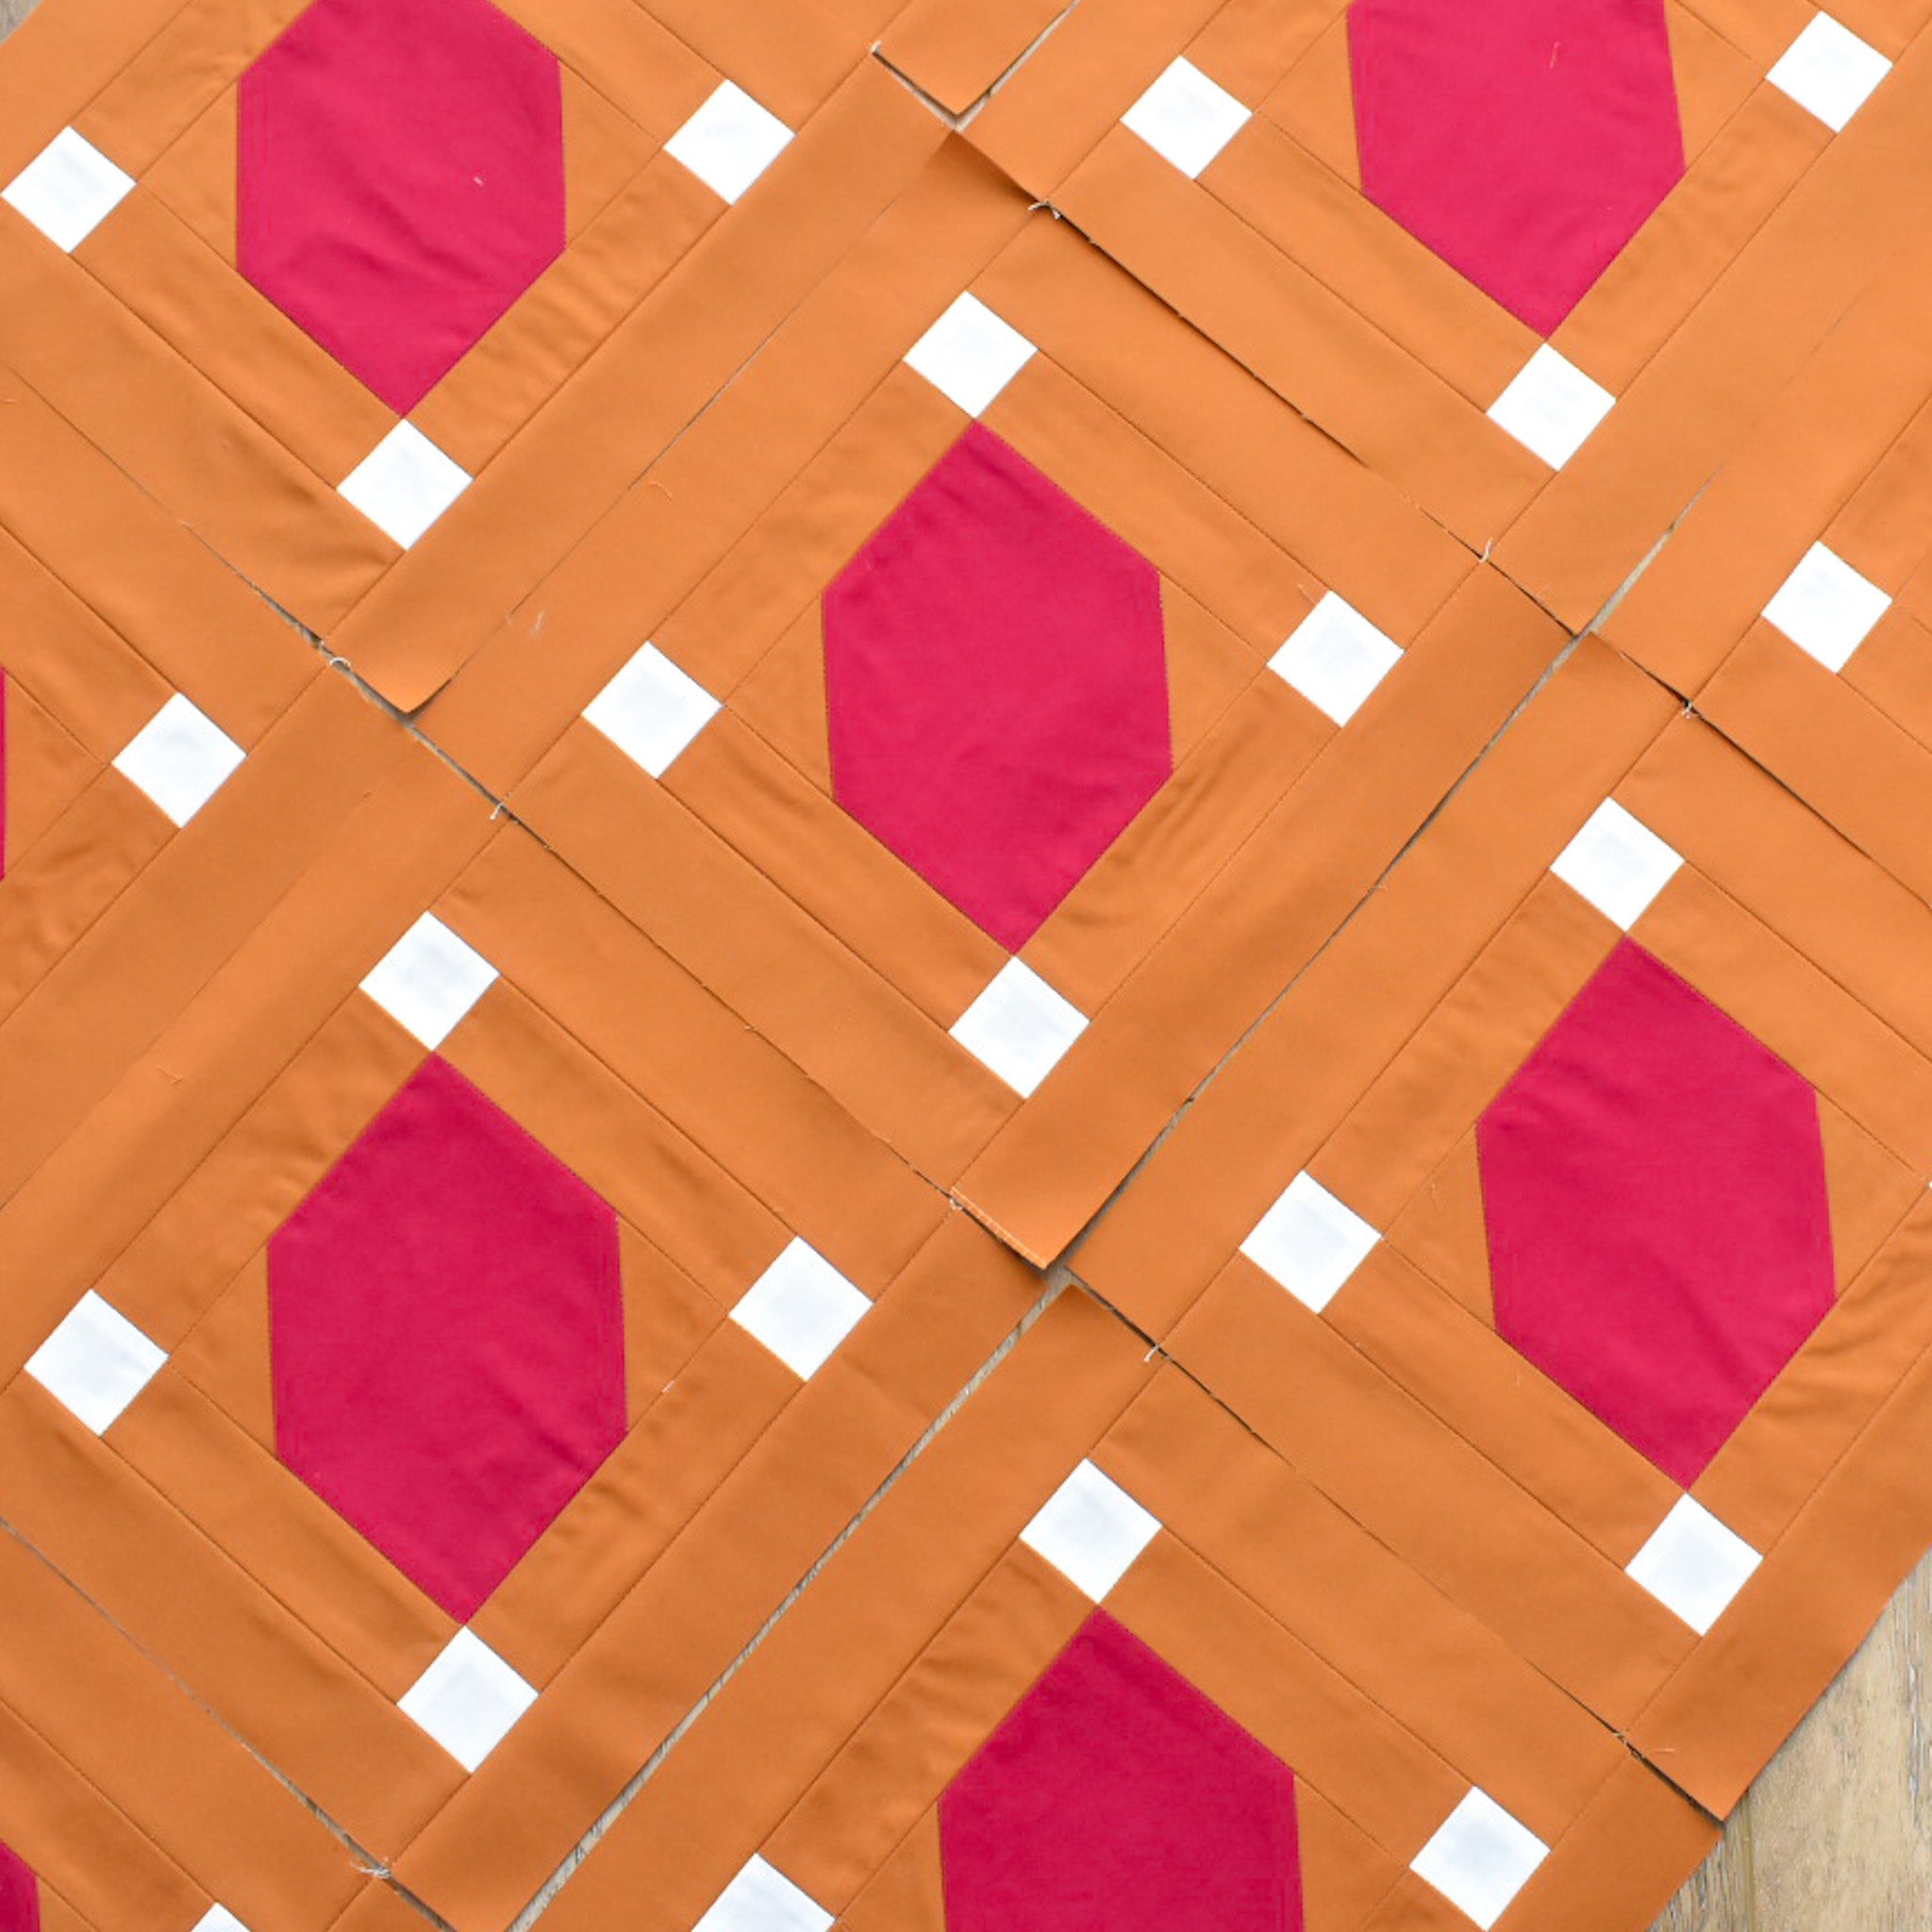
You'll end up with units that look like this.

.
Take half of them and rotate them around to create the lower half of the blocks. Then sew these two halves together.

.
Take note of what the finished size of the block should measure, then move forward with Steps 3-5 in this section.

.
Double check your final measurement, then you're done!!
Once all of your Blocks 3A & 3B are created, snap a photo and share your progress to social media! Keep scrolling for the Week 5 prize!
.
Week 4 Winner
The winner of the FREE batting and long arm quilting from Quilty Lab Creations is.....
@deq321 !!!!
Congratulations!! Please send me an email and I'll get your information passed along to Quilty Lab Creations. :)
.
Week 5 Prize
This week, our prize is a $50 gift card to Saltwater Fabrics! I always love scrolling through their IG account and seeing what pretty combinations they come up with!

.
Enter to win the the gift card by sharing a photo of your Week 5 progress. Use the hashtags #decoquilt, #decoQAL and #loandbeholdpatterns. Remember that your account must be public in order for us to see your entry! A winner will be chosen at random by 8am EST at the start of next week.
.
Please remember as you are photographing your progress this week to NOT include any parts of the inside of the pattern. This includes any part of the inside of the pattern. That is all copyrighted information that is for your eyes only. :) If you want to include any portion of the pattern in your photo, use the cover.
That's all for this week. I'll see you next Monday for the start of Week 6! Remember that Week 6 is a catch-up week, so if you need extra time to finish up all of your blocks, be our guest. If your blocks are all finished up, then take the week off and we will see you on November 29th to assemble our quilt tops! Don't worry about creating your edge and corner blocks just yet, we'll talk about on the 29th too.
.
.
Happy sewing! :)
Brittany


