Deco QAL - Week 4

Hello and welcome back to the Deco QAL!
SCHEDULE
Here's a look at our schedule. If you are just now joining us, click where you see an underline!
- Week 1: Oct. 18 - Oct. 25 - Choose fabrics & gather supplies
- Week 2: Oct. 25 - Nov. 1 - Cut & Organize
- Week 3: Nov. 1 - Nov. 8 - Sew all Block 1s
- Week 4: Nov. 8 - Nov. 15 - Sew all Block 2s
- Week 5: Nov. 15 - Nov. 22 - Sew all Block 3s
- Week 6: Nov. 22 - Nov. 29 - Catch up, if needed
- Week 7: Nov. 29 - Dec. 6 - Assemble quilt top
.
Week 4
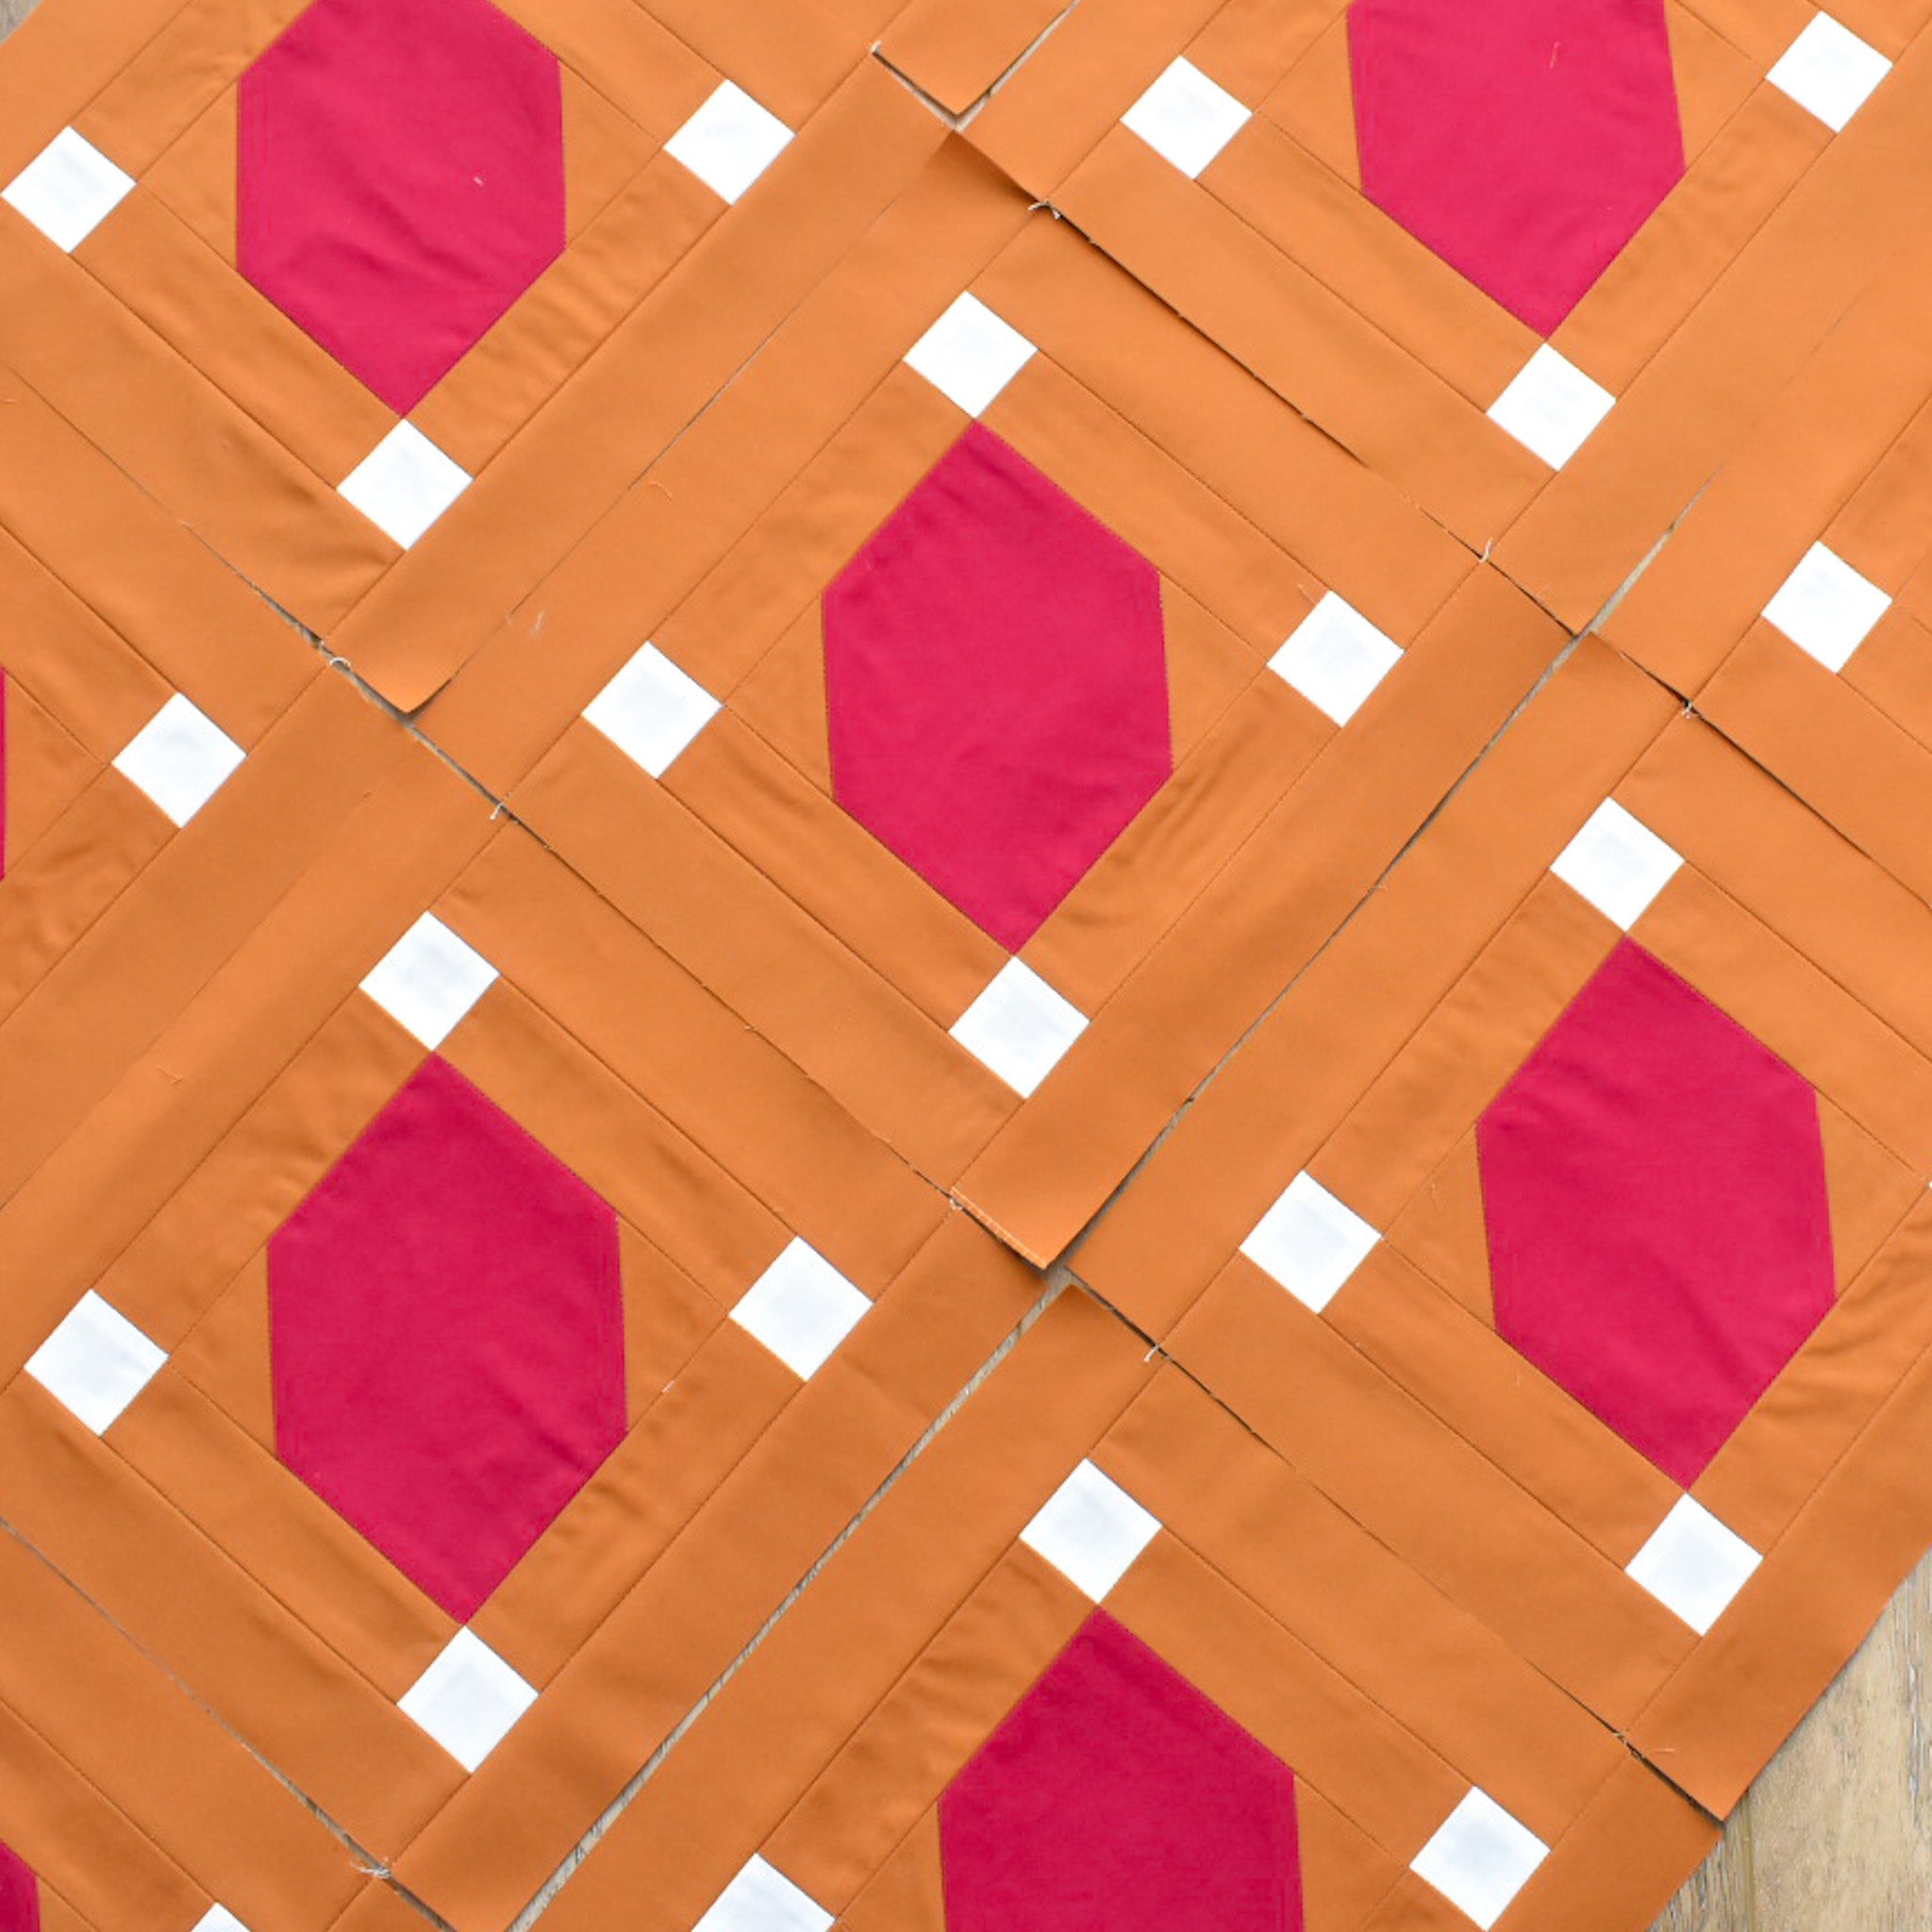
This week, we are creating all of our Block 2s. There are a few different components to this block, so lets take a closer look at each step.
Step 1 is to "snowball" two of the corners of the corners of the Color 2 squares. This is also sometimes referred to as the "stitch and flip" method. To do this, you'll either need to draw a line on the back of the Background squares OR you can use Diagonal Seam Tape. If you choose to draw your lines, you can use something like a fabric pen or pencil to create a mark on the fabric. To be honest, I get nervous at the thought of using any kind of ink on my quilt, even if it's marketed as "temporary." Chalk pens are typically seen as a safe option. I normally use a Hera Marker to create a crease on my fabric. Pro tip: if you don't have a Hera Marker or if you misplace it frequently like I do, use the back side of a butter knife. :)
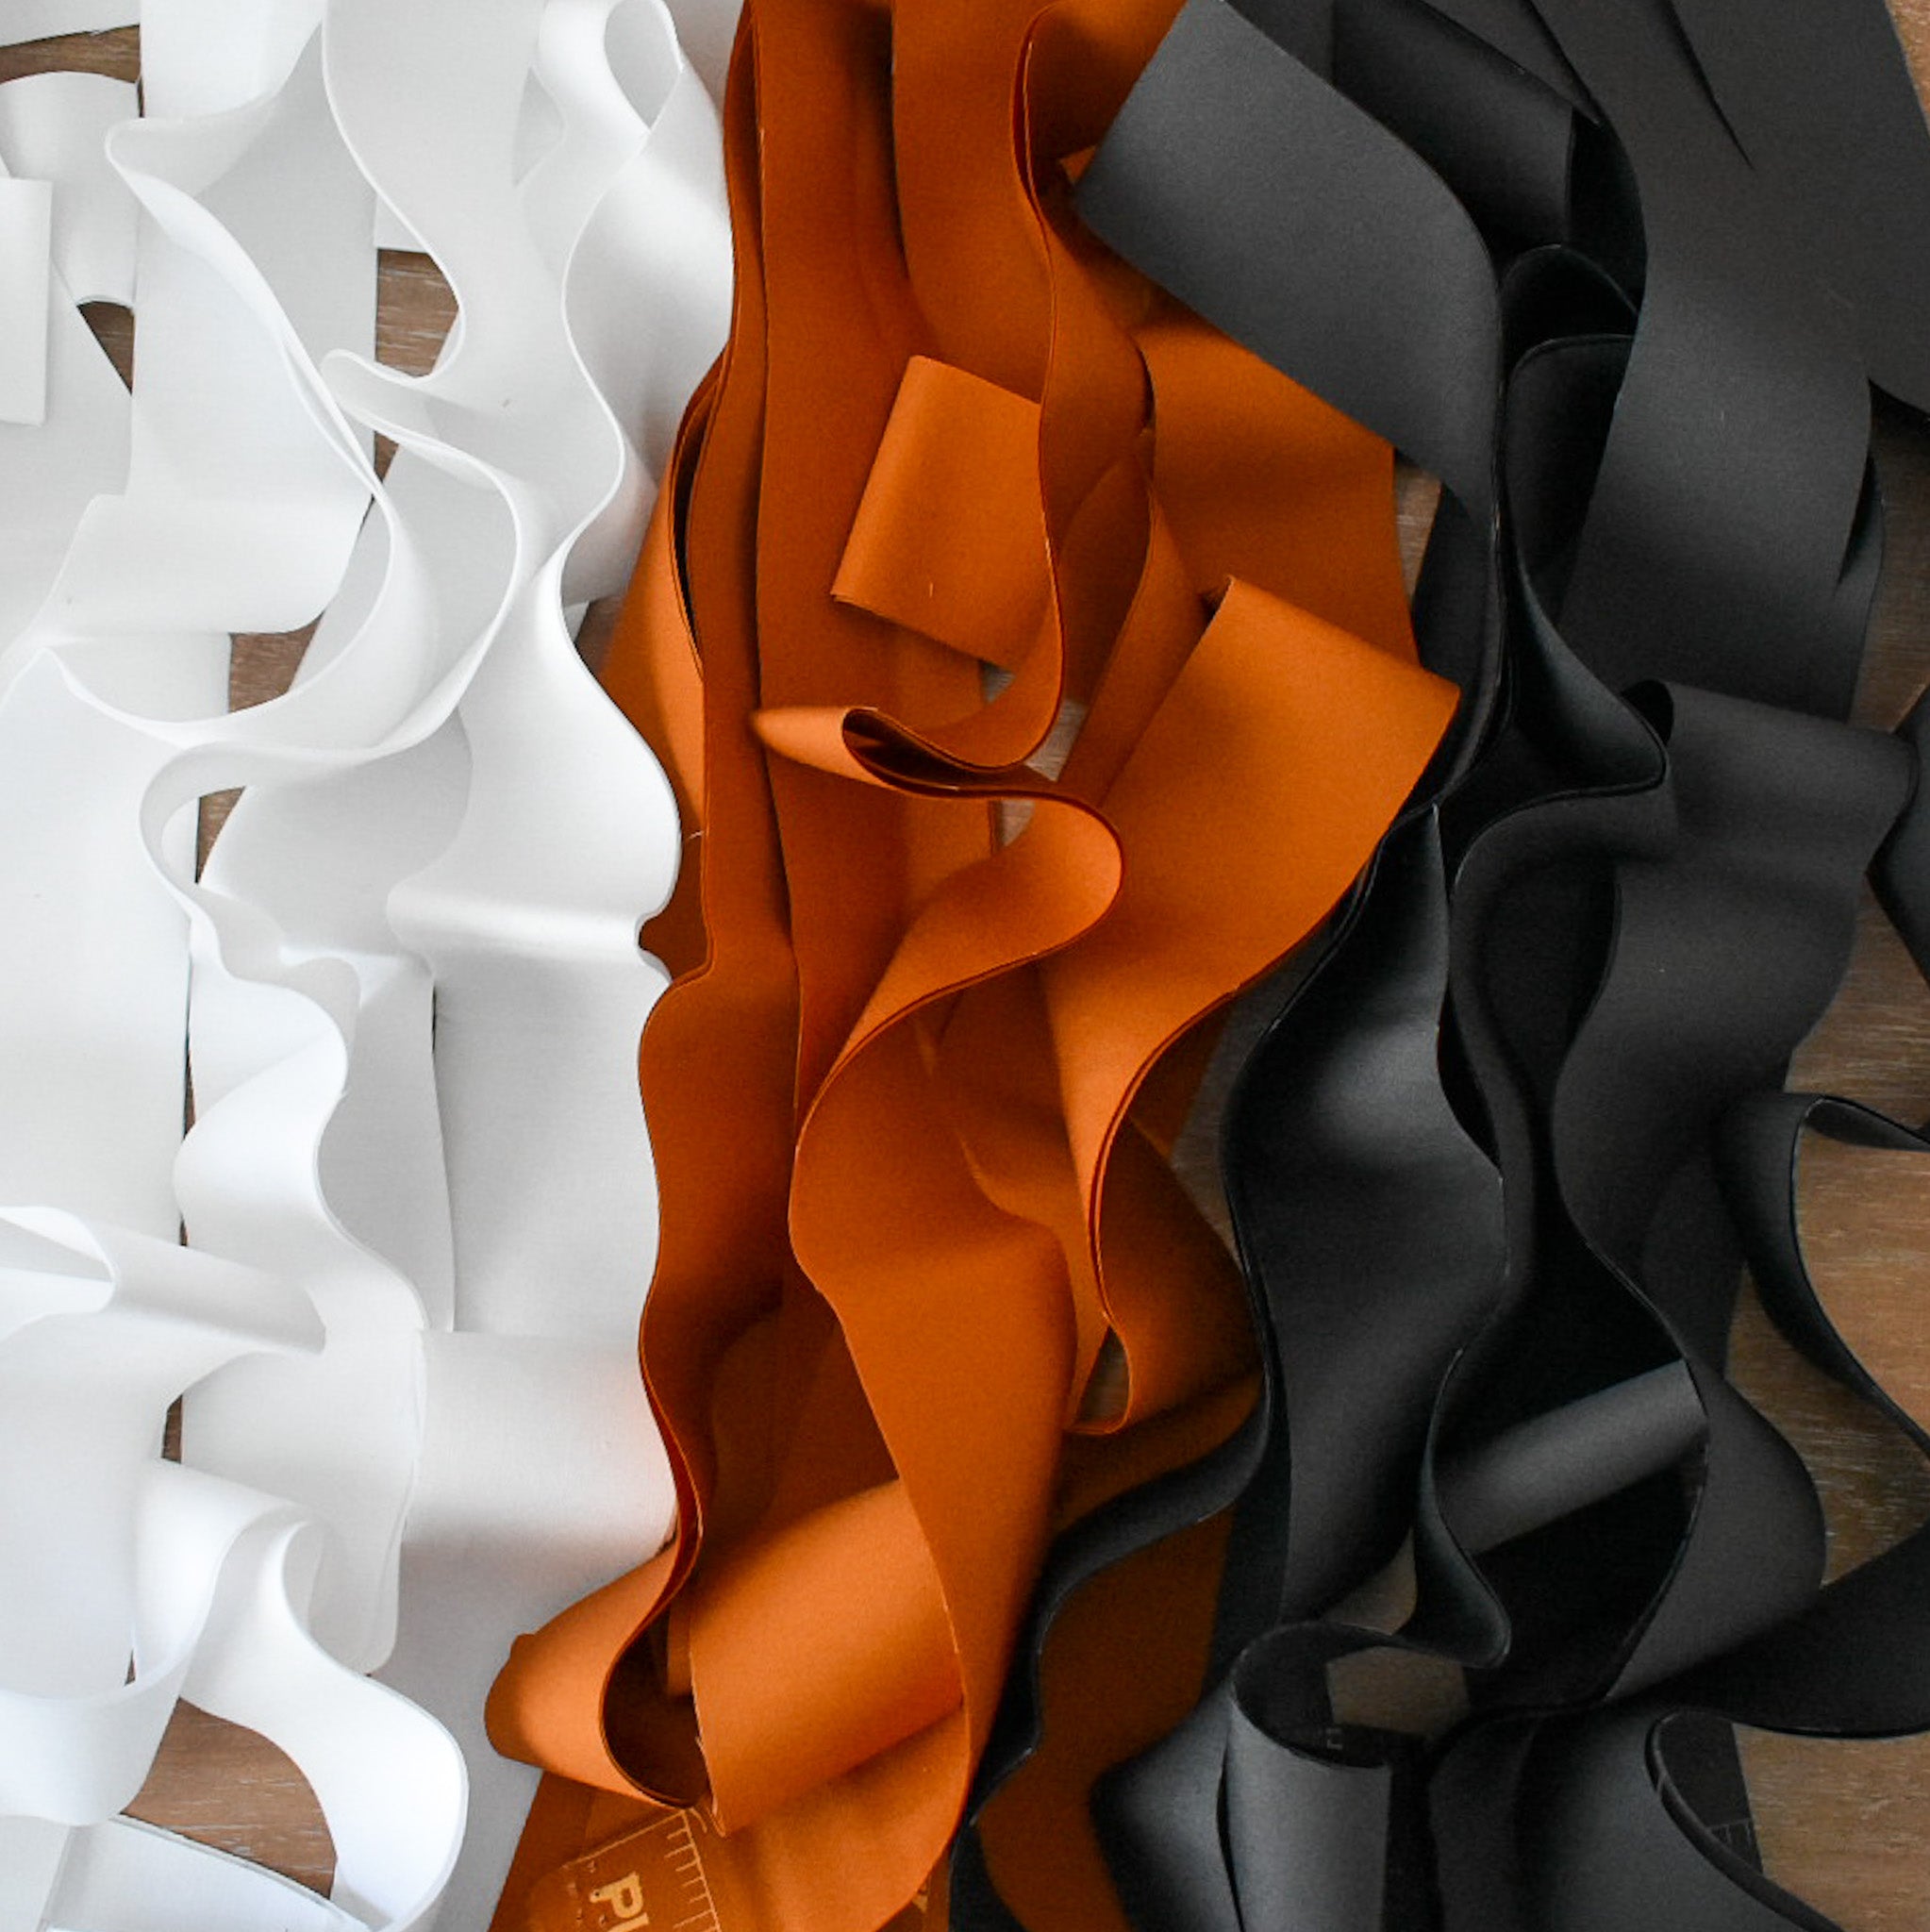
In the last year or so, I've started using Diagonal Seam Tape and this is SUPER helpful for sewing techniques where you have to draw lines (think snowballing, half square triangles and flying geese!). Using this tape is perfect for these blocks because you skip the drawing step and go straight to sewing. Here is a video for how to apply the tape to your machine. (Tip: you could also make a similar concept with masking tape if you do not want to buy any!)
Essentially, the red line on the tape is aligned with your needle. Then, when you align the first corner with your needle and the second corner with the red line, that creates your "diagonal line" that you need to sew across.

.
As you are sewing, keep that bottom corner aligned with the red line.

.

.
Again, I chain piece every chance I can get. I recommend creating a test block before you chain piece everything and make sure that your block ends up measuring what the pattern says. Sometimes the "stitch and flip" method can be a little tricky because your thread will take up a tiny bit of real estate, so you may need stitch just a tiny bit to the right of that diagonal line. Again, play around with it and see where you're at.

.
Once you do this on both sides, trim away the excess fabric.

.

.

.
Then press those seams open.

.

.

.
Step 2 is pretty straight forward.
Then for Step 3, you'll be doing some strip piecing to create the units in Figure B. For this step:
- If you aren't already using a smaller stitch length, I recommend adjusting that. I usually sew with a stitch length of 1.8mm-2mm. For strip piecing, since you are cutting through your seams, you don't want your stitch length to be too big because then you run the risk of things unraveling as you are handling your pieces.

.
- Measure your final strip set to make sure that your seam allowance was accurate before you cut into it. You'll need the width of your strip set to measure exactly what the pattern says in the diagram under Step 3b.
- If you are making the Baby size, you will not be strip piecing for this step, you will assemble your pieces according to Figure A.
- Sometimes if I'm cutting a lot of units from a strip set, I'll fold my piece in half so that both selvedges are on my left side and the fold is on my right. Then I'll trim two pieces at a time. Just make sure both pieces are perfectly aligned when you do this. Similar to batch cutting, having a fresh rotary blade really makes a difference.
- Refer back to the cutting tips from Week 2 for this step. If you can, use the lines on your ruler to cover your desired measurement, then cut.

.
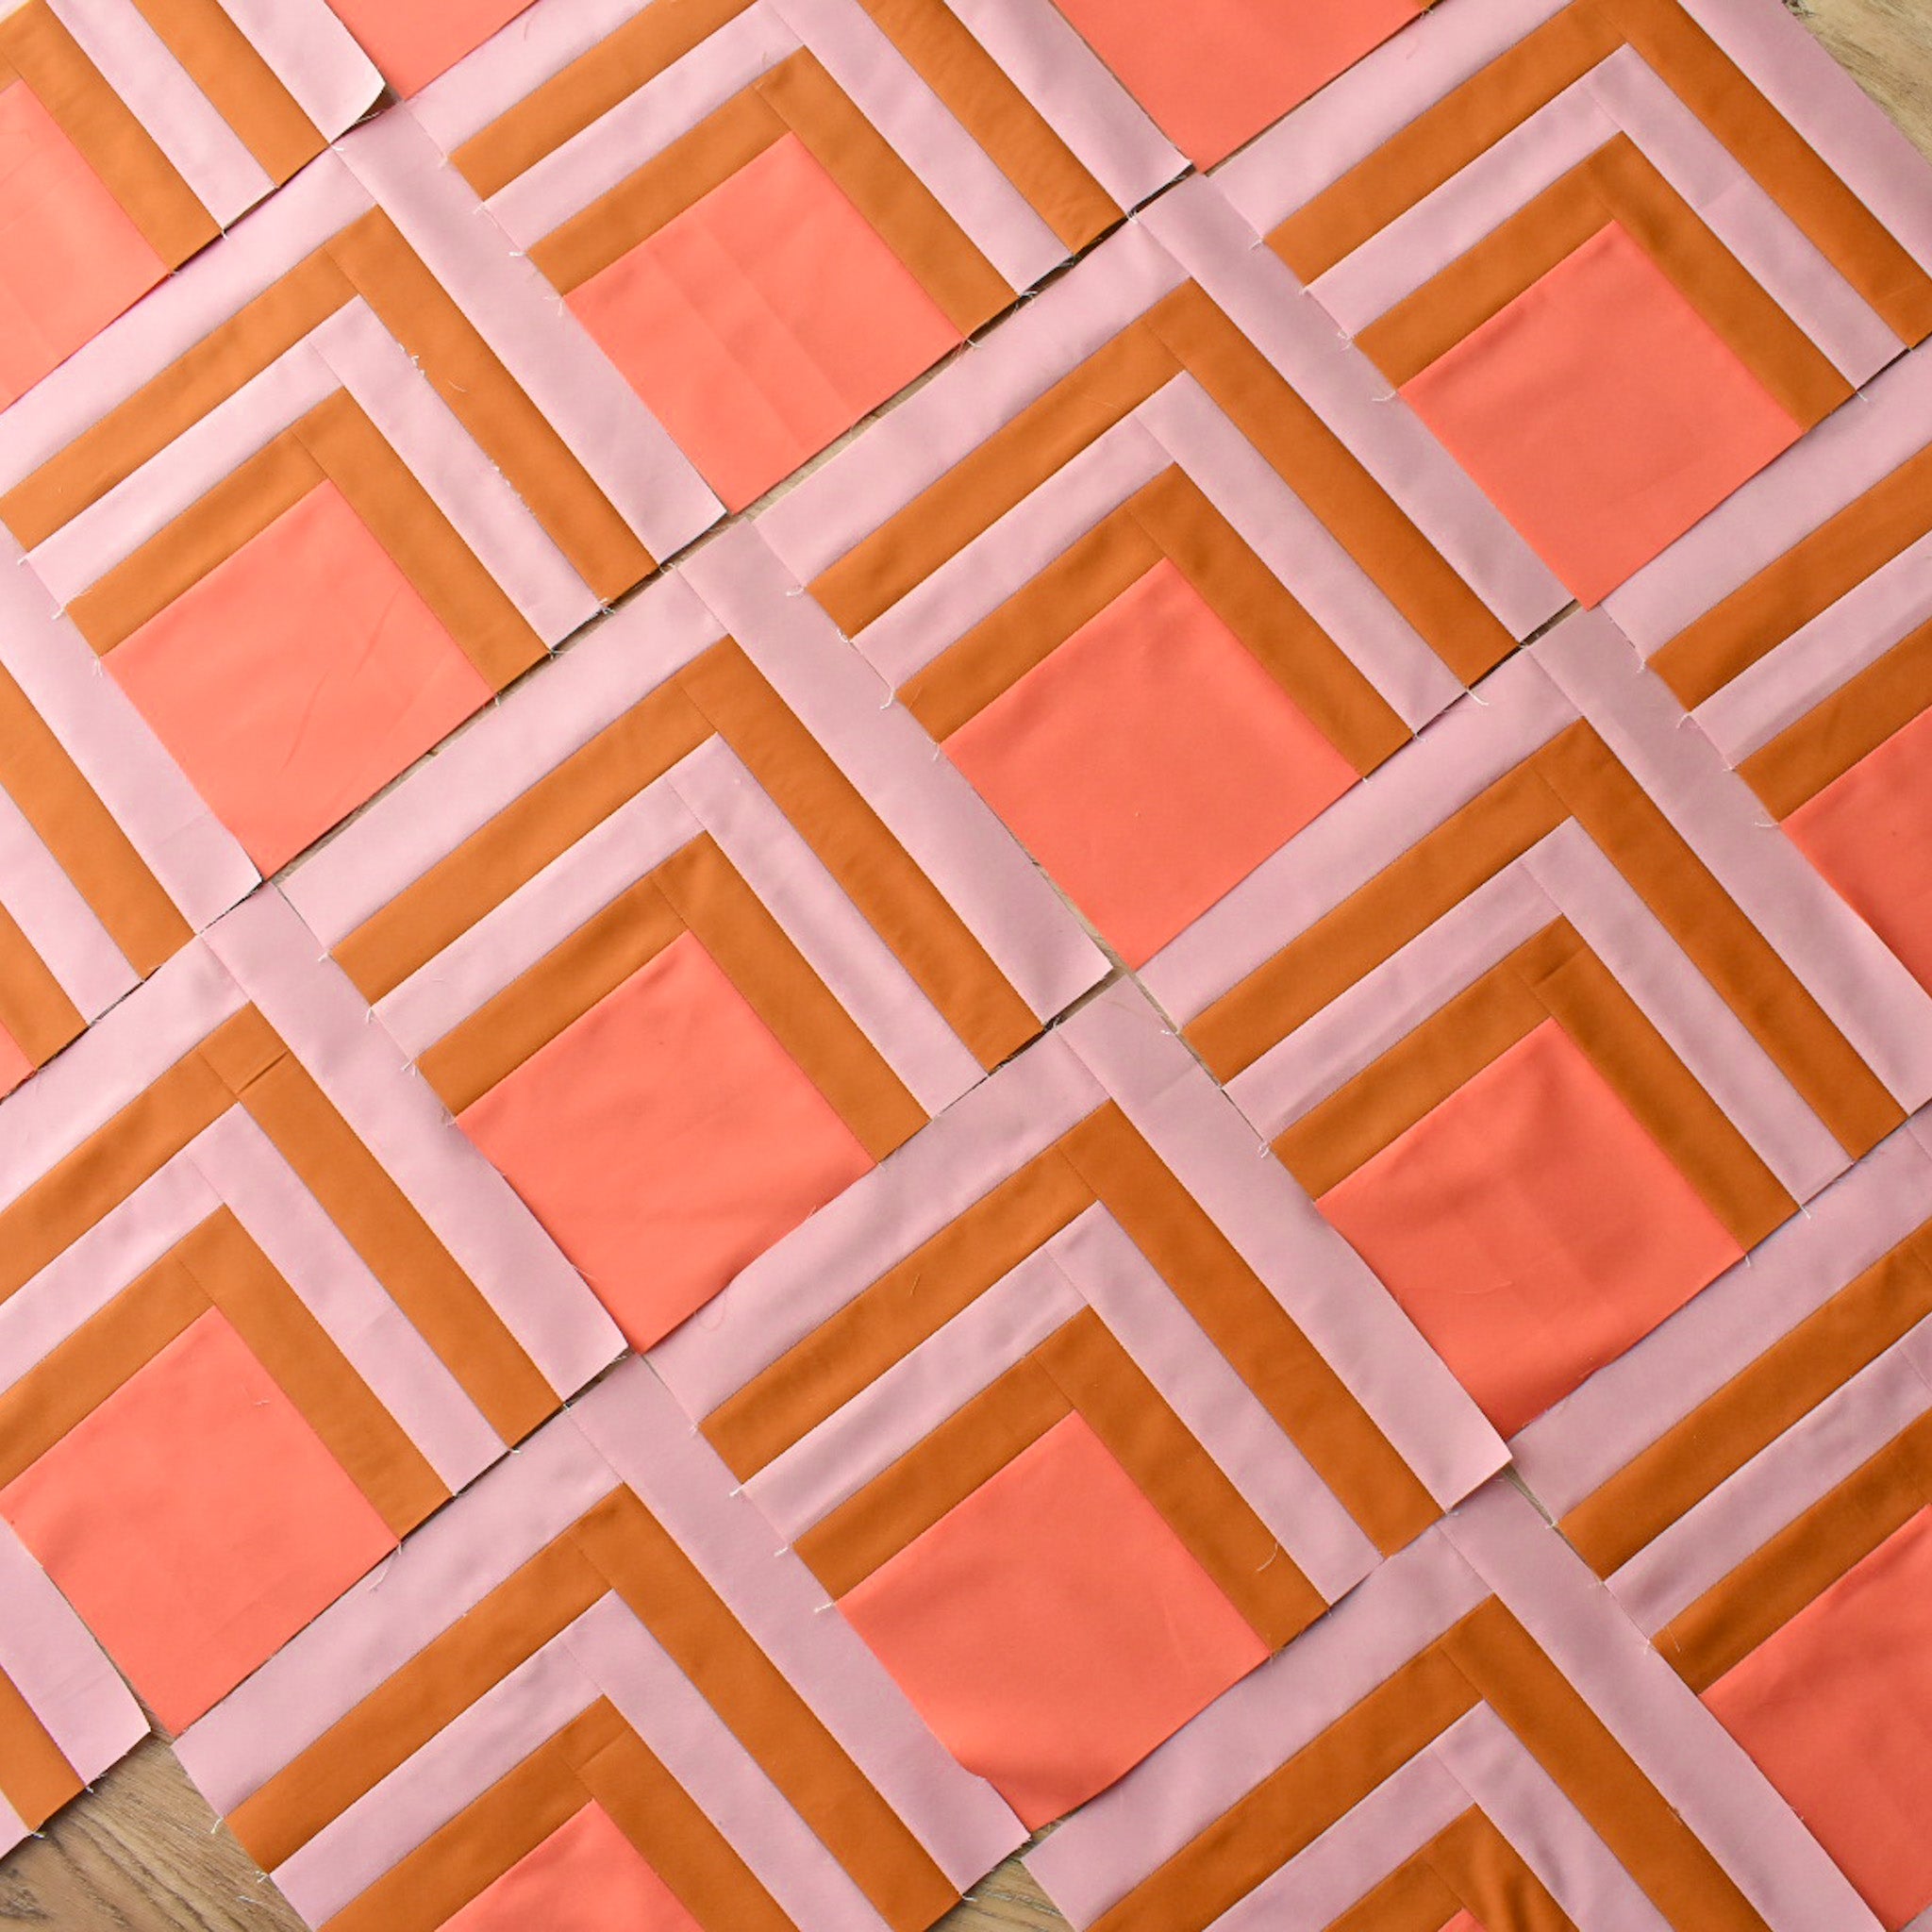
Steps 4-6 are similar to the log cabin instructions from Block 1. I recommend working ahead for one block to make sure that your seam allowance is accurate. Measure along the way to make sure that you are on track. Then once you are confident with your seam allowance go ahead and chain piece everything to save time. Remember that if your block measures larger than what the pattern says, your seam allowance was too narrow. If your block is smaller than what the seam allowance says, your seam allowance was too big.

.
Use pins to line up fabrics.

.

.
Once you've created all 10 of your Block 2s, you're done for this week! Be sure to snap a photo to share your progress on social media! Keep reading for the Week 4 prize!

.
Week 3 Winner
The winner of the Janome thread tin and the 50% off discount to Jordan and Joy Co. is:
@garbengen!!!
Congratulations! Please send me an email we will get you your prize!
.
Week 4 Prize


.
Please remember as you are photographing your progress this week to NOT include any parts of the inside of the pattern. This includes any part of the inside of the pattern. That is all copyrighted information that is for your eyes only. :) If you want to include any portion of the pattern in your photo, use the cover.
That's all for this week. I'll see you next Monday for the start of Week 5!
.
.
Happy sewing! :)
.
Brittany


