Getaway QAL - Week 2 (Sewing Block 2s)

Hey there and welcome back to the Getaway QAL! If you're just now joining us, you can find our Week 1 Blog Post, which covers cutting our fabrics here. If you haven't already read through our information page, you can find logistics and what-not here.
Check back every Saturday for the next few weeks for our weekly information. You can access the posts under the "Quilt Along" section of our site.
Let's start sewing! This week, we'll be making our Block 2s. Keep scrolling for tips!
Sewing Supplies
Here are some links to my favorite sewing supplies:
- Aurifil 50 weight thread - I piece with a stitch length of 2.0 mm
- Seam Ripper - I really love this seam ripper. Here's a reel of my favorite way to use it.
- Diagonal Seam Tape - If you're wanting a way to mark your machine for your seam allowance.
- Straight Pins - I love these particular pins.
- 80/12 or 70/14 Sewing Machine needles
- Stork Embroidery Scissors - I love these little snips. :)
- Iron - As far as irons go, I'm in the market for a new one. Previously, I've used a Rowenta iron similar to this one but after several years of use, I'm finding that it's not getting quite as hot. Let me know if you have an iron that you love and recommend. I'm thinking about trying an Oliso.
Testing Seam Allowance
First and foremost, before we get started with creating out blocks, I want you to test your seam allowance. Even if you have several quilts under your belt it's always really helpful to double check everything before you get started.
To do this, I recommend using some scrap fabric to cut 5 of the small squares of whatever size you are making. So if you're making the crib size, cut (5) 2.5" squares and sew them all together to create one line of squares. Press the seams to one side, since that's what we'll be doing in the pattern. Measure this unit to gauge if your seam allowance is too small, too large or just right.
Once these squares are sewn together, they should measure whatever your block size should be for the size quilt you are making. Again, this can be found in the "Block Configuration" chart on page 4.

You can find an in-depth tutorial for "How to Test your Seam Allowance" here, so if this is something you're struggling with, be sure to checkout this post!
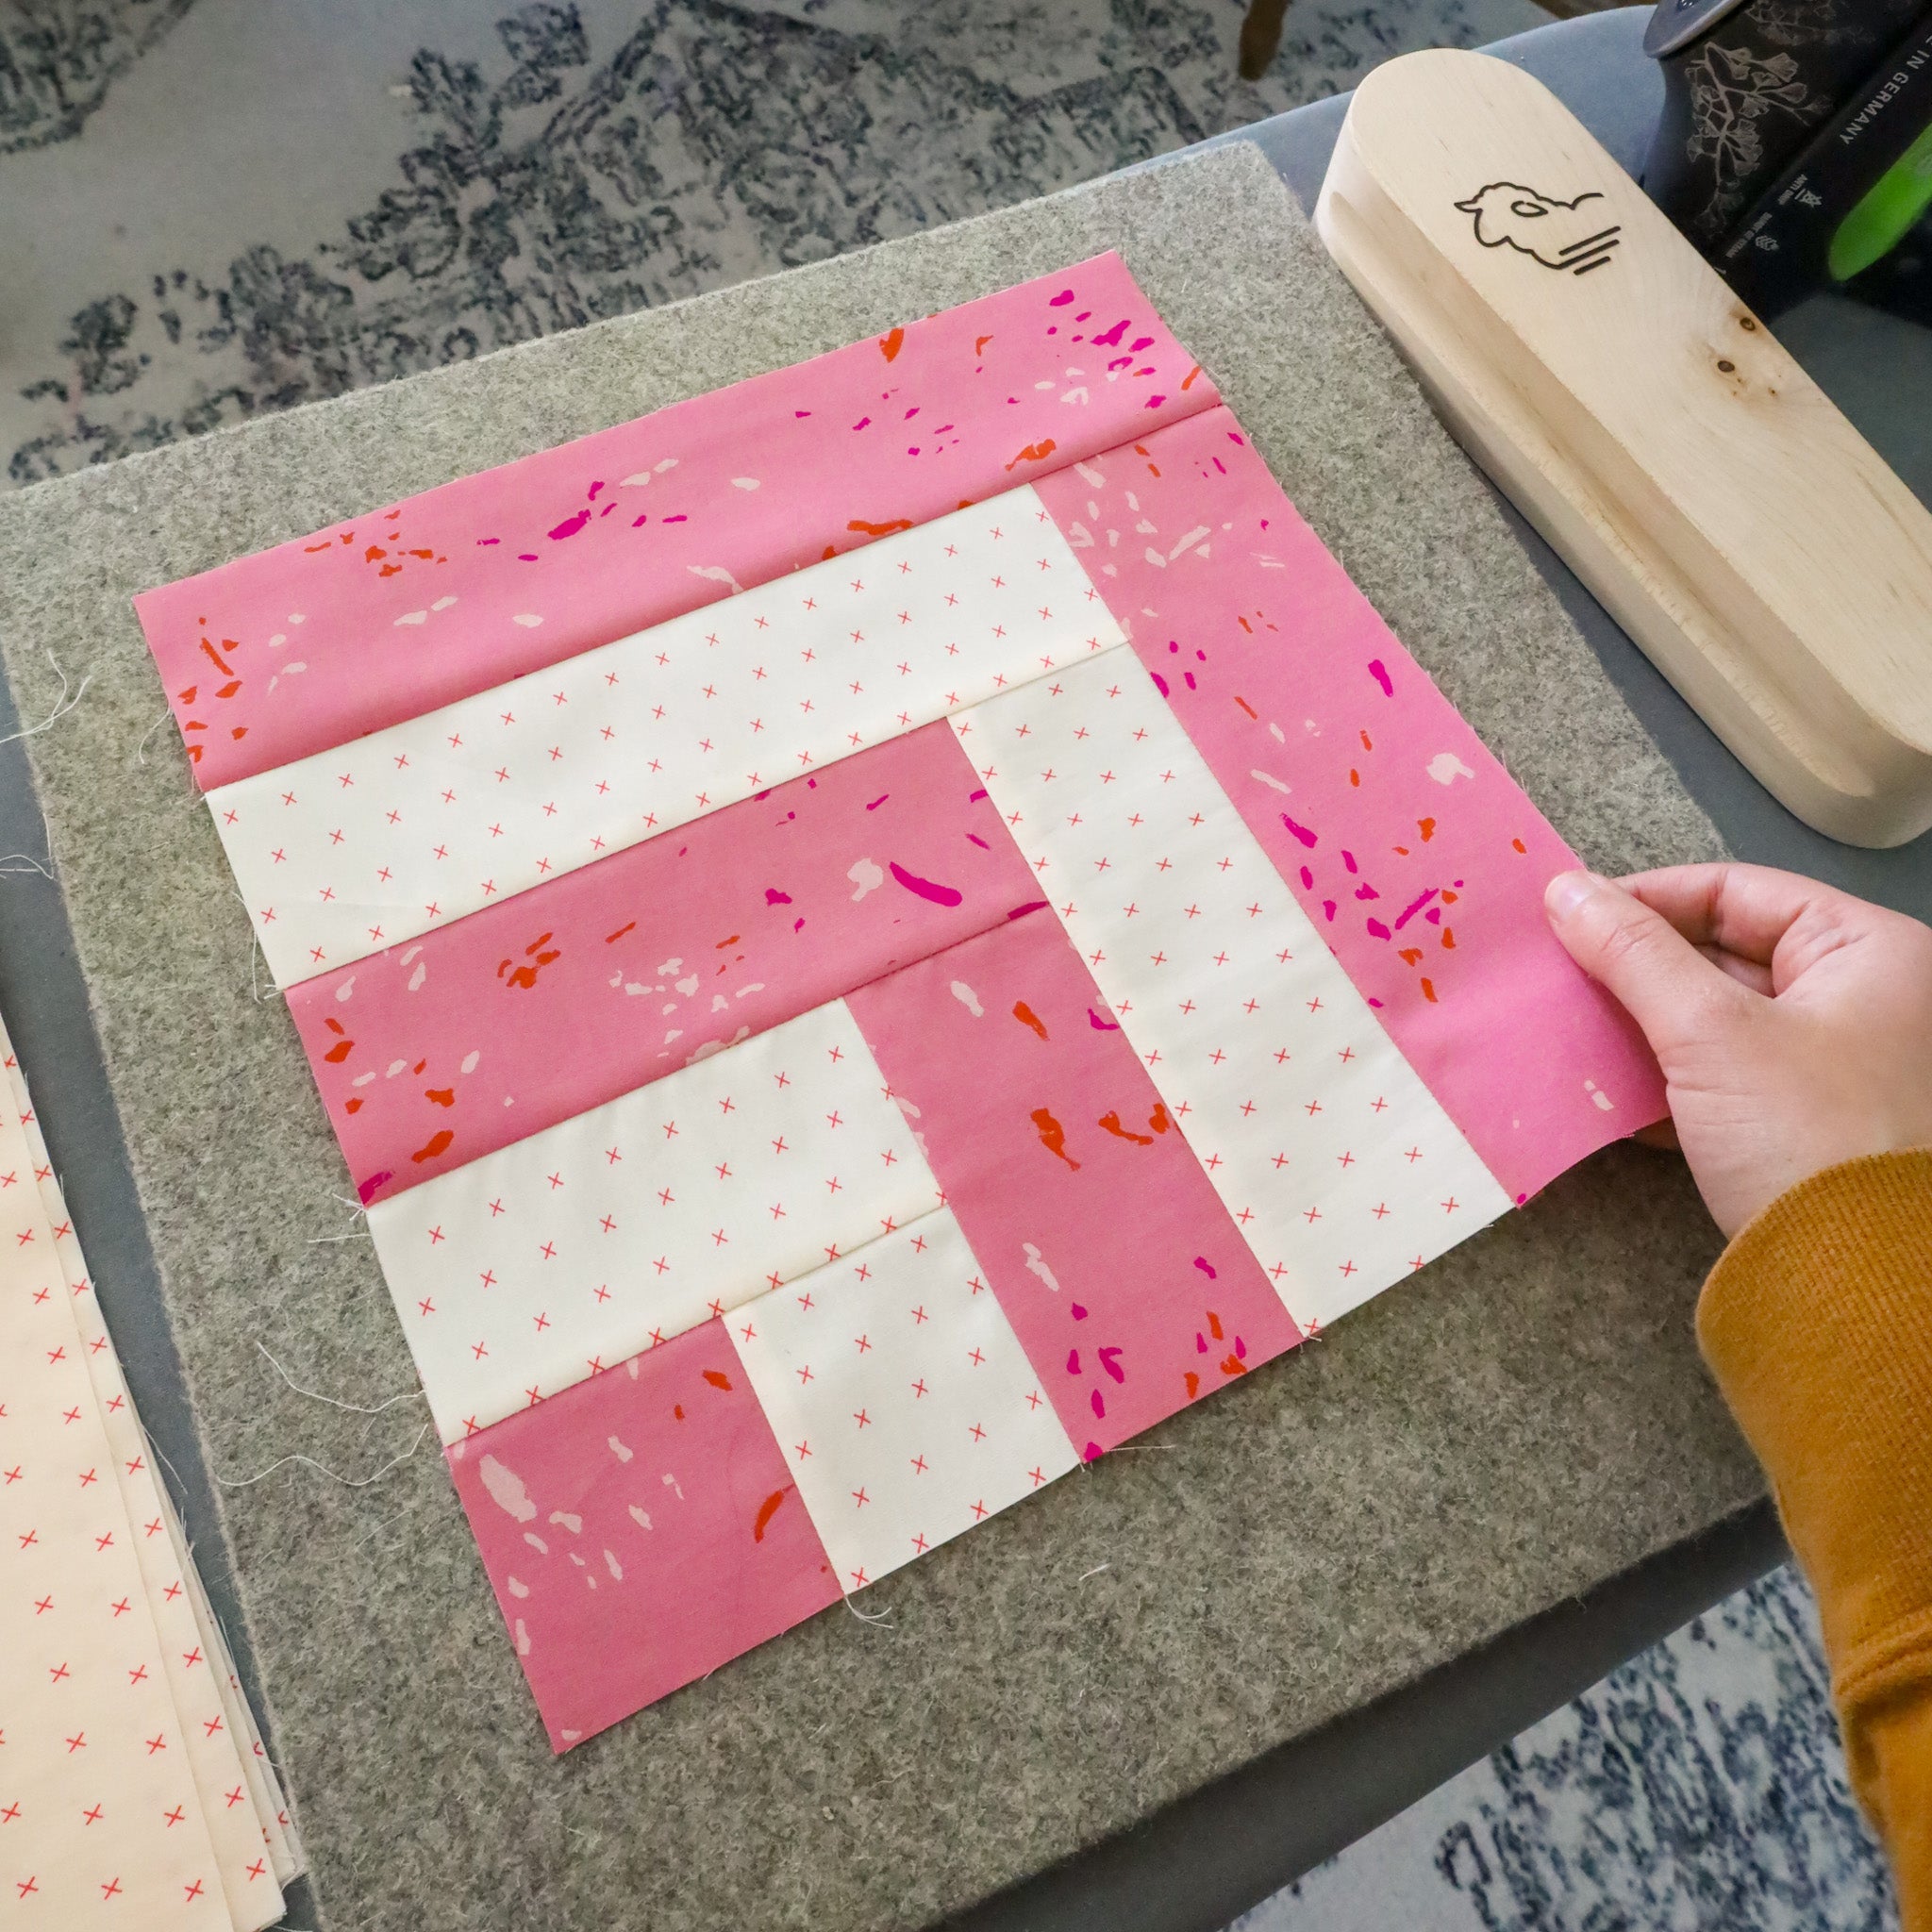
Block 2a & 2b
We're working out of order in the pattern and we're starting with Block 2 instead of Block 1. Block 2 is a little more straight-forward and I wanted us to start out with that so that we can test our seam allowance with some simple strips.
You'll notice that both Block 2a and 2b are the same with the exception of the number of light and dark strips in the block. Refer to the "Block Configuration" chart on page 4 for the number of each block that you'll need.
Chain Piecing
After you've tested your seam allowance, this is a really great pattern for chain piecing. If you haven't chain pieced before, it's a very simple way to batch like-tasks together to save time, energy and thread.
Essentially once you stitch off of your first pieces, you'll stitch onto the next pieces, leaving just a few stitches or "chain stitches" in between. Continue to do this for all of your pieces. Once you're done, go back through and snip the connection threads and proceed with pressing or sewing more strips.


Again, make sure you have your seam allowance dialed in before you get started!
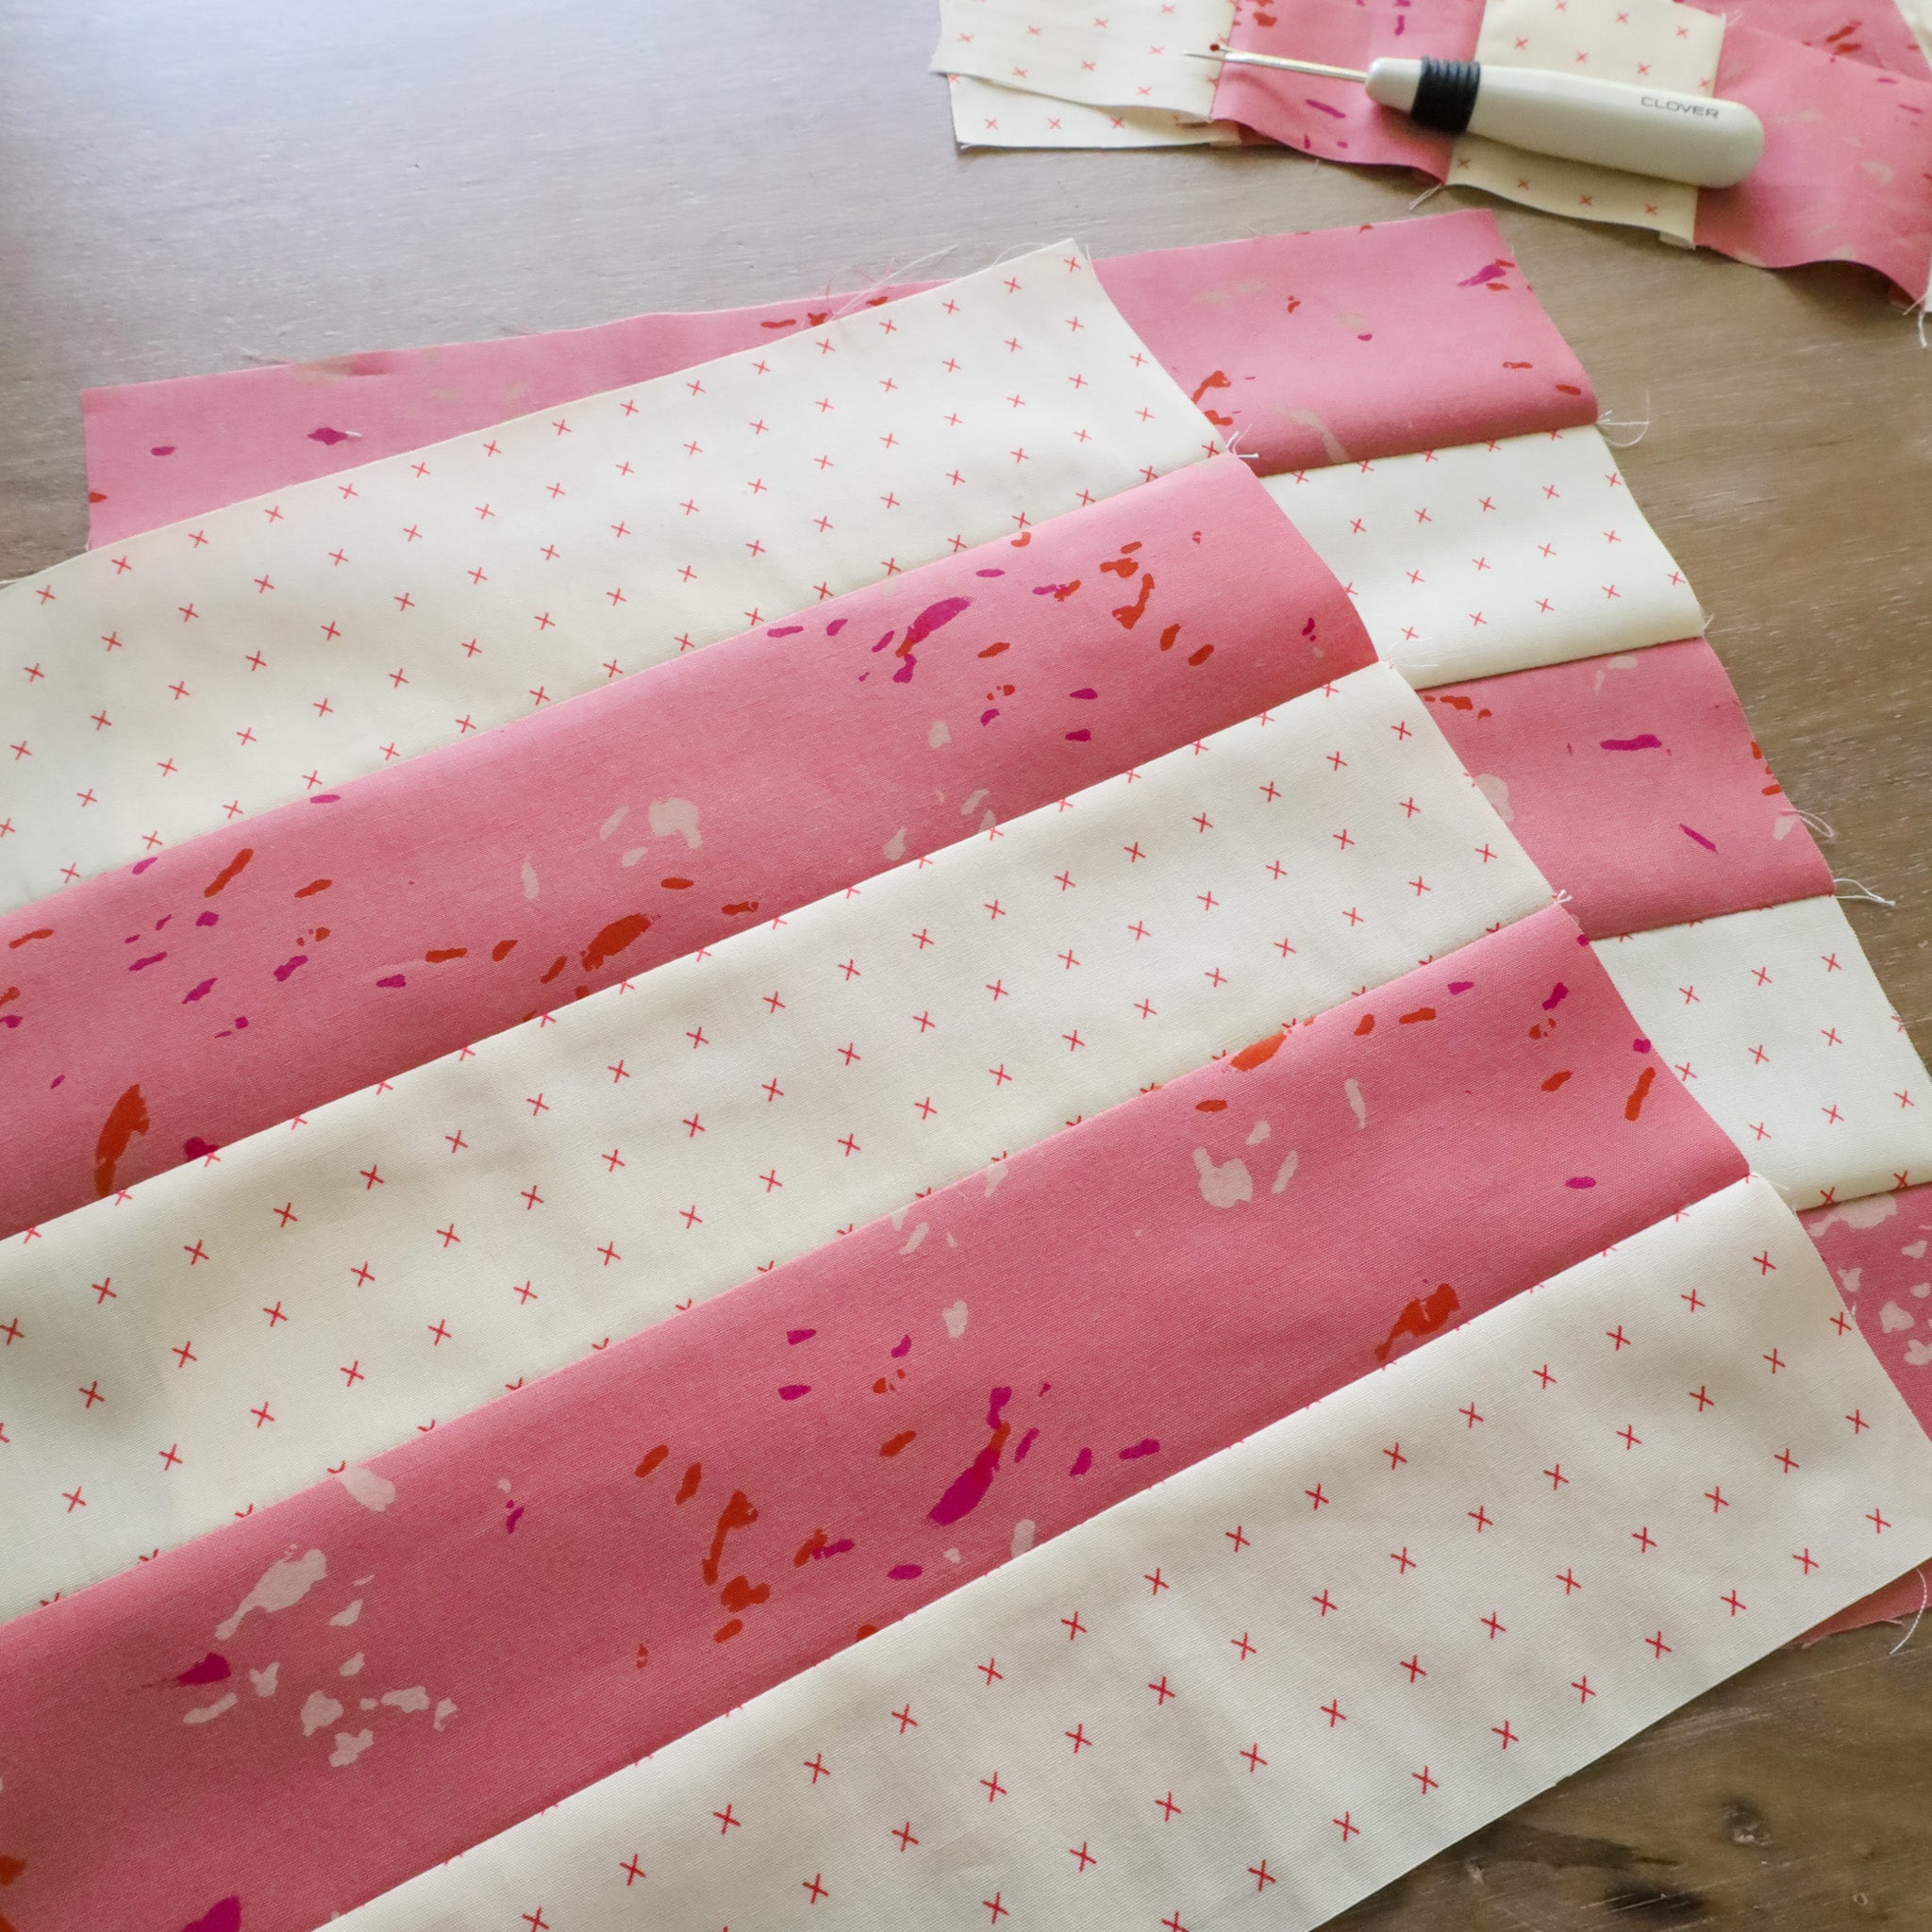
Chain piecing can be done in a variety of different ways. You can sew the first two strips of all Block 2s at once. Then go back and add the third strip to all Block 2s and so on. Or you can sew the first two strips together and the third and fourth strips together. Then sew those two units together followed by adding the 5th strip. I always find it fun to experiment with various different shortcut combinations. :)

Remember that pins can help with any shifting that might happen with your strips as you are sewing.
Pressing
We're creating nesting seams with these blocks, so we're pressing almost all of our seams within this quilt to one side. For these blocks, remember to press all seams within each block in one direction. To do this, I place my piece on my wool pressing mat, use my fingers to press the seam to one side, then gently insert the nose of my iron into the seam to press it flat. You can also "set" the seam by pressing the seam flat first, then pressing it to one side.


Repeat this process as you continue to create your blocks.


Tips for Flat Seams
I really love using my wool pressing mat and tailor's clapper for extra flat seams. I explain both of these tools a little more in this blog post.

Another thing that I'll typically do once I'm done piecing blocks is place my large square ruler on the blocks with something heavy on top. I'll leave this overnight or longer for extra extra flat seams. :)

Double Check Seam Allowance
Using this formula in this post, double check your seam allowance as you add strips. Even if you've only sewn 3-4 strips together, you don't have to wait until your block is finished to re-check your seam allowance.
Grand Prize Bundle
Share a weekly progress photo for each of the 4 weeks of the QAL and you'll be automatically entered to win our GRAND PRIZE BUNDLE (valued at over $300!) Here's what's in the bundle:
- Free edge-to-edge longarm quilting by Stitch Lab on your Getaway quilt of any size - includes quilting and batting, (shipping not included).
- Three AGF PURE Solids bundles from our shop.
- Aurifil Large Spool of thread
- A new "Lo & Behold" Tote Bag

Here's how to enter:
- Take a photo of your weekly progress (please do not share a photo of the inside of the pattern). This week, it's your Block 2s!
- Share the photo to your Instagram account.
- Use the hashtags #GetawayQAL #GetawayQuilt and #LoAndBeholdPatterns . Your account must be public in order for us to see your entry.
- Share one a progress photo each of the four weeks of the QAL and you'll be entered to win! Good Luck!
That's all for this week, my friends! I cannot wait to see everyone's progress!
Let us know if you have any questions, otherwise, I'll see you next week for Week 3!

Happy Sewing!
LINKS:


