Getaway QAL - Week 4 (Quilt Top Assembly)

Hello hello and welcome back to the fourth and final week of the Getaway QAL! I hope you've enjoyed our time together. I know I sure have. :)
Here's a recap of all that we've covered so far:
- Week 1 (Cutting)
- Week 2 (Testing Seam Allowance & Block 2)
- Week 3 (Block 1)
- Week 4 (Quilt Top Assembly - This week!
If you haven't already read through our information page, you can find logistics and what-not here. You can also access the posts under the "Quilt Along" section of our site.
Week 4
This week, we are creating our edges and corners and then assembling our quilt tops!
Let's start with the first step. This quilt uses a "minimal waste" diagonal row construction method. So instead of using whole blocks on the edges, then trimming away excess, we are preemptively trimming blocks in half and using both halves of those blocks. This saves time, energy and fabric, but it isn't the "traditional" way to create a quilt that has diagonal rows. I always weigh the pros and cons of that with all of my diagonal row patterns, and the amount of fabric that this no-waste method saves is a game changer! Plus this doesn't affect the overall design of the quilt, so it's a win-win all around!
Creating Half Blocks
Refer to the "Creating Half Blocks" section of the pattern. Here are a few things to keep in mind before you get started.
- It is extremely important that you are paying close attention to this step. All blocks need to be cut exactly how the pattern depicts.
- Pay attention to the number of blocks that you need for each step.
- Align a ruler with diagonal corners of the block as seen below. If you want extra assurance, you can also use the 45 degree line on your ruler to line up with an outside edge of the block.
- Trim slowly and carefully. This is a step that you definitely do not want your ruler to slip. If this step really makes you nervous to use a ruler and rotary cutter, then mark a line diagonally, then trim with scissors.
- I like to use fusible interfacing before I make my cuts. Essentially, you place the interface on your block, iron in place, then cut. It gives some structure and stability to the area of the block that you're cutting while securing the seams that you are cutting through. I use this 1.5" x 15 yard roll.


- For the corners, make the first cut, then rotate your entire cutting mat so that the pieces stay in place, then make the second cut.


- If you didn't use the fusible stabilizer, you may want to "Stay Stitch" at this point. This is a method to help secure those bias edges and unfinished seams and it's a simple seam that's about 1/8" from the edge. You can do this prior to Quilt Top Assembly or you can wait until your entire quilt top is pieced together to do this step.

Take note that the Block 2 half blocks are labeled with either a star or a heart, just to help clarify which one goes where in the next step.
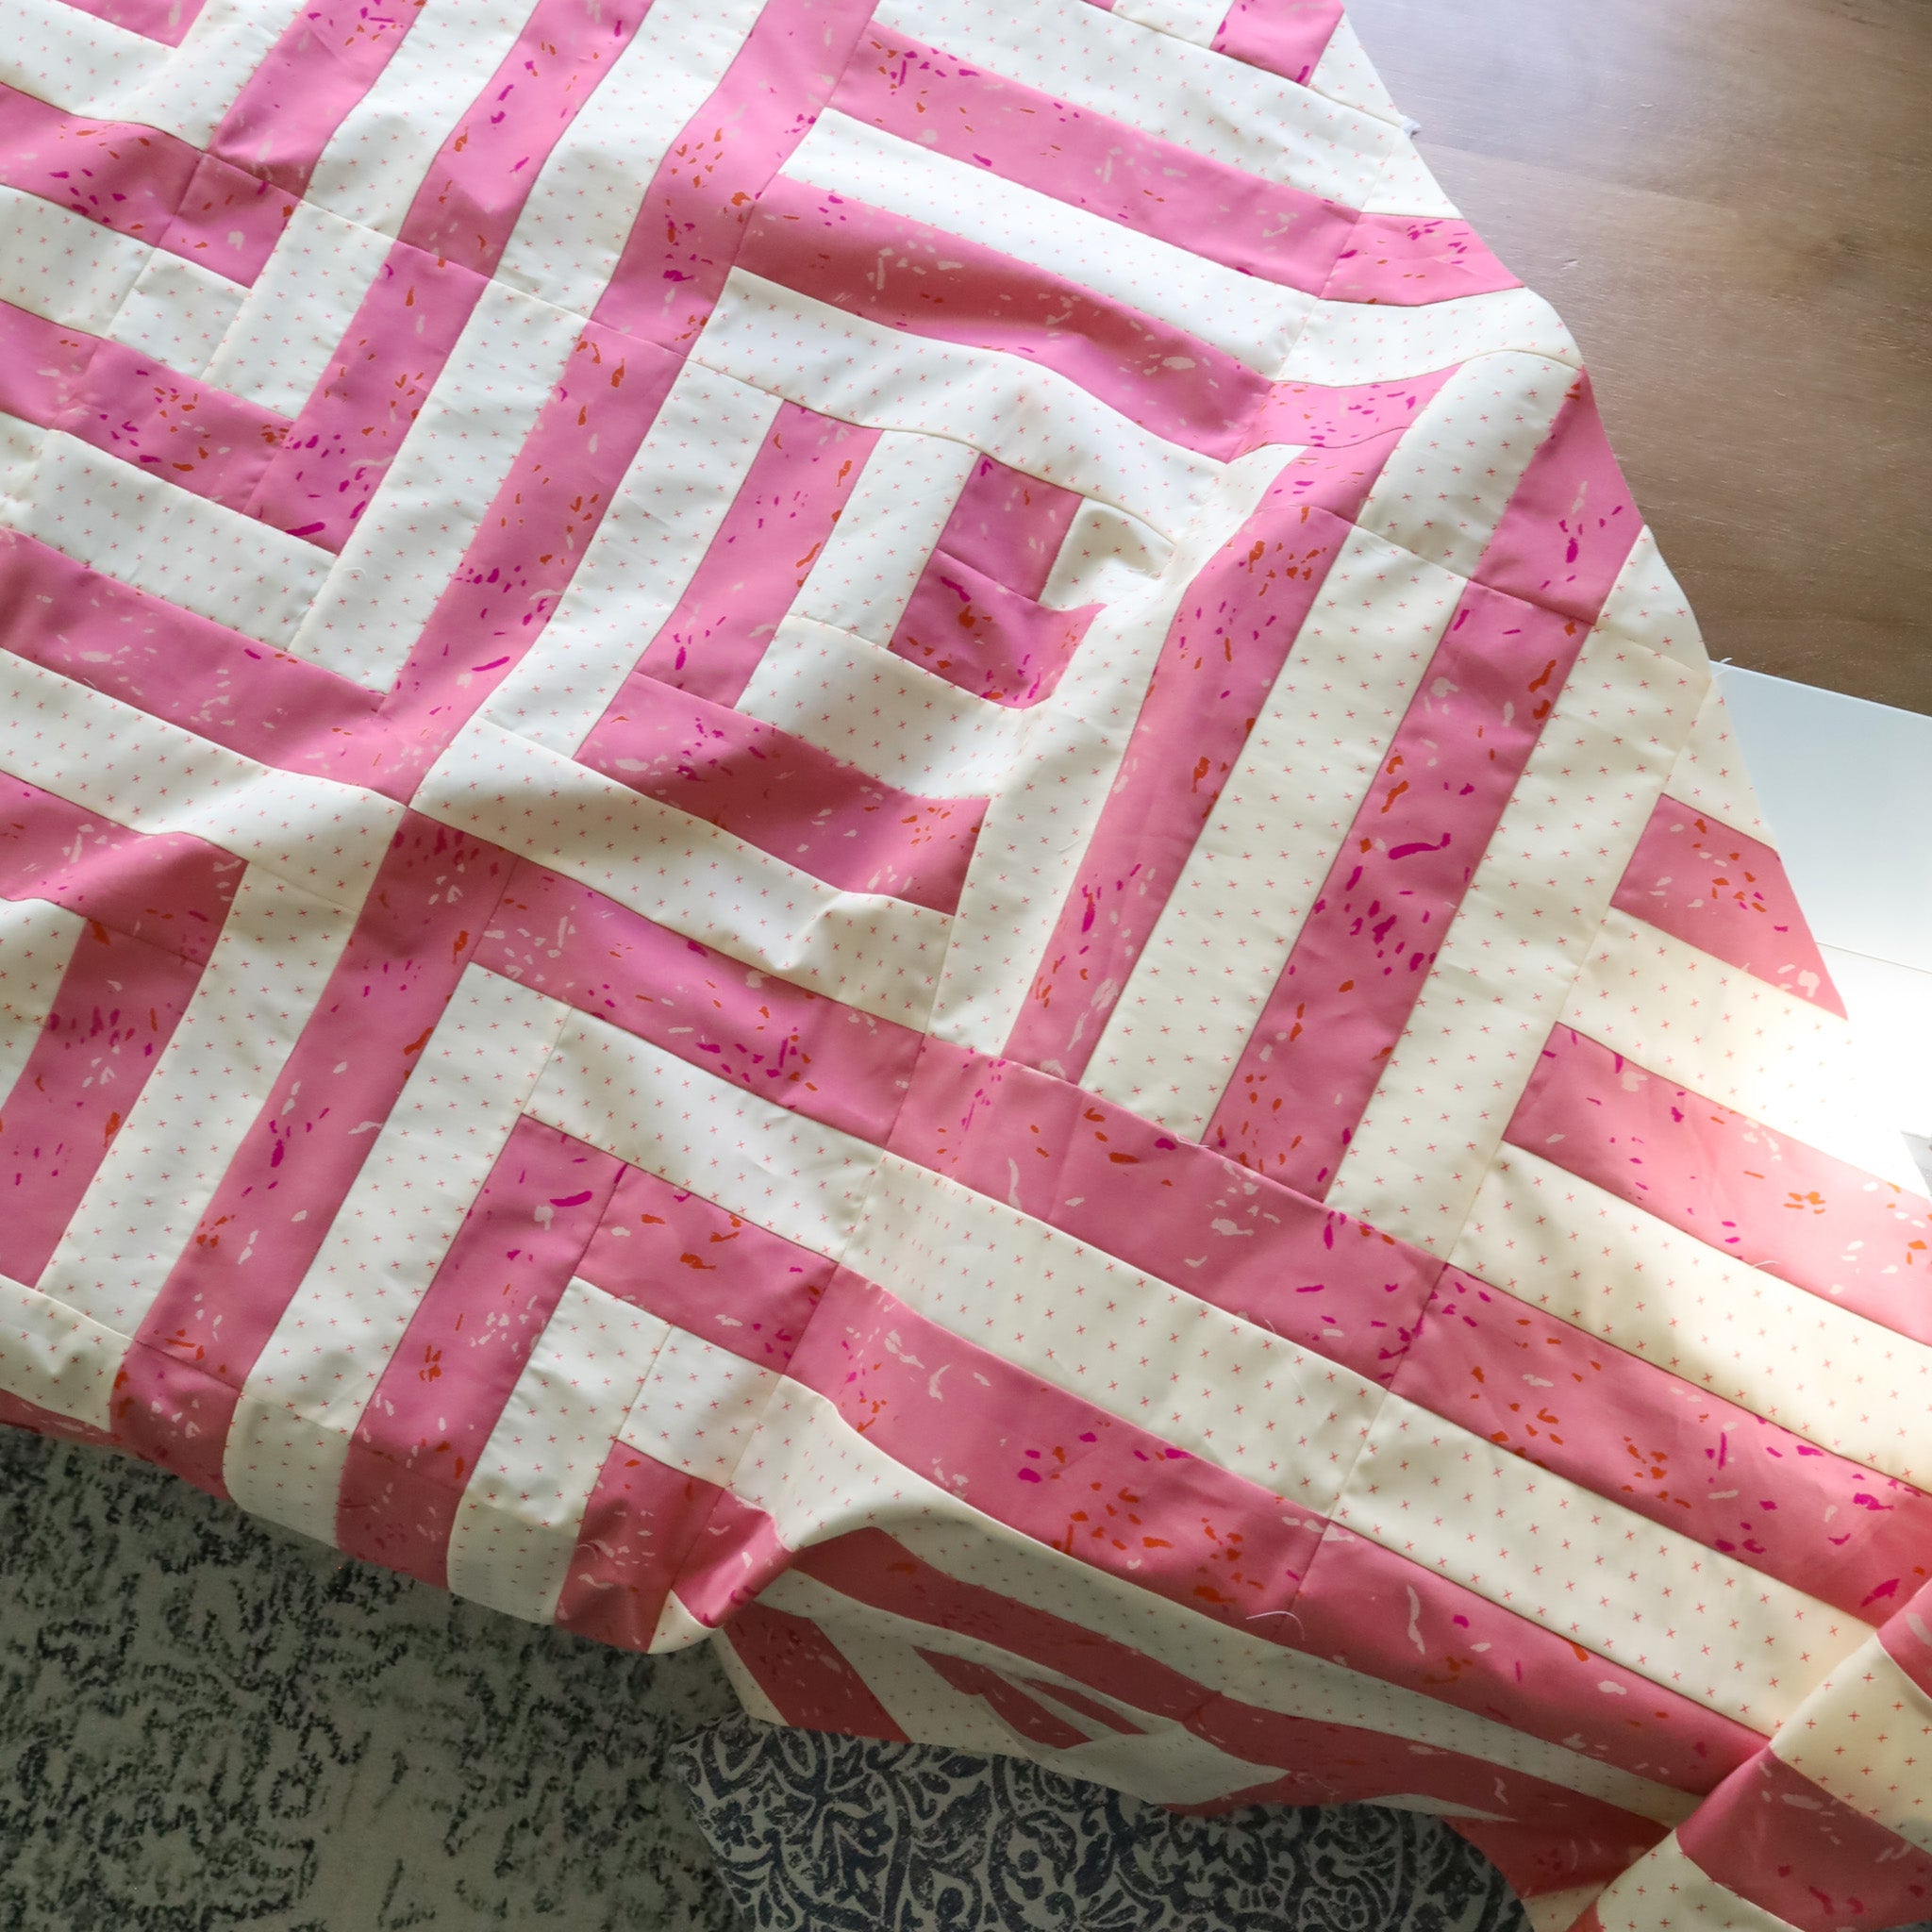
Once you have your Edges and Corners cut it's time to assemble our quilt tops!
Quilt Top Assembly
Plan for Nesting Seams
First and foremost, go ahead and read page 7 of the pattern then flip to page 8, 9 or 10 based on which layout you are creating. Regardless if you are making the City, Mountain or Beach Trip versions, you'll want to lay out all of your blocks before you get started. This gives you an opportunity to double check and make sure that you have everything oriented correctly; but most importantly, it allows you to plan your nesting seams.
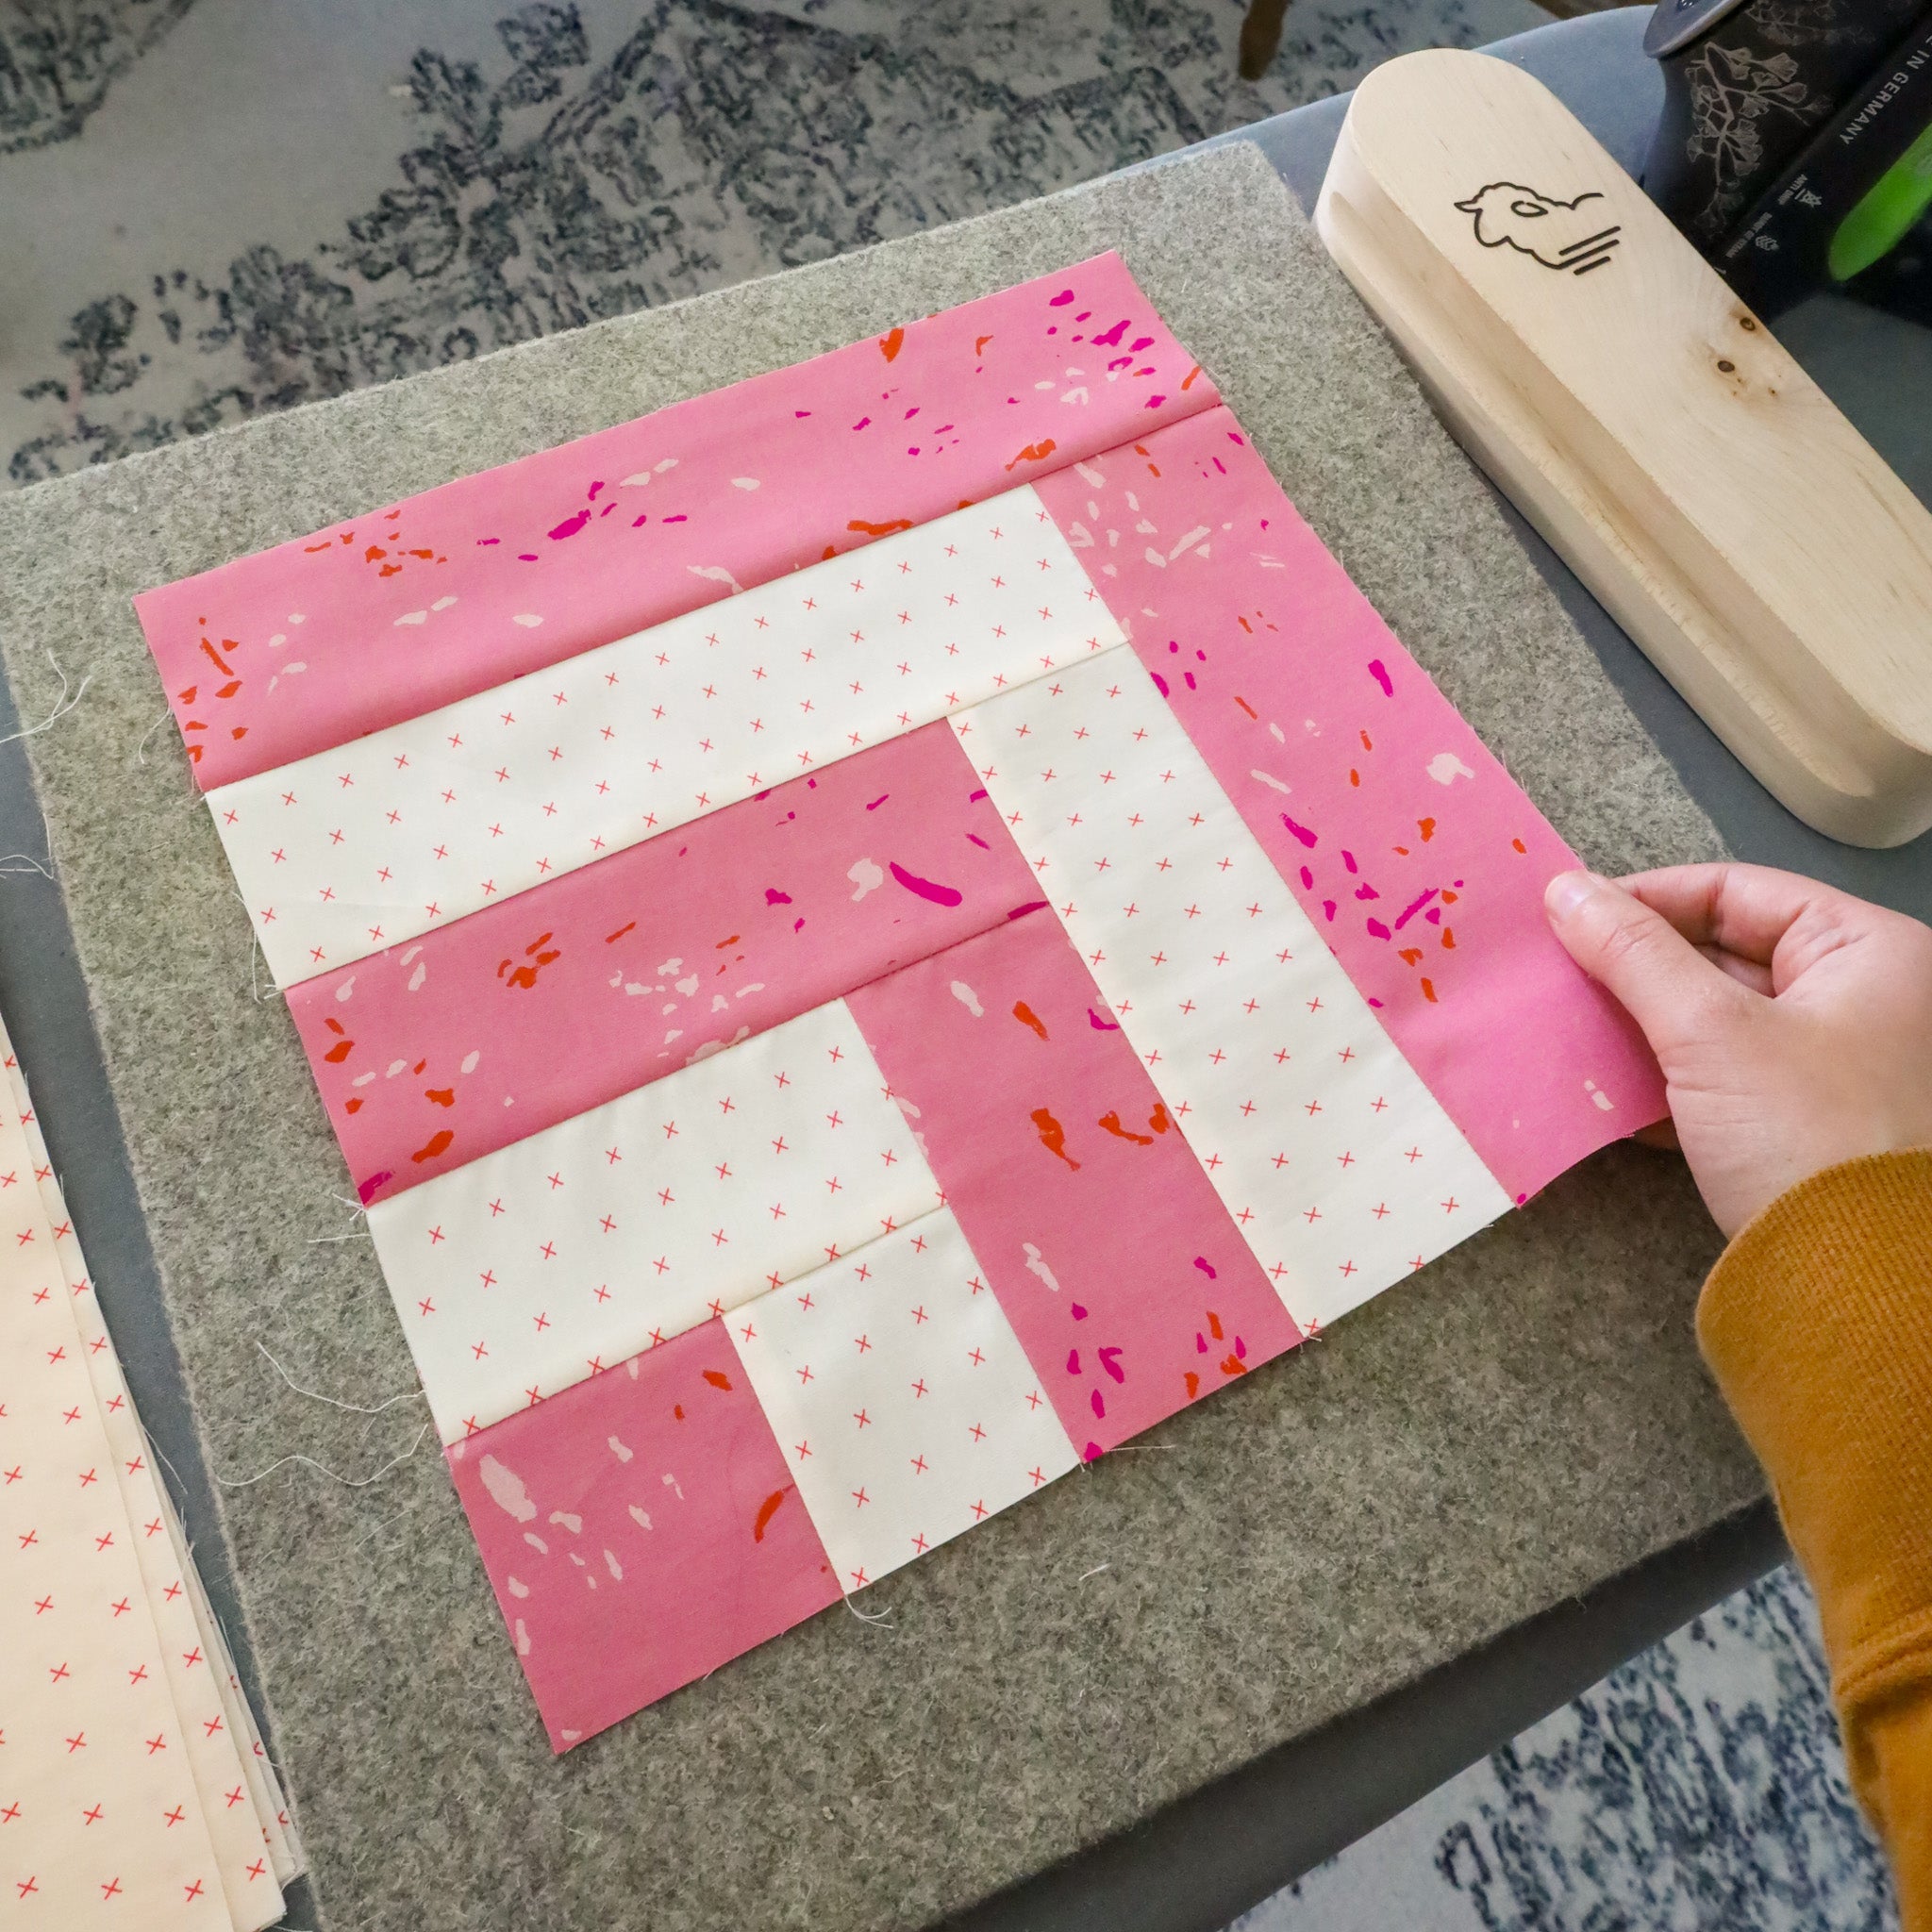
Block 1s are all stationary in the quilt. So I find it helpful to lay those blocks out first to give you a starting point.

Then place adjacent Block 2s where they need to go and rotate them so that the seams are opposite of the Block 1 seams. The beauty of these Block 2s is that the strip appearance is the exact same when you rotate the block 180 degrees.
You can also work in quadrants, as seen below.


Even though all of the corner pieces are the same, remember to swap those around based on their seam directions.
Creating these nesting seams will really help you keep your strips lined up so be sure not to skip this step!
I use this Fons and Porter design wall. It's pretty easy so I would recommend it if you're looking for one. You can also lay out these blocks on the floor or a bed.

Once you have your blocks laid out, double check the Figure C diagram and make sure that it's all correct.
Row Construction
There are 8 rows in this quilt. I like to start with Row 2, then I'll sew the Row 1 corner to that. Let's take a closer look.

When you place the half block right sides together with the full block, align the edges, as seen below. They should align perfectly with no 1/4" overlap (remember that the blocks were the same size before you cut them).


Sew your first seam, then add the other half block. Press these two seams in one direction, according to the arrow in the pattern.

Once you have created this row, sew the corner onto the Block 1 piece.


Since my seams are pressed to one side, the corner block will overlap that bottom corner by 1/4" (since that seam is tucked underneath). This is indicated by the red circle in the above photo. The other corner of that piece will also overlap by 1/4", but it'll look a little differently. It should be aligned with the little dog ear from the previous row, as indicated by the yellow circle. Depending on the direction that your block seams are pressed from row to row, will determine how this step will look when you go to sew rows together. Bottom line, just make sure that the corner block is centered the middle block and you're good to go. :)
Also don't forget about the nesting seams! I like to find each one and place a pin in them.

Here's a closer look at what the seam will look like.

Press all row seams open.


Here's a closeup of how that seam will look.

Then construct the 3rd row in the same exact manner. I like to chain piece, so I'll sew the first two pieces together, followed by the second two pieces. I'll snip my thread and sew the first set of two blocks to the next set of two blocks. Snip those threads and sew the final block. The process becomes more beneficial with the longer rows, but you could definitely just sew one seam at a time if you'd like. :)


Before you sew rows to other rows, be sure that you have the blocks aligned properly. Look for those nesting seams to help make sure that you are sewing things in the right place. When you put rows right sides together, it will look like the photos below, depending on how you pressed your seams in the previous row. Pins are your friend!
It'll look a little funny when you place rows right sides together, but align your blocks and nesting seams and trust the process!


Once I've added rows together past a certain point, I like to start on the other half of the quilt. I'm not sure why I switched from the design wall to the floor then back to the design wall, but here we are, hah. :)


Quilting Ideas
I have a few quilting ideas saved on my Quilting Ideas Pinterest Board. This includes a mix of walking foot quilting and long arm pantographs. Since this design is on-point, my go-to idea is to stitch lines that are parallel to the diagonal seams. You can find my straight line quilting tutorial here. This creates such a nice texture, and if you want to kick it up a notch, you can add extra vertical and horizontal lines as seen in my reel from a year or two ago. Here are some examples of quilting on previous Getaway quilts; click where you see the underline to find more photos!
- DIY - These three Getaway quilts are either all hand quilted, all machine quilted or a combination of both
- Longarm quilted - I had my Speckled and Cover Getaway quilts longarm quilted. The two pantographs are Interwoven Dark and Best Fronds
Scrap Project
Don't forget to use up those scraps! Page 15 of the pattern has instructions for how to use up your scraps. A couple of ideas include a pillow, tote bag, wall hanging, mini quilt, coasters, mug rug, table runner....the possibilities are endless! Here's an example of my scrap pillow made from my Speckled Getaway. :)

Grand Prize Bundle
Share a weekly progress photo for each of the 4 weeks of the QAL and you'll be automatically entered to win our GRAND PRIZE BUNDLE (valued at over $300!) Here's what's in the bundle:
- Free edge-to-edge longarm quilting by Stitch Lab on your Getaway quilt of any size - includes quilting and batting, (shipping not included).
- Three AGF PURE Solids bundles from our shop.
- Aurifil Large Spool of thread
- A new "Lo & Behold" Tote Bag

Here's how to enter:
- Take a photo of your weekly progress (please do not share a photo of the inside of the pattern). This week, share a photo of your finished quilt top!
- Share the photo to your Instagram account before 8am EST on Wednesday, July 12th.
- Use the hashtags #GetawayQAL #GetawayQuilt and #LoAndBeholdPatterns . Tag @loandbeholdstitchery in the photo. Your account must be public in order for us to see your entry.
- Share one a progress photo each of the four weeks of the QAL and you'll be entered to win! I'll announce the winner in our newsletter on July 15th. Good Luck!
Thanks so much for joining me for this Quilt Along. I hope that you've had fun and maybe picked up on a few tips along the way. :)
Happy Sewing!
LINKS:


