Heirloom Hearts QAL - Week 5

WE MADE IT!
It's the final week of the Heirloom Hearts QAL!
If you are just now joining us, here's a look at our schedule. If you need to go back to any of the weeks, click on where you see the underline.
- Week 1: Jan. 10th - Cut Fabrics
- Week 2: Jan. 17th - Sew Heart Blocks
- Week 3: Jan. 24th - Sew Nine Patch Blocks
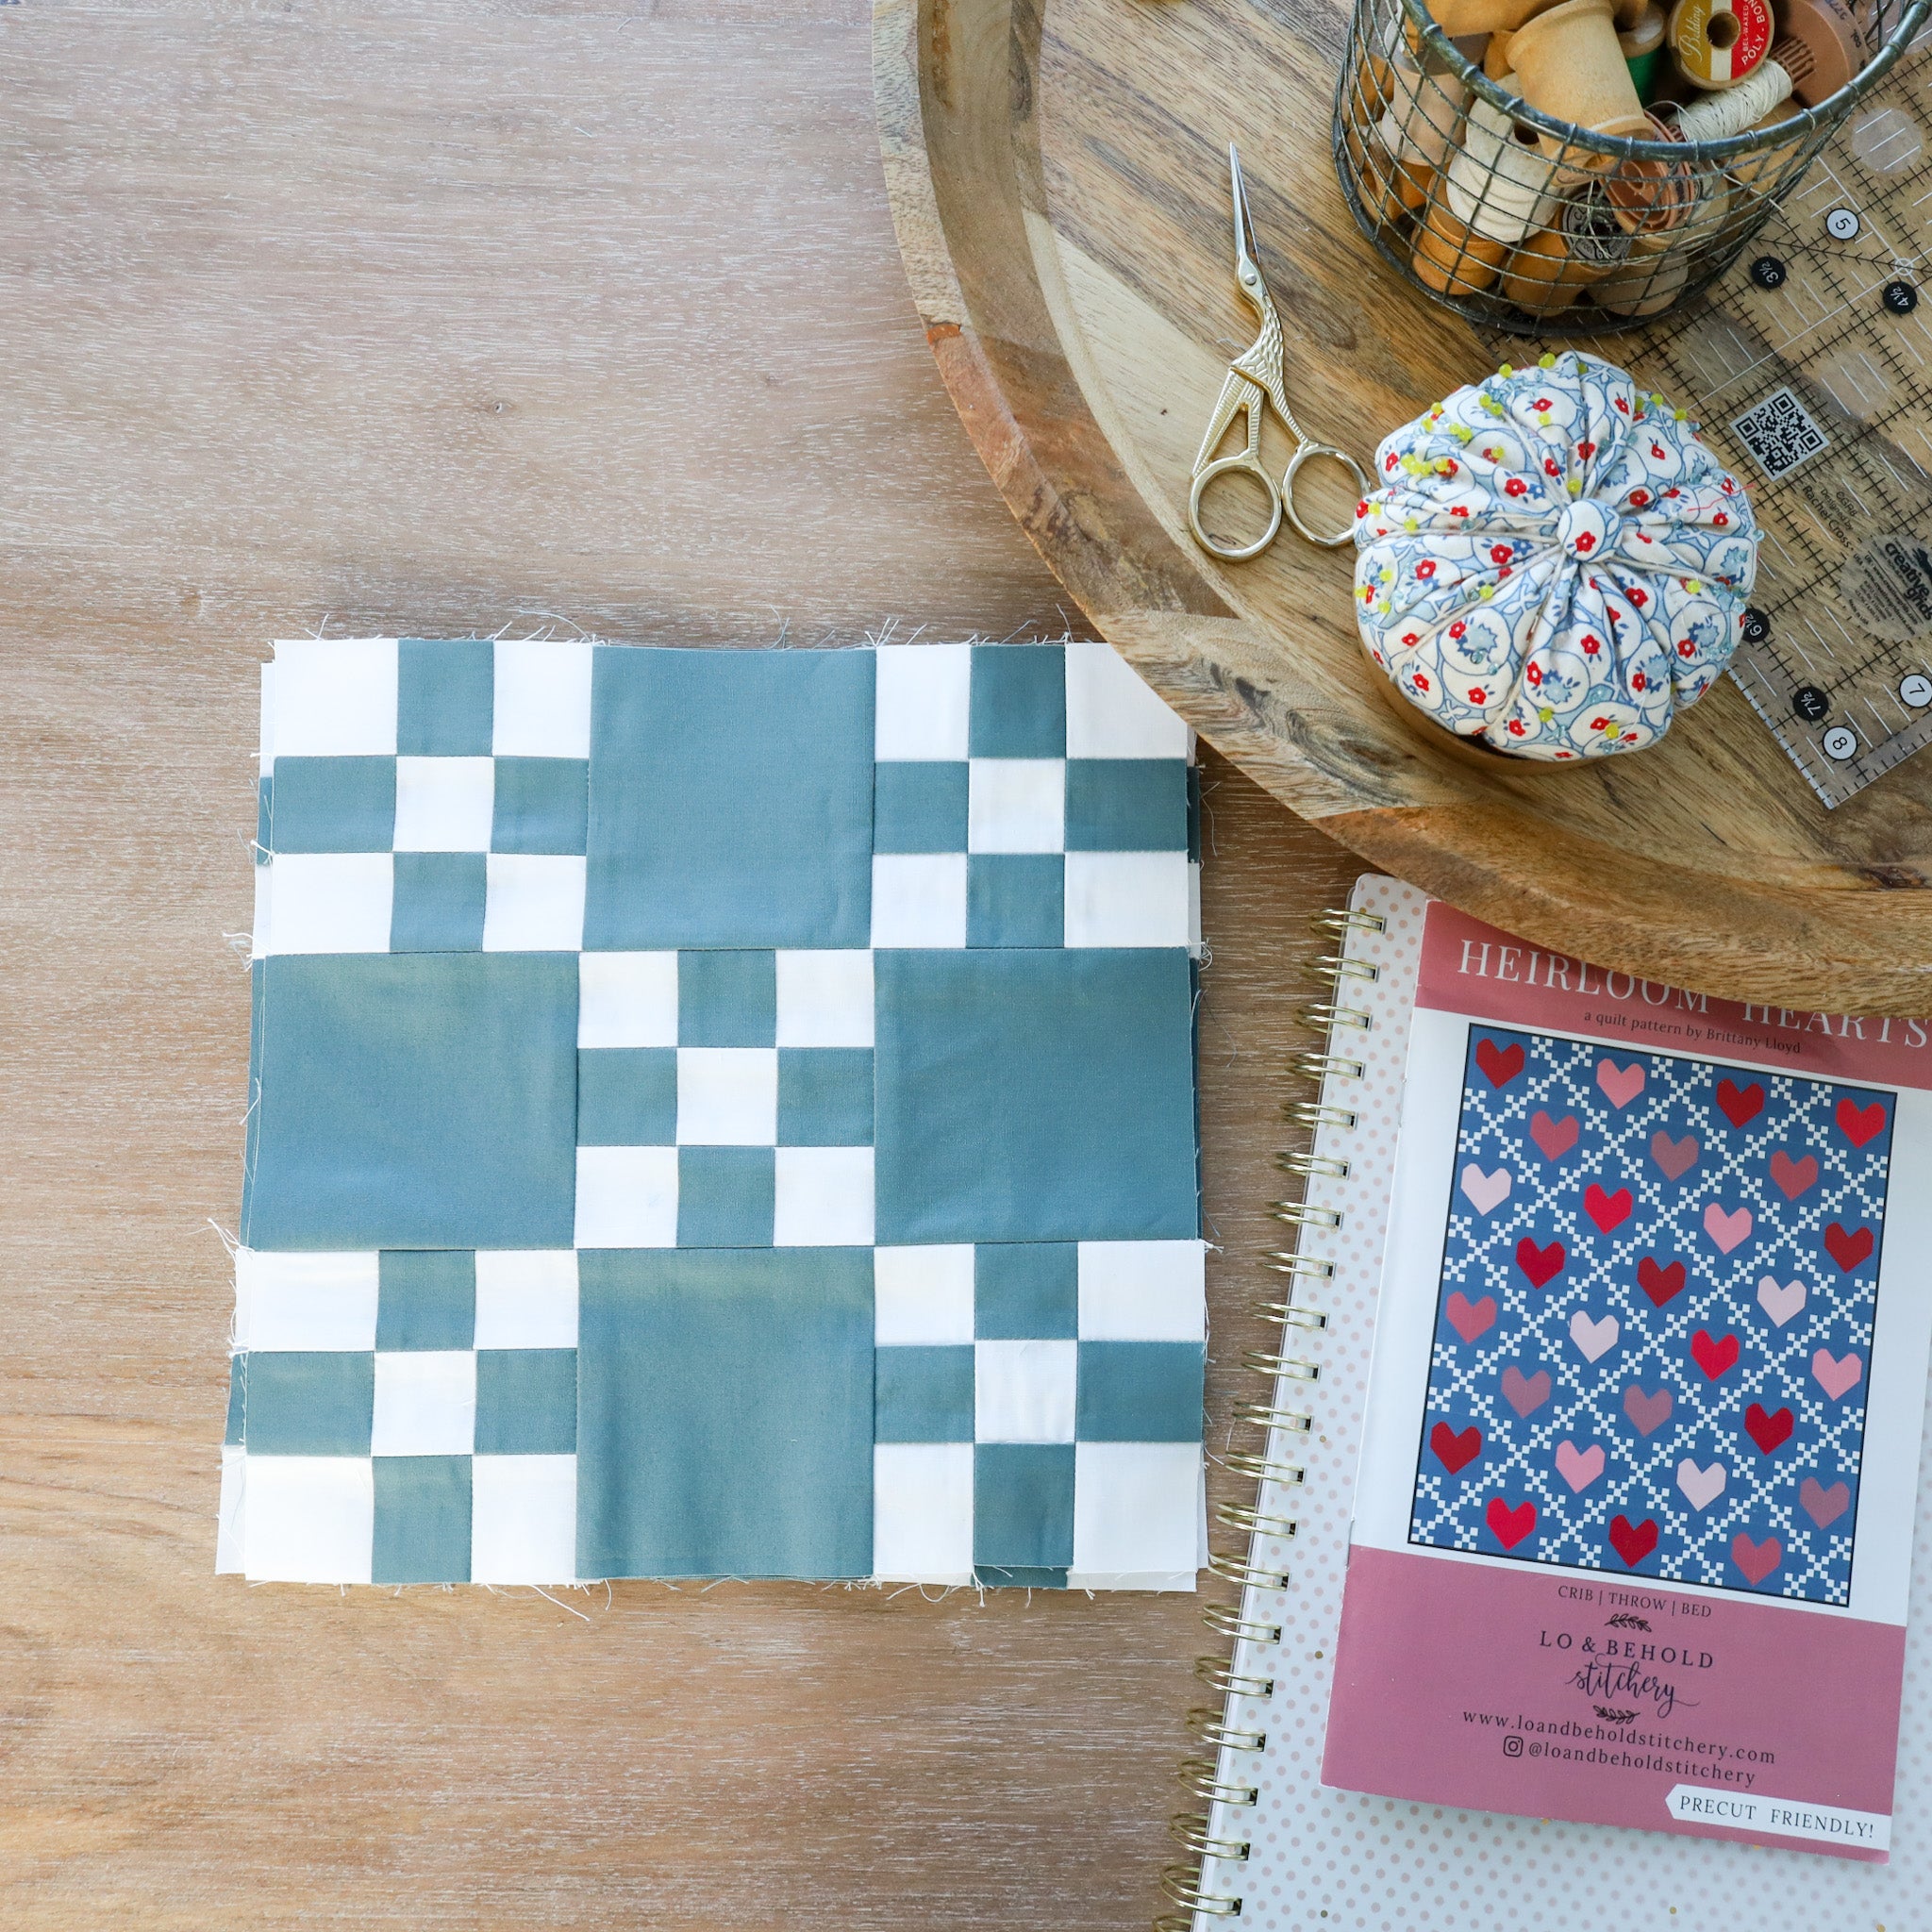
- Week 4: Jan. 31st - Assemble Forty-Nine Patch Blocks
- Week 5: Feb. 7th - Assemble Quilt Top
.
WEEK 5
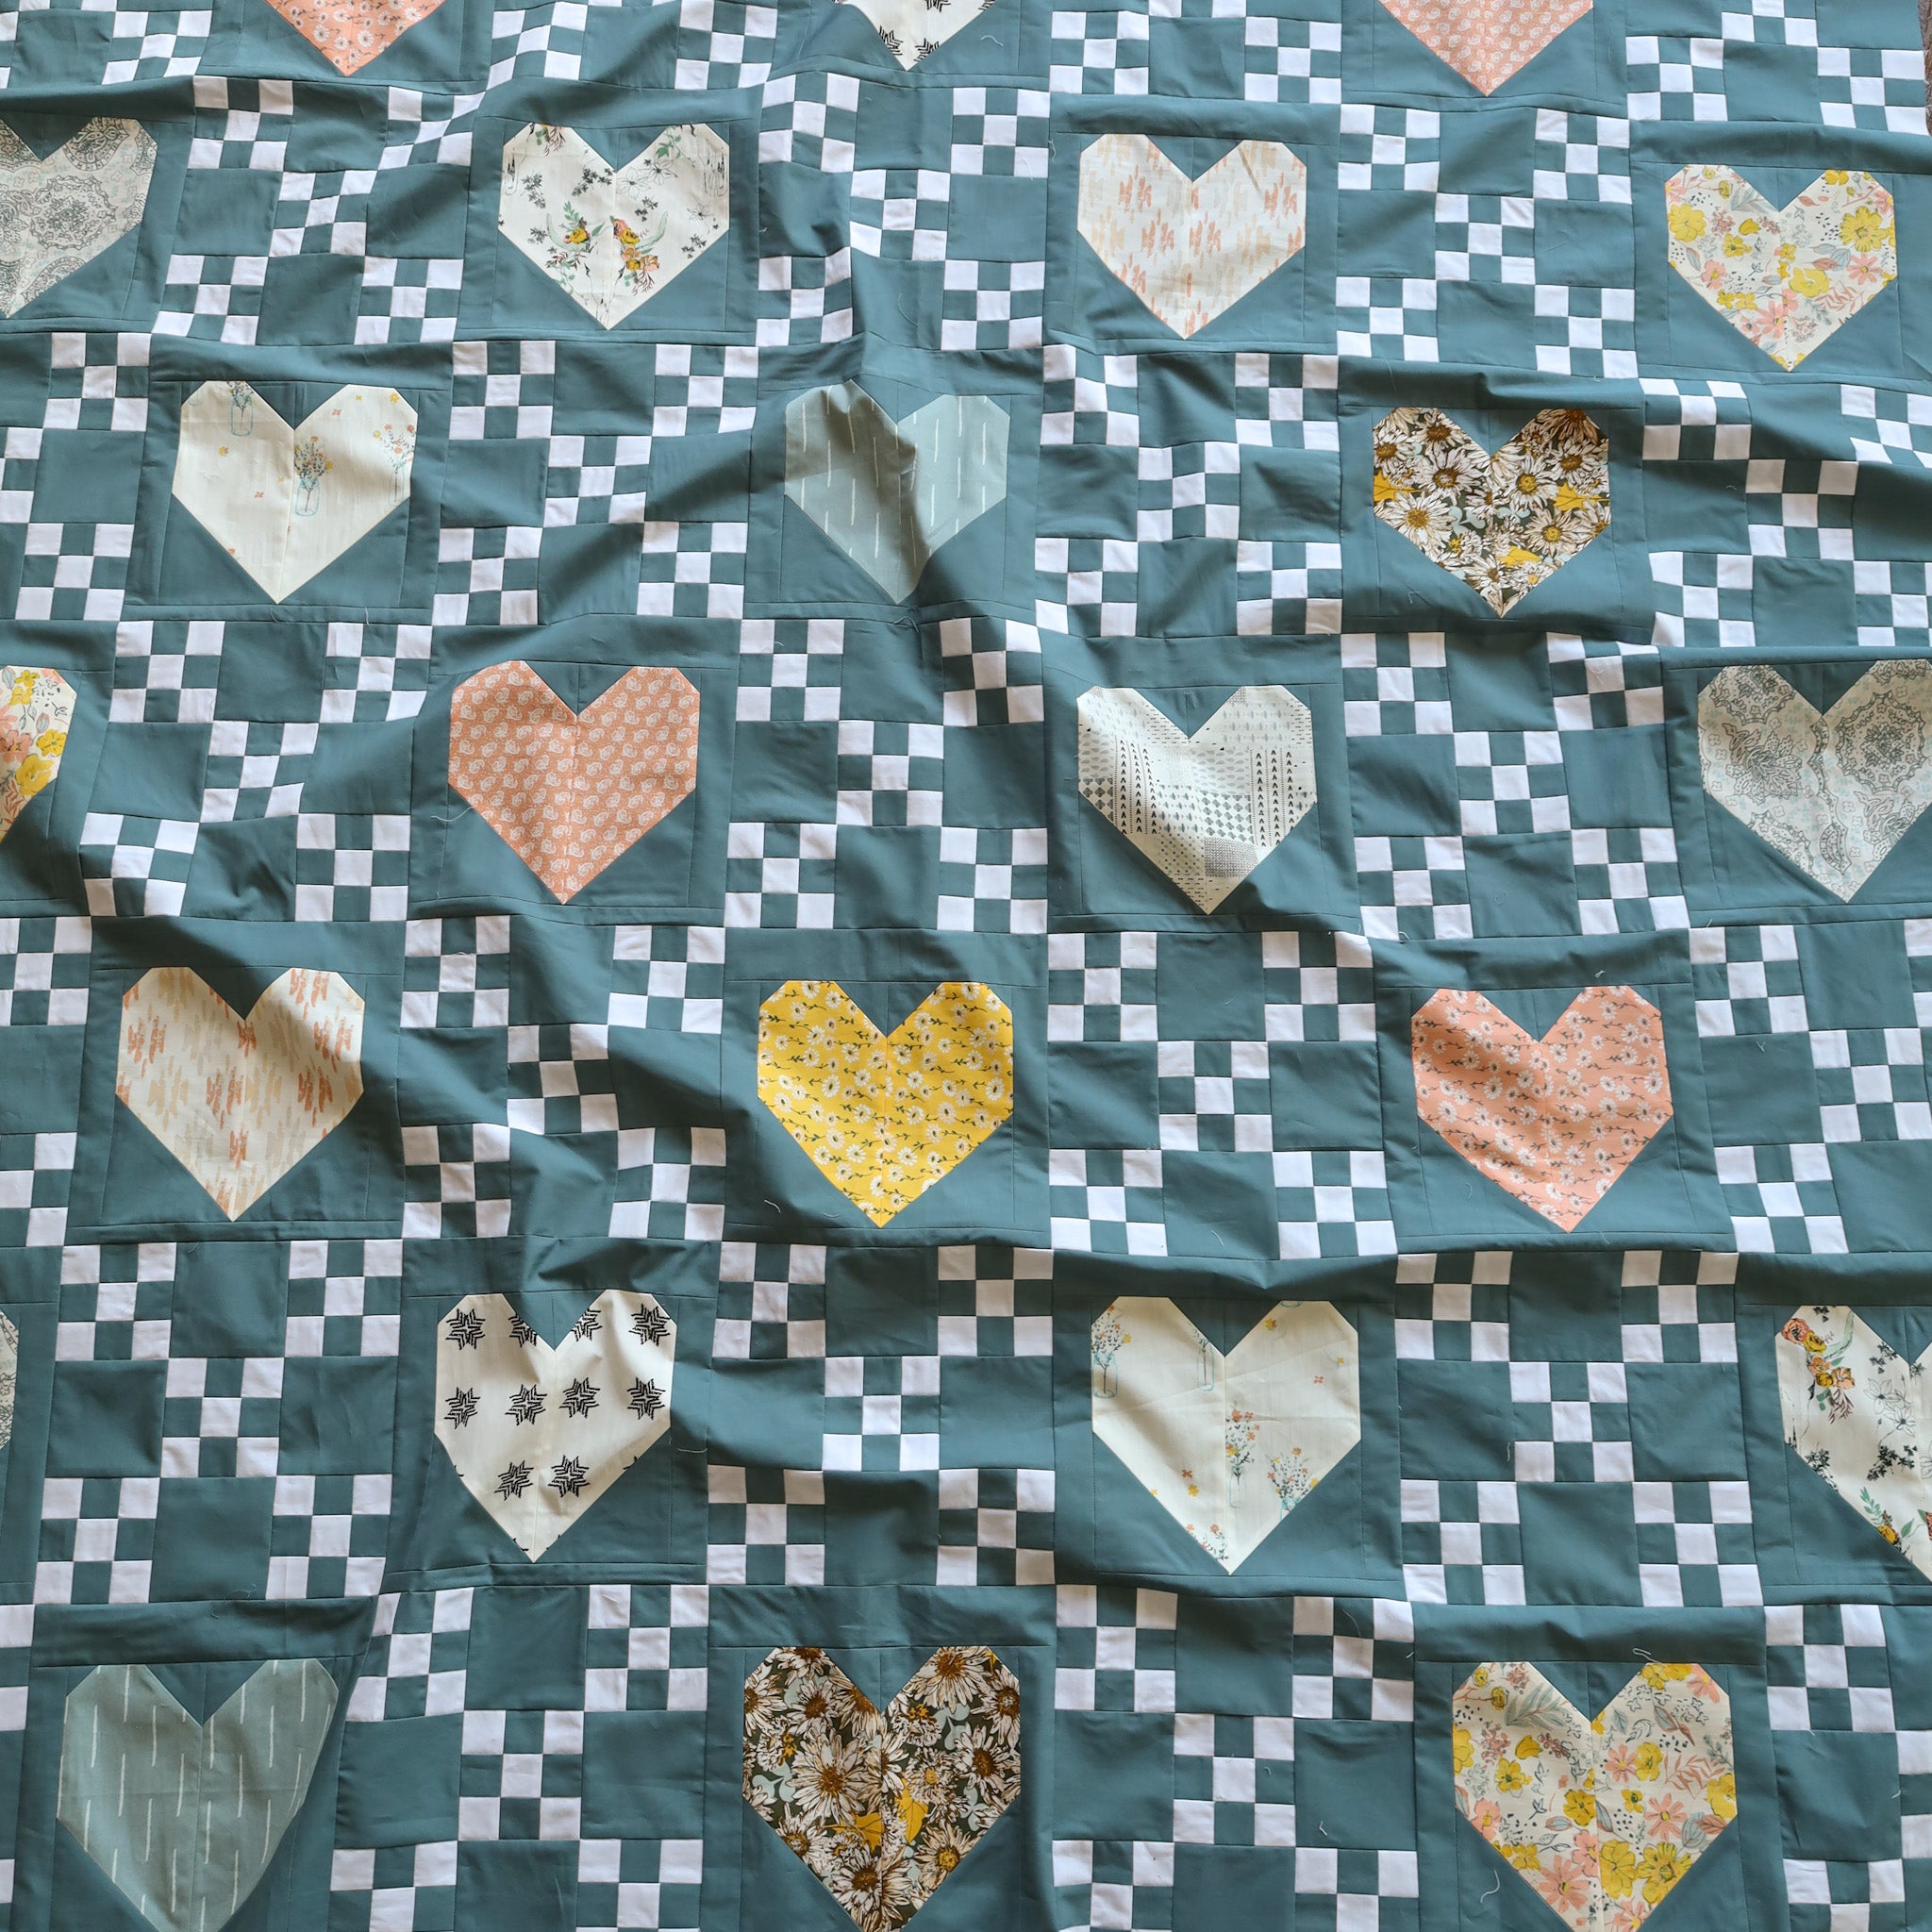
This week, we are assembling our quilt tops! Take a look at the Quilt Top Assembly instructions in your pattern and let's get started!
- Lay out everything on the floor or on a design wall to determine where you want each heart to appear in your quilt. I usually put my favorite blocks in the corners and fill in from there.

.
- Once I like my layout, I like to create a stack of blocks from each row, then I bring the entire stack to my machine for chain piecing. I'll sew the first block to the second block, the third block to the fourth block, and the fifth block to the sixth block. Then I'll trim my threads and sew the first two blocks to the second two blocks, and the third two blocks to the last block in the row. Then I'll snip my thread and sew those final two units together. THEN I'll bring the entire row to my ironing board to press seams.

.

.
- Remember to press your seams towards the Heart blocks. Since the blocks alternate from row to row, this will create nesting seams. This is how I press seams to one side:

.

.
- Once your rows are created, sew them together and press those seams open. Remember to pat your iron, don't slide! It helps to use your fingers to open the seam and press from the wrong side. Then flip it over and press from the right side.

.

.
- When I have nesting seams in my quilt top, I normally don't use pins for the entire row, but I do find it helpful for at least the first block. If you notice any shifting while sewing, maybe consider using them for the entire length of the row.

.
- As your quilt top grows, it's helpful to have space to the left of your sewing machine and behind it. My machine is on a pretty large table, so that helps. If you have a smaller table, you can put something beside it like an ironing board to help support the weight of the quilt top. All this to say: be aware of gravity and how it can pull your quilt top as you are sewing. You want as much of the weight supported as possible.

.
I like to sew my rows together to create two halves, then I'll sew those halves together.

.
- Last but not least: once your quilt top is finished, I recommend "stay-stitching" around the perimeter. This is just a seam that is ~1/8" from the edge and it holds all of the other seams in place....especially those Forty Nine Patch Blocks!
.

.
PRIZES
We have one giant Grand Prize bundle! Enter to win the bundle by sharing a weekly photo of your progress. Use the hashtags #heirloomheartsQAL, #heirloomheartsquilt and #loandbeholdpatterns and you'll be automatically entered to win! Just make sure your account is public so that we can see your post. :)
We have ONE more prize to enter into our bundle. Remember that one winner will win everything in the bundle!! And that prize is......
 .
.
A $100 gift card to one of my favorite long-arm quilters, Ashley of Henhouse Quilting!!
She is also offering 20% off edge-to-edge quilting; Heirloom Hearts quilt top must be received by August 15th, 2022.
.
So in summary, one lucky winner will win:
- $50 gift card to our shop
- $50 to Saltwater Fabrics
- 14" x 14" wool pressing mat from Project Wool Mats
- 24 FQ "Revive" bundle by Then Came June
- $100 gift card to Henhouse Quilting
All you have to do to enter to win is share a photo of your finished Heirloom Hearts quilt top. Remember to use the hashtags so that we can see and there you have it! You have until Wednesday, Feb. 16th at 8pm EST to get your entry in. The winner will be announced via the QAL newsletter the next morning.
Thank you so much for participating, everyone! This has been so fun! :)
.
Until next time,
Brittany


