Ombre Puff QAL - Week 3


.
Week 3
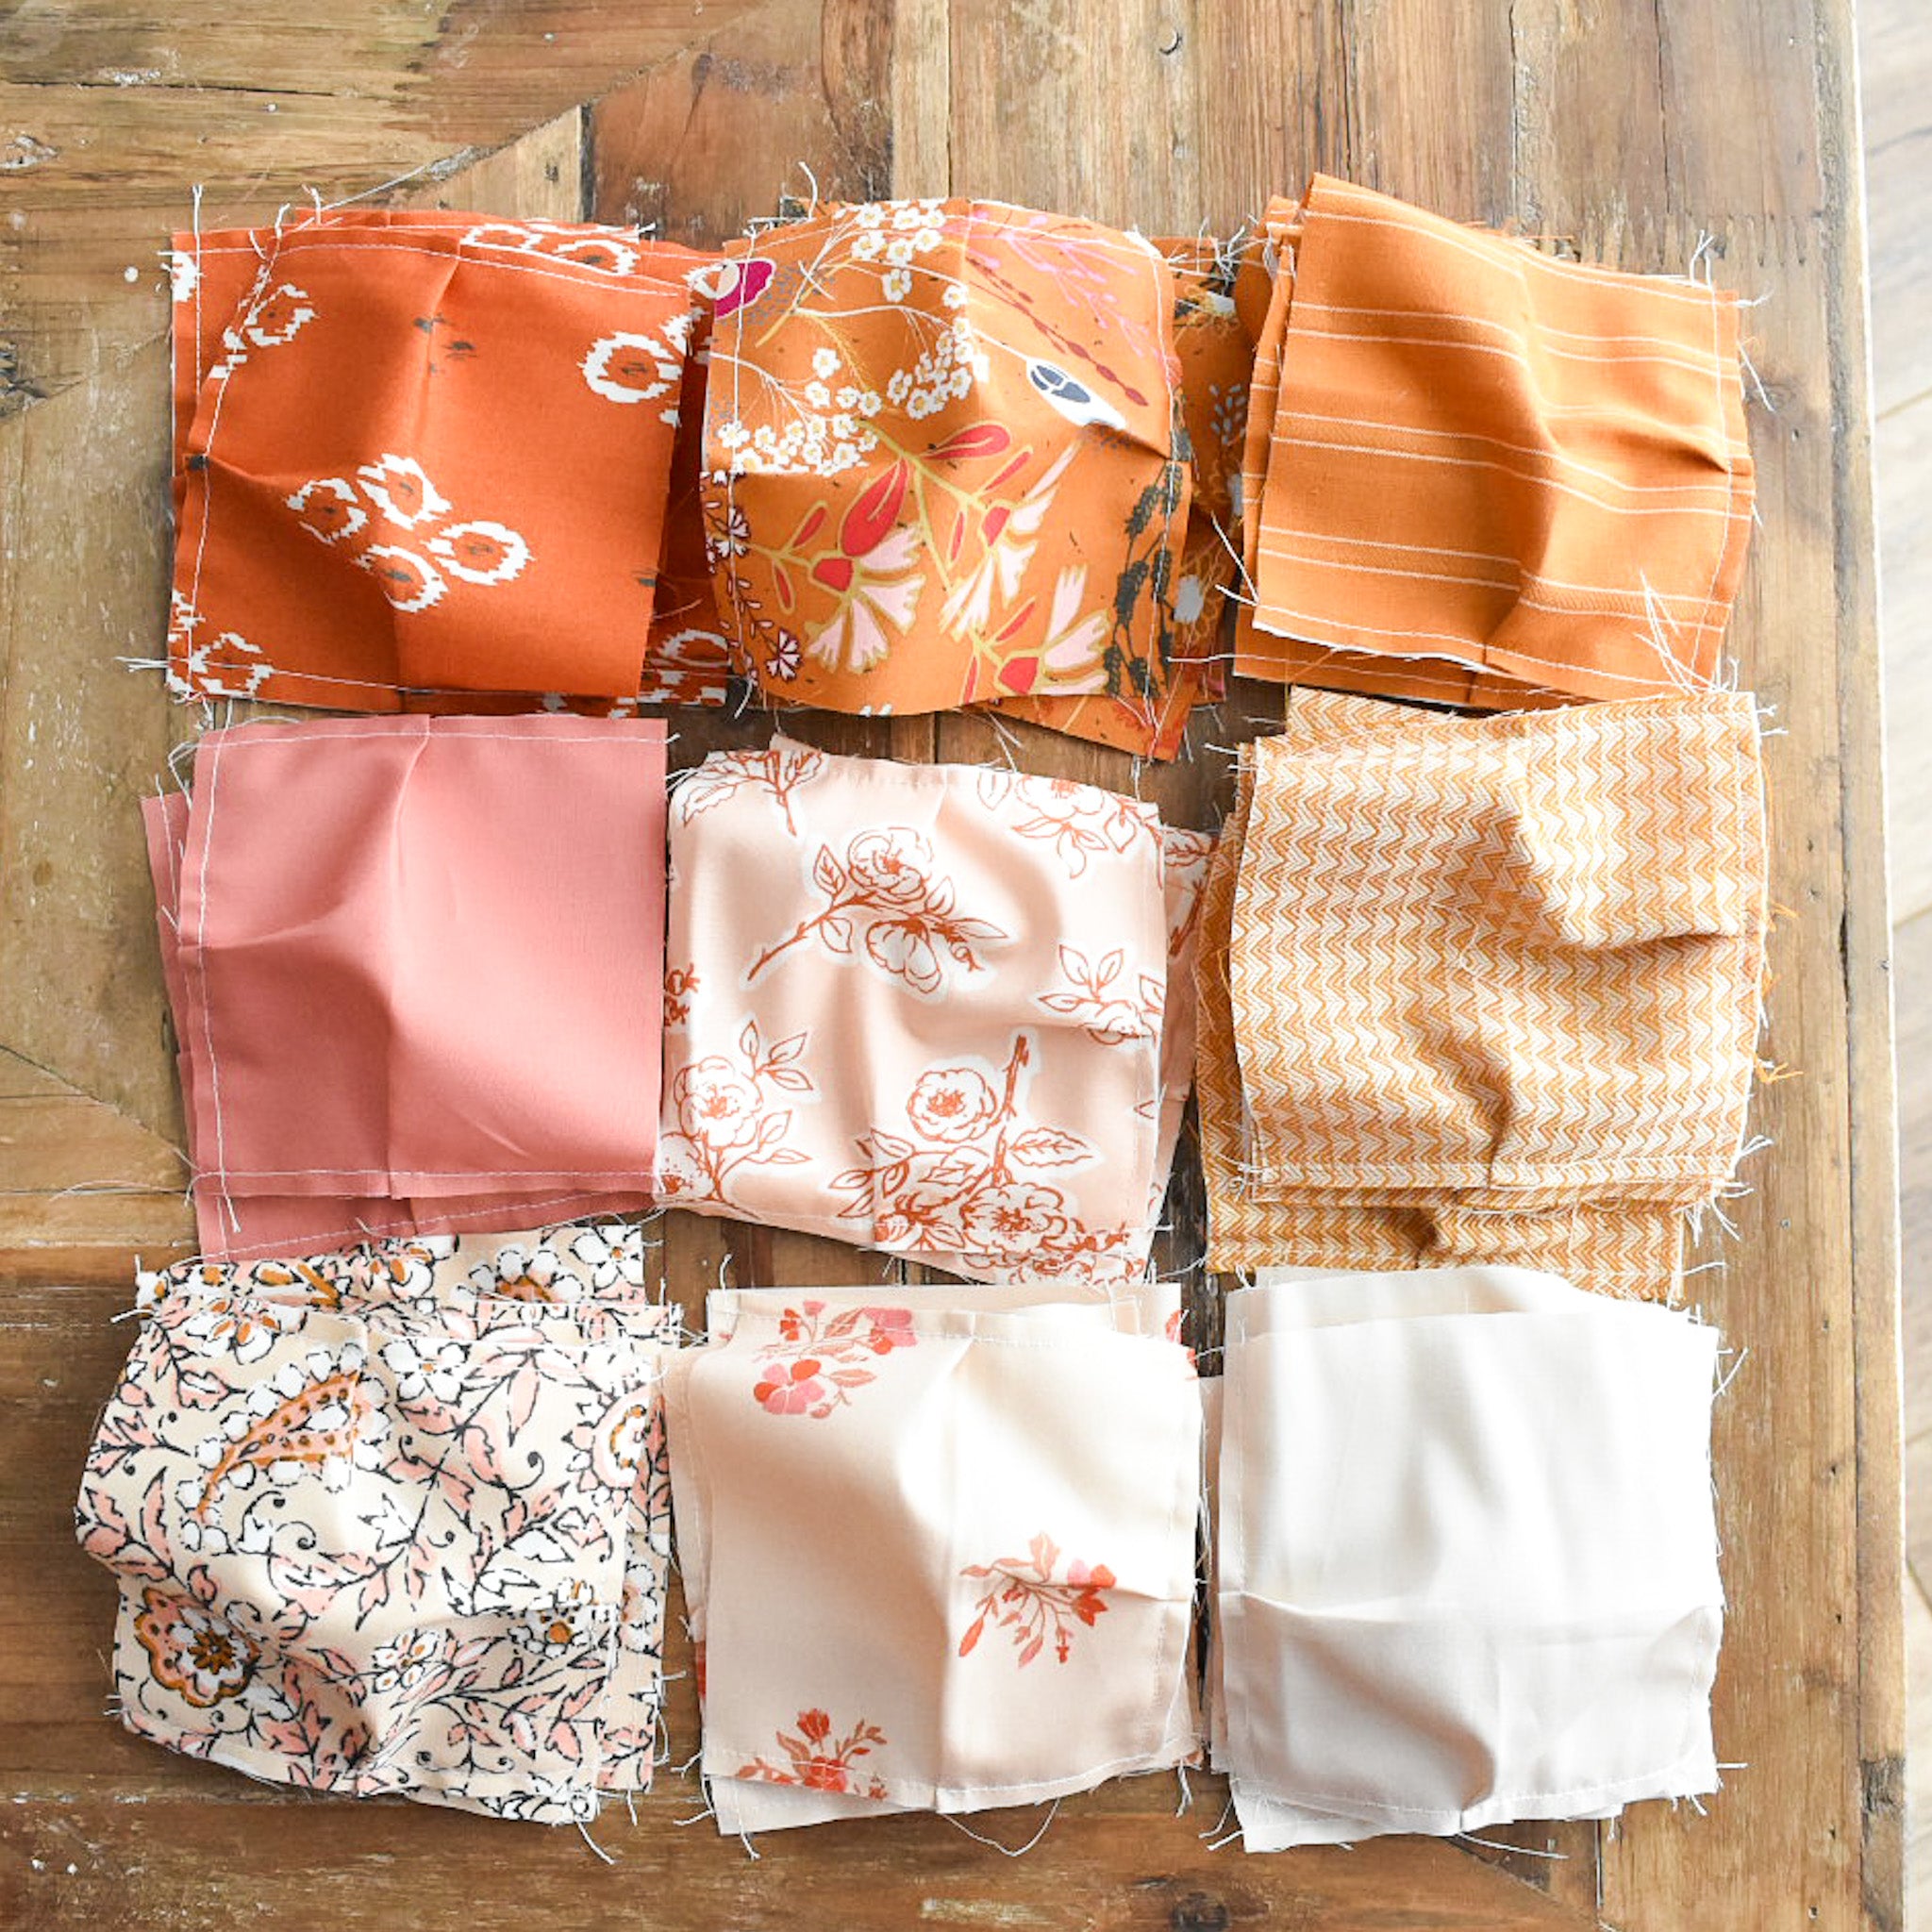
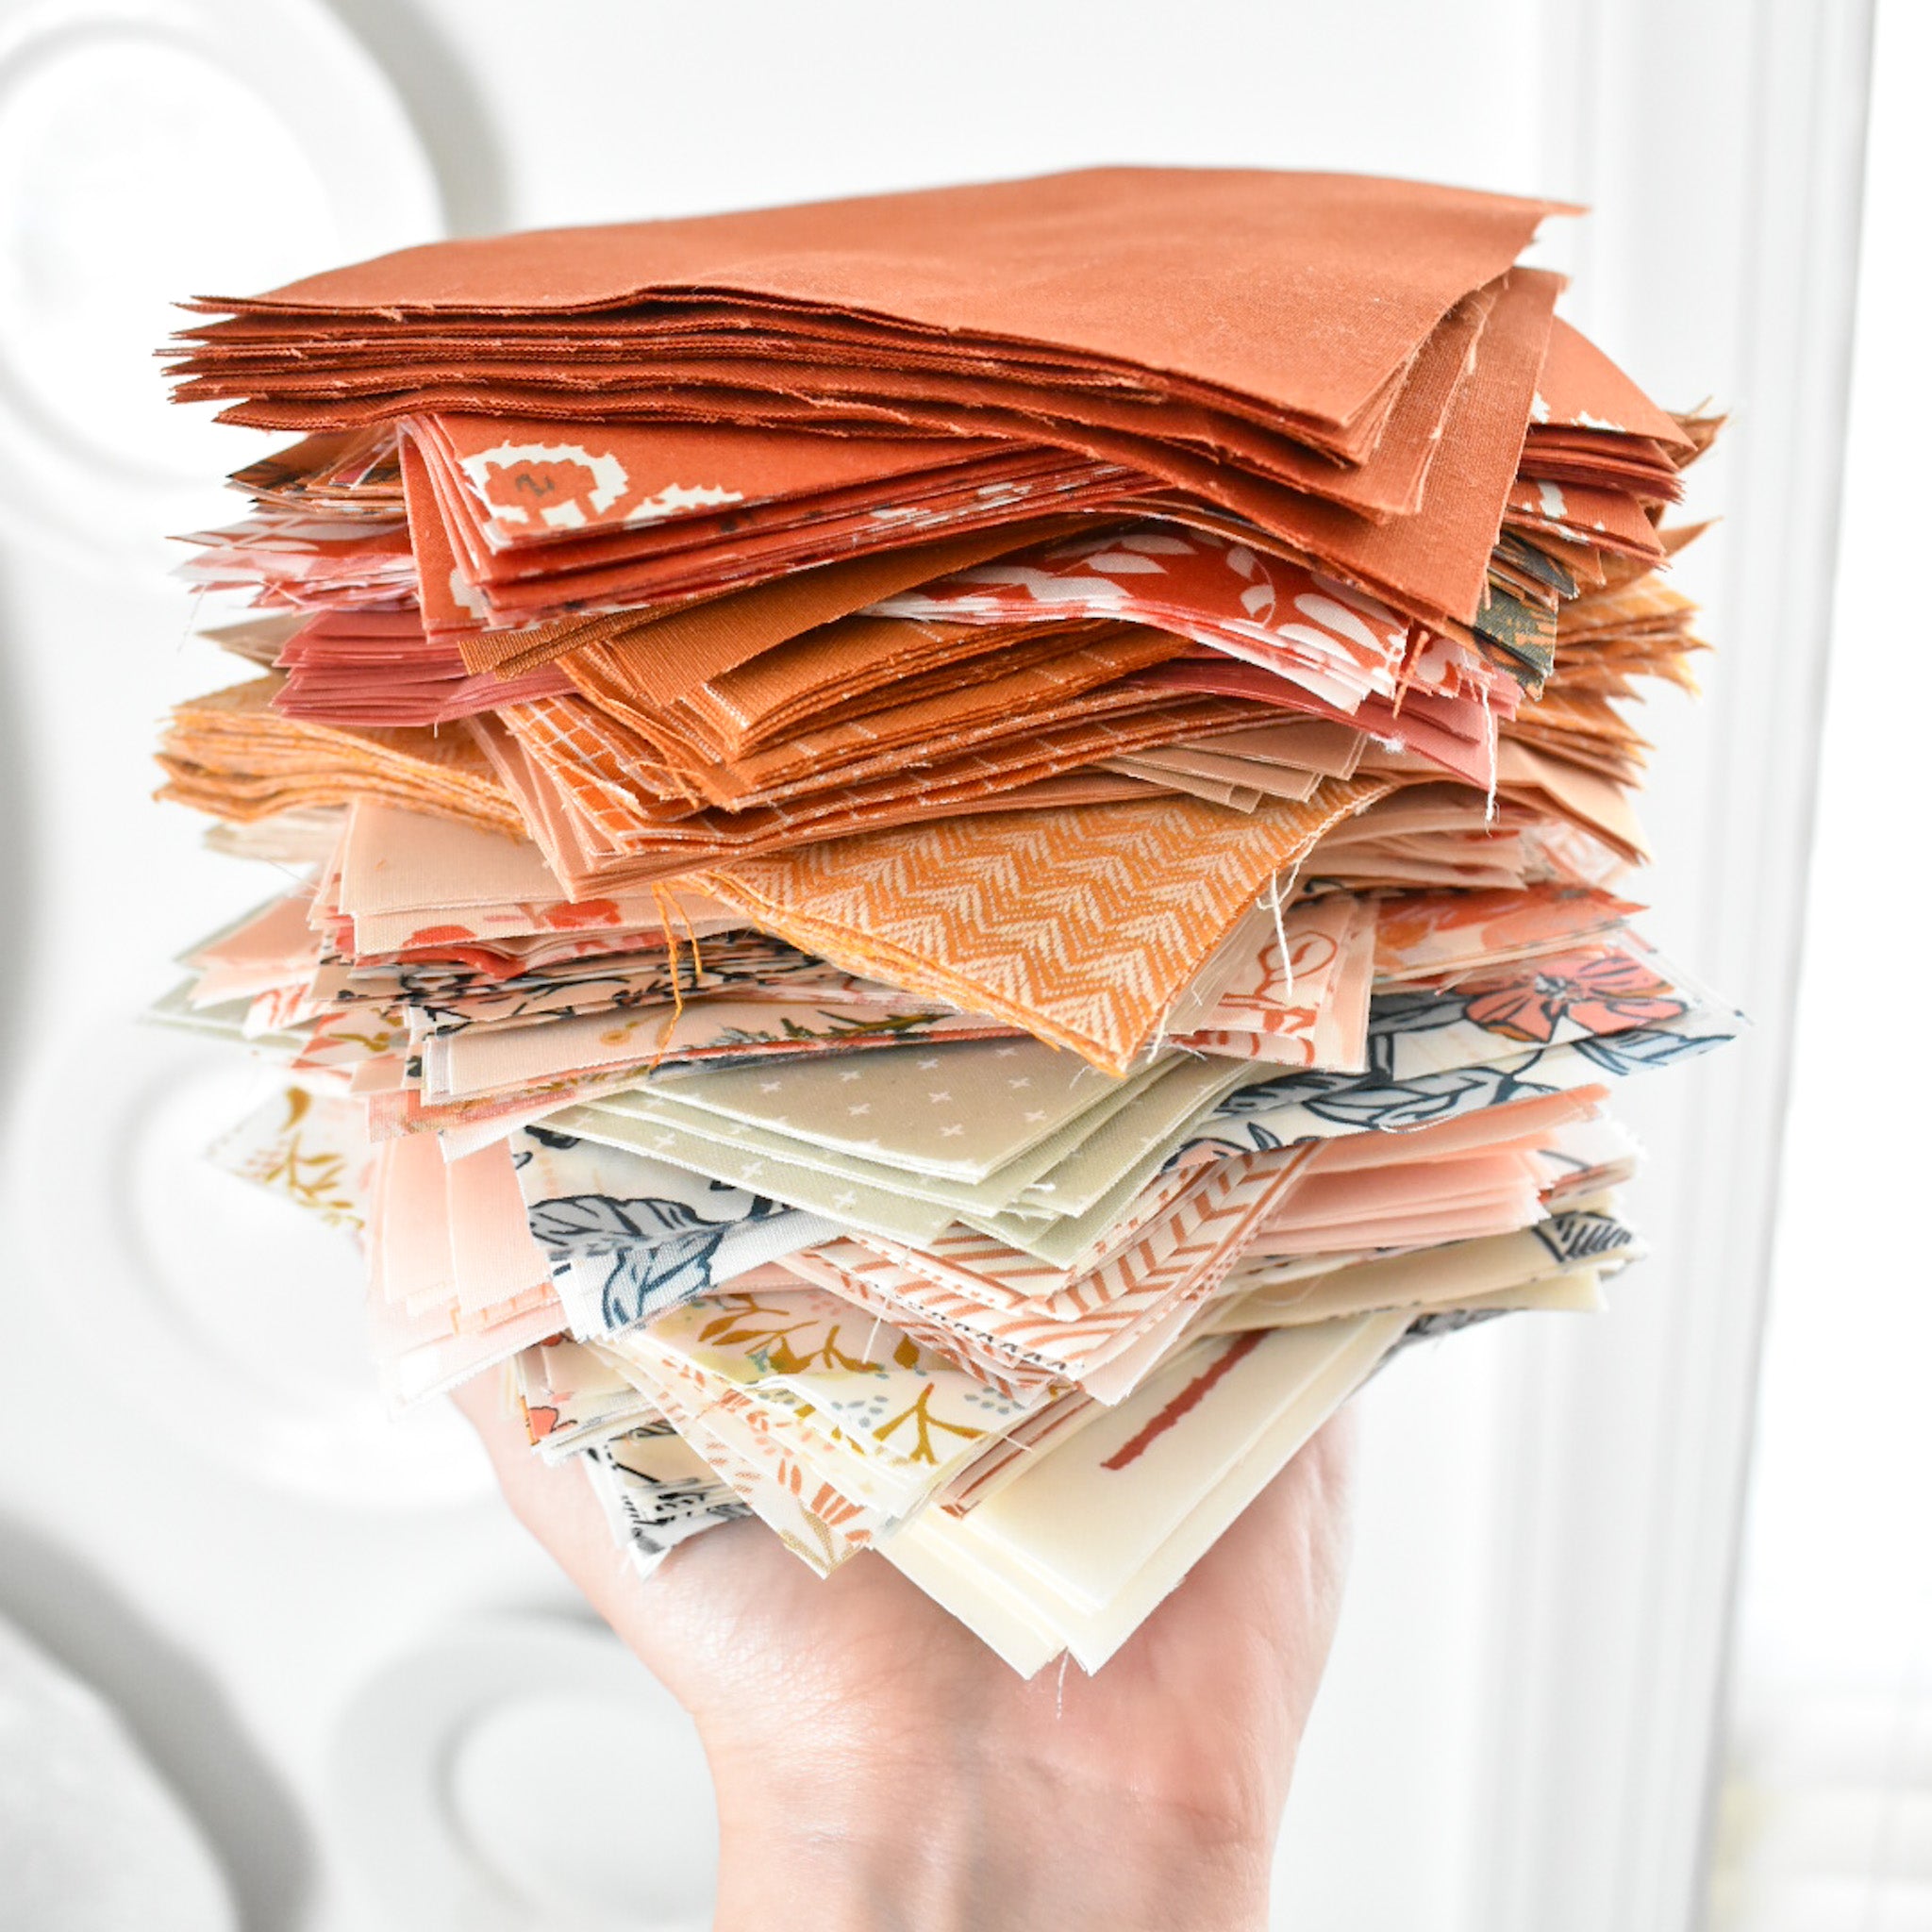
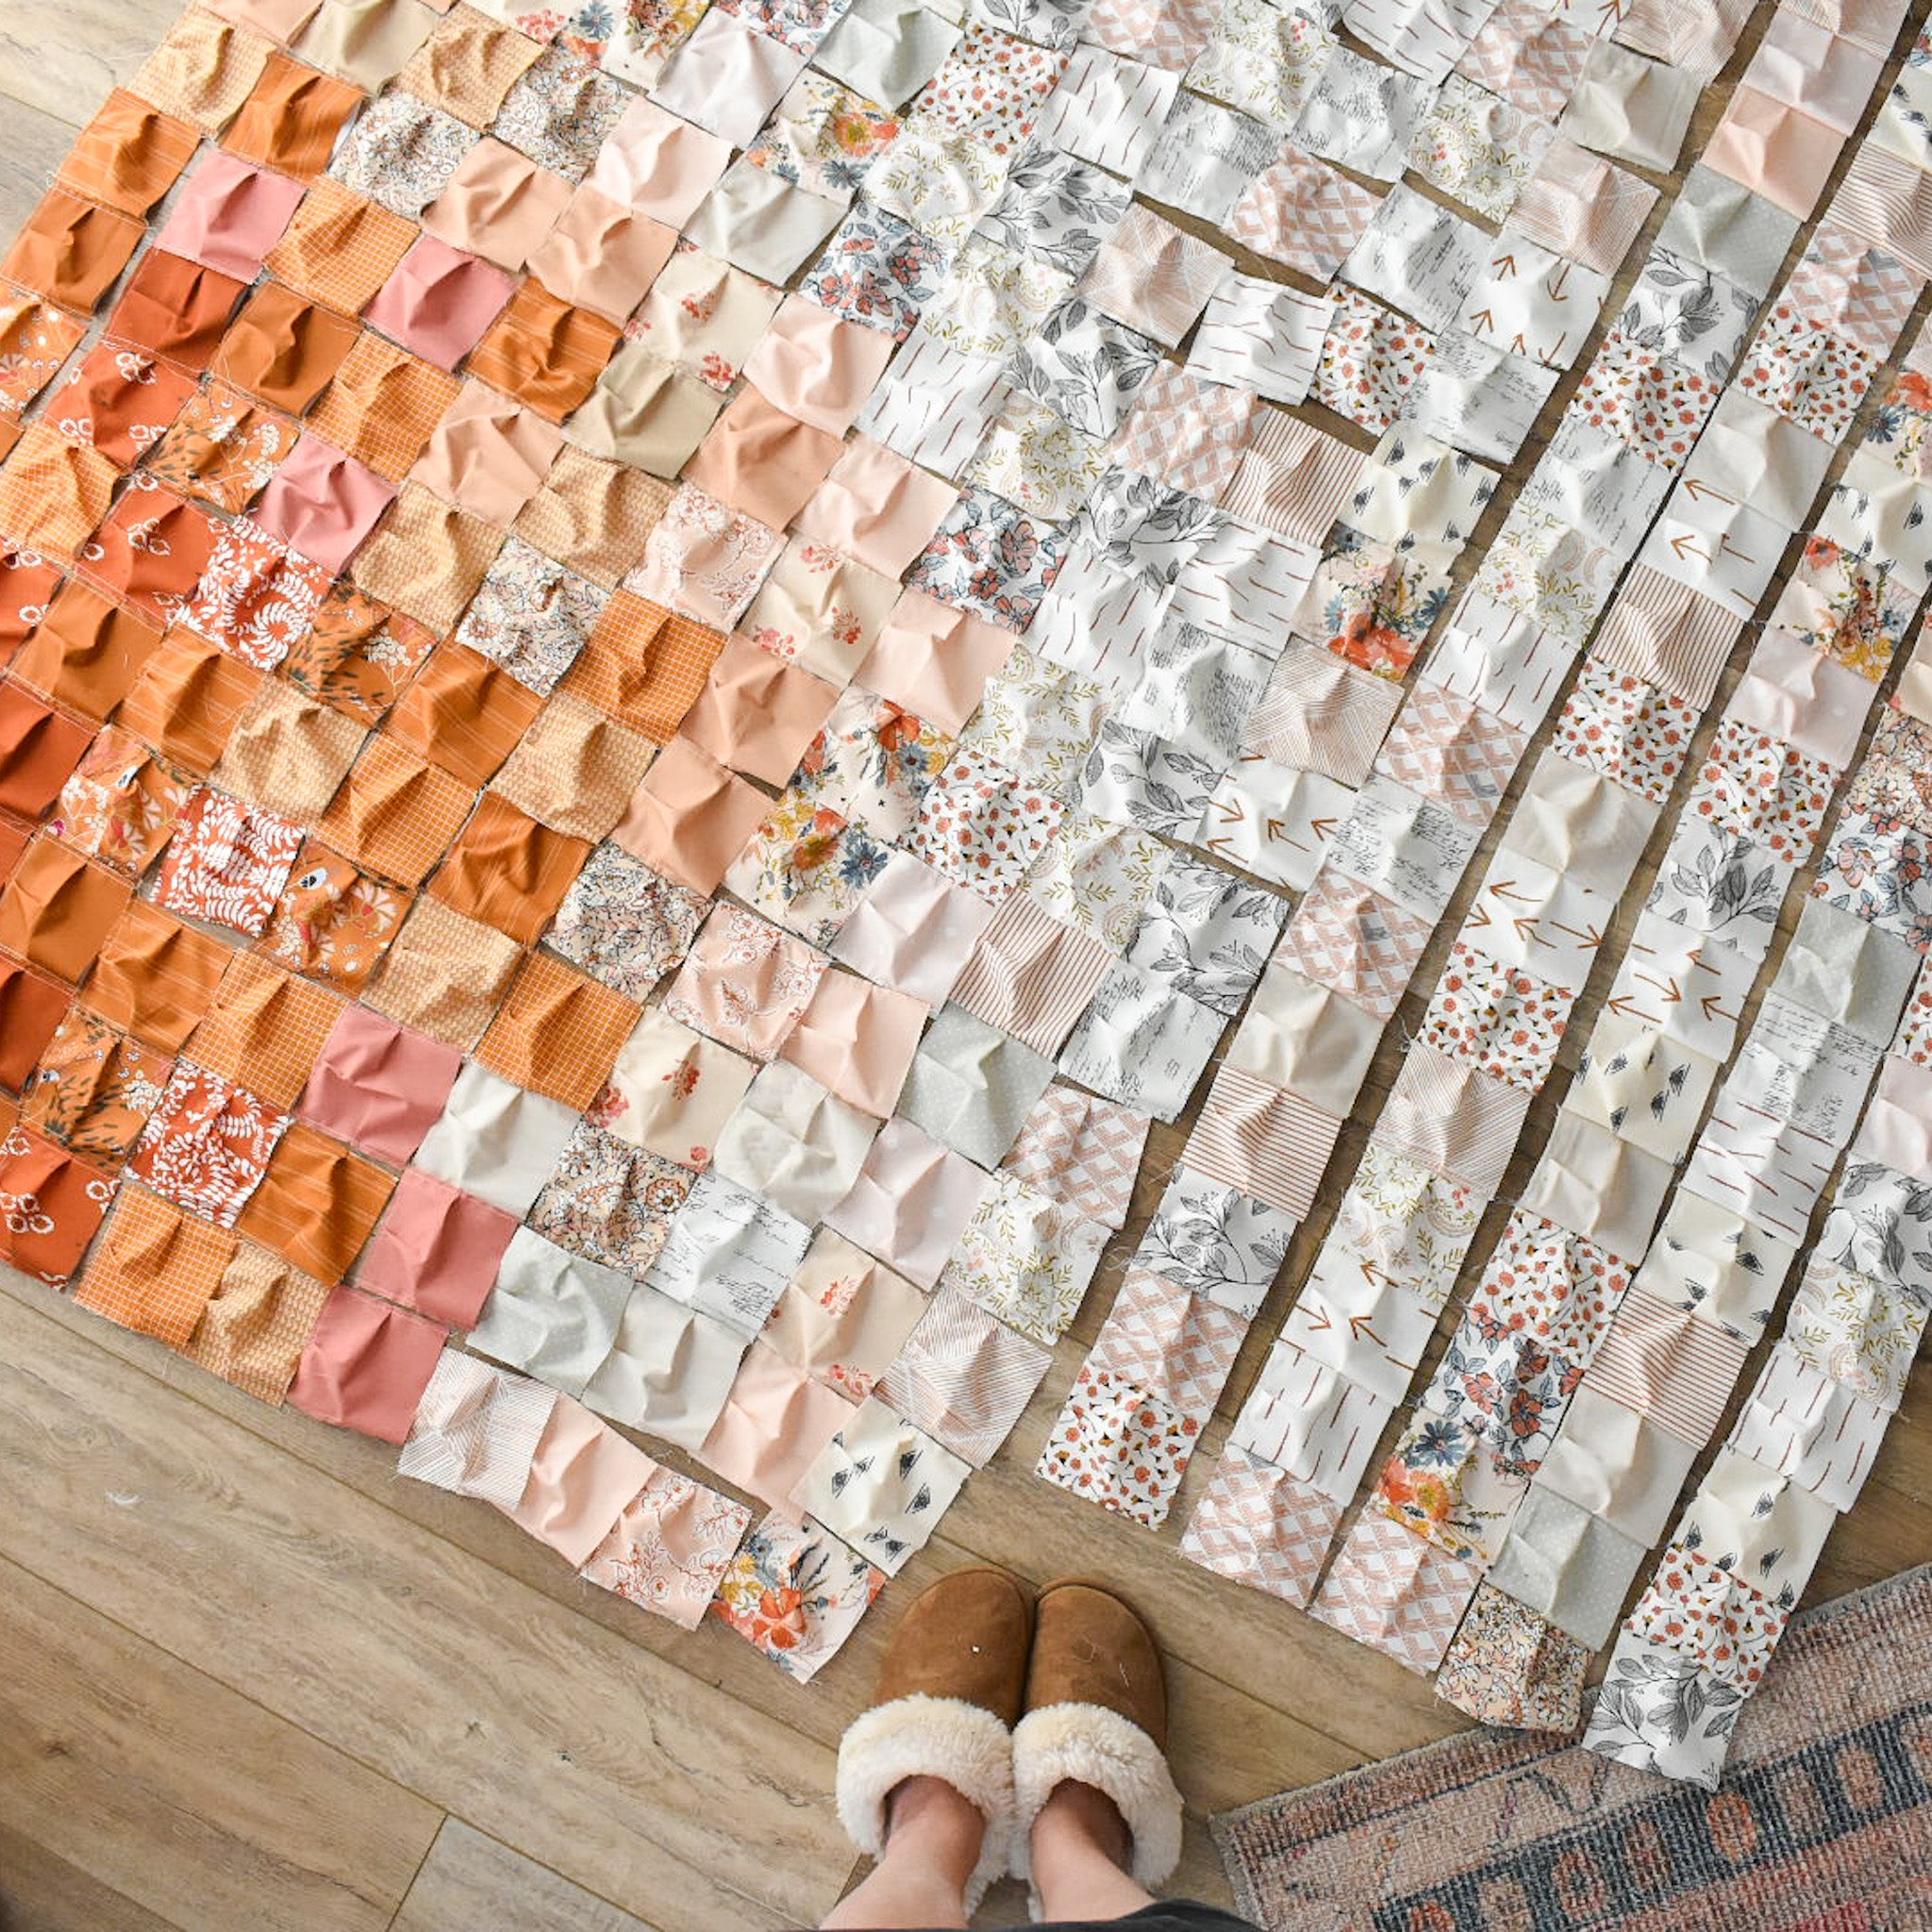
This week we are completing everything on page 6 of the Ombre Puff Quilt Pattern. This is also minute mark 1:02 of the Ombre Puff Video Tutorial. This step is pretty straight forward, once you get a rhythm down with making the pleats it actually goes pretty quick. Here are a few tips to keep in mind:
- For this step, I used a stitch length of around 2. This doesn't have to be exact, so go with whatever you like.
- It's helpful to create a pleat AFTER you've stitched a few stitches in the corner of the squares. This keeps the bottom fabric taut as you are forming the pleat.
- Peter helped me with this step, both for my first Ombre Puff quilt and this quilt. He really liked to chain piece the puffs, one side at a time. This eliminated him having to lift the presser foot and snip threads. It's very efficient! You can either sew one side of the puff, with your needle down pivot 90 degrees, and repeat for the three sides of that puff, or you can go through and chain piece one side of all the puffs, snip the threads, then chain piece another side of all the puffs and so on. Either way. :)
- Remember to leave the fourth side open! We are only creating pleats on 3 sides of the puffs.
- Don't stress if the pleat isn't perfectly in the middle! It's almost impossible to notice in the finished quilt, I promise!
- This is important: Remember that you want these seams to be smaller than the seams that you will be using in the next step when you assemble the rows. This means that I used a scant 1/4", or a seam that is slightly smaller than a regular 1/4". You could also think about this as using a 1/8" seam allowance for this step. We are only creating the pockets this week, so these seams will not be holding the quilt together in any way. When we sew our pockets together to create rows in Week 4, we will use a regular 1/4" seam allowance (or a seam allowance that is slightly larger than the one that you used this week).

.
This is what it looks like if your seam allowance for this week is larger than the seam allowance that you will use for next week. You can see my seams from when I constructed my pockets. It's not a big deal, but ideally those should be hidden when I go to create my rows in Week 4.

.
If you are making a larger size puff quilt, I wanted to share a technique for you to consider for your quilt construction. I haven't decided if I like this method or not (this is NOT what I used for my quilt), but I figured it was at least worth sharing to let you decide for yourself:
Instead of creating a 3 sided pocket, create a complete pocket, without the stuffing, and sew them all together like you would for a normal quilt top. Then once you have your quilt top together, flip it over, cut a hole in the back of each puff, add the stuffing, then do a quick whip stitch to close up the hole. In some ways this seems more time consuming, but if you are nervous about the weight of your quilt, and managing that through your machine, maybe consider this method? Again, I am a big fan of the way that I construct the quilt in the video and in the pattern, so I'll be sticking to that. But I wanted to give this as an option for anyone who wants it. :)

Community Progress
Here are some Week 2 progress shots from the #puffQAL2022 hashtag!
.

.
.

.
.

.

.


.Next week we will assemble our rows! I'll see you then. :)
-Brittany


