Ombre Puff QAL - Week 4

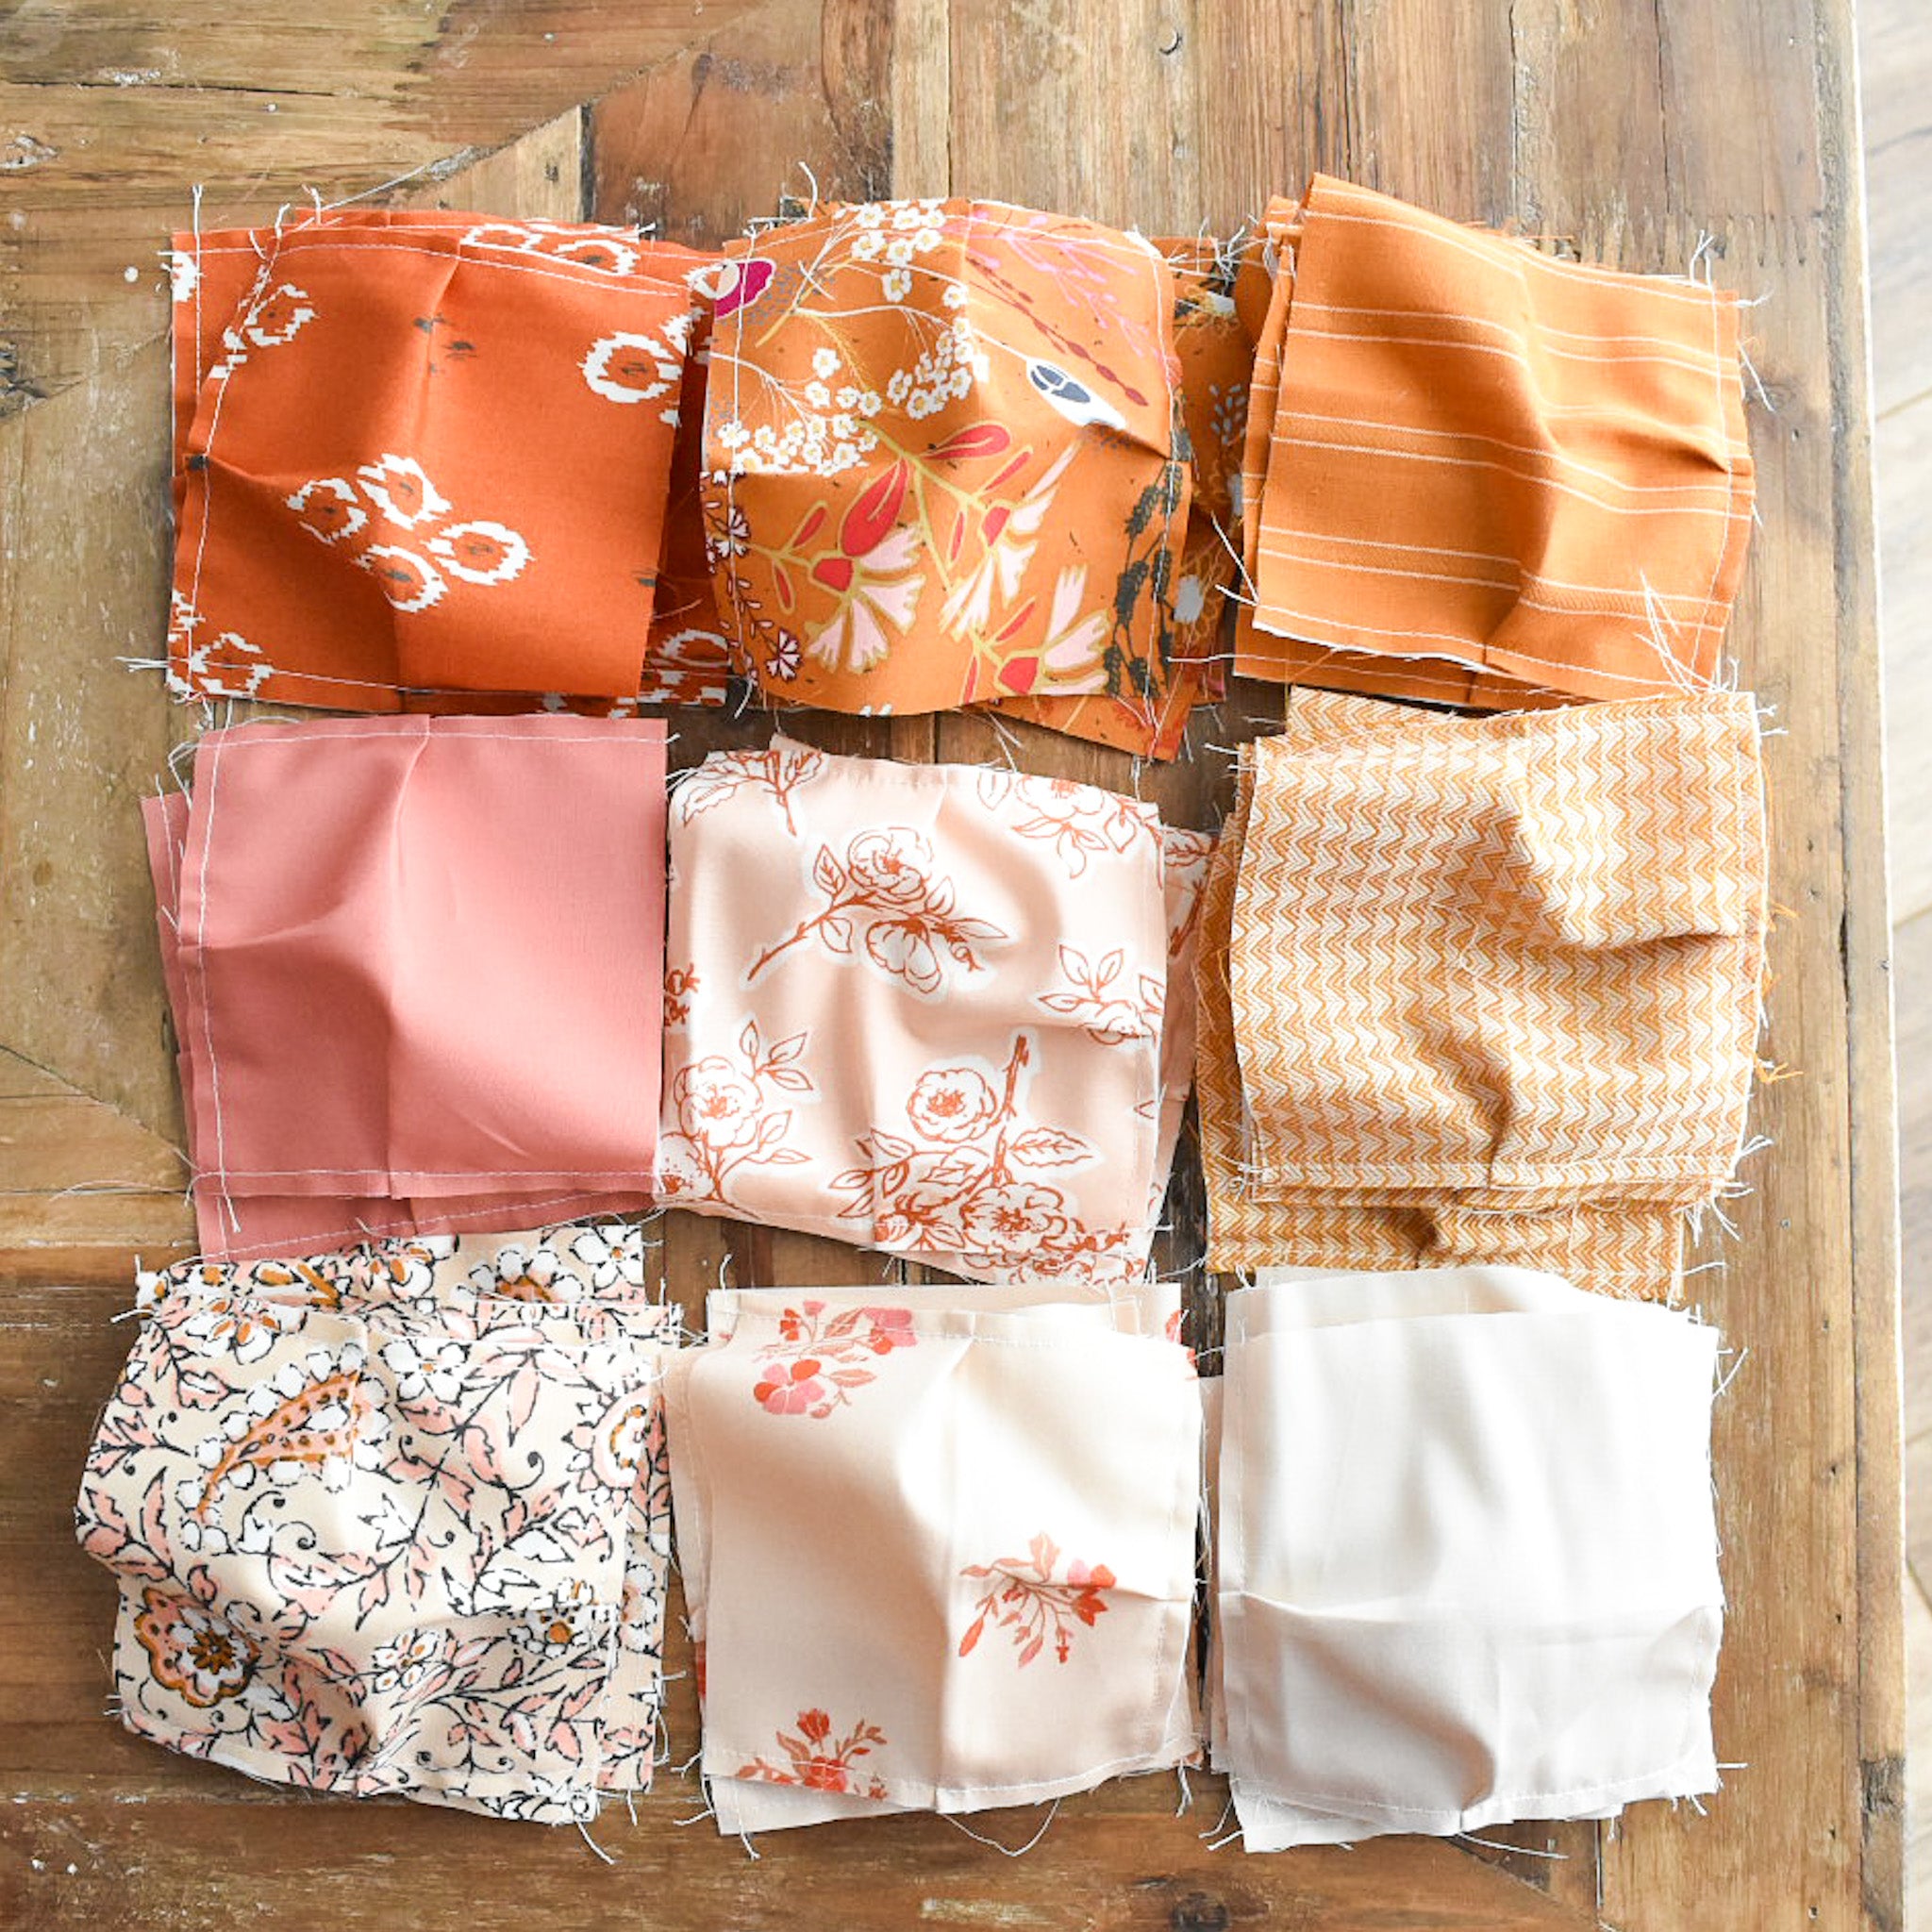
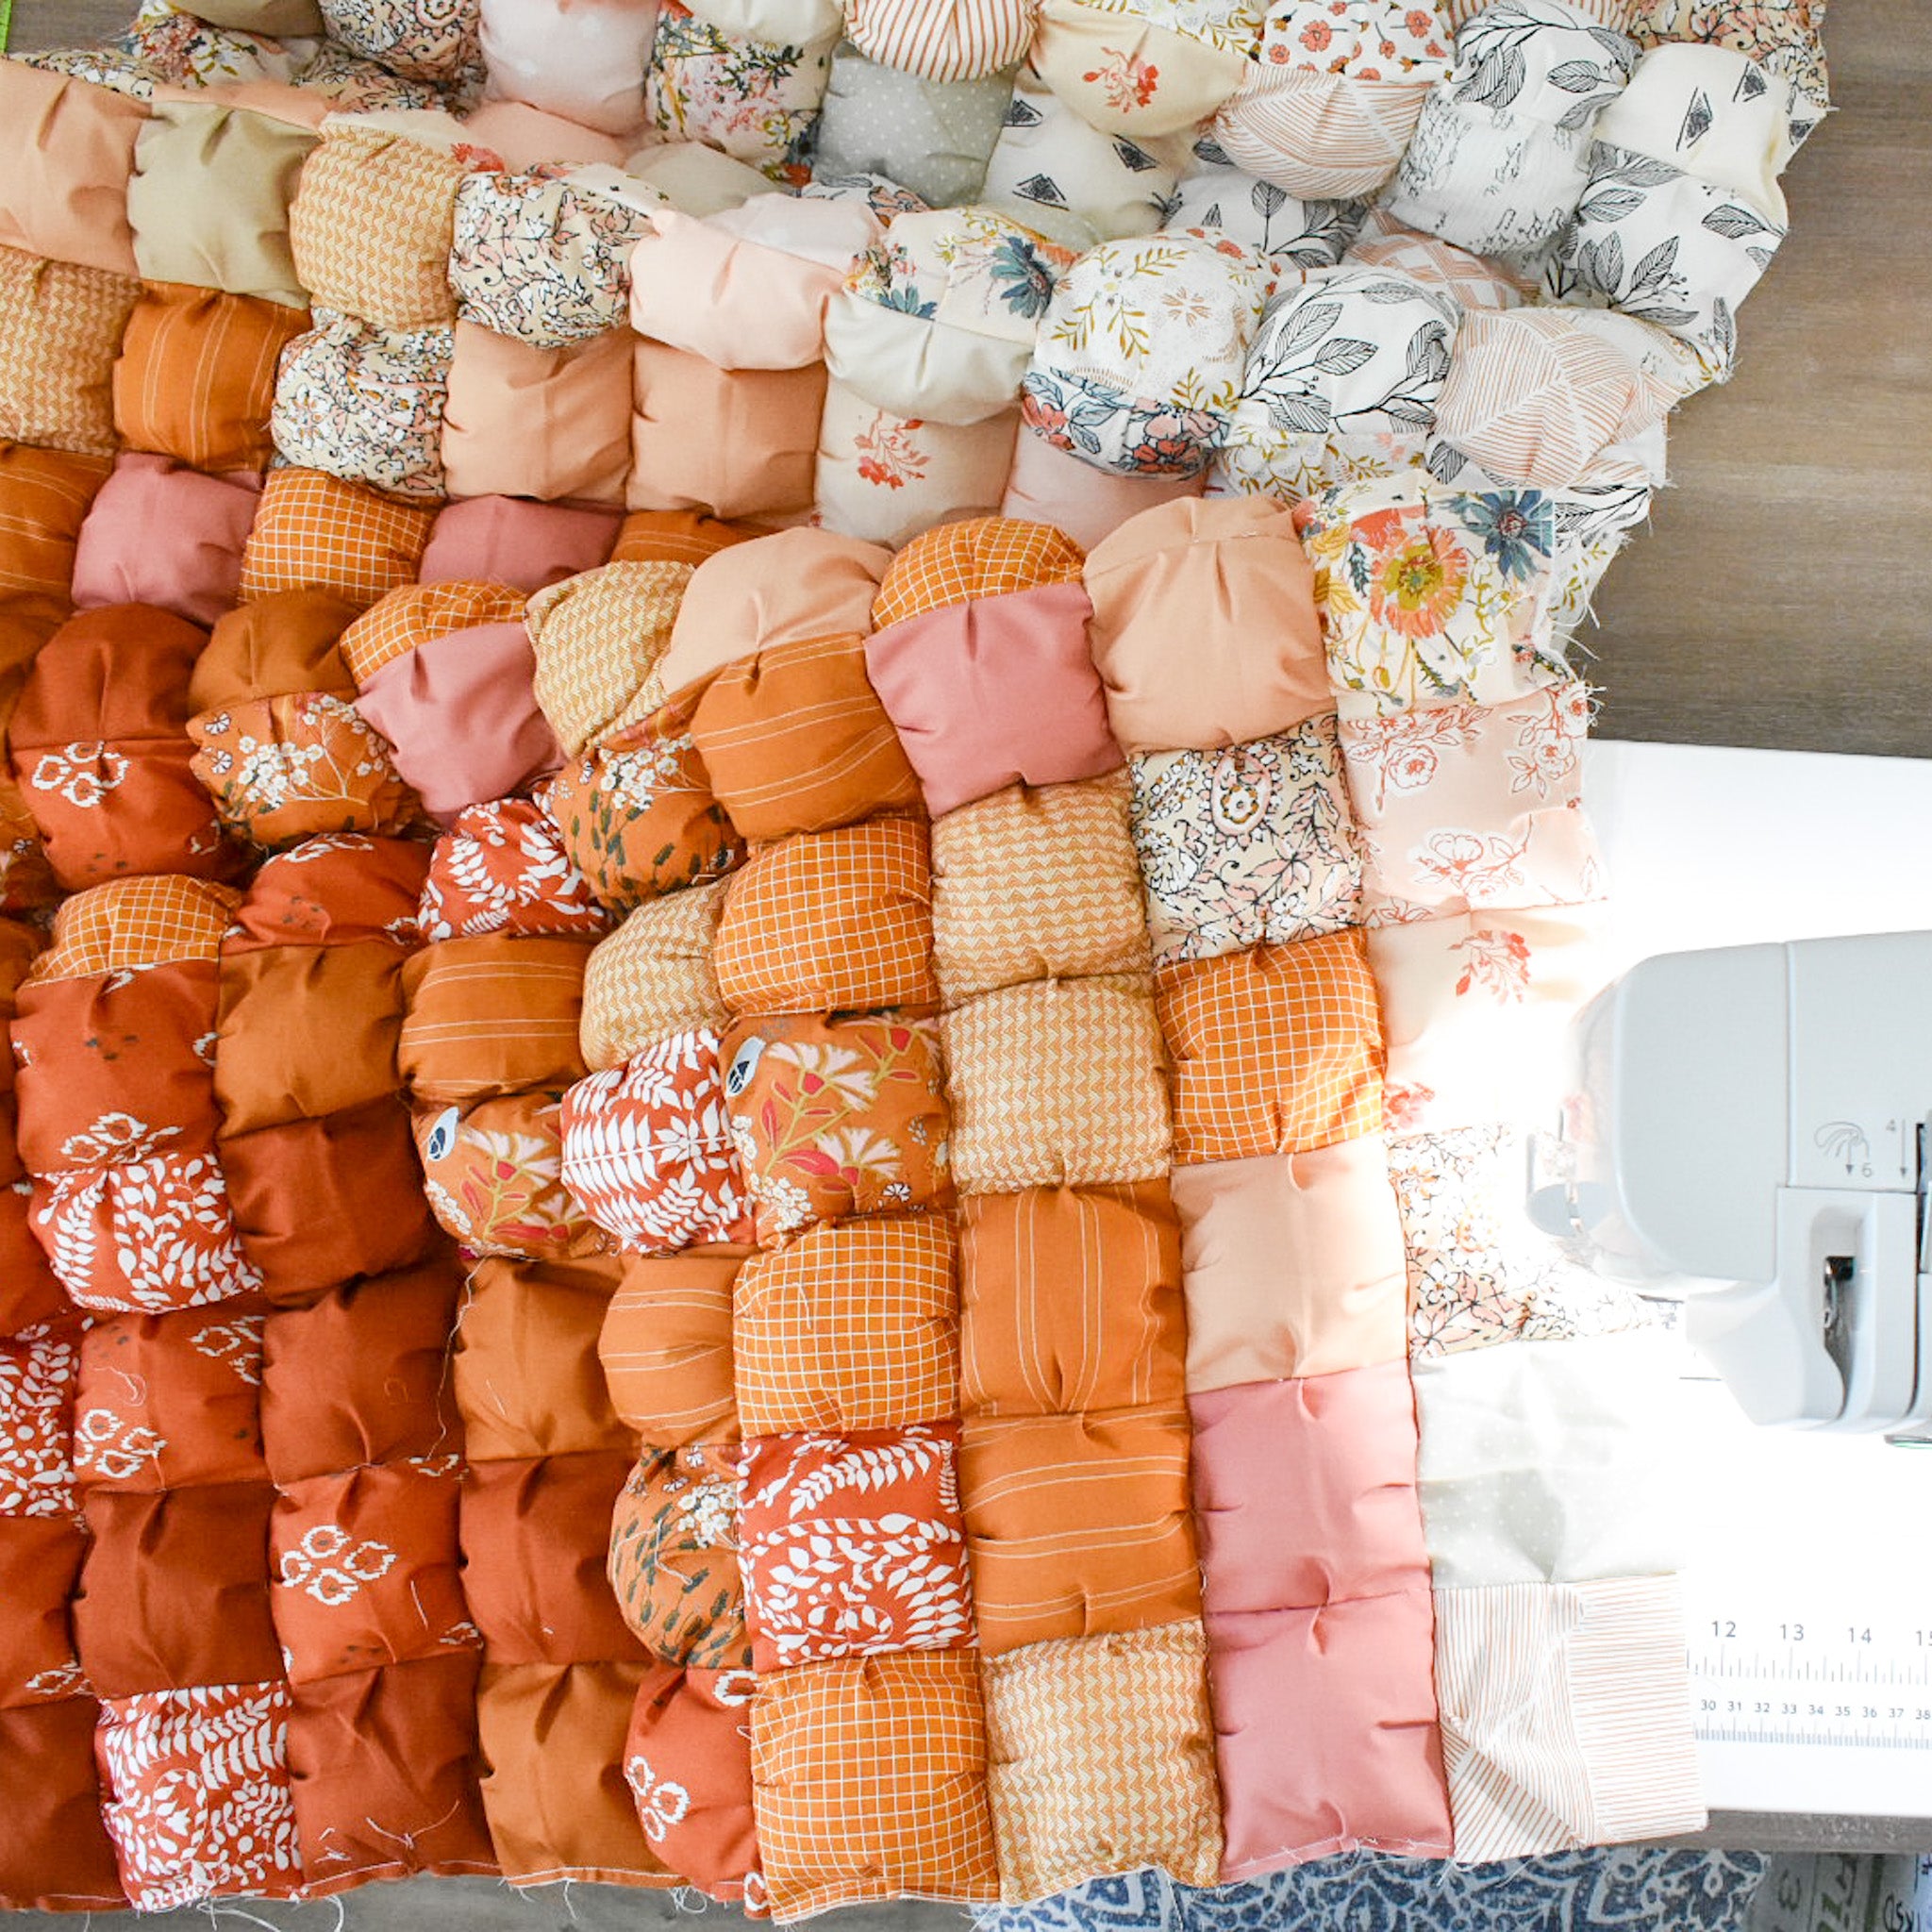
Welcome back puff quilters! It's Week 4! Here's a look at where we've been and where we are going:
.

.
Week 4
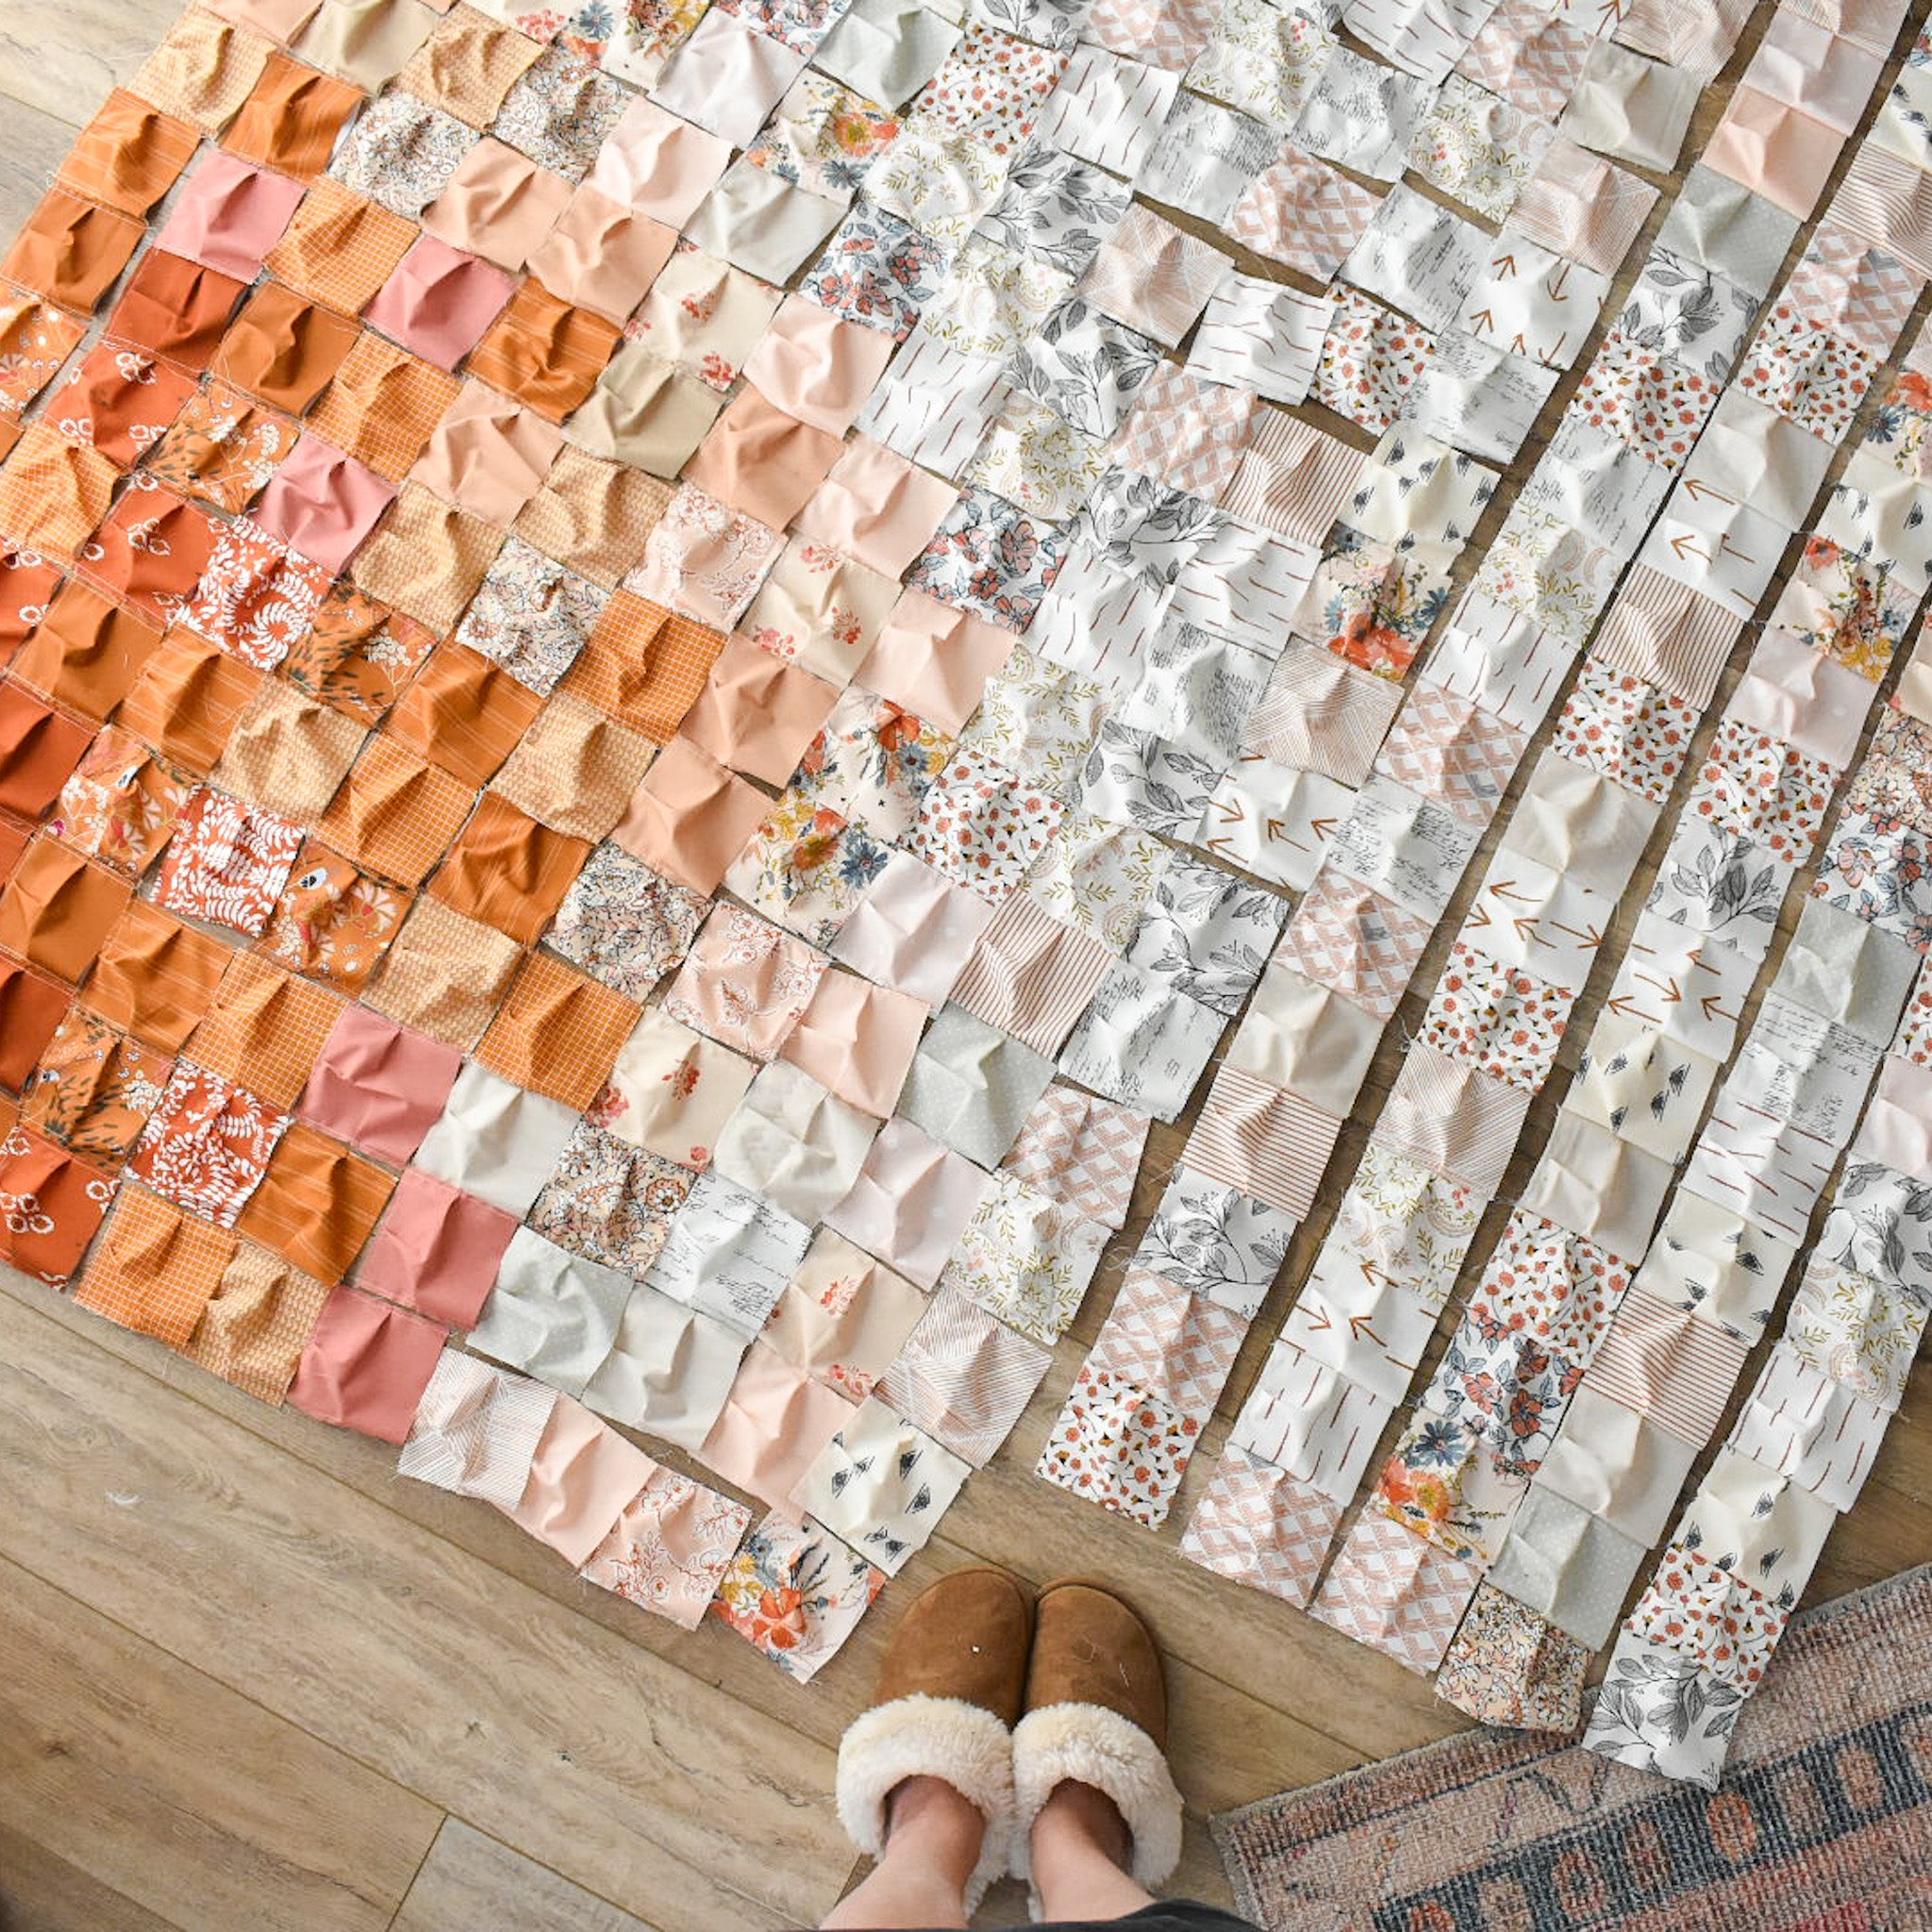
This week we are finalizing our layouts and creating our rows! Complete everything on page 7 of the Ombre Puff Quilt Pattern. This is also minute mark 3:33 of the Ombre Puff Video Tutorial. Here are a few tips for this week:
- Spend some time finalizing the layout of your puffs. If you are going for a true ombre effect, start out by laying out the puffs where you think they should go. Take a step back and notice how everything blends. Sometimes it helps to take a picture and look at the photo, rather than trying to look at the entire quilt. If the margins of each fabric/color are too harsh, move colors around until you are happy with how they look. If you read my "Tips for Creating an Ombre Quilt" blog post, you might recall me talking about "anchor points." Generally speaking, I like to put the anchor points on the outside of my quilt, then have the colors fade in the middle. That being said, there is a really pretty example of the opposite idea below if you keep scrolling. If you are feeling stressed about this step, remember that there is no right or wrong answer! Trust your gut and go for it. You can also ask the Facebook group if you are feeling stumped. Here are a few ideas....

- Here is an example of Elizabeth's puff quilt progress (shared in the Facebook group). She stated that with her initial layout, it was feeling more "patchy" than it was "ombre." She then blended the colors a bit more by mixing them up a bit and take a look at the end result! I thought this was a great example of "before and after."

.

.
- If you are looking for inspiration for how to lay out your colors, be sure to check out the #ombrepuffquilt hashtag on Instagram. The most popular layout seems to be diagonal fades in each of the corners, but there are lots of other ideas out there!
- Once you have your layout finalized, stack each of the puffs into rows, then label each row with a number.
- Using a regular 1/4" seam, or a seam that is larger than the one that you used last week, sew the puffs together to create rows. Remember that the seam that you used last week should be hidden.
- IMPORTANT- Make sure that the opening of each of the puffs is on the same side. This is where you will add the stuffing.

.
- Once each row is sewn together, be sure that you either keep them in order, or keep them labeled.

.

.
.COMMUNITY PROGRESS
Here are some Week 3 progress shots from the hashtag!

.

.

.

.

.

.

.

.

.
Next week, we will stuff our rows and assemble our quilt top! This is when the magic happens!! I'll see you then!
-Brittany


