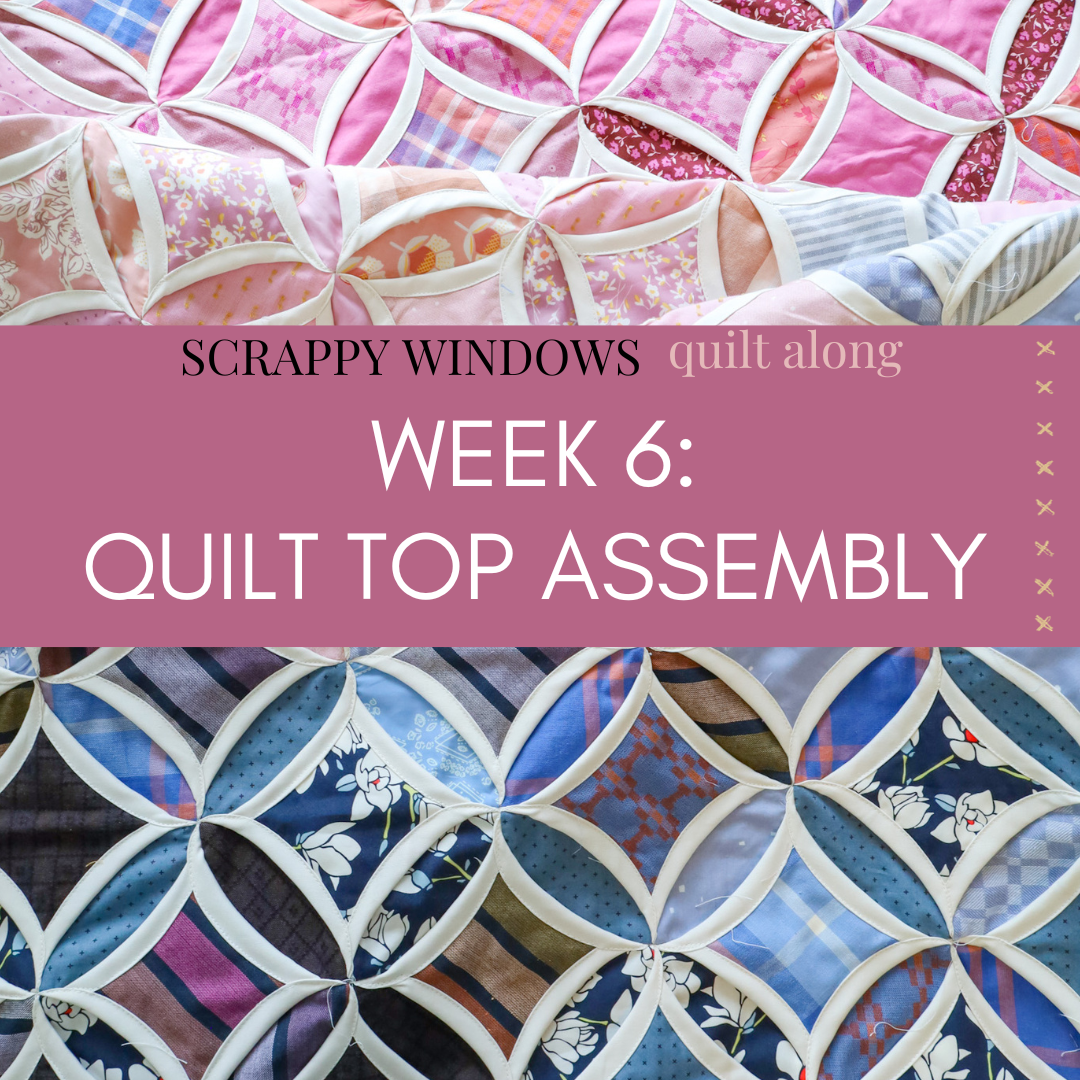
Scrappy Windows QAL - Week 6 - Quilt Top Assembly

- Week 1 Blog Post (Cutting)
- Week 2 Blog Post (Planning & Organizing)
- Week 3-5 Blog Post (Creating Sections)
- Scrappy Windows Quilt Kits
- Scrappy Windows Blog Post
- FREE Scrappy Windows pattern
- Shop Scrappy Windows kits
Schedule

Week 6
There are a couple of ways that you can proceed with making this quilt, but I decided to structure the quilt along similar to how I created my first Scrappy Windows quilt. Depending on what size you are making, creating the quilt top in sections REALLY helps with managing the bulk of these fabrics.
We'll be referring to Minute 39:25 of the Scrappy Windows video tutorial, seen below.
Quilt Top Assembly Tips
By this point, you know the gist of how this quilt goes together. Where it gets a little tricky is how to manage the quilt during this final phase.
As for sewing the sections together, you'll be doing the same process as before. Here are a couple of things I do when I'm creating a large piece of work:
- Make sure my sewing machine has space to the left of the needle and also behind the needle. You might even want to find a way to support the weight of the fabric that will hang below your left elbow as you sew. I've placed a chair directly left of my chair before and that's helped.
- When you go to press the seam, position the ironing board so that you have a table directly behind it to catch the weight of the quilt.
- Take frequent breaks.

Adding Final Windows
This is probably the trickiest part of the entire process, especially if you're making a larger quilt. I made my first Scrappy Windows quilt on a Janome M7, so I have (I think 13"?) to the right of my needle, which is incredible! But even with that much throat space, it can still present a challenge.

I found that rolling my quilt parallel to the Row first, then rolling the quilt perpendicular to the Row was the best way to "package" the quilt top for the machine.


WEEK 6
By the end of this week you will have a finished quilt top! Next week is a catch up week so feel free to take your time with this step!
In case you were wondering, I still only have one section created for my second Scrappy Windows quilt. I got a little behind with the launch of our online quilting courses this week, but I hope to get caught up in a few weeks!
I cannot wait to see everyone's finished quilt tops!!!
Don't forget to tag me on Instagram (@loandbeholdstitchery) and use the hashtags:
Happy sewing!


