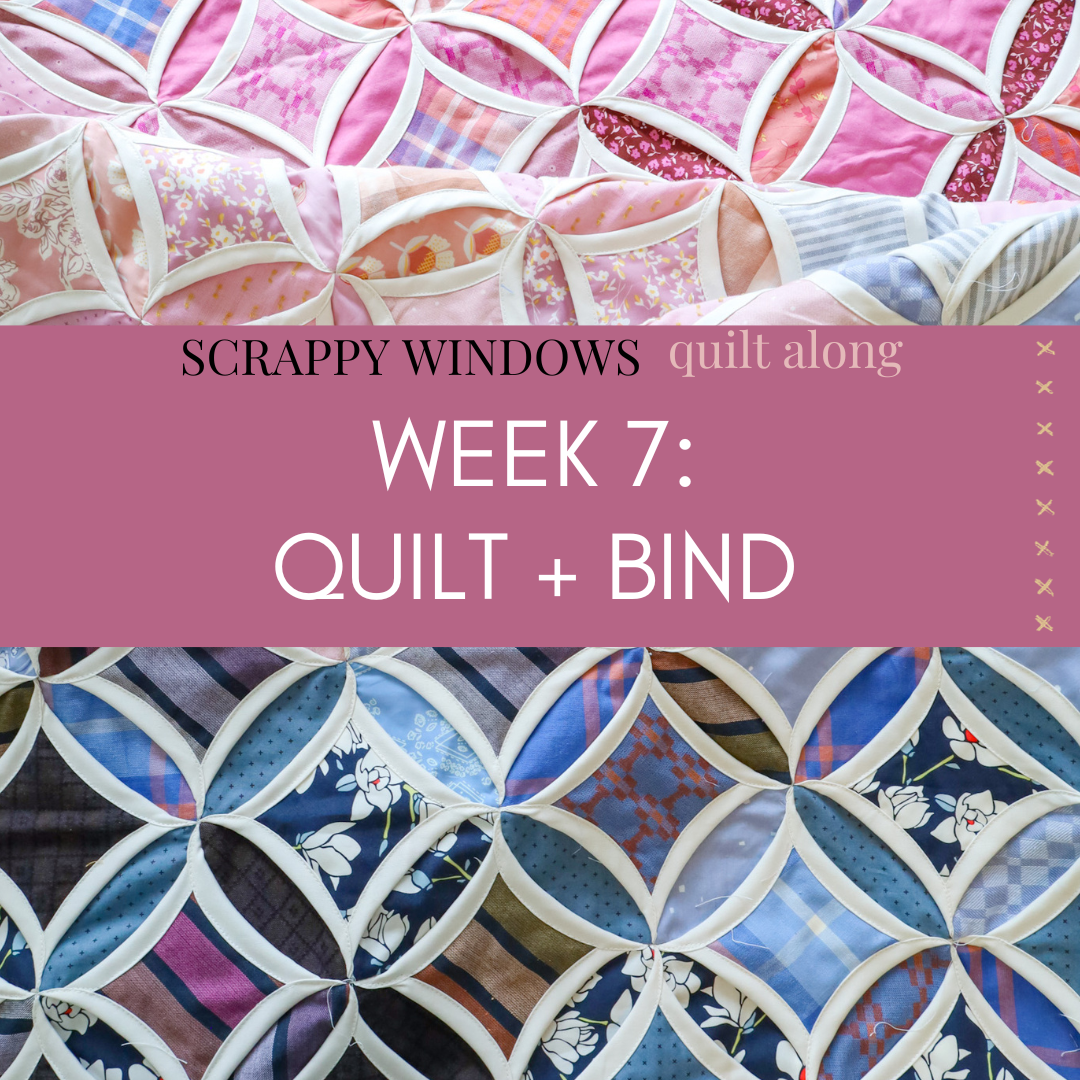
Scrappy Windows QAL - Week 7- Quilt + Bind

- Week 1 Blog Post (Cutting)
- Week 2 Blog Post (Planning & Organizing)
- Week 3-5 Blog Post (Creating Sections)
- Week 6 Blog Post (Quilt Top Assembly)
- Scrappy Windows Quilt Kits
- Scrappy Windows Blog Post
- FREE Scrappy Windows pattern
- Shop Scrappy Windows kits
Schedule

Week 7
This is the final step of the process; quilting and binding! Generally speaking, you'll do this like you would any other quilt, but there are a few important tips to call out.
We'll be referring to Minute 42:54 of the Scrappy Windows video tutorial, seen below.
Basting Tips:
I am a die-hard pin baster. When I first started quilting, I spray basted but I started having issues so I switched to pins and never looked back. So naturally with this quilt, I'm going to recommend pin basting, but feel free to use whatever method you prefer! I do wonder with the weight of the quilt top and the bulkiness of the seams, if spray basting would be as effective as pin basting. I'm not sure! If you try it and have great results (or bad ones) reach out and let me know and I'll be sure to share!
I also found that basting this quilt on my table was a HUGE help. I started doing this about a year ago and I haven't basted a quilt on the floor ever since. To do this, you'll need the biggest table you have, extra wide painter's tape and medium curved safety pins. That's it! I would recommend putting one pin in each of the background sections just to give you an idea of how many pins you need.
If you don't have a large table, consider using a picnic table at a local park or even check with your library to see if they have a table that you can borrow.

I've also had lots of questions about protecting the table from the pins. First and foremost you can put a large cutting mat or cutting mats under the area that you are basting. If you want to bypass that step, I just make sure that I don't insert the pin too forcefully. Once the pin goes through the quilt, I lift up pretty quickly before it has time to reach the table. Also make sure that you are gliding the pin in by keeping it close to the edge of the quilt while you are inserting it. If you angle the pin at a 90 degree angle while you are inserting it, you'll be more likely to "jab" your table.

Quilting Ideas:
I hand-tied "x's" at each Window intersection on my first quilt and I LOVED both the process and how it turned out. If you've been wanting to try hand quilting but you're overwhelmed by the process, I think this is a really great happy medium. I would watch the video above for exact details. Using 12 or 8 weight thread is perfect!
I plan to do something a little different for my current quilt. I'm going to machine stitch diagonal lines in the Background portion of the quilt. My lines will intersect where my hand ties were. Then I think I'll go back in and do hand ties as well. They won't be structurally necessary, but I really do love the handmade touch that they add.
You DEFINITELY want a 90/14 quilting needle for this process. You may even choose to quilt with 40 weight thread. (I'm going to be using 50 weight.)
I'll update everyone with how this turns out, so stay tuned!

Binding Tips:
You'll bind this quilt like you would any other quilt. Here are a couple of tips:
- I stitched around the perimeter prior to trimming away my batting and backing. I think this is only really necessary if you hand tie; although it doesn't hurt if you want to do it regardless.
- I normally use a 2.25" binding; since this quilt has more layers than normal, I used a 2.5" binding.
- Make sure the binding covers the raw edges of the edge/corner Window pieces. I was sure to check underneath my binding once it was sewn onto the front to make sure those pieces were well within my seam allowance.
You'll probably want to use a walking foot for this process, if that's something that you don't already do.
Then I did a hand stitched detail on the back of my quilt, which I'll probably do again for my current version. I don't think machine stitching the back of the binding down would turn out well on the front of the quilt. Alternatively, If you want to machine bind, I would sew the raw edges of your binding onto the back of the quilt first, then machine stitch the fold on the front of your quilt. This way the bobbin stitches would show on the backing.


WEEK 7
By the end of this week you will have a finished quilt! YOU DID IT!
I cannot wait to see everyone's finished Scrappy Windows quilts! Please share a photo on Instagram and tag me (@loandbeholdstitchery) so that I can see! Don't forget to use the hashtags:
Thanks for joining in for this Quilt Along! I hope you had as much fun as I did. :)


