Upscale Plaid QAL - Week 3 - Assembling Rows

Hello and welcome back!
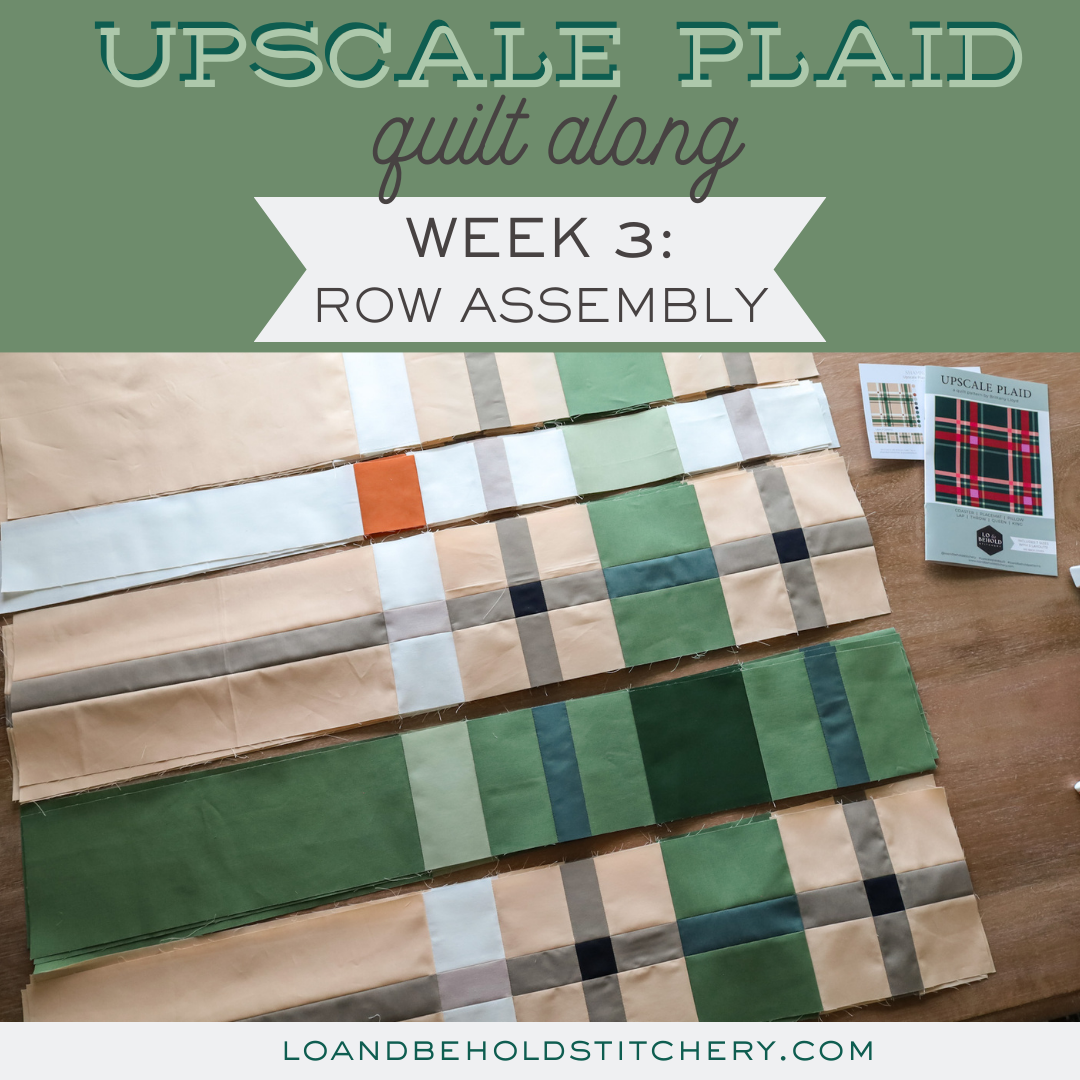
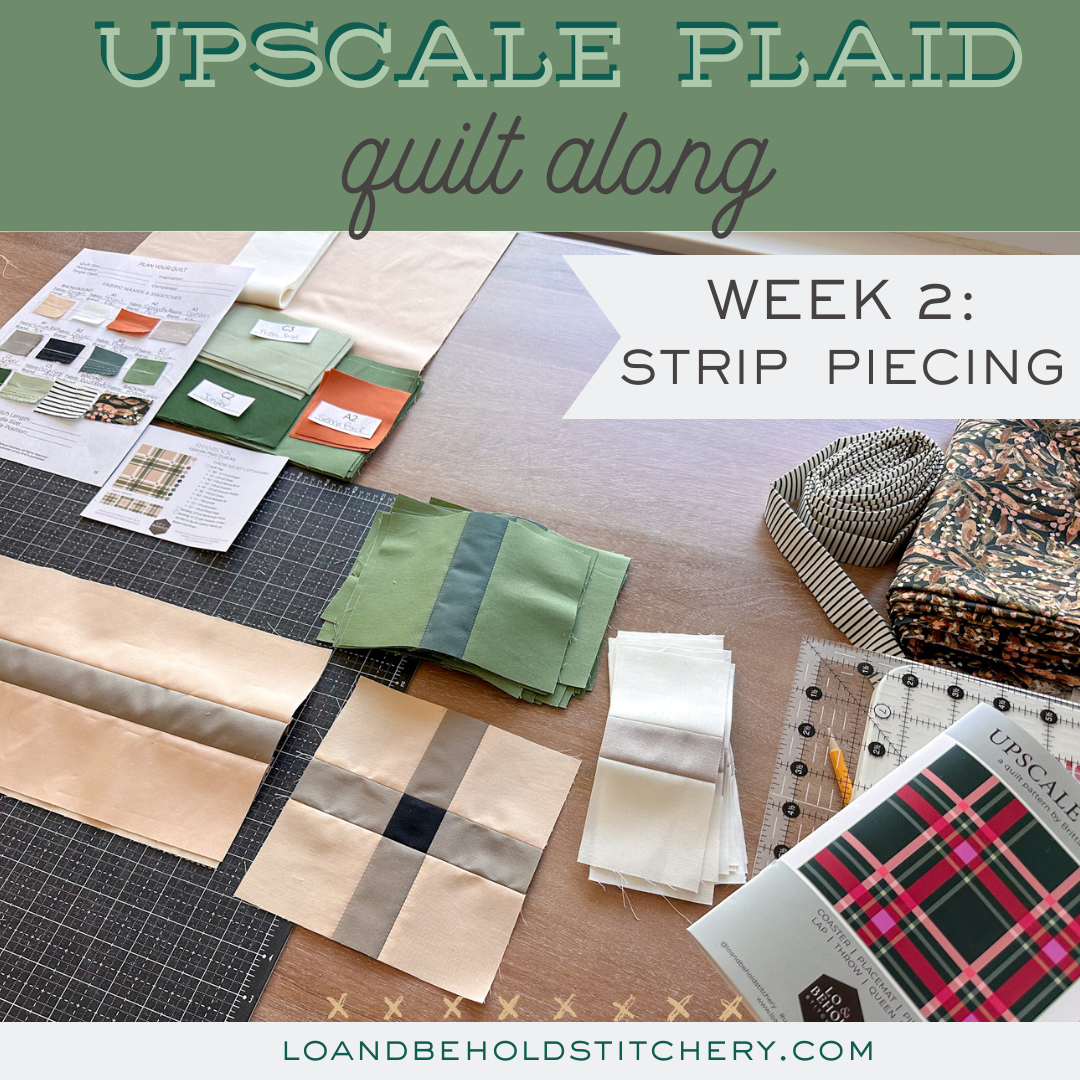
It's Week 3 (of 4) of the Upscale Plaid Quilt Along. By this week, you should have all of your strip piecing out of the way and Blocks A, B, C and D created. Now it's time to start to assemble our quilt top! Before we get started, here are some helpful links that you might find handy:
- Week 1 Blog Post - Cutting Fabrics (including video)
- Week 2 Blog Post - Strip Piecing (including video)
- Upscale Plaid Quilt Along Details
- PDF - Upscale Plaid quilt pattern
- Paper - Upscale Plaid quilt pattern
Week 3
This week, we're completing Steps 1 and 2 under Quilt Top Assembly. By the end of this week, you'll have all of your quadrant rows completed. If you're making the Coaster, Placemat or Pillow sizes, you'll only have one set of rows to create. Here's our Week 3 video with some tips for this process.
- Before you jump into this week, you'll want to decide on a quilt layout. This layout will determine how your press your row seams and your quadrant seams. Refer to the layout options on the bottom of page 9 in the Paper copy or the bottom of page 11 in the PDF.

- Also refer to the next page for "Quilt Drape" diagrams. If you are making the Queen or King size, this shows you what part of the quilt will show on top of a mattress.

- Lay out your Rows and Row pieces according to the diagram under Quilt Top Assembly on page 8 of the Paper copy and page 9 of the PDF. The chart that follows that diagram gives you a list of each of the pieces within the rows. Measurements are listed as width x height (horizontal measurement x vertical measurement) to indicate how pieces should be rotated.
- I like to chain piece each of the pieces in each of the rows. This is demonstrated in the video above and also written in this blog post. Essentially, I create all of my Row 1s at the same time, then all of my Row 2s at the same time and so on. I repeat until I have all of my rows for each of my quadrants created.
- Once you choose a layout, refer to the "Seam Pressing" chart at the top of page 9 in the paper version. If you're referring to the PDF copy of the pattern, you'll find it at the top of page 11.
- Refer to the left-hand column to reference which layout you are making. Then follow that row across the table to see which direction you should press each of the rows.
- For example, each Layout has (4) of each of the Rows 1 through 5. If you are making Layout 1, you'll press (2) Row 1 seams all to the left. and (2) Row 1 seams all to the right. Follow this chart closely because it will help you achieve nesting seams next week when we get to Steps 3 and 4.
- When pressing seams to one side, press the seam flat to start, then gently using the nose of your iron, press the seam according to the instructions. Remember to get the seam as flat as possible without any major folds of fabric around the seam.

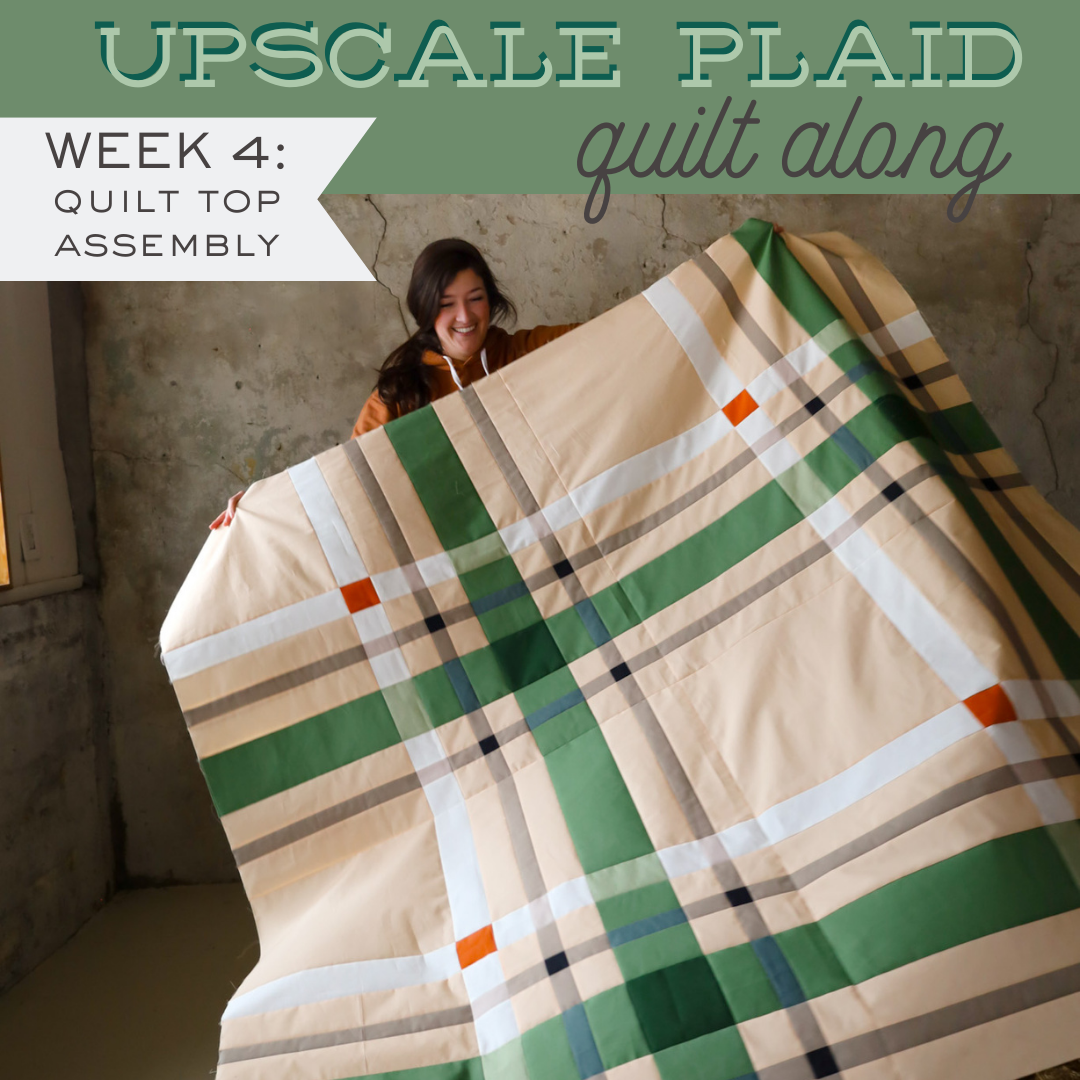
By the end of this week, you should have (4) of each of your rows created, which is Steps 1 and 2 under Quilt Top assembly. Next week, we'll complete Steps 3 and 4 of Quilt Top Assembly. Wahoo!! We're almost there!
.
Week 2 Winner
The winner of my "Heirloom" fat quarter bundle and thread collection is @sewtotallyobsessed . Congratulations! Send us an email (hello@loandbeholdstitchery.com) and we'll get your fabric and thread sent right over. :)
.
Week 3 Prize
This week, our prize from Sara of Stitch Lab Quilting. Sara has quilted quite a few of my quilts, including two of my Upscale Plaid sample quilts and she does an amazing job! If you're looking to have your quilt professionally basted, quilted and I think she even does binding...I cannot recommend Sara enough!

This "Winter Blush" Upscale Plaid quilt was long-arm quilted by Sara. You can read more about the quilt, find more photos and quilt kits here.
This week, one lucky winner will get FREE edge-to-edge quilting by Stitch Lab on their Upscale Plaid quilt!
To enter:
- Only public Instagram accounts are eligible for entry.
- Take a progress photo of this week's progress. Please make sure that your photo does not include any part of the pattern material. That is for your eyes only!
- Share the photo to Instagram.
- Use the hashtags #UpscalePlaidQuilt, #LoAndBeholdPatterns, and #UpscalePlaidQAL in the caption.
- Tag @LoAndBeholdStitchery in the photo.
The winner will be shared in the following week's blog post!
That's all for now! Thanks for joining along. I'll see you next week for Week 3. :)


