Upscale Plaid QAL - Week 4: Quilt Top Assembly

Hello and welcome back!
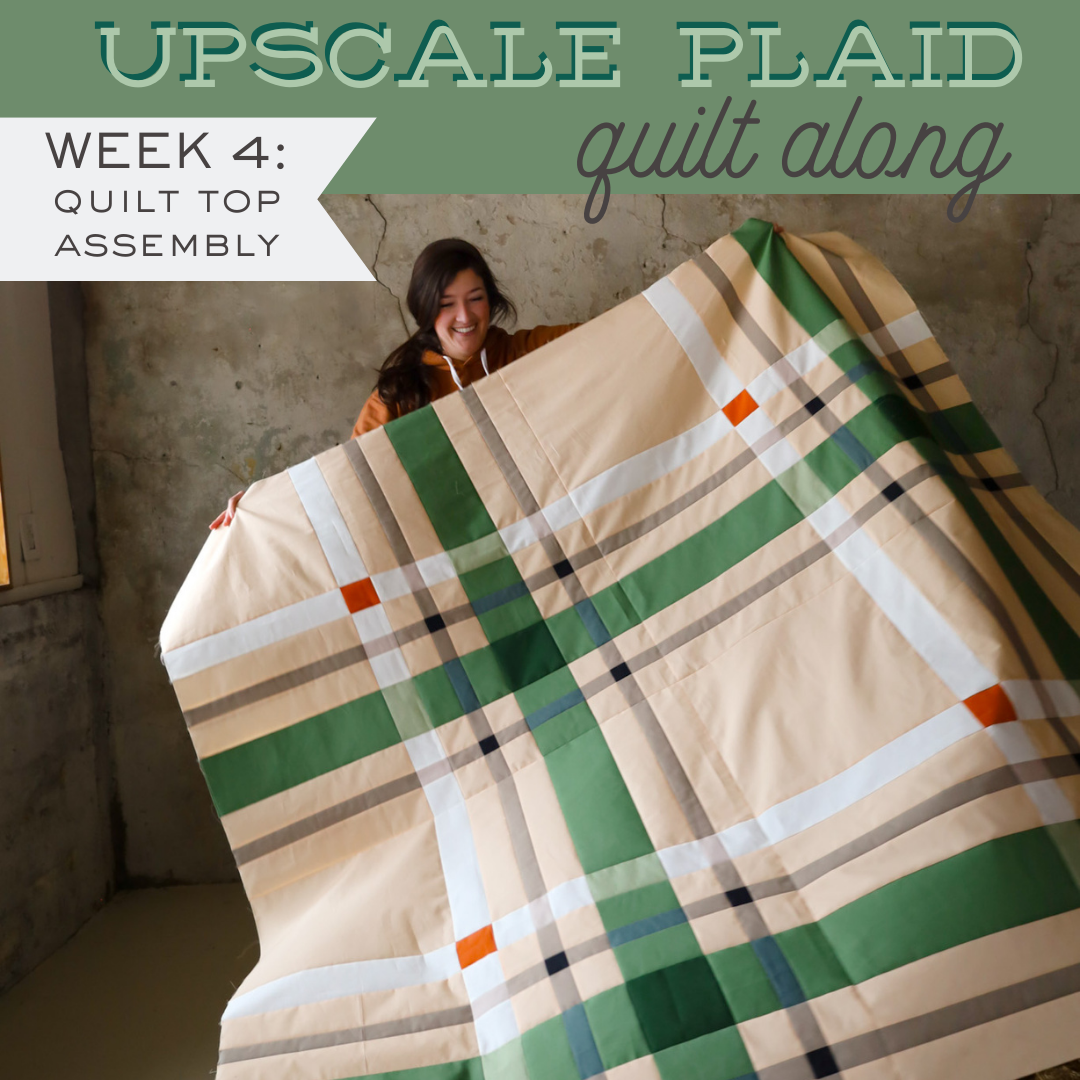
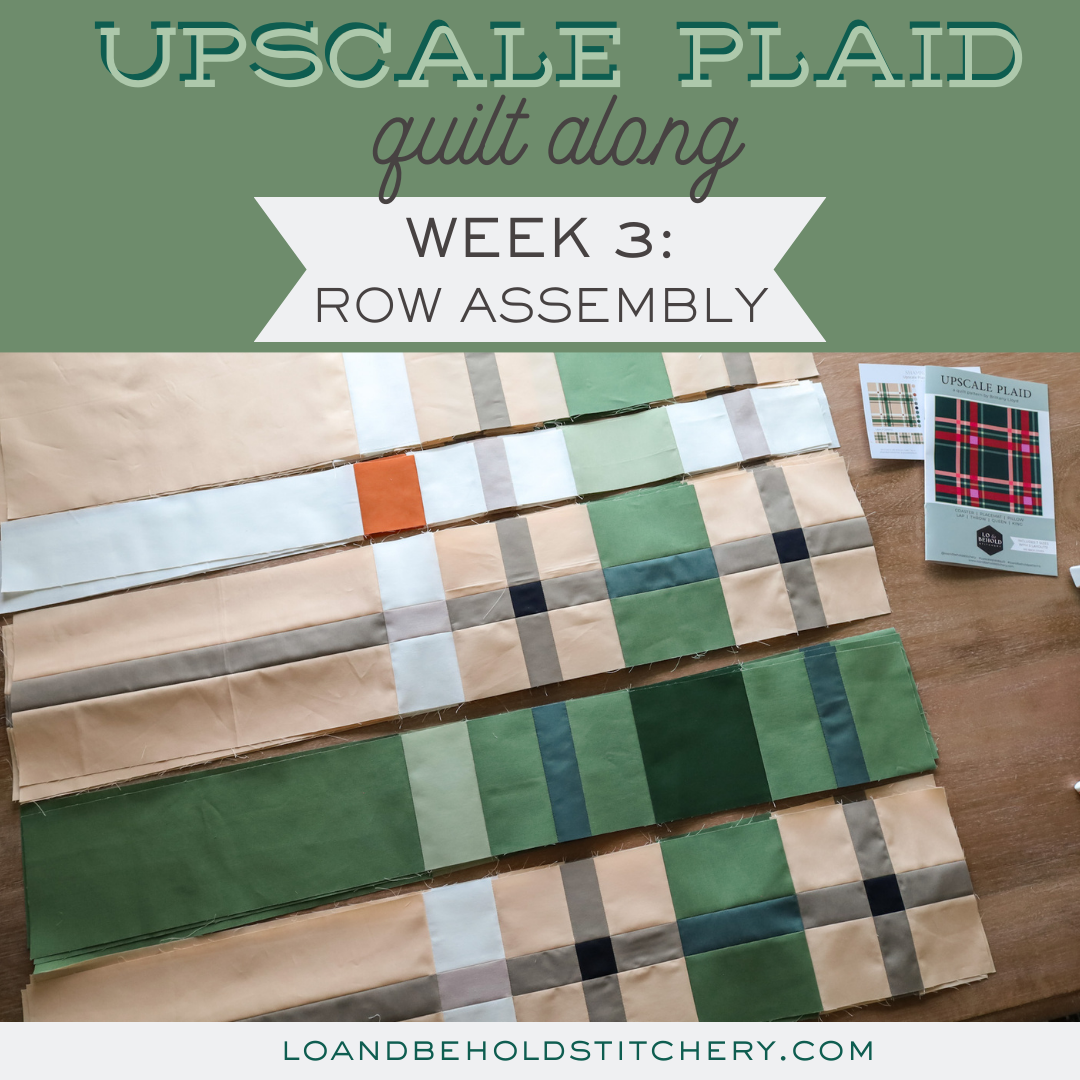
It is the 4th and final week of the Upscale Plaid Quilt Along! By this week, you should have all of your Quadrant rows assembled...now we are going to sew those Rows together to create our Quadrants, then sew the Quadrants together to create our Quilt Top! Looking at the pattern, we are completing Steps 3 and 4 under "Quilt Top Assembly". Before we get started, here are some helpful links that you might find handy:
- Week 1 Blog Post - Cutting Fabrics (including video)
- Week 2 Blog Post - Strip Piecing (including video)
- Week 3 Blog Post - Row Assembly (including video)
- Upscale Plaid Quilt Along Details
- PDF - Upscale Plaid quilt pattern
- Paper - Upscale Plaid quilt pattern
WEEK 4
Here's our Week 4 video with some tips for this process.
- By this week, you should have your layout picked out. That determined how you pressed your row seams last week, which will also help you have nesting seams when you go to sew the Quadrants together this week.
- Since I'm making the Layout 1, I have (2) Row 1 seams pressed to the right and (2) Row 1 seams pressed to the left. This applies to all of my Row seams. When sewing the rows together, be careful that you are sewing rows together that have opposite seams so that they are nesting.
- I like to use fabric glue for the areas that have open seams. Pins are also crucial for those long seams!
- Once your Rows are sewn together, follow the seam pressing chart to see what direction (up or down) those seams should be pressed. Be sure that you follow the chart all the way across. For example in Layout 1, in the Quadrants where Row 1 seams are pressed to the left, then I'm going to press my seam in between Row 1 and Row 2 up. Pay close attention to this. (This is also explained in minute mark 5:30 of the video above.)
- I recommend "stay-stitching" around the perimeter of your quilt top once it's finished. This is just a seam that is ~1/8" around the perimeter of your quilt top and it secures any seams that are prone to unraveling.

Once you have your Quadrants sewn together, you now have a completed Upscale Plaid quilt top! YAY!

.
WEEK 3 WINNER
The winner of FREE edge-to-edge quilting on their Upscale Plaid quilt by Stitch Lab Quilting is @iamhollyb . Congratulations! Send us an email (hello@loandbeholdstitchery.com) and we'll get connected with Sara. :)
.
WEEK 4 PRIZE
Our prize this week is a FREE seat in one of our online quilting courses. Doors to Beginner Quilting Academy, Triangle School and Curve College open this April (2024) and we're so excited to host another round of these comprehensive online classes!

Note: Many of you have taken all three of the courses - yay! This prize can also be transferred as a shop credit.
To enter:
- Only public Instagram accounts are eligible for entry.
- Share a photo of your finished quilt top to Instagram.
- Use the hashtags #UpscalePlaidQuilt, #LoAndBeholdPatterns, and #UpscalePlaidQAL in the caption.
- Tag @LoAndBeholdStitchery in the photo.
You have until midnight PST on March 1st to enter. The winner will be announced in the March 2nd newsletter!

.
LONGARM DISCOUNT
Sara of Stitch Lab Quilting is offering 20% off quilting for Upscale Plaid quilts through June 30th, 2024! I mentioned this last week, but Sara does a lot of longarm quilting for me and she does an amazing job!
That's all for now! Thanks for joining the Upscale Plaid Quilt Along. I hope you've had fun with it...I know I have. I'll see you next time!


