Deco QAL - Week 3

Hello and welcome back to the Deco QAL!
SCHEDULE
Here's a look at our schedule. If you are just now joining us, click where you see an underline!
- Week 1: Oct. 18 - Oct. 25 - Choose fabrics & gather supplies
- Week 2: Oct. 25 - Nov. 1 - Cut fabrics
- Week 3: Nov. 1 - Nov. 8 - Sew all Block 1s
- Week 4: Nov. 8 - Nov. 15 - Sew all Block 2s
- Week 5: Nov. 15 - Nov. 22 - Sew all Block 3s
- Week 6: Nov. 22 - Nov. 29 - Catch up, if needed
- Week 7: Nov. 29 - Dec. 6 - Assemble quilt top
.

.
WEEK 3
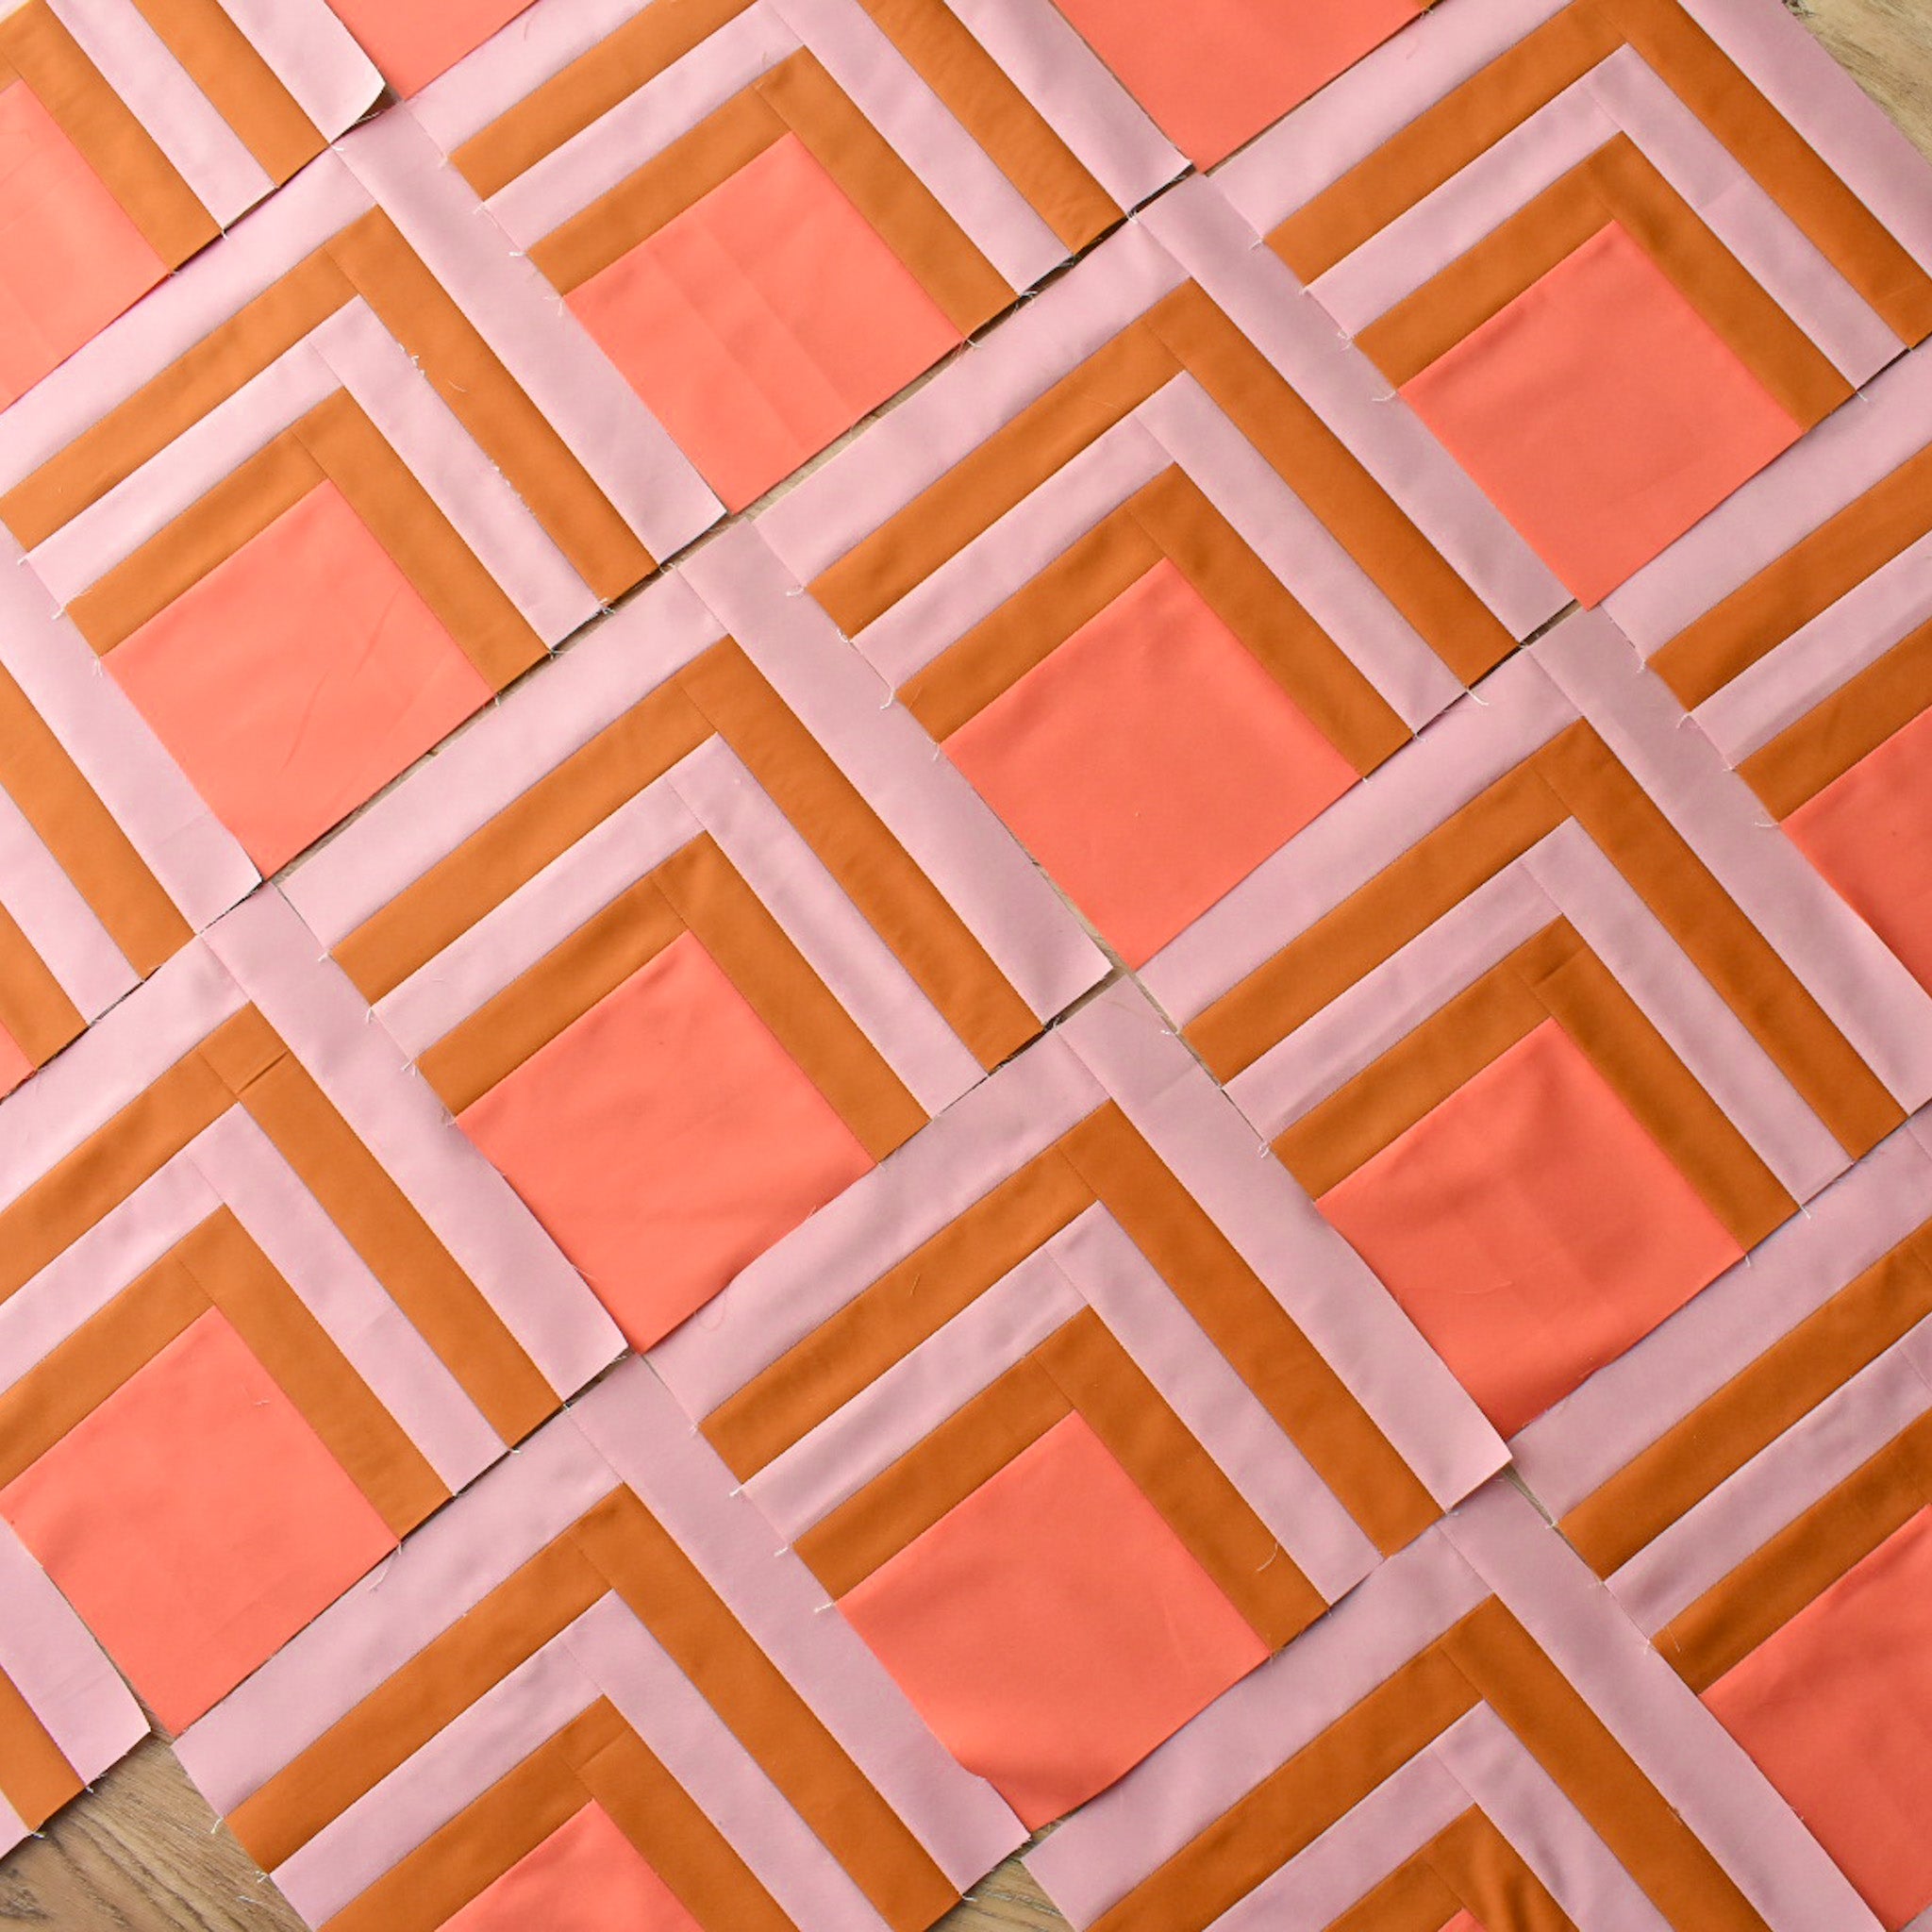
This quilt is composed of 3 different quilt blocks. I've split up the sewing over the next 3 weeks so that we are creating one quilt block per week. This week, we are creating all 20 of our Block 1s. YAY!
This block is super straight forward....just a traditional log-cabin style block. Here are some tips to keep in mind:
- Stitch length - I usually sew with a stitch length of 1.8mm - 2 mm.
- VERY IMPORTANT - Create a test block before sewing your actual blocks. This pattern requires a scant 1/4" seam, which can look different for everyone based on your fabrics, threads, pressing, etc. I have a new blog post all about scant 1/4" seams, so be sure to check that out here. Place a large ruler (preferably a 12" square ruler) on top of the block to see what it measures. Remember that if your test block measures larger than what the pattern says it should be, then your seam allowance is too small. If your test block measures smaller than what the pattern says it should be, then your seam allowance is too large. You'll want to get this figured out before you make all of your blocks and discover that your seam allowance was wrong. (Ask me how I know!)
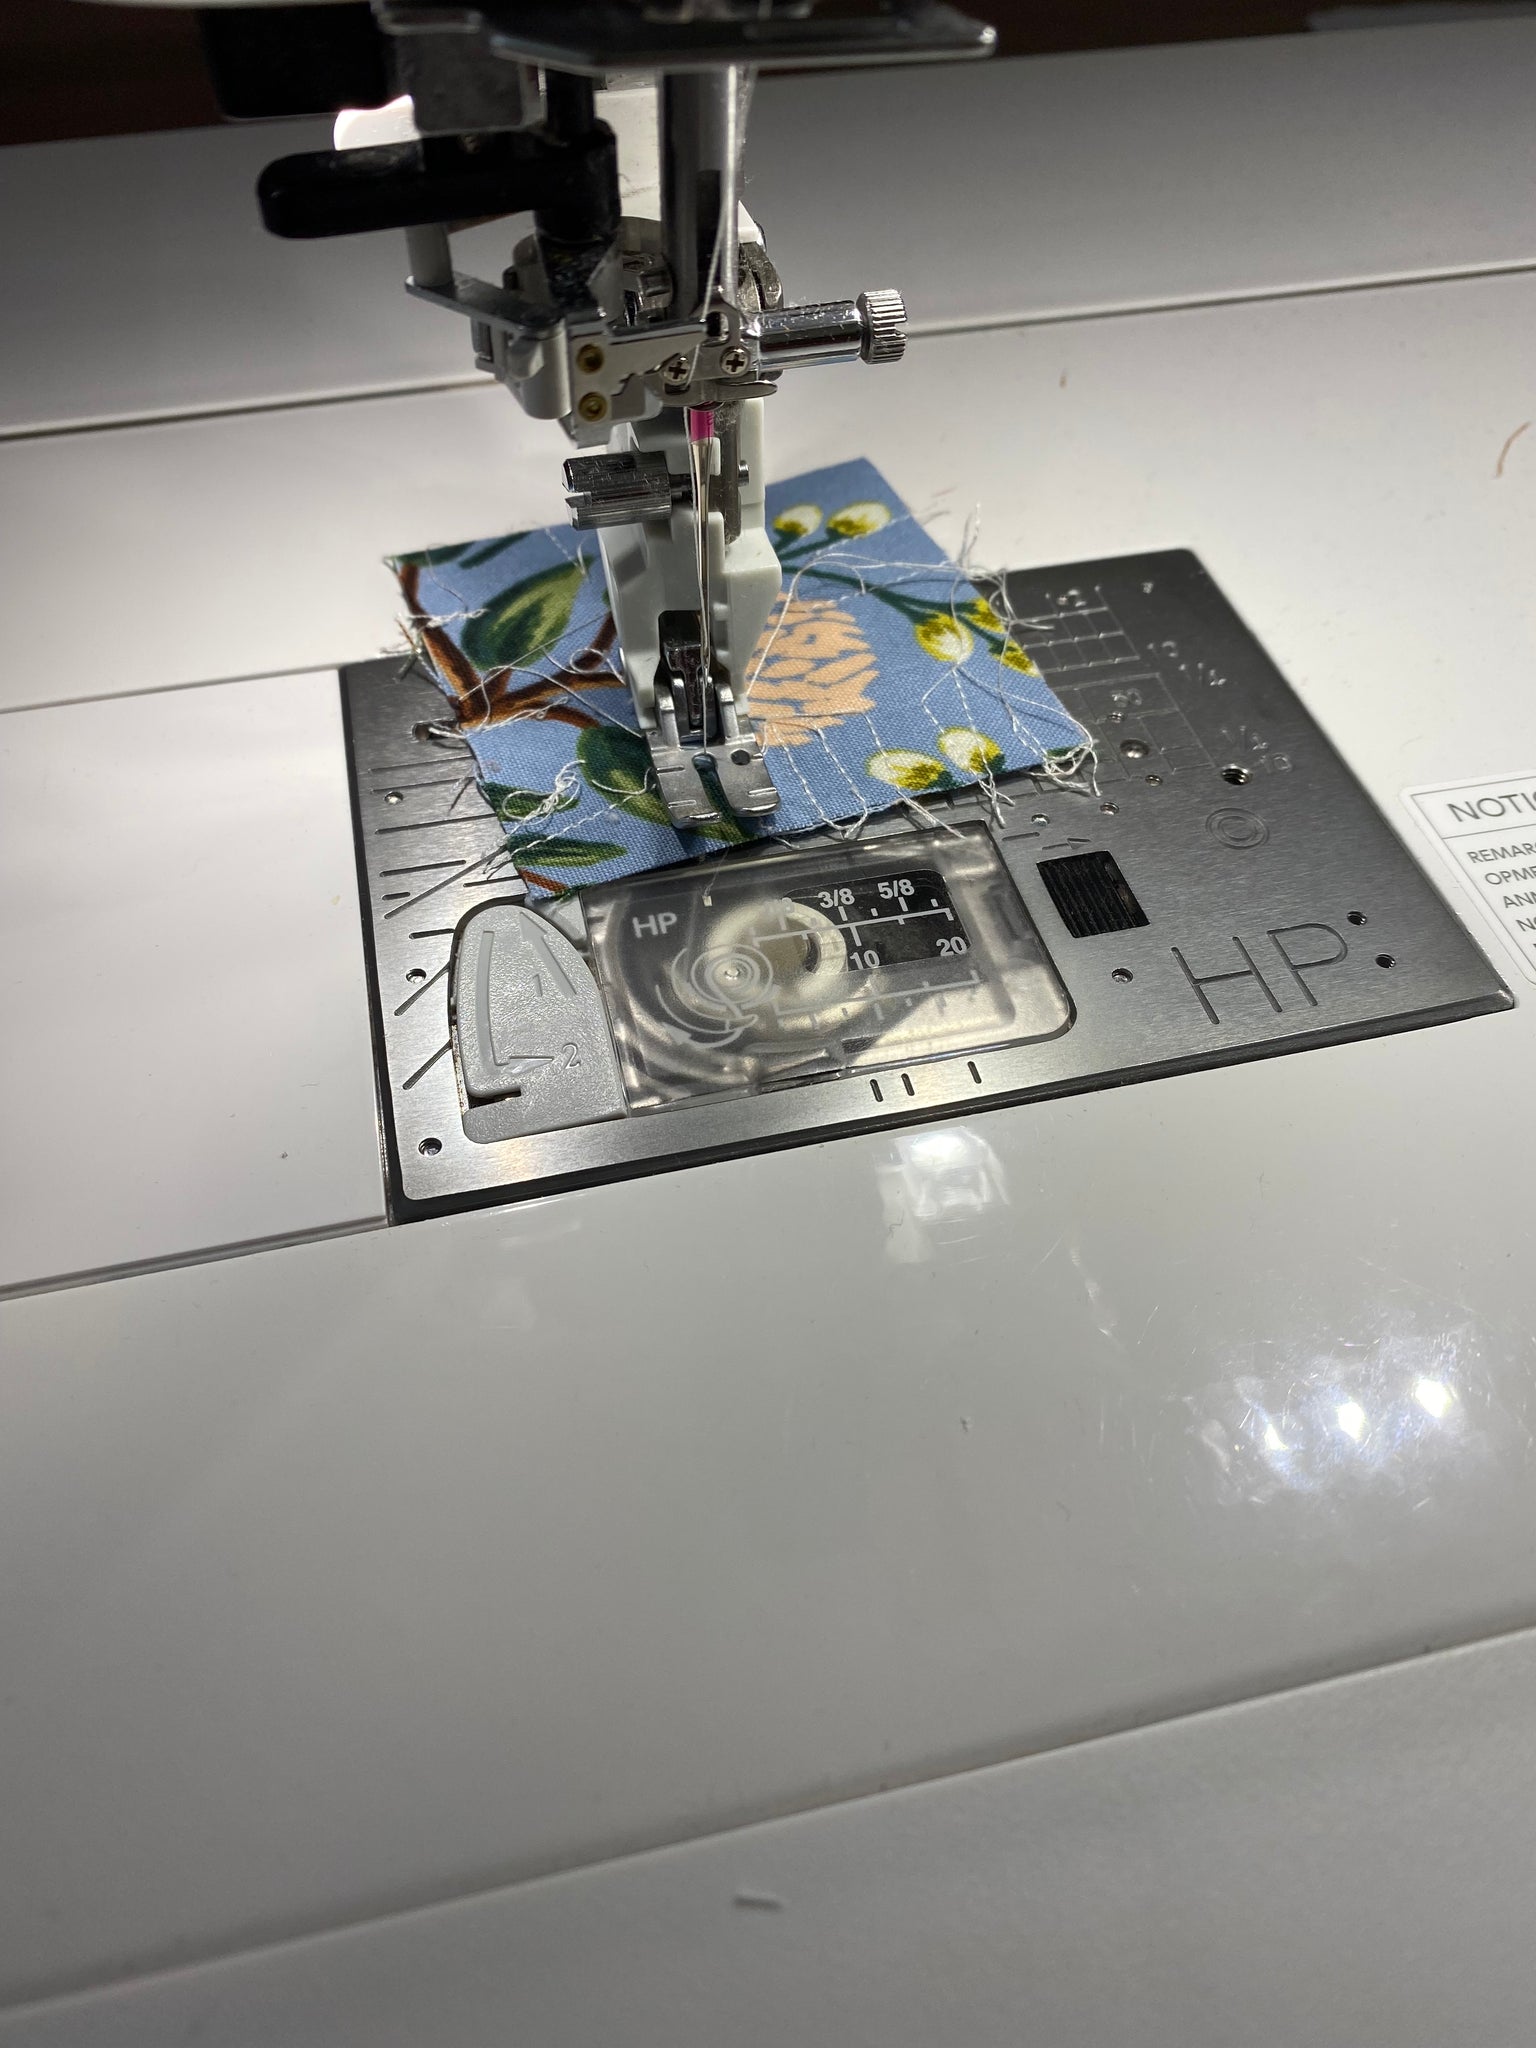
- (Optional) Use a "leader" piece of fabric to start your seam. This scrap piece of fabric will catch those first few stitches, then you can stitch off the leader and onto your actual fabrics. This can be really helpful if you have an automatic thread cutter...instead of bringing your needle and bobbin thread above the needle plate for the start of each seam, just use a leader and it'll catch all of those messy stitches. :)

.
- Once you feel comfortable with your seam allowance, chain piece all of your pieces for each block. Refer to the diagram in the Block 1 section of the pattern. Sew all #2 pieces to #1 pieces using one continuous seam or "chain." Then trim all of the chain seams that are connecting the blocks. Press all of those seams open, then repeat for piece #3 and so on until the entire block is constructed.

.
- As you are adding pieces to your block, make sure that the short edges of the new strips are staying perpendicular with the block. This will help keep things square as you are sewing. It can sometimes be easy to accidentally pull or stretch your strips as you are sewing, so be extra careful that you are handling them gently.

.
- Also consider using pins as your strips get longer. Make sure that your seam allowance is consistent for the entire length of each strip. It can sometimes be easy to start and stop a seam a little on the skinny side.
- To press seams open, open up the seam with your fingers first, then gently insert the nose of your iron to press the seam flat. Apply firm pressure with the iron on the wrong side of the block, then flip the block over to press the right side of the block as well.

.
- As you are adding strips to your blocks, be mindful of the seams underneath the block. It can sometimes be easy for those seams to get flipped over and twisted. After the old seam passes my needle plate, I place my finger on top of that seam and make sure that it's still pressed open.

.
Tips for Flat Seams
- Using steam can be a divisive topic in the quilting world....personally, I love using steam with my iron, but some argue that it shortens the life of your iron. An alternative is using a spray bottle with water.
- A tailor's clapper is a hard piece of wood that you place firmly on the seam after you press it. It absorbs the heat and "sets" the seam, making it stay flat.

.
- A wool pressing mat redistributes heat to help you press from both directions.
- At the very minimum, you can place a ruler with something heavy on your blocks after they're constructed and let them set for a few hours. I did this to all of my Block 1s overnight and my seams are really flat!

.

.
Once you've created all 20 of your Block 1s, you're done for this week! Be sure to snap a photo to share your progress on social media! Keep reading for the Week 3 prize!
.
Week 2 Winner
The winner of the Countdown Box from Global Fiber is:
Congratulations! Please send me an email we will get you your prize!
.
Week 3 Prize
This week, we have two prizes! The first is a collector's tin from Janome filled with 30 spools of thread (15 spools of 600yd Polyester thread and 15 spools of 250 yd Cotton thread)!

.
The second prize is a 50% discount to Jordan & Joy Co.! Jordan is one of my fearless pattern testers and she curates the most beautiful fabric combinations!

Enter to win the thread tin and the discount by sharing a photo of your Week 3 progress. Use the hashtags #decoquilt, #decoQAL and #loandbeholdpatterns. Remember that your account must be public in order for us to see your entry! A winner will be chosen at random by 8am EST at the start of next week.
.
Please remember as you are photographing your progress this week to NOT include any parts of the inside of the pattern. This includes any part of the inside of the pattern. That is all copyrighted information that is for your eyes only. :) If you want to include any portion of the pattern in your photo, use the cover.
That's all for this week. I'll see you next Monday for the start of Week 4!
.
.
Happy sewing! :)
.
.
Brittany


